Setting Up Authentication
In order to connect to a Vonage Video session, the client will need access to some authentication credentials — an application ID, session ID, and token. In a production application, these credentials should be generated by a Server SDKs, but to speed things up we will hard code the values for now:
- Start by copying the following code block and adding it to your
VonageVideoManager.swiftfile:
Add these lines right at the start of the class VonageVideoManager declaration.
- Adjust the code by hard coding the values for the
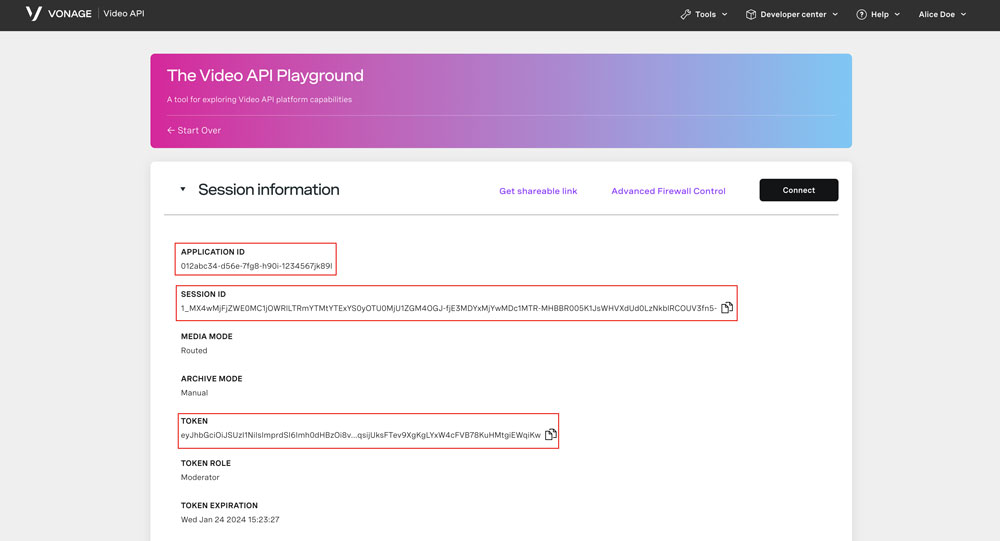
kAppId,kSessionIdandkToken. You can obtain them by following the instructions below:
- Sign up for or Log into your account.
- In the left-side menu of the dashboard, click
Applicationsand select a previous application or create a new one to view the Application ID.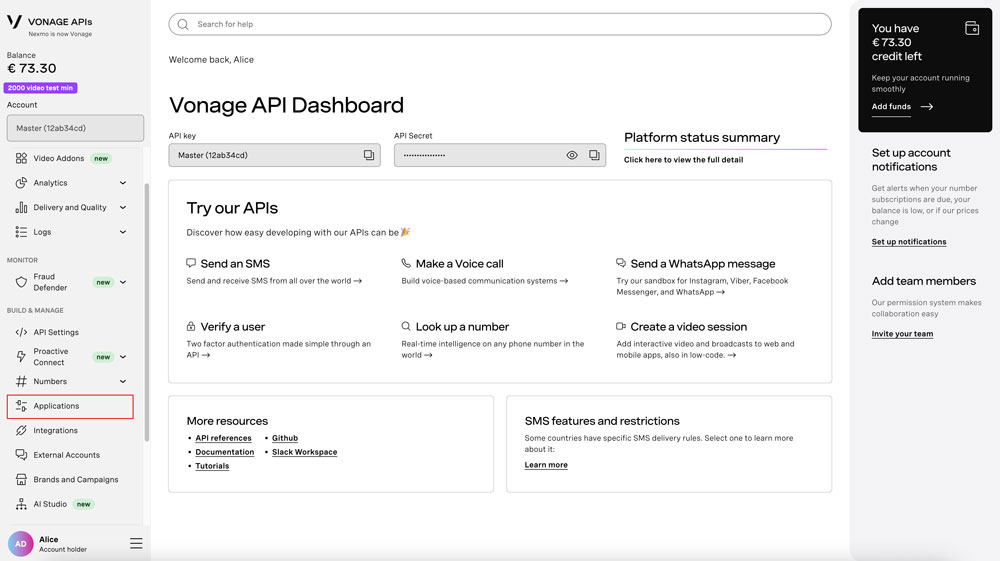
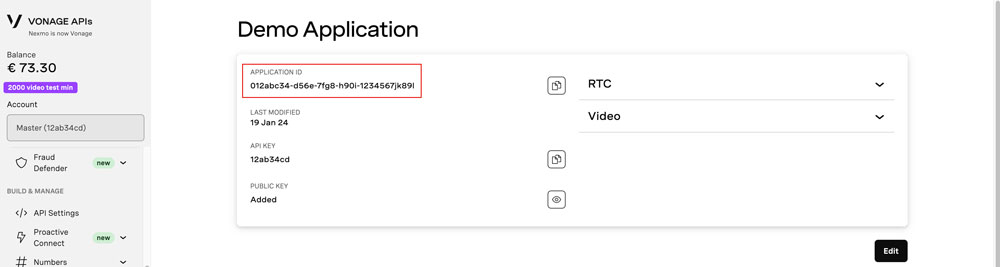
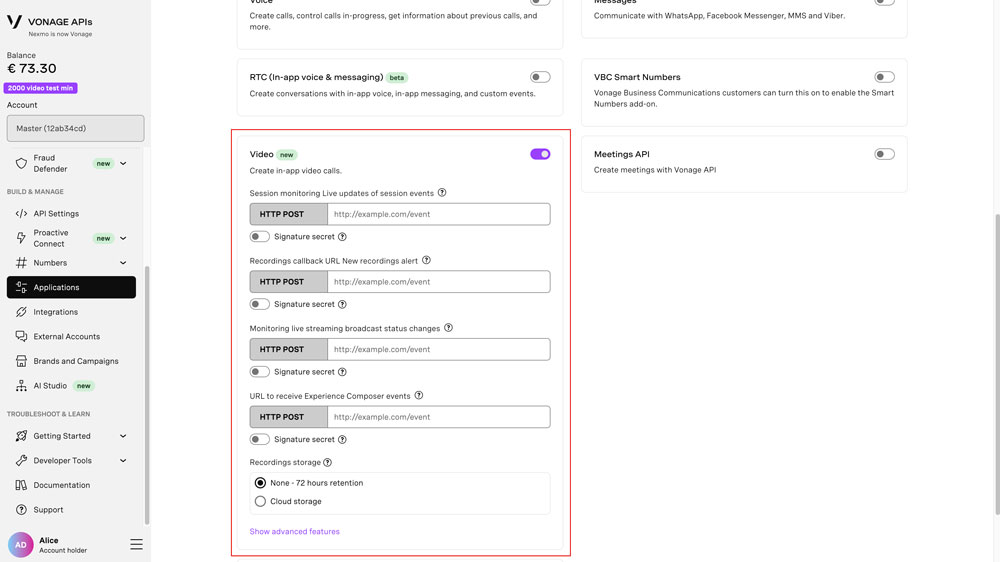
- Make sure that Video is activated
- Head over to the The Video API Playground. Either enter the Application ID or find it in the dropdown. You can leave the default values for the other options. Click "Create".
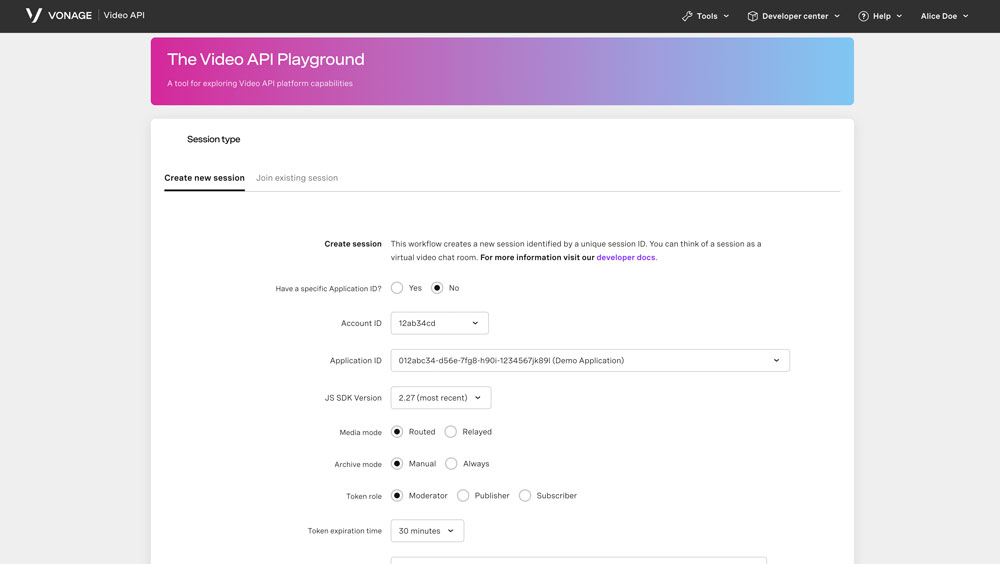
- Your Session ID and Token will be created.
Important: You can continue to get the session ID and token values from your Account during testing and development, but before you go into production you must set up a server.
For more information on sessions, tokens, and servers, check out Video API Technical Details.
Custom audio driver
Learn how to use a custom audio driver to customize publisher and subscriber stream audio. You will use the custom audio driver when you want to start and stop the audio play your own audio file, and do anything outside the default behavior of live video chat provided by the SDK.