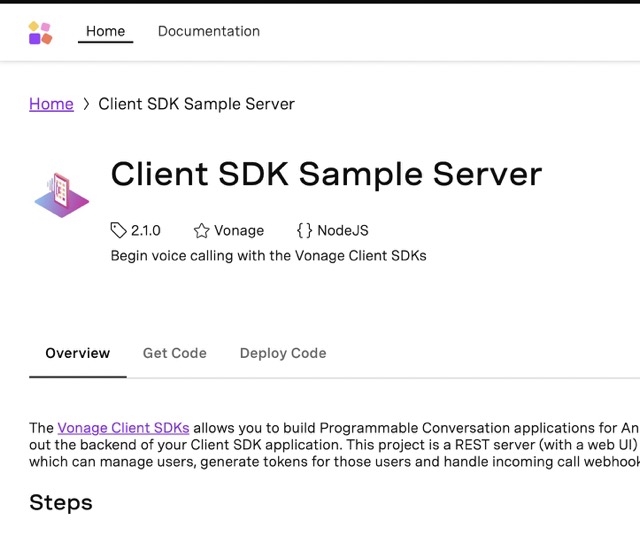
App to App Calling
The Vonage Voice API, when used with the Vonage Client SDK, can be used to make calls between Android, iOS, and Web apps. When building App to App calling there are a few components and concepts you should be familiar with.
Overview
Components
App - This is an application running on Android, iOS, or Web which has the Vonage Client SDK as a dependency.
Server - This is a backend server which can be written in any language. In this guide a Node.JS server will be used. The purpose of this server is to create Users, generate JWTs for the Users, and handle webhooks from Vonage.
Concepts
Users - A User is an object that identifies a unique Vonage user in the context of a Vonage Application.
JWTs - JSON Web Tokens (JWTs) are a compact, URL-safe means of representing claims to be transferred between two parties. You create JWTs for Users which are used for authenticating the Client SDKs.
Webhooks - Webhooks are an extension of an API, but instead of your code requesting data from our API platform, Vonage sends the data to you. In the case of this guide, you will receive an incoming call webhook when an App starts a call.
Prerequisites
In order to work through this use case you need:
Get Started
This guide will be using Vonage's Code Hub to build and host the backend server. The Client SDK Sample Server project is a pre-built solution with everything needed for App to App calling. Open the project in your web browser:
You can choose "Get Code" if you want to see and edit the code behind the project, otherwise, you can choose "Deploy Code" to deploy the project immediately. This guide will be using "Deploy Code", but you can follow along either way.
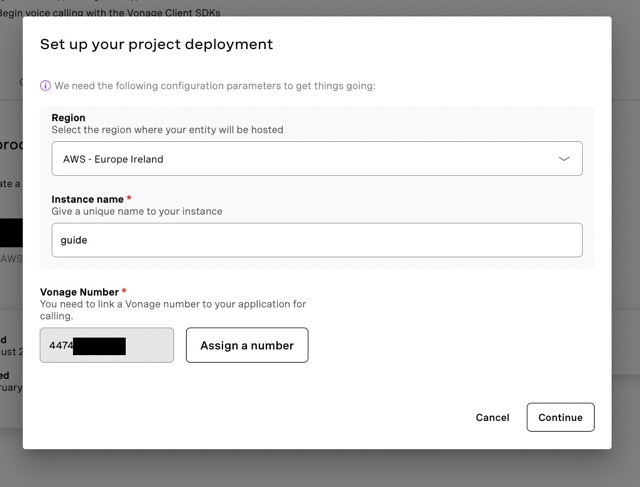
Sign in with your Vonage account if you have not already, then click the "Deploy new instance" button. You will be asked to choose a region, provide an instance name, and then buy and link a Vonage number. While a Vonage number is not directly needed for App to App calling, you will be prepared for use cases which require a Vonage number. Once that is complete, click the "Launch" button to open the project. If you chose the "Get Code" option, follow the directions in the README file which will include instructions on how to deploy the project.
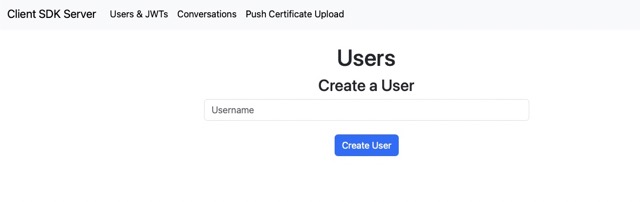
Creating Users
Now that the project is running you can create a User. Typically a Vonage User has a 1-1 mapping with a user in your system. Create two users called Alice and Bob:
The project creates Users by making calls to the Users API. This is how you can create a new User using the Vonage Server SDK:
// In the /routes/users.js file
const newUsername = req.body.username;
await vonage.users.createUser({ name: newUsername, displayName: newUsername });
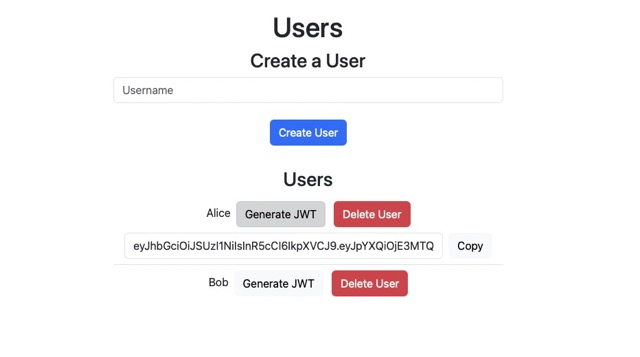
Generating JWTs
Once your Users are created, you can generate JWTs for them. You can create a JWT for a User by clicking the Generate JWT button.
Here is how you create a JWT using the Vonage Server SDK:
import { tokenGenerate } from '@vonage/jwt';

const appId = process.env.MY_APP_ID;
const privateKey = process.env.MY_PRIVATE_KEY;
const username = "USERNAME"

const aclPaths = {
  "paths": {
    "/*/rtc/**":{},
    "/*/sessions/**": {},
    "/*/users/**": {},
    "/*/conversations/**": {},
    "/*/image/**": {},
    "/*/media/**": {},
    "/*/knocking/**": {},
    "/*/devices/**": {},
    "/*/legs/**": {}
  }
};


const token = tokenGenerate(appId, privateKey, { acl: aclPaths, sub: username, ttl: 3600 });
This creates a JWT for the User in the username property. To create a JWT you need your Vonage Application ID and private key. The above code snippet has fairly unrestricted permissions in the aclPaths property. To learn more about JWTs and ACLs, view the Authentication guide.
Making a Call
Now that you can generate JWTs for your Users, you can use the Vonage Client SDK. At a high level, here are the steps to make an App to App call:
User A:
- Create a Session by calling the SDK's
createSessionfunction with a JWT for User A (this guide will use Alice). - Initiate a call by calling the SDK's
serverCallfunction, providing the username for User B in thetoparameter. Under the hood,serverCallmakes a request to Vonage.
User B:
- Create a Session by calling the SDK's
createSessionfunction with a JWT for User B (this guide will use Bob).
Vonage:
- Receives the request from the SDK, and sends a webhook to your Vonage Application's
answer_url.
Server (Code Hub server in this guide):
Receives webhook from Vonage with information about the call. The server must return a Call Control Object telling Vonage what to do with the call.
Return a Call Control Object telling Vonage to connect to User B.
User B:
- User B will receive a call invite via the SDK. User B will then have the option to accept or reject the call.
The Client SDK Sample Server will automatically handle setting your answer_url and responding to the webhook from Vonage. You can view this code in the /routes/calls.js file. An example webhook to the server will look like this:
{
  "from_user": "Alice",
  "to": "Bob",
  "uuid": "aaaaaaaa-bbbb-cccc-dddd-0123456789ab",
  "conversation_uuid": "CON-aaaaaaaa-bbbb-cccc-dddd-0123456789ab",
}
Which will generate the following Call Control Object:
[
    {
        "action": "talk",
        "text": "Please wait while we connect you"
    },
    {
        "action": "connect",
        "from": "MY_VONAGE_NUMBER",
        "endpoint": [
            {
                "type": "app",
                "user": "Bob"
            }
        ]
    }
]
To try this out for yourself you can use the HTML and JS example code from the Client SDK Tutorial. Follow along with the Javascript App to App tutorial to test out App to App calling.
Conclusion
You have now learned how to build App to App calling. You deployed a server using Code Hub which allows you to create Users and JWTs, and handle webhooks from Vonage. Then you used two HTML pages with the Vonage Client SDK to perform an App to App call.