Overview
In this guide you learn how to add the Client SDK to your iOS app.
Prerequisites
To use the Vonage SDK for iOS, you need to have the following installed:
- Xcode
- iOS 13 or later
Adding the Client SDK to your iOS Project
The Vonage Client SDK on iOS is distributed as 3 separate SDKs. VonageClientSDKVoice for in-app voice functionality, VonageClientSDKChat for in-app messaging functionality, and combined as VonageClientSDK. VonageClientSDKChat does not include the WebRTC dependency, so it is a smaller library. You must only use one SDK at a time in your application.
In-app voice and in-app messaging - install
VonageClientSDKonly.In-app voice - install
VonageClientSDKVoiceonly.In-app messaging - install
VonageClientSDKChatonly.
Product deprecation notice
Effective April 30th, 2026, Vonage In-App Messaging will no longer be available. Access for new users will be closed, and the service will be discontinued for all existing users.
If you have any questions regarding this product’s discontinuation, please contact your account manager or our support team.
You can install the Client SDK via Swift Package Manager or CocoaPods.
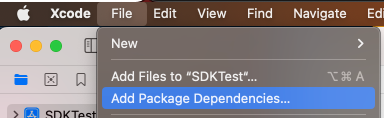
- After creating your application in Xcode, click on File > Add Package Dependencies...
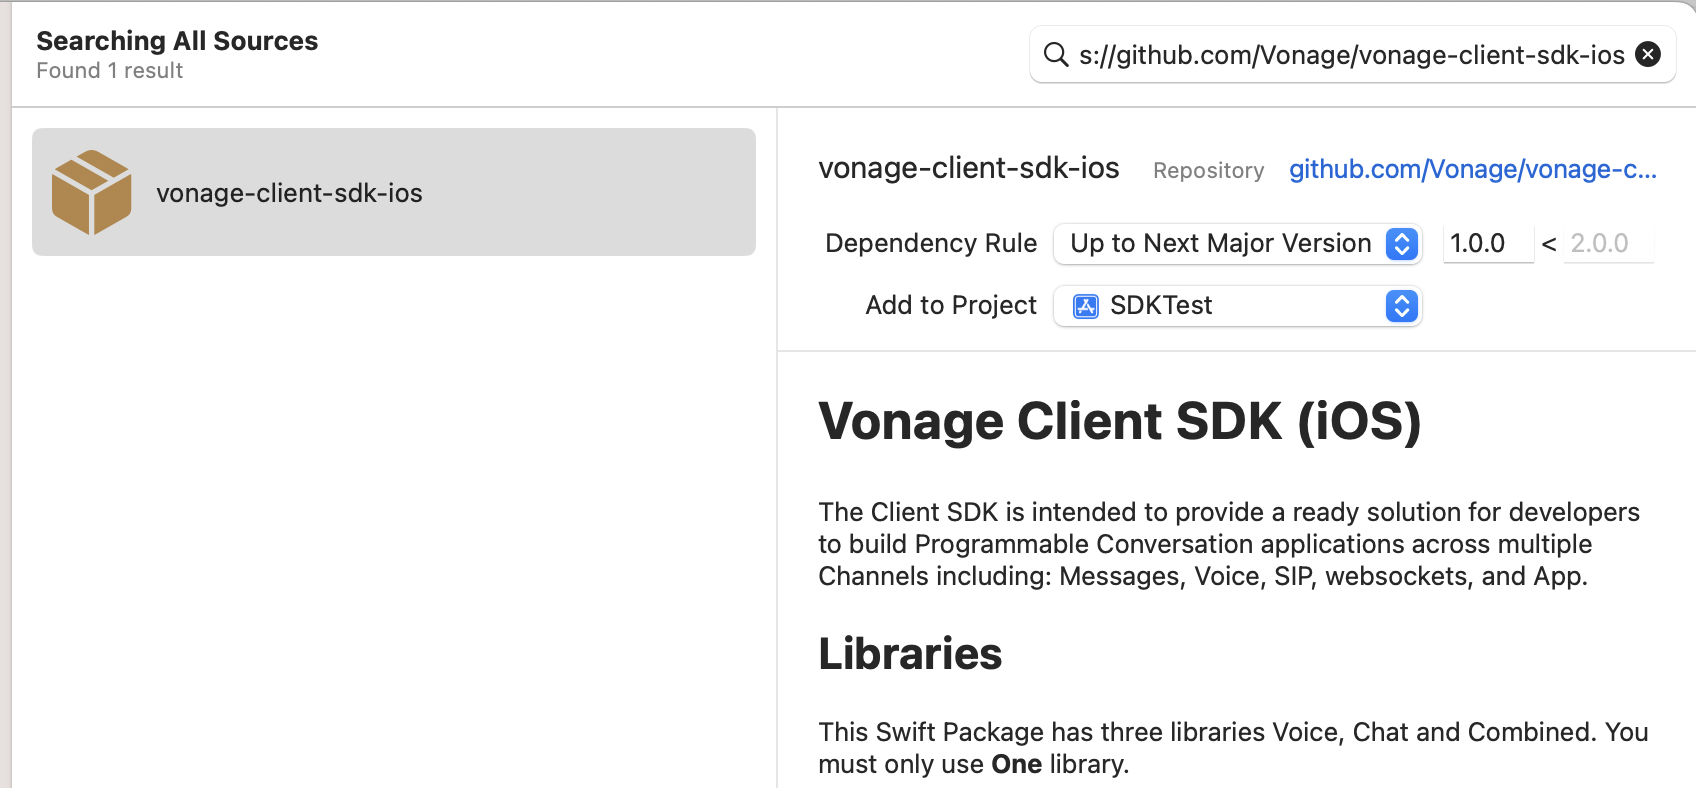
In the search box, paste in the URL for the Vonage Client SDK:
https://github.com/Vonage/vonage-client-sdk-iosChoose your dependency rule, you can specify a range of versions, an exact version or the main branch.
- Add the dependency, Xcode will now download the SDK. Once completed, choose which SDK to add.
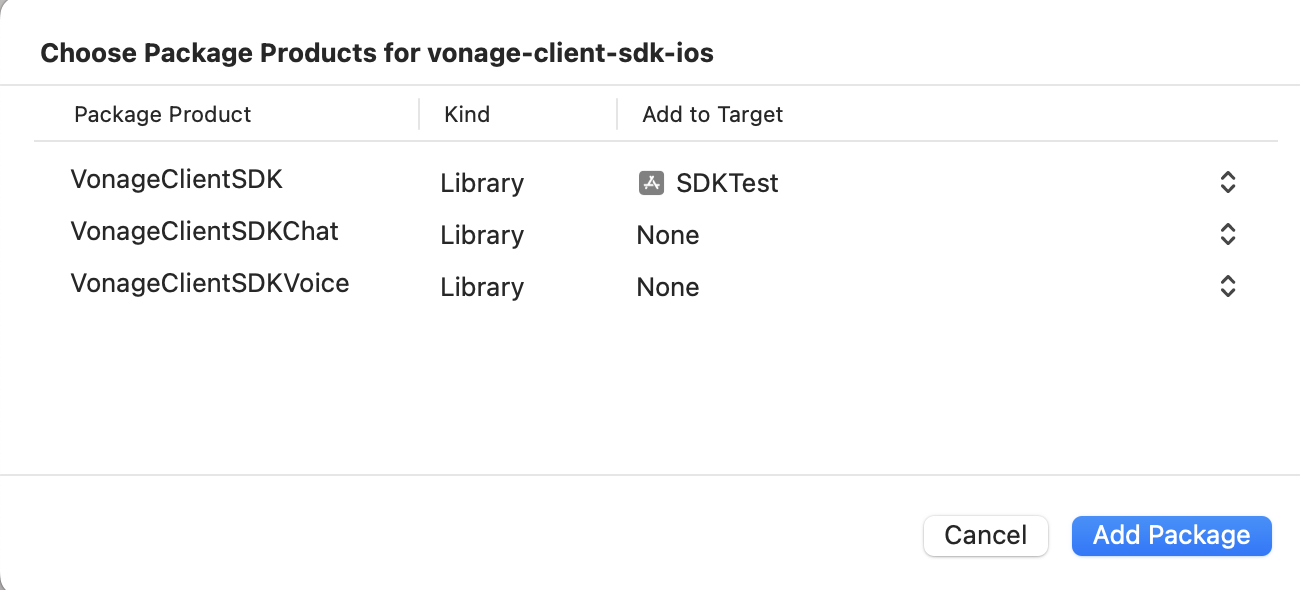
Note: As mentioned earlier, you can only include one SDK at a time.
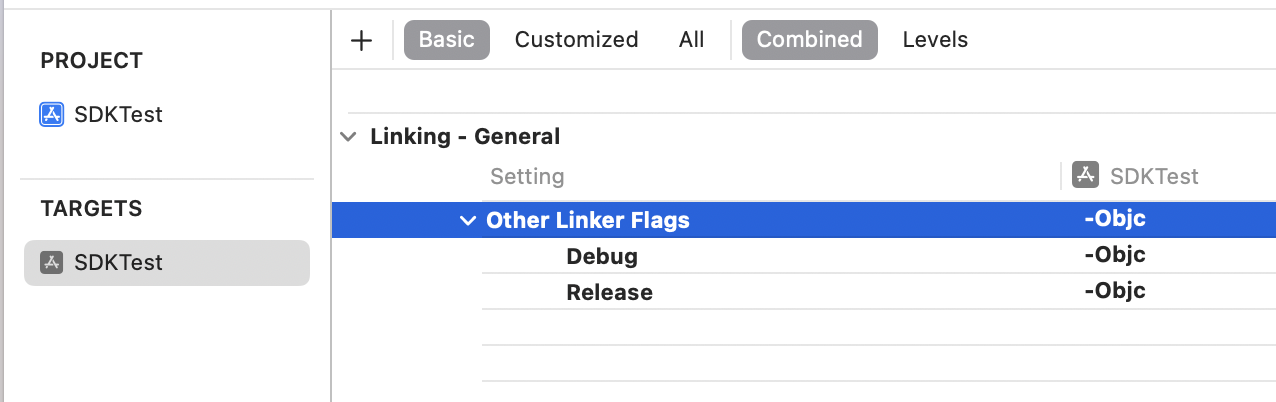
- Click on your build target in Xcode, go to Build Settings. Then search for Other Linker Flags. Add the
-ObjCflag both for Debug and Release configurations.
Open your project's
PodFile. If you don't have one already, open a terminal and run the following commands:$ cd 'Project Dir' $ pod initWhere
Project Diris the path to the parent directory of thePodFile.Under your target add the
VGClientDelegatepod.TargetNamewill be your Xcode app target name.Install the Pod by opening a terminal and running the following command:
$ pod installOpen the
xcworkspacewith Xcode.
NOTE:: Make sure to open the file ending in .xcworkspace rather than .xcodeproj
- In your code, import the
VonageClientSDKlibrary:
import VonageClientSDK
NOTE: If you are using Xcode 15 you may need to turn off the ENABLE_USER_SCRIPT_SANDBOXING build setting. See this GitHub issue for Cocoapods.
Add permissions (Voice)
To use the in-app voice features, you need to add audio permissions:
In your
Info.plistadd a new row with 'Privacy - Microphone Usage Description' and a description for using the microphone. For example,Audio Calls.In your code add a request for Audio Permissions:
import AVFoundation

func askAudioPermissions() {
    AVAudioSession.sharedInstance().requestRecordPermission { granted in
        print("Allow microphone use. Response: ", granted)
    }
}
The AppDelegate is the best place to do this.
Using the Client SDK in your app
Now you have installed the Client SDK and requested audio permissions you can now start using it.
Create a Session
Sessions are a live communication stream between the Client SDK and the Vonage servers. Create a VGVonageClient object, then create a session with a user JWT token.
let client = VGVonageClient()
client.delegate = self

client.createSession("JWT_TOKEN") { error, sessionId in
    ...
}
If the session creation is successful, you will receive a session ID. Note that self should implement the VGClientDelegate/VGVoiceClientDelegate/VGVoiceClientDelegate protocols depending on which SDK you installed.
Session Status
If there are any errors with the session after it has been successfully created, you will receive them on the didReceiveSessionErrorWithReason delegate function on the VGVoiceClientDelegate.
extension ViewController: VGClientDelegate {

    func client(_ client: VGBaseClient,
    didReceiveSessionErrorWith reason: VGSessionErrorReason) {
        // Session Error
    }

    ...
}
Conclusion
You added the Client SDK to your iOS app, and created a session. You can now use the Client SDK functionality.
See also
- Data Center Configuration - this is an advanced optional configuration you can carry out after adding the SDK to your application.