WhatsApp Product Messages
Product messages provide a way for businesses to showcase and share products and services with customers via a WhatsApp chat, and for those customers to browse items, add them to a cart, and submit an order without leaving the chat.
There are few steps involved in working with Product Messages:
- Uploading your Product Inventory to create a Product Catalog
- Connecting your Product Catalog to a WhatsApp Business Account
- Sharing your Products with customers in WhatsApp messages
- Customers Interacting with Product Messages in the WhatsApp UI
- Receiving responses from customers regarding your products
Creating a Product Catalog
The underlying data for the products sent in product messages exists in the form of a Product Catalog.
Catalogs are created and managed via the Meta Commerce Manager UI. Here you can create new catalogs, or update existing ones.
You'll need to go through several steps, such as selecting a catalog type, choosing a name, and configuring some settings. As part of the configuration you can select a product upload method of either manually uploading your products or connecting to a supported partner platform such as Shopify, BigCommerce, or OpenCart, among others. Once your catalog is created, it will be given a unique catalog_id; this will be needed when working with Product Messages.
The next step after your catalog is created is to add items to it. When adding an item, you need to provide various details about that item such as an image, a title, a description, a currency and price, and a website link. This information is what will be displayed in a Product Details Page when including that item in a Product Message. Once a product item has been added to your catalog, it will be given a unique product_retailer_id, which will be needed when working with Product Messages. This ID is listed as a 'Content ID' within the Commerce Manger UI.

Once an item has been added to Catalog, you can edit the details and change the availability. Editing these details will impact Product Messages that have been sent (this will be covered later in this document).
For more information on creating a catalog, see the Meta documentation.
Connecting your Catalog
In order to be able to include product items in Product Messages sent from a number associated with your WhatsApp Business Account (WABA), the Catalog containing those items needs to be linked to that WABA.
Note: Only one catalog at a time can be associated with a WhatsApp Business Account. You can, however, disconnect a connected catalog and then connect different one.
The process for linking the your WhatsApp Business Account to your Catalog will depend on the type of account you have.
Connecting an Owned Account
An owned WABA is an account that has been created through the embedded sign-up process (via the Vonage Dashboard).
To connect your Catalog to an owned account, use the following steps:
- Navigate to the Meta Commerce Manager
- Select your business from the drop down menu
- Click on the hamburger icon to reveal the 'All Tools' menu, and click on the WhatsApp Manager icon
- From the left hand menu, under 'Account Tools' click on 'Catalog'
- From the 'Connect a catalog' dialog box, select the appropriate catalog from the dropdown menu and click 'Connect Catalog'
Connecting a Managed Account
A Managed Account is one that has been created for you by a partner business such as Vonage. In order to connect a Catalog to a Managed Account, you need to assign the partner business (such as Vonage) to the catalog. This can be done by using the following steps:
- Navigate to the Meta Commerce Manager
- Select your business from the drop down menu
- Click on the hamburger icon to reveal the 'All Tools' menu, and click on the Business Settings icon
- From the left hand menu, under 'Data Sources' click on 'Catalogs'
- Select the appropriate Catalog and click on 'Assign Partner'. From this point there are two possible processes for assigning a partner:
Assigning a Partner by Using a Business ID
- Enter the 'Business ID' as 2290848174274168
- Under the 'Full control' permission section, select the 'Manage catalog' option
- Select 'Next', followed by 'Close'
- Contact Vonage Support, who will arrange for approval of the partner request and connect the Catalog.
Assigning a Partner by Generating a Link
- Select 'Get Link' to generate a link
- Select the 'Manage Catalog' task
- Send the link to Vonage. Note: each link can be used only once and expires after 30 days.
Sending Product Messages
Once a Catalog is connected to your WhatsApp Business Account, you can start sending Product Messages to your customers and receiving responses from them.
There are two types of Product Message that you can send:
- Single Product Messages
- Multi-Product Messages
Both single and multi product messages are a type of WhatsApp Interactive Message. Within the Vonage Messages API, WhatsApp Interactive Messages are sent using the Custom message type. You can read more about Custom messages, but essentially, in the context of Interactive messages, they use a custom object with a type property set to interactive and an interactive object with a structure that maps exactly to the structure defied for interactive objects within the Meta API.
For single product messages, the interactive object has a type property set to product. For multi-product messages, it has a type property set to product_list.
The key component of the interactive object for both single and multi product messages is the action objects. This contains data about the products to be displayed in the message. The exact structure of the action object varies depending on whether you are sending a single or multi product message:
- For single product messages, it contains only the
catalog_idandproduct_retailer_idfields. - For multi-product messages it contains one or more
sections(to a maximum of 10), each with atitleand one or moreproduct_items(to a maximum of 30 across all sections) containing theproduct_retailer_id.
In addition to the action object, there are three other properties of the product messages interactive object which determine the appearance of the message within the WhatsApp UI:
- A
headerobject. This is required for multi-product messages (with atypeoftext, and atextproperty, the value of which is the header text), but not available for single product messages. - A
bodyobject, with atextproperty, the value of which is the body text. This is required for multi-product messages, but optional for single product messages. - A
footerobject, with atextproperty, the value of which is the footer text. This is optional for both single and multi product messages.
You can see examples of the JSON structure for both single and multi product messages in the Meta documentation.
You can also see code examples for sending via the Vonage Messages API:
Note: a Product Message cannot be used to initiate a WhatsApp conversation, it can only sent as part of an existing conversation that has been started either by the customer messaging the business, or the business sending a Templated Message to the customer. See Rules for Messaging Customers.
WhatsApp UI
Much of the logic for the way in which customers interact with Product Messages exists within the WhatsApp UI. The data for the products shown in the UI is taken directly from the details added to the Catalog identified by the catalog_id and products identified by product_retailer_id values in the outbound message.
Message Appearance
The way the message appears in the UI will vary depending on whether it is a single product message or a multi-product message, and also the way in which the outbound messages has been structured in the interactive object.
Single Product Message
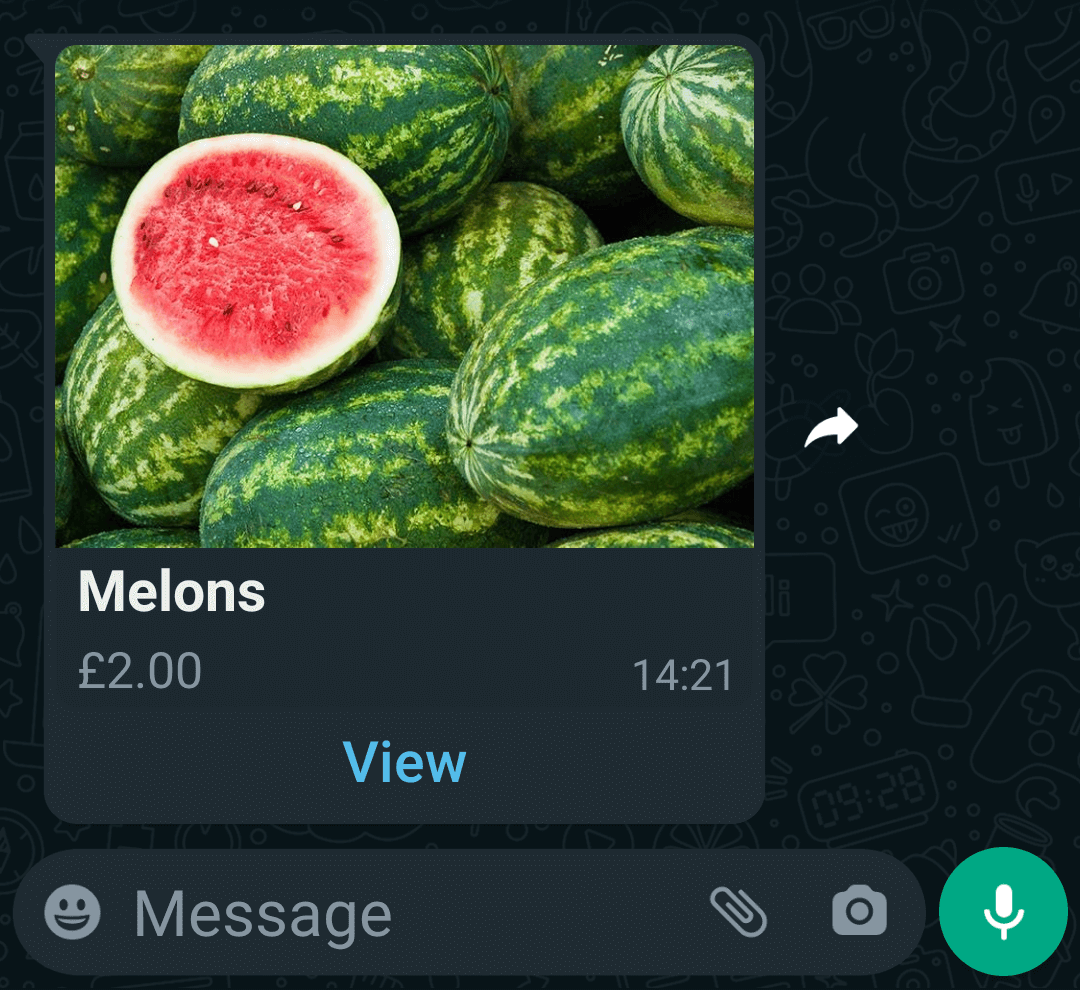
A single product message containing only the required elements will show the image, title, price, and 'View' button.
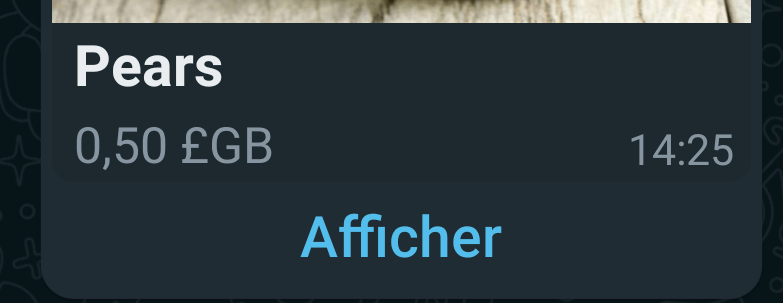
The wording on the 'View' button is automatically generated, and varies according to the language the user has set in the WhatsApp app settings. For example, if the language is set to French it will show 'Afficher'.
If body and footer are included, these show below the main product details and above the 'View' button.
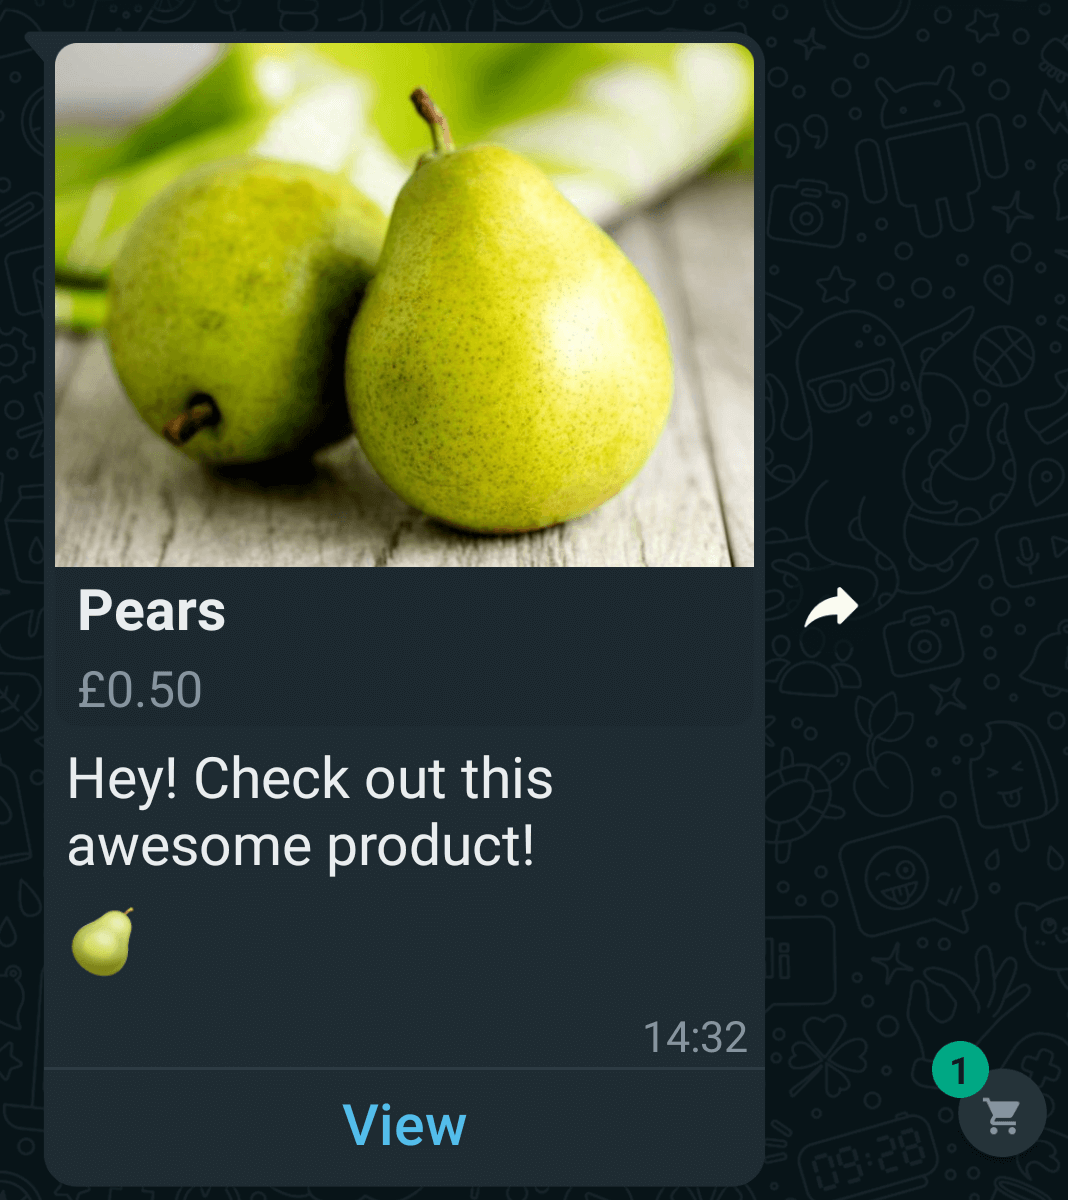
Tapping anywhere on the message will display the Product Details Page.
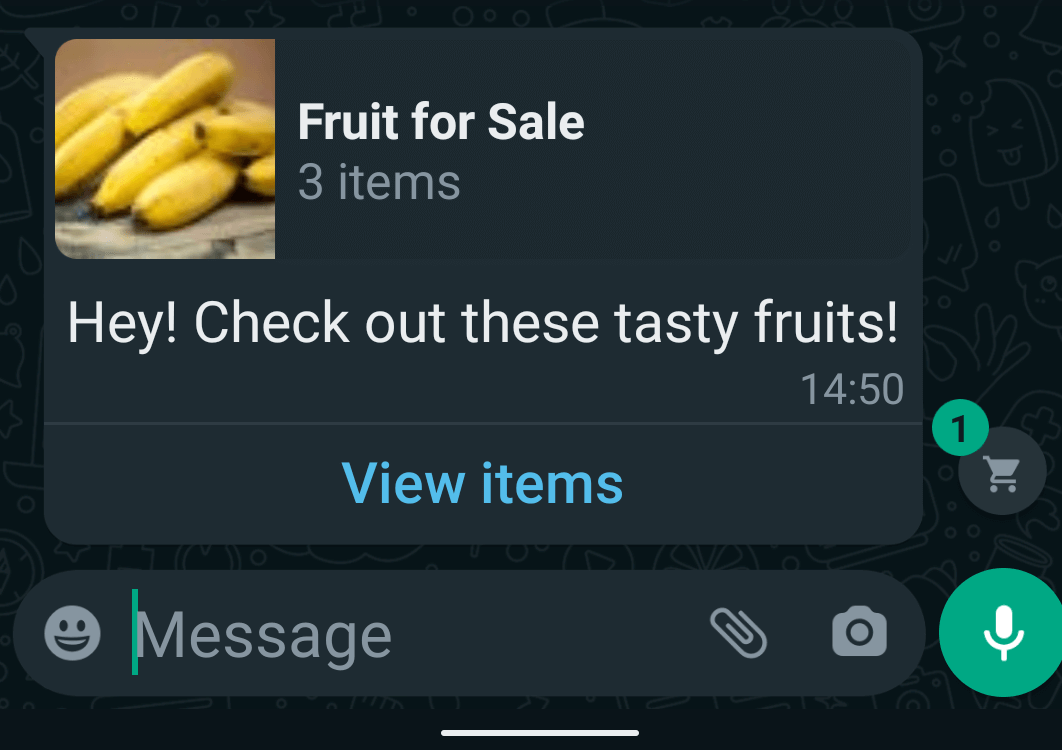
Multi Product Message
Multi-product messages show initially show in a similar way with some slight differences. There is an image, some header text and the number of items, followed by the body text and then footer text (if used), and finally a 'View items' button (again, the text on the button is dependent on the WhatsApp language settings).
Tapping anywhere on a multi-product message will display the product list, divided into sections.
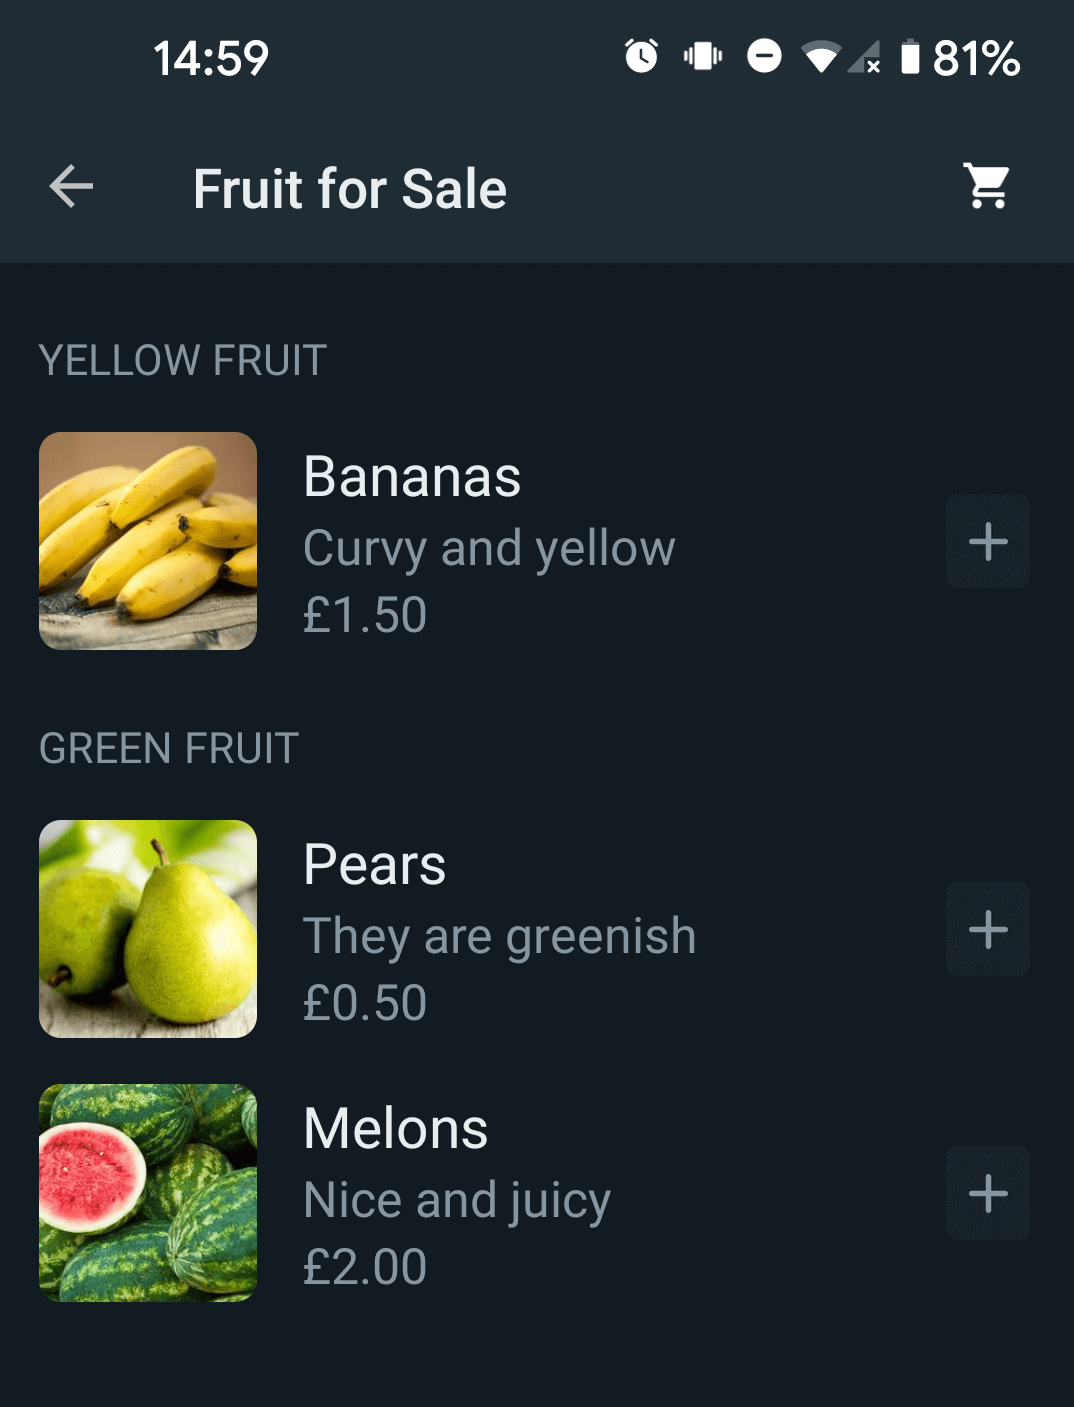
Items can be added to the Shopping Cart directly from the product list, and there is also a button to view the Cart.
Tapping on an individual item will display the Product Details Page.
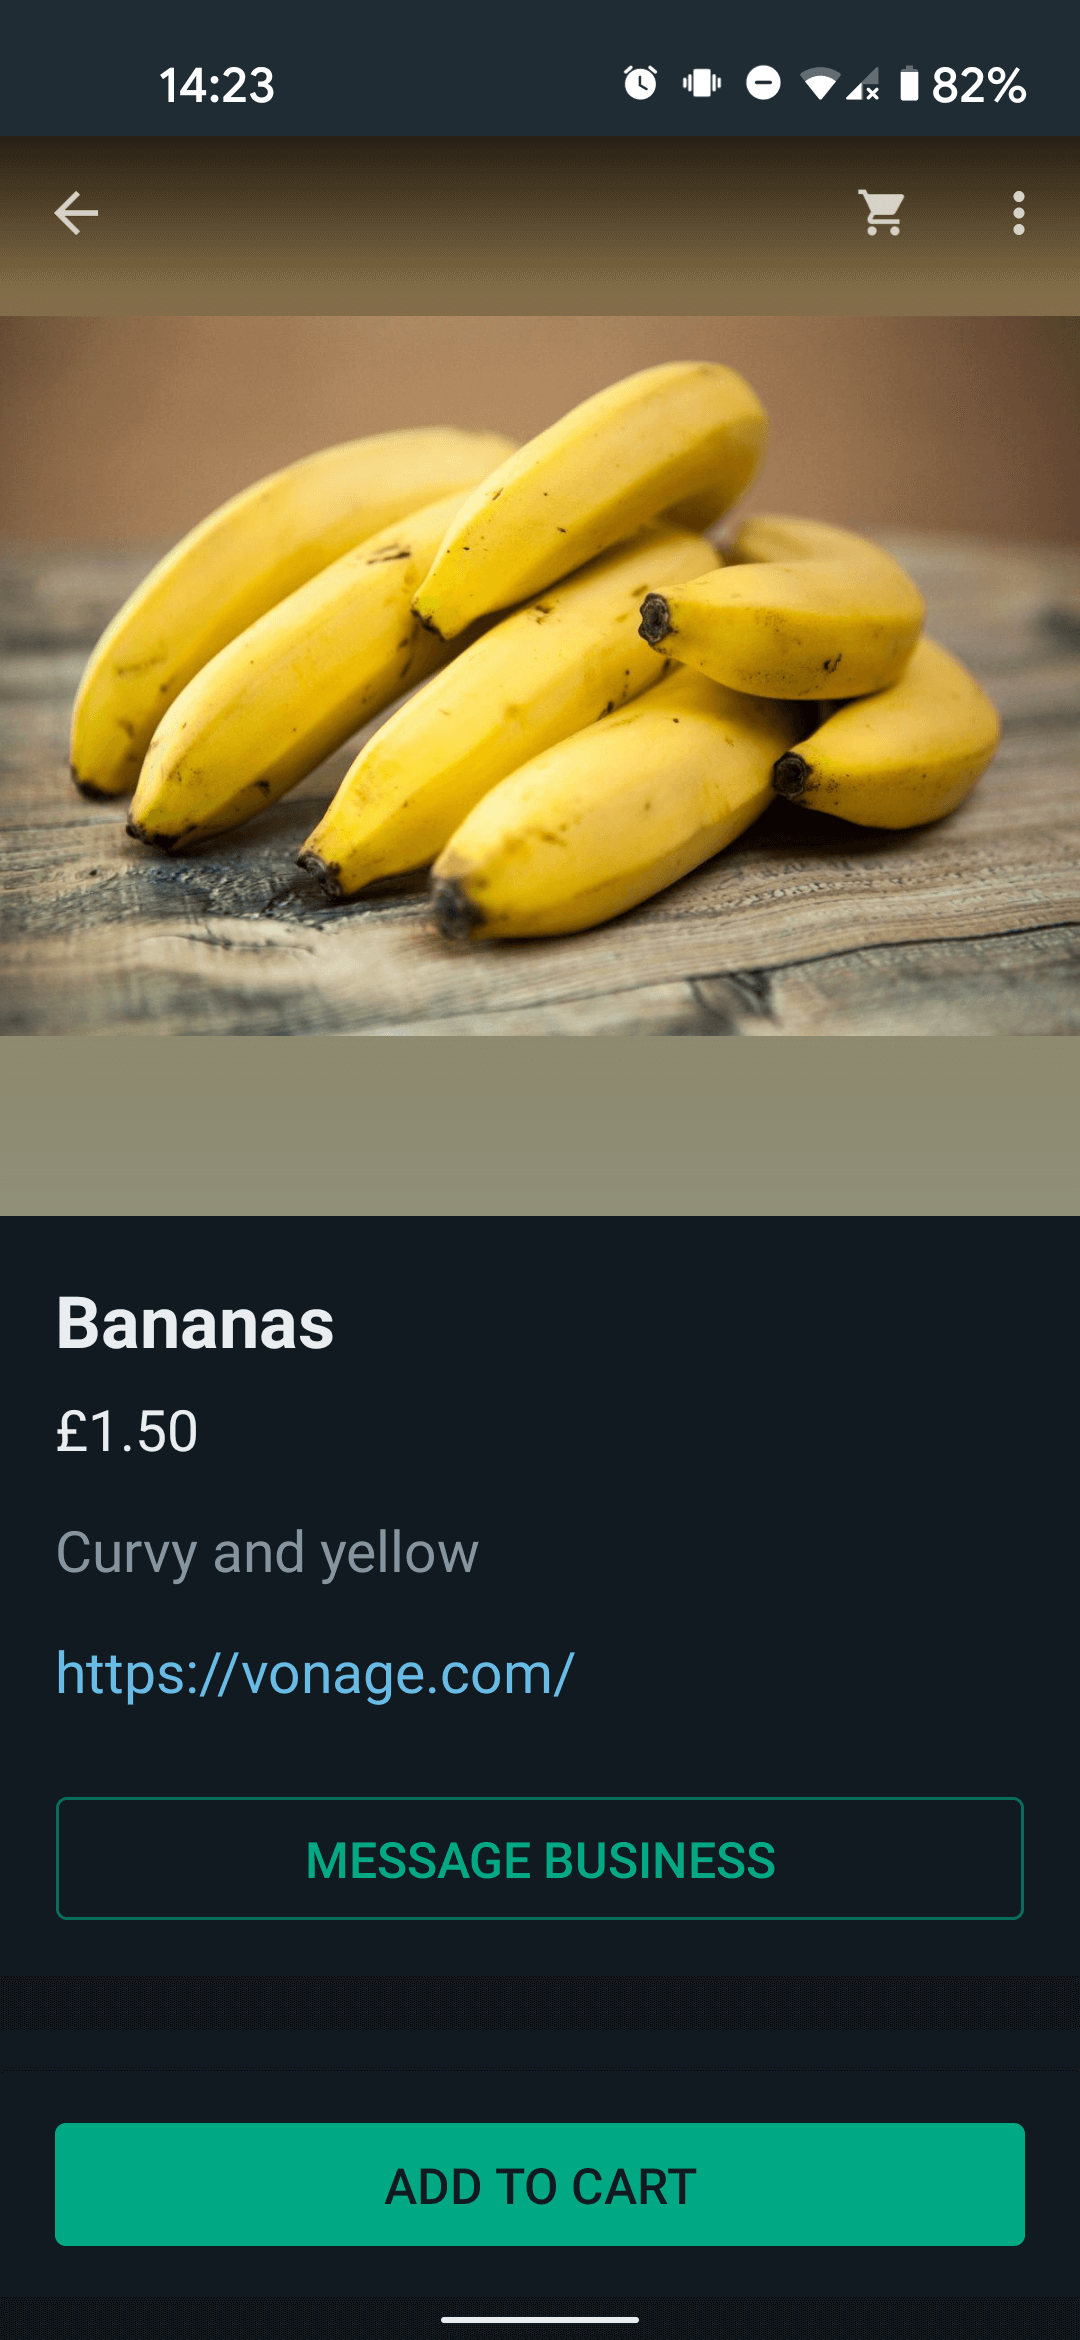
Product Details Page
The Product Details Page displays information about an individual product, such as the image, title, currency and price, description, and URL. There are also controls to add an item to the Cart and adjust the quantity, to view the Cart, and to send a Message to the business.
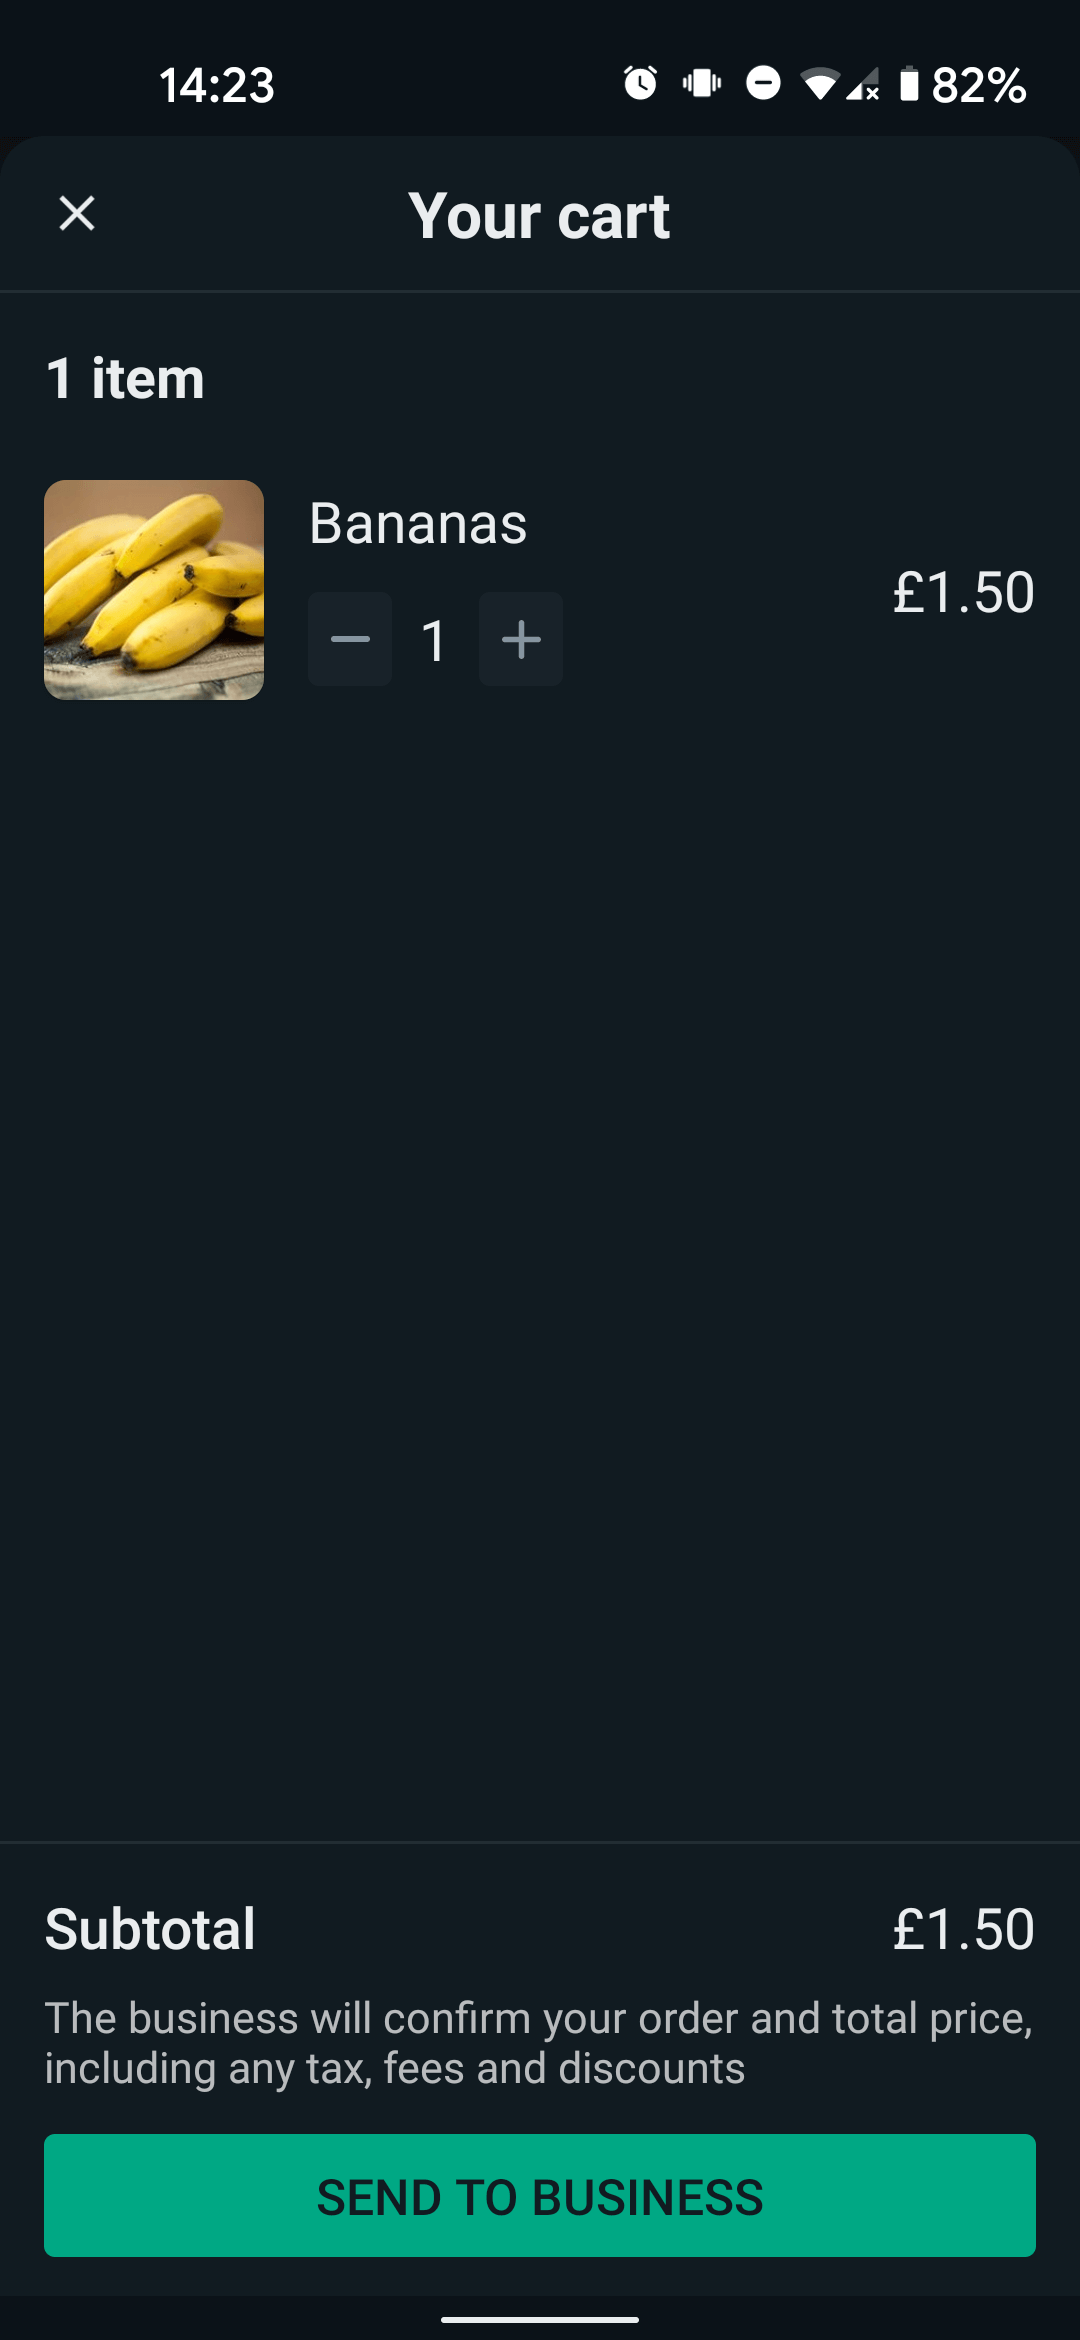
Shopping Cart
The Shopping Cart lists the items added, with a cost per line item and overall Subtotal, and has options to adjust the quantity and to send the cart to the business.
There is a maximum quantity of 99 for any single product item.
Note: no changes can be made to the cart once it has been sent, though customers can create and send a multiple carts from the same initial product message.
Customer Actions
Regardless message structure, or whether it is a single or multi product message, the actions that the customer can perform are essentially the same:
- View Products. Either in a Product List (for multi-product messages) or the Product Details page (for both single and multi product messages).
- Add Products to Cart. Either from the Product List (for multi-product messages) or the Product Details page (for both single and multi product messages).
- Update the Cart. Quantities can be adjusted up or down, from within the cart, from the Product List (for multi-product messages) or the Product Details page (for both single and multi product messages).
- Send the Cart to the business.
- Contact the Business. Either within the chat or from a Product Details page.
Live Product Updates
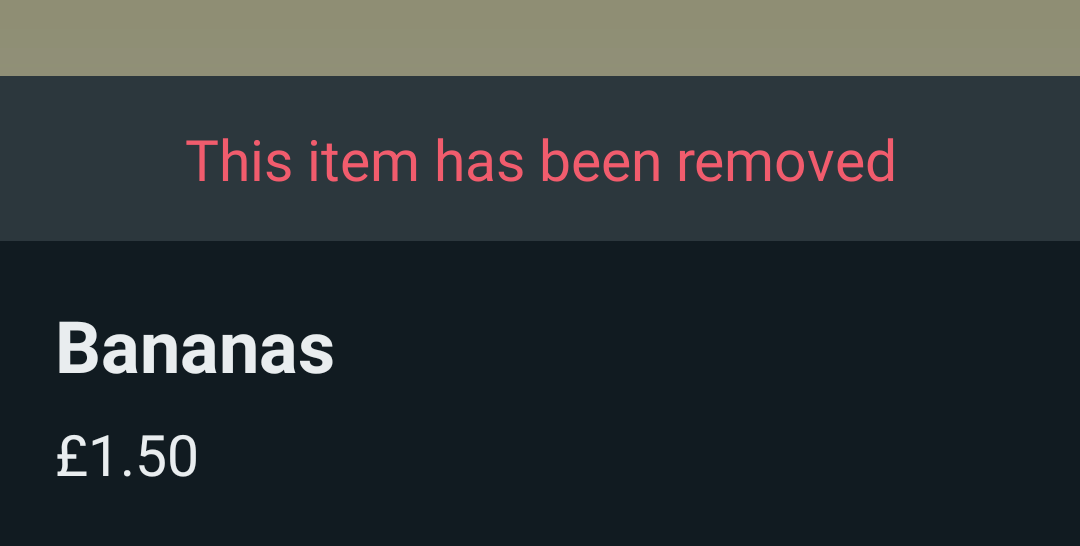
If changes are made to product items in the Meta Commerce Manager, such as price or availability changes, these changes will be reflected in messages that have already been sent. If the availability of a product is changed so that it is no longer available, the customer will see a message in the UI informing them of this.
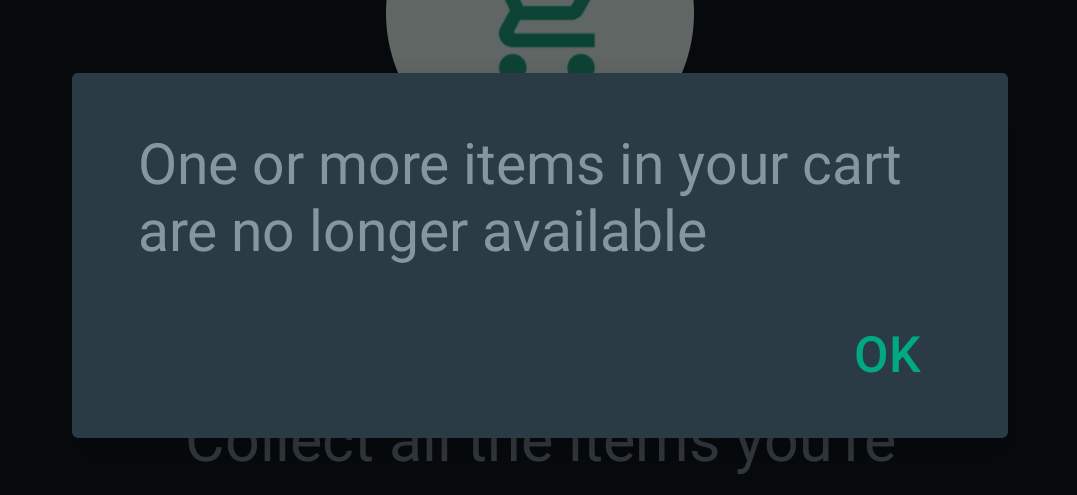
There can be a slight lag in a product updating in the WhatsApp UI following an update in the Commerce Manger, but if for example a customer tries interact with a product item that is no longer available, they will see an message indicating this and they will not be able to add the item to their cart.
Further information on Product Updates can be seen in the Meta documentation
Receiving Responses
In order to receive responses to Product Messages, you need to have an Inbound Message webhook set your Vonage Application.
The type of inbound message received will depend on the way in which the customer messaged the business.
- Standard Text Message. If the customer sends a text message as part of the conversation, the inbound message will be of type
text, but thecontextobject will not contain any product details. - Quoted product message. If the customer quotes a Product Message, this will also be of type
text, but in this case thecontextobject will contain awhatsapp_referred_productobject containing acatalog_idandproduct_retailer_id. - Sent Shopping Cart. A sent shopping cart will be of type
order, and contain acatalog_idas well as an array ofproduct_itemsobjects and their associated data (product_retailer_id,quantity,item_price,currency).
Further information
- Custom objects
- Interactive Messages: Overview
- Working with Interactive Messages
- Meta Documentation: Sell Products & Services