Share:
Alex Lakatos is a JavaScript Developer Advocate for Nexmo. In his spare time he volunteers at Mozilla as a Tech Speaker and a Reps Mentor. JavaScript developer building on the open web, he has been pushing its boundaries every day. When he’s not programming in London, he likes to travel the world, so it’s likely you’ll bump into him in an airport lounge.
How to Show SMS Notifications in the Browser with Angular, Node.JS, and Ably
Time to read: 13 minutes
The Vonage SMS API allows you to send and receive messages around the world using a virtual number that you can rent from Vonage. In this tutorial, we'll see how you can use Node.js and Express to receive an SMS, send it via Ably to a web browser, and then use Angular to display it as a notification in a Single Page Application.
Before we begin you'll need a few things:
The basic understanding of JavaScript and Angular
Node.js installed on your machine
ngrok installed on your machine
An Ably account
The starter code from Github
First, we're going to clone the tutorial source code and switch to the getting-started branch
Next, we're going to install the dependencies our code needs. There is a Node.js application using Express, body-parser and Ably and an Angular App generated with the Angular CLI.
To receive an SMS from Vonage, you need to define a Webhook endpoint (URL) and then associate it with your virtual number from Vonage. Whenever your number receives an SMS, Vonage is going to send it to the Webhook endpoint. So we're going to proceed in creating that endpoint with Express.
In the code you just downloaded, there is a file called server.js, which comes with a boilerplate Express server listening on port 3000. It should look like this:
'use strict';
const express = require('express');
const bodyParser = require('body-parser');
const app = express();

app.use(bodyParser.json());
app.use(bodyParser.urlencoded({extended: true}));

const server = app.listen(3000, () => {
	console.log('Express server listening on port %d in %s mode', server.address().port, app.settings.env);
});
Now we're going to create an HTTP POST route to handle requests to the server. At the end of the file, just add:
app.post('/inbound', (req, res) => {
	handleParams(req.body, res);
});
The handleParams method isn't yet defined, so we’ll go ahead and implement that. We’re going to add some validations to see if we’ve received a valid SMS message, and if that’s the case, we’re going to map incoming data before sending it. We need to return a 200 OK status code in the end, for the Vonage dashboard to be able to recognise it as a valid Webhook URL.
function handleParams(params, res) {
	if (!params.to || !params.msisdn) {
    		console.log('This is not a valid inbound SMS message!');
	} else {
    		console.log('Success');
    		let incomingData = {
        		messageId: params.messageId,
        		from: params.msisdn,
        		text: params.text,
        		type: params.type,
        		timestamp: params['message-timestamp']
    	};
    	res.send(incomingData);
	}

	res.status(200).end();
}You can now run the server which will become available on localhost:3000:
$ node server.js
Now that you've written your Webhook endpoint, it’s time to associate it with your Vonage number. While developing, it’s a pain to keep having to redeploy your work in progress though. So let’s use ngrok to expose the Webhook endpoint we just wrote on our local machine as a public URL! For more detailed instructions see Aaron’s post explaining how to connect your local development server to the Vonage API using an ngrok tunnel.
Once you installed ngrok it, run it on port 3000, same port as the Express server:
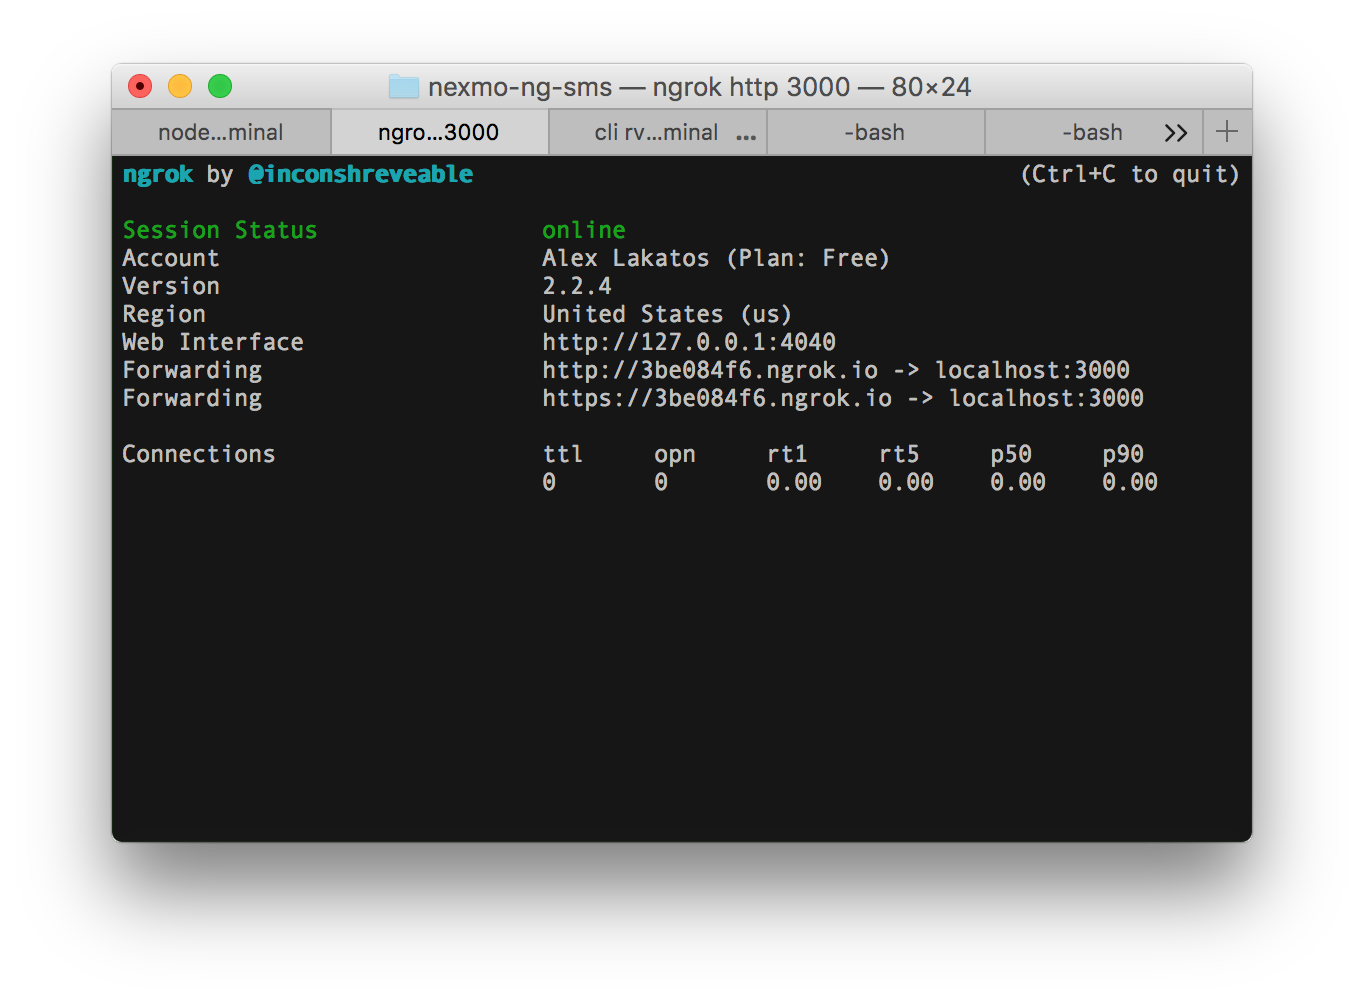 start ngrok in terminal
Your Express server (localhost:3000) now has a ngrok URL (https://3be084f6.ngrok.io), that can be used as a public Webhook endpoint during this tutorial.
For the Vonage dashboard to recognise the URL as a Webhook endpoint, it has to return a 200 OK status code, so make sure your server is running. If it's not, you can go to the root of the code you downloaded from Github, and use the terminal to run it:
Sign into your Vonage account and go to your Numbers. From the Manage section of your number, go ahead and click Edit. In the modal that appears we'll set the Webhook we just created. In the SMS section, input the ngrok URL with the inbound route (https://3be084f6.ngrok.io/inbound) in the "Webhook URL" field.
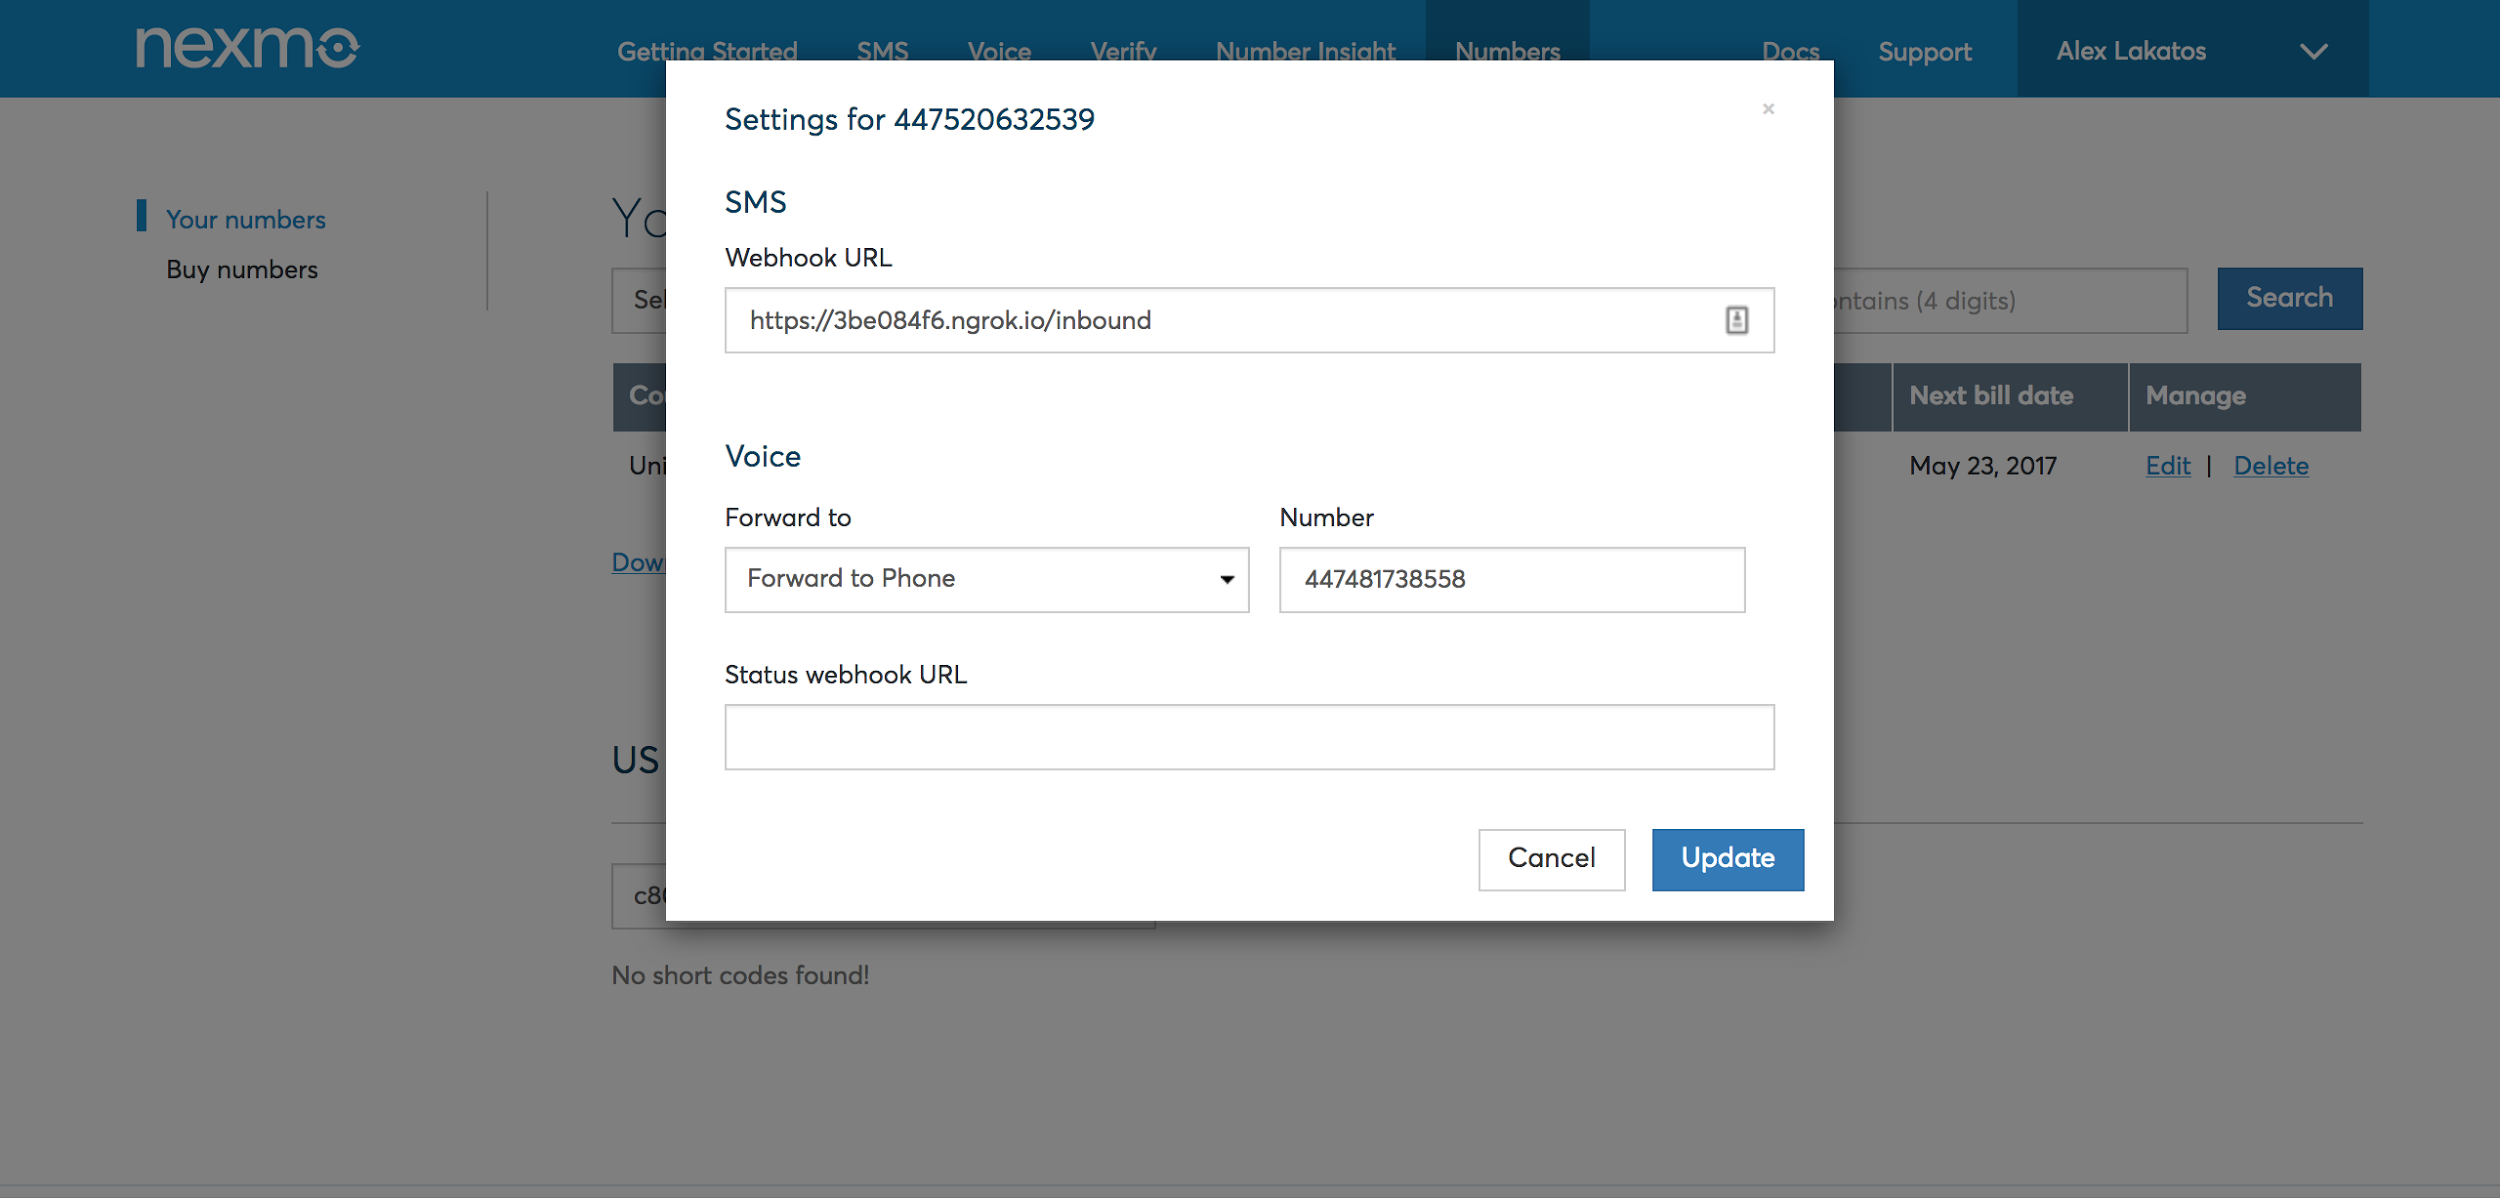 set webhook
Now all your incoming messages will go to the Webhook URL. Let's move on and send them via Ably to a modern web browser near you!
Note: this method sets up the SMS Webhook at a Number level. But you can set up this at an Account level as well, so you can read SMSes from all the numbers in your account.
When you create a Ably account, you'll get an API key. If you already have an account, login to Ably and get the API Key first. We’ll need to pass it to the Express server and the Angular application later on.
Now we're going to update our Express server so that when it receives an SMS from the Vonage API, it sends it via Ably to a channel.
Still in server.js, import the Ably package first and get the sms-notification channel
var ably = new require('ably').Realtime('ABLY_KEY');

var channel = ably.channels.get('sms-notification');And then we'll modify the handleParams method to publish on that Ably channel when there is an inbound SMS.
function handleParams(params, res) {
	if (!params.to || !params.msisdn) {
    	console.log('This is not a valid inbound SMS message!');
	} else {
    	console.log('Success');
    	let incomingData = {
        	messageId: params.messageId,
        	from: params.msisdn,
        	text: params.text,
        	type: params.type,
        	timestamp: params['message-timestamp']
    	};

    	channel.publish('new-sms', incomingData);

    	res.send(incomingData);
	}

	res.status(200).end();

}
If you don't have the Angular CLI installed, you’ll need to install that first:
Now run the Angular App
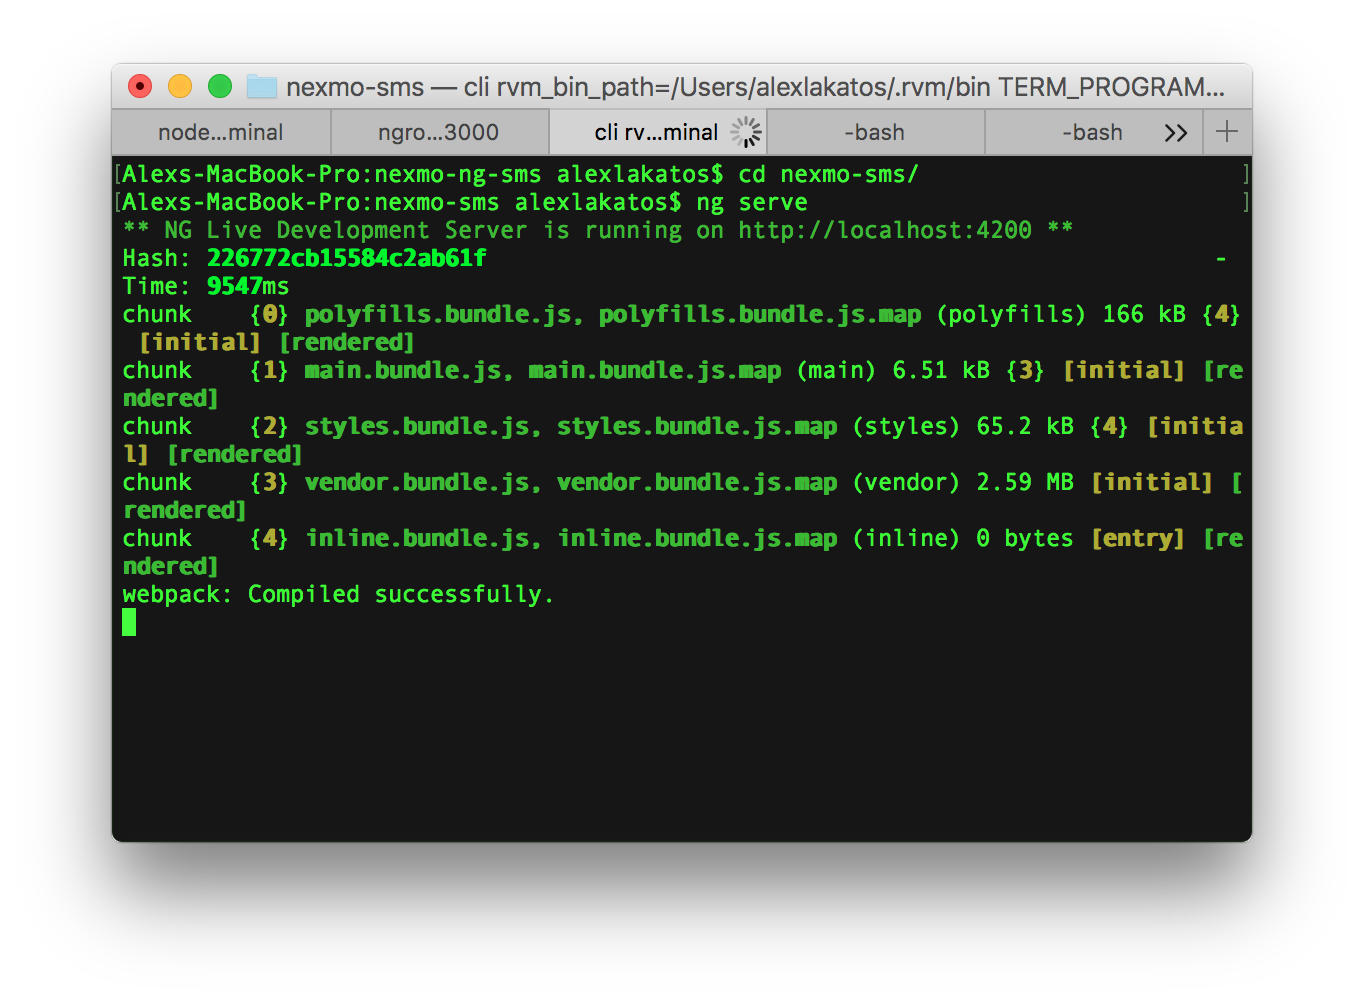 ng serve
The app is now running on http://localhost:4200, and you can load it in a browser. It's been generated using the Angular CLI, but I’ve also added Materialize.css and branding to it. It should look like this:
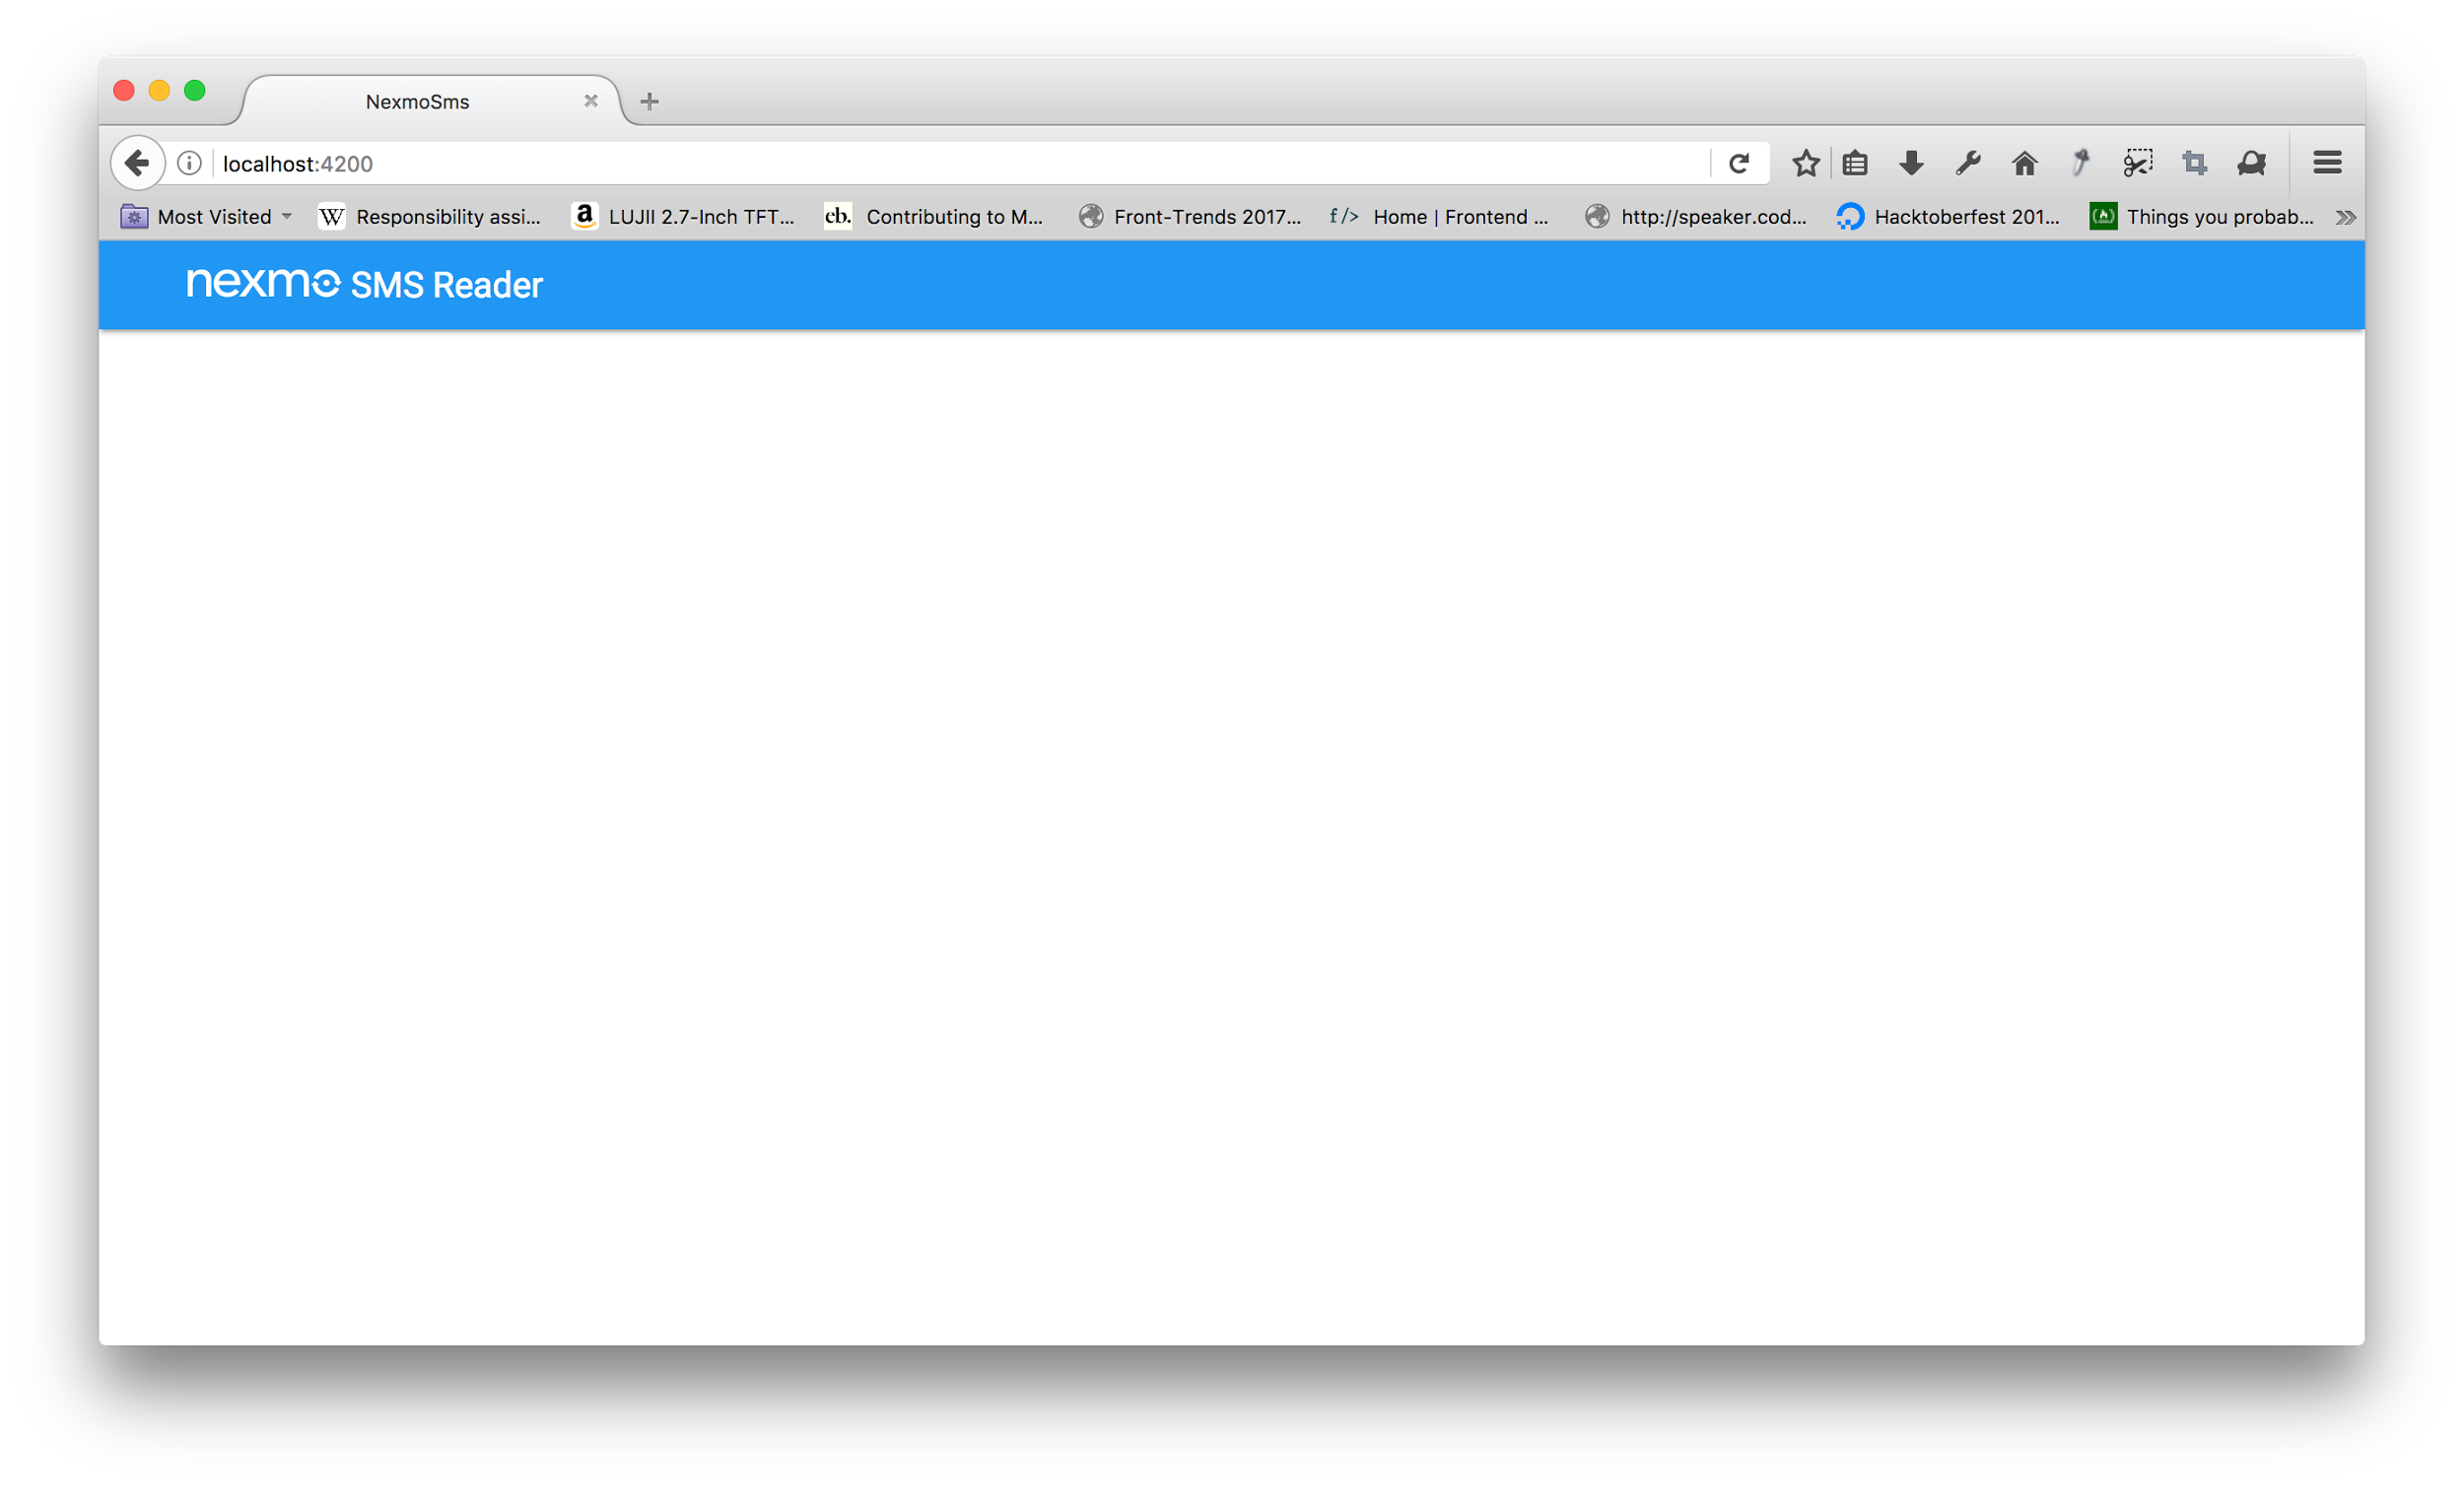 booilerplate app
Now it's time to create our Angular component, which we’ll use to display incoming SMS notifications. We’ll use the CLI to generate it
The CLI created four files for us; the component TypeScript file, the HTML template, the CSS style, and the testing spec.
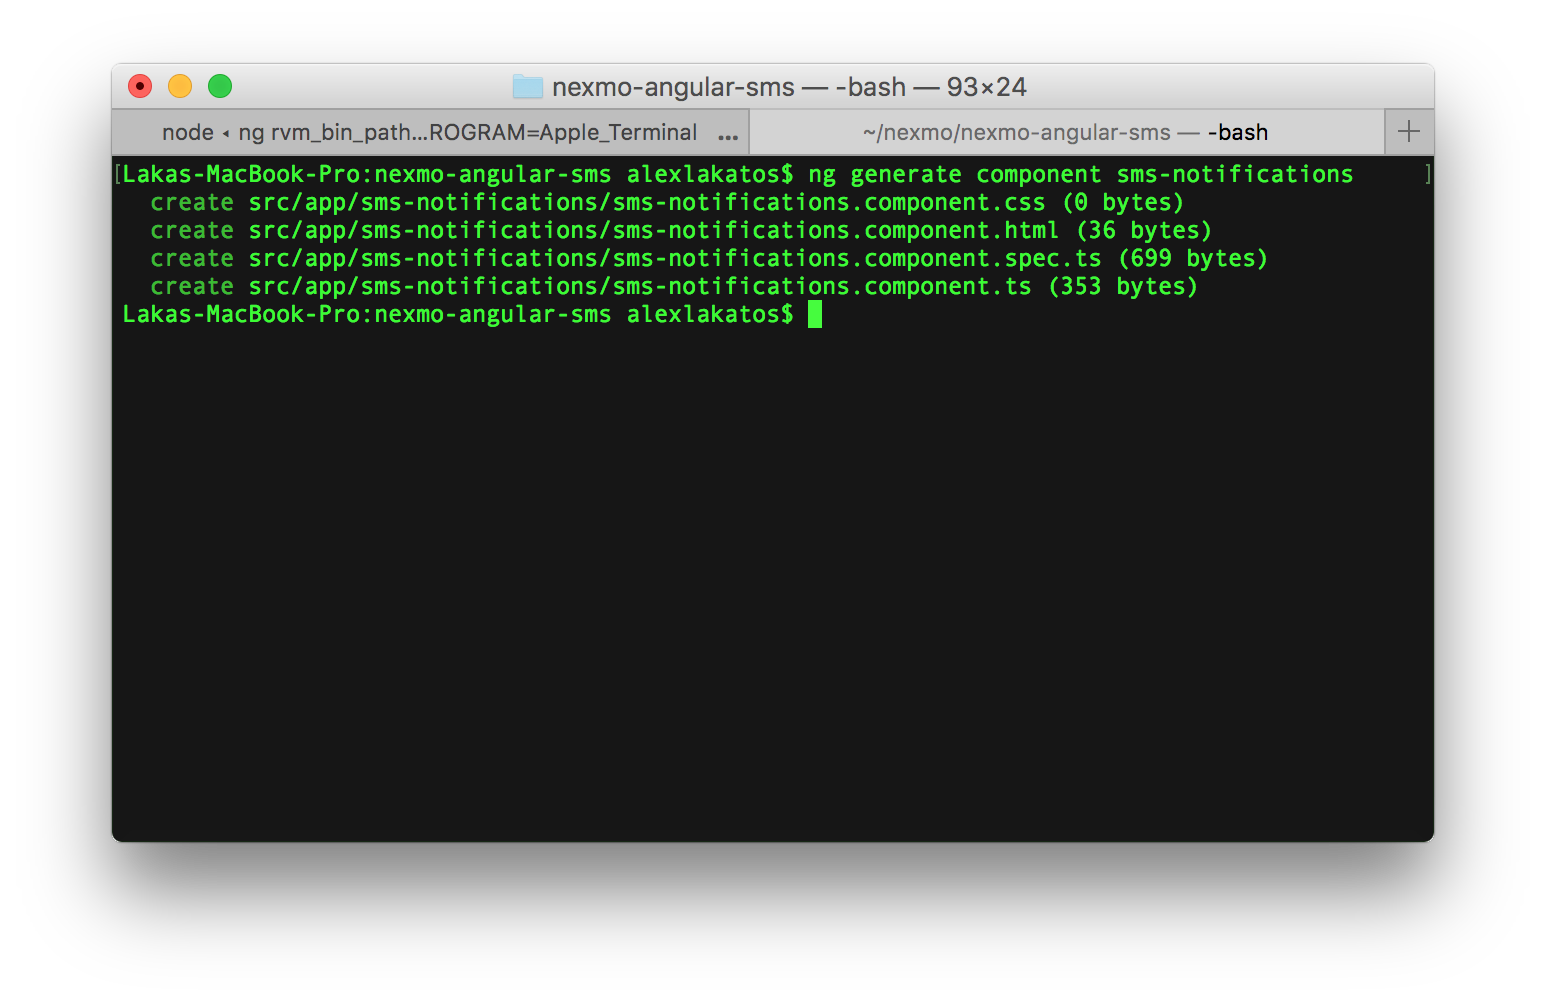 generated files
We're going to update the component TypeScript file (src/app/sms-notifications/sms-notifications.component.ts) to import Ably.
import * as Ably from 'ably';ngOnInit is a lifecycle hook function in Angular, and it runs when a component is being initiated. We're going to update ngOnInit to receive the Ably notification. We’re going to instantiate Ably and then get to the sms-notification channel, subscribing for new-sms events. When a new SMS is coming, we’re going to push that to our component model, smsNotifications.
ngOnInit() {
	let options: Ably.Types.ClientOptions = { key: 'ABLY_KEY' };
  let client = new Ably.Realtime(options);
  let channel = client.channels.get('sms-notification');

	channel.subscribe('new-sms', data => {
  	this.smsNotifications.push(data.data);
	});
}

smsNotifications :Object[] = []
Now that we have the smsNotifications on the component model, we're going to replace everything in the template file (src/app/sms-notifications/sms-notifications.component.html) to display the incoming SMS notification. We want to create a list of SMS notifications, so we’re going to have to use the Angular *ngFor directive to run over the smsNotifications. The design is minimalistic; we’re going to use a material card panel to display the incoming number, the SMS notification and the timestamp.
<div class="row">
  <div *ngFor="let sms of smsNotifications" class="col s12">
		<div class="row">
	  	<div class="col s12 m6 offset-m3">
	    	<div class="white-text card-panel blue">
	      	<p class="left-align valign-wrapper"><i class="small material-icons">perm_phone_msg</i>	{{sms.from}}</p>
	      	<p class="center-align">{{sms.text}}</p>
	      	<p class="right-align"><i>{{sms.timestamp}}</i></p>
	    	</div>
	  	</div>
		</div>
  </div>
</div>
For the component to render on the screen, we're going to need to update the App template as well, to add the sms-notifications component to it. So at the end of the file (src/app/app.component.html), add
<app-sms-notifications></app-sms-notifications>Now that everything is up and running, let's send a message to the Vonage number, and see it displayed in the Angular Single Page Application:
 demo
demo
When you're tunneling with ngrok, you can also see the requests in the browser at http://127.0.0.1:4040/
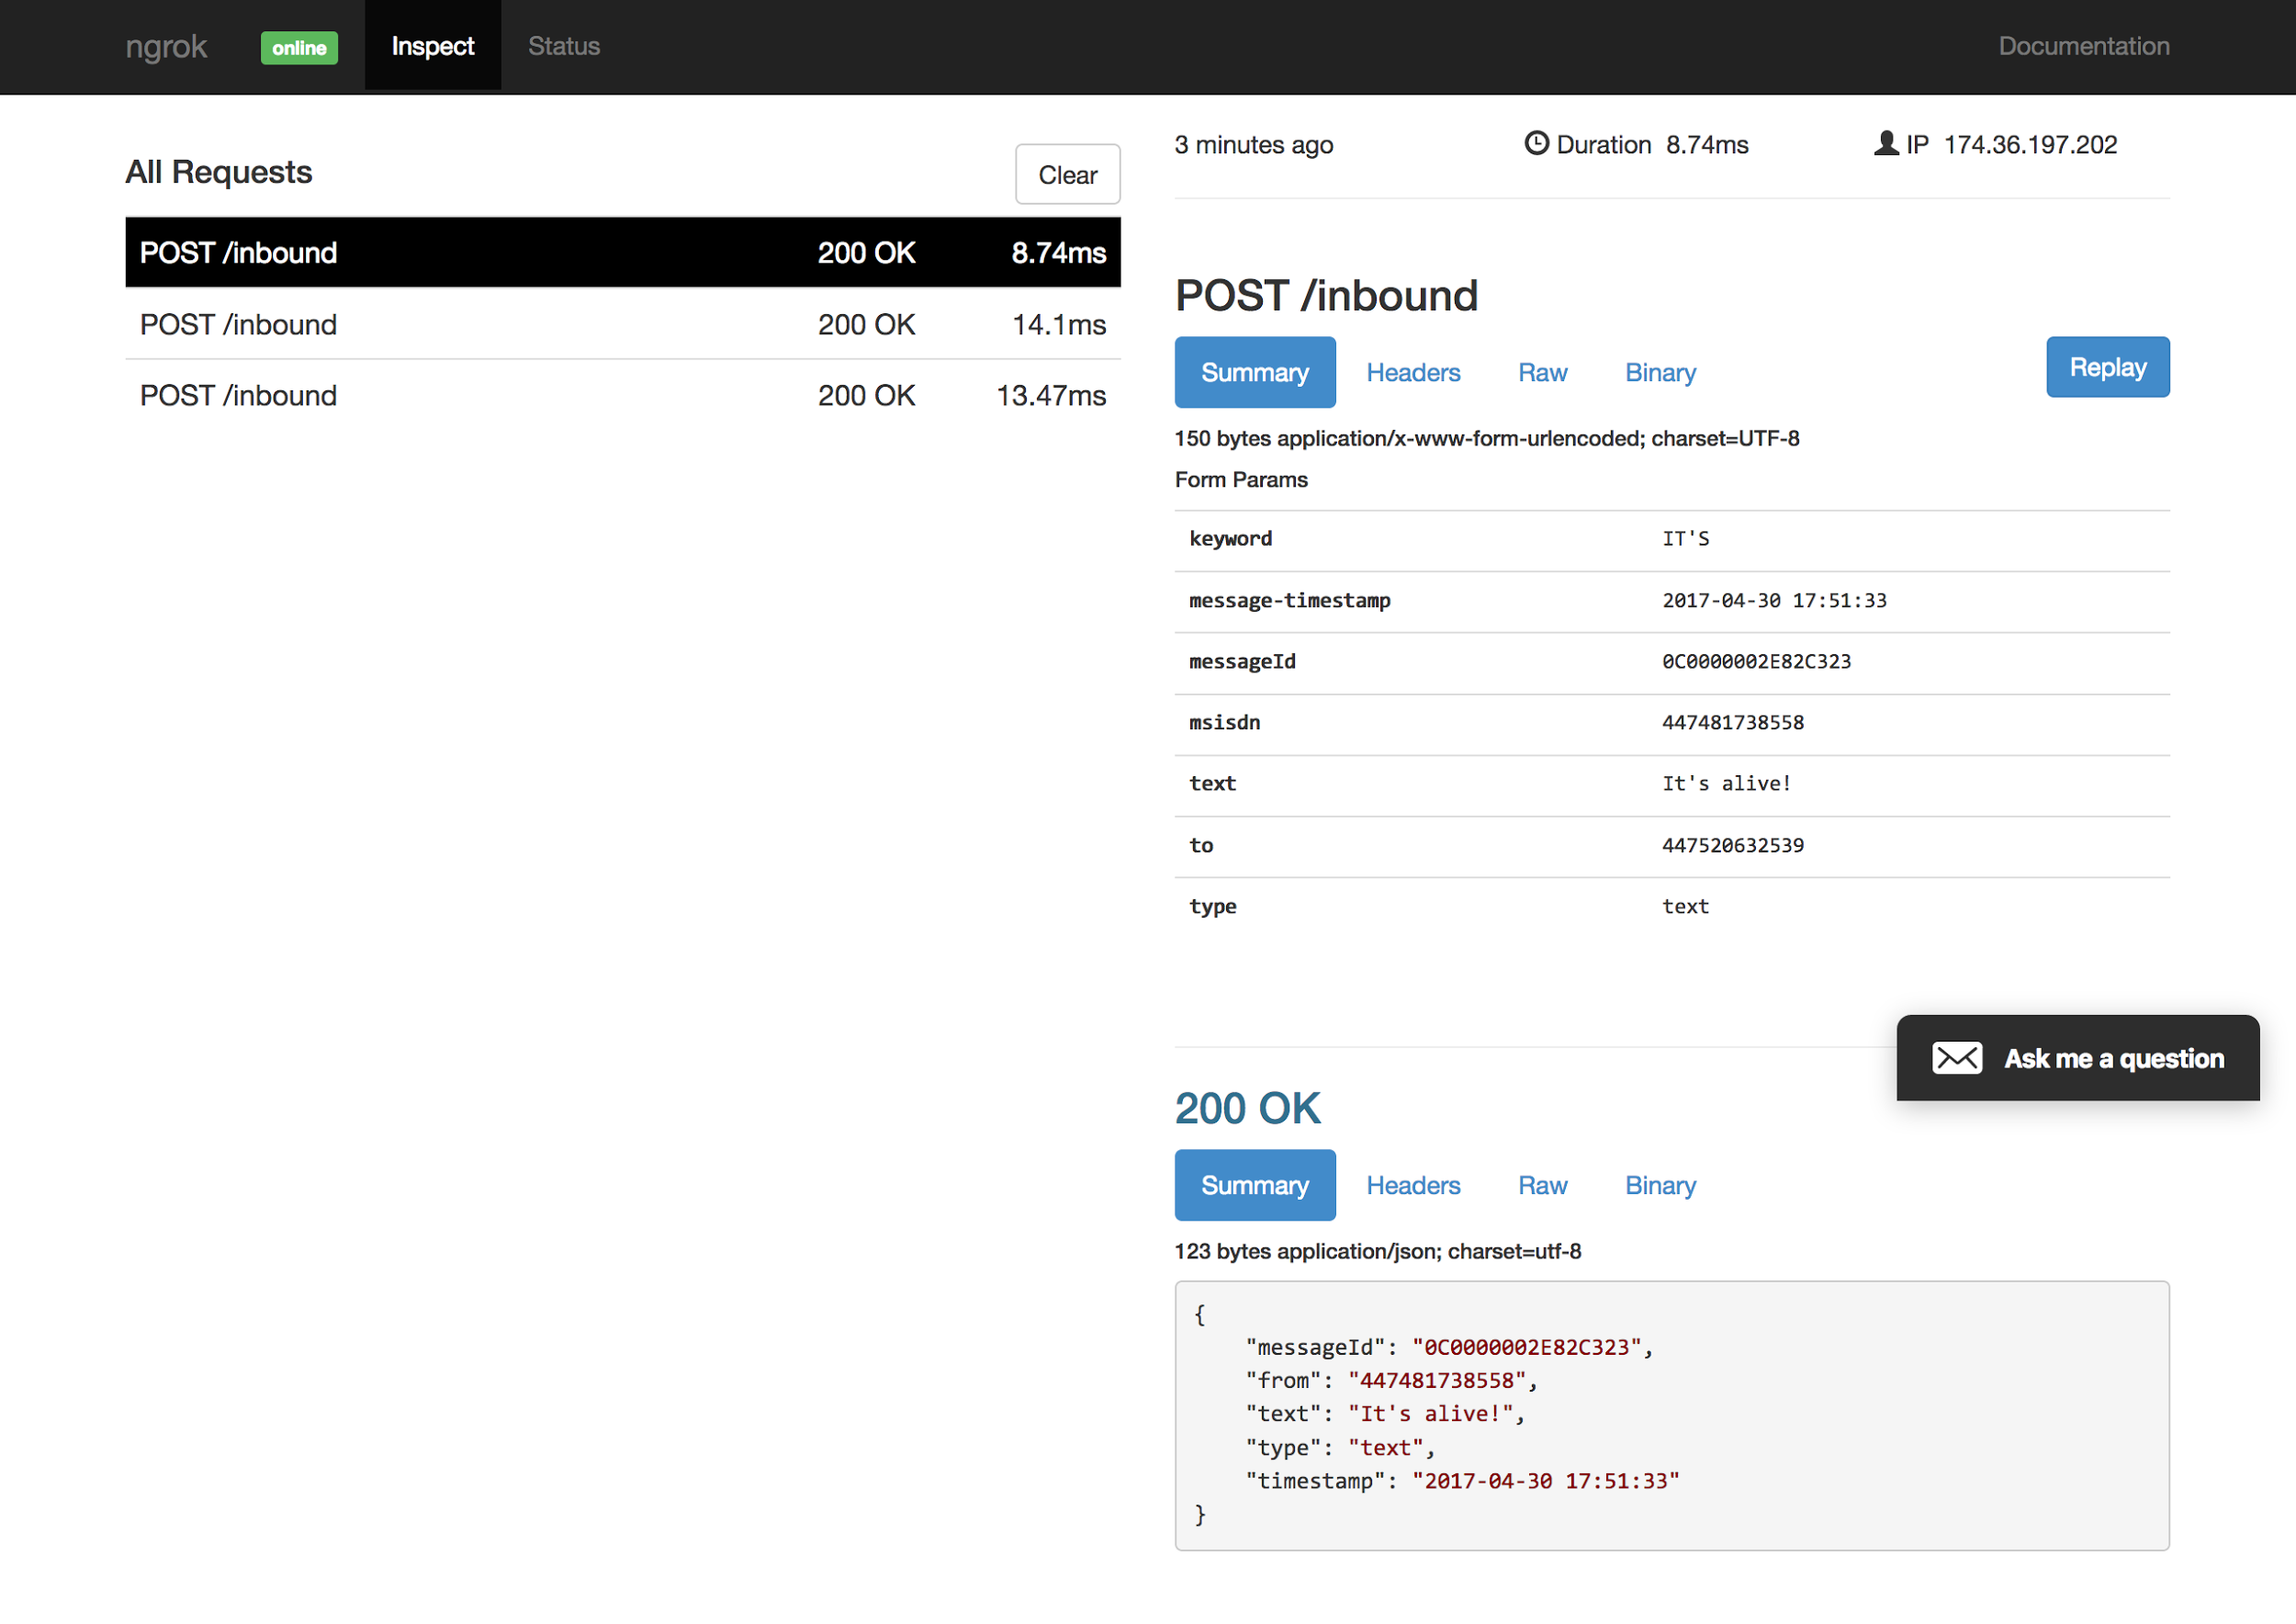 ngrok requests
So we managed to send an SMS notification to a Vonage number, that our Express server then received via a Webhook, which in turn sent the message via Ably to our Angular application, and we get the notification in the browser.
You can take a look at the code sample on GitHub if you want to see the finished product.
I hope you found this useful. You can let me know on twitter, I'm @lakatos88.
If you want to know more about the Vonage SMS API, take a look at /api/sms
If you want to configure the Webhook differently, take a look at /getting-started/concepts/webhooks
If you want to play with the Vonage APIs some more, here is a blog post from Phil going into SMS and Voice https://developer.vonage.com/en/blog/sms-voice-programmable-communications-dr/
If you want to learn more about Ably, how to publish events and subscribe to events, it's all in their Quick Start guide https://www.ably.io/documentation/quick-start-guide
If you want to use the Angular CLI some more, here is the documentation https://cli.angular.io/
If you're not familiar with Angular, there is a great guide available at https://angular.io/guide/quickstart
Share:
Alex Lakatos is a JavaScript Developer Advocate for Nexmo. In his spare time he volunteers at Mozilla as a Tech Speaker and a Reps Mentor. JavaScript developer building on the open web, he has been pushing its boundaries every day. When he’s not programming in London, he likes to travel the world, so it’s likely you’ll bump into him in an airport lounge.