
Share:
Diana is a developer advocate at Vonage. She likes eating fresh oysters.
How to Add Two-Factor Authentication (2FA) Using Java and Spark
Time to read: 8 minutes
This article was updated in April 2025
With the growing number of cyber threats out there, it's becoming increasingly important to protect your web apps and services against fraudulent signups. Luckily, two-factor authentication (2FA) can add a layer of protection by requiring a verification code sent to a user’s phone.
In this tutorial, we'll guide you through the process of implementing 2FA into your web applications and services. We'll start by creating a user-friendly web page that asks users to register with their mobile phone number. To send a confirmation code via SMS to the user's number, we'll use the Verify API.
Once the user receives the code, they simply need to input it into our application to complete the registration process.
2FA is the most basic and most common type of multi-factor authentication (MFA). By adding MFA with Java, you can significantly decrease the chances of fraudulent signups and boost the overall security of your users' data.
Let's get started with building a more secure application!
To build our application, we'll use the Java 8 and the Spark web framework. We'll also create some basic views for the UI elements, utilizing the Handlebars templating engine.
Before we dive in, make sure you have the following:
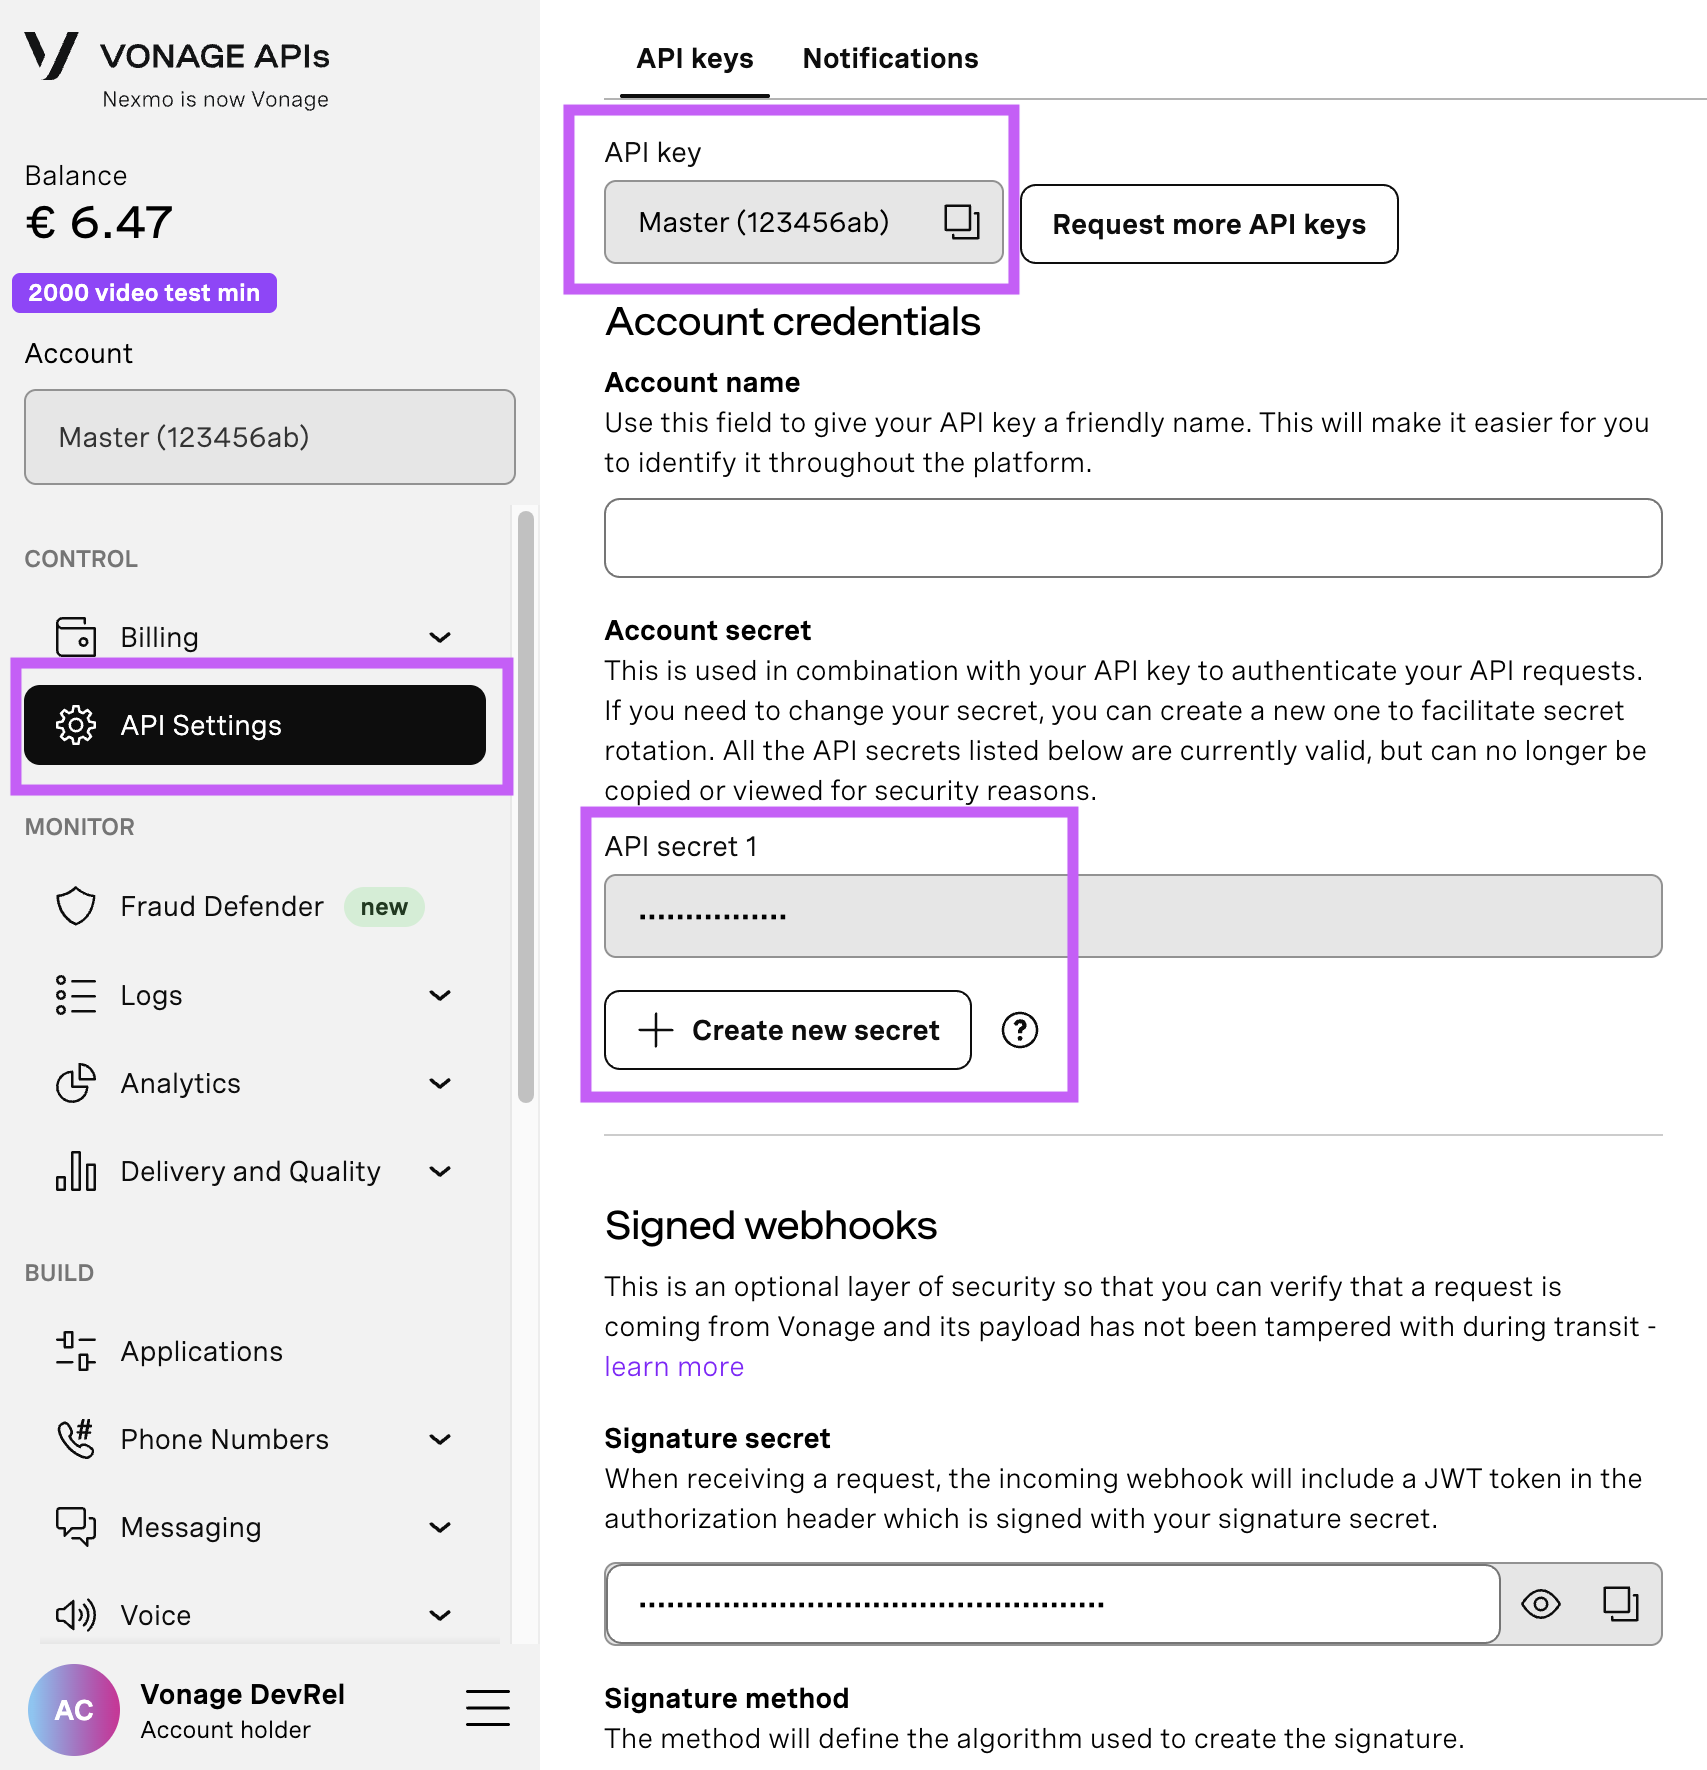
Open your API Settings Page to access your Vonage API Key and Secret, both of which are displayed as shown in the screenshot below. The API Key is located at the top of the page, and to access your API Secret, please refer to the “Account secret” subsection.
Note: In case you cannot remember your previously created API Secret, click on “+ Create new secret” and save it securely.
Gradle (version 3.4 or newer) to manage dependencies and build your project
If you need some help getting started, don't worry! We've got you covered. You can find Mark Lewin’s source code for this tutorial on GitHub.
Below, we’ve provided step-by-step instructions for adding multi-factor authentication with Java, including an example walkthrough. This tutorial uses SMS 2FA, which sends a text message with a verification code to the user’s phone. The verification code will have a built-in time limit, which makes this method similar to time-based one-time password (TOTP) authentication.
Here are the steps you’ll need to follow to implement 2FA using Java:
Create Your Product
Create a Spark Web Application
Initialize the Java Client Library
Create the Views
Display the Initial Registration Page
Submit the Verification Request
Check the Confirmation Code
Try It Out!
First, make a directory named "two-factor-auth" for your project. Next, navigate to that directory and utilize Gradle to initialize the project. Accept all the defaults, then open the generated project in your IDE.
Locate the build.gradle file and replace the dependencies section with the following:
dependencies {
    // This dependency is used by the application.
    //implementation 'com.google.guava:guava:27.1-jre'

    // Use JUnit test framework
    testImplementation 'junit:junit:4.13.2'

    // Javalin framework
    //implementation 'io.javalin:javalin:5.4.2'

    // Spark framework
    implementation 'com.sparkjava:spark-core:2.9.4'

    // Vonage client library
    implementation 'com.vonage:client:7.2.0'

    // Templating engine
    implementation 'com.sparkjava:spark-template-handlebars:2.7.1'
}We won't write any unit tests in this example, but you can leave JUnit in there for now. However, to stop it from yelling at you for missing a greeting method later on, comment out the test in src/test/java/two/factor/auth/AppTest.java as follows:
public class AppTest {
  /*
   * @Test public void testAppHasAGreeting() { App classUnderTest = new App();
   * assertNotNull("app should have a greeting", classUnderTest.getGreeting()); }
   */
}
Gradle created the App class in the src/main/java/two/factor/auth/App.java folder.
Open App.java in your IDE. Remove the getGreeting() method that gradle created for you and add the necessary import statements for the spark package.
Then, call Spark’s port method to indicate that your application is listening for requests on port 3000.
Your App.java should look like this:
package two.factor.auth;

import static spark.Spark.*;

public class App {

  public static void main(String[] args) {
    port(3000);

    // Your code goes here
  }
}
To access the Verify API, you're going to want to use the REST API Client Library for Java.
Instantiate it as shown below, replacing YOUR_API_KEY and YOUR_API_SECRET with your API key and secret from the developer dashboard. Make sure that you include the necessary import statements required to work with the Verify API:
package two.factor.auth;

import static spark.Spark.*;
// REST API Client Library for Java imports
import com.vonage.client.VonageClient;
import com.vonage.client.verify.*;

public class App {

  static String API_KEY = "YOUR_API_KEY";
  static String API_SECRET = "YOUR_API_SECRET";

  public static void main(String[] args) {
    port(3000);

    VonageClient client = VonageClient.builder().apiKey(API_KEY).apiSecret(API_SECRET).build();

  }
}
Your application will have three pages:
An initial registration page, where your users will register for your service by entering their mobile number.
A confirmation page, where they will be asked to enter the confirmation code sent to their mobile device by the Verify API.
A results page, where the application will say either that they have registered successfully (if they entered the correct confirmation code) or that registration failed (if they haven't).
Spark supports many different templating engines, which enables you to insert content into your HTML pages dynamically and also re-use blocks of HTML. In this tutorial, we'll use Handlebars.
Because we want to focus on teaching you how to use the Verify API here, we won't describe how these work in this article but instead ask you to download the content that you need from our GitHub repo.
First, include the following imports in your App.java file that will enable you to work with Handlebars:
import spark.template.handlebars.HandlebarsTemplateEngine;
import spark.ModelAndView;Then, create the src/main/resources/public and src/main/resources/templates directories.
Copy the contents of the styles.css file into src/main/resources/public/styles.css.
Then copy the *.hbs template files in the resources folder on GitHub into src/main/resources/templates.
Ensure that your application knows about the styles.css static CSS file by specifying the location of its parent folder (public) in the main method in App.java:
public static void main(String[] args) {
  port(3000);
  staticFiles.location("/public");

  VonageClient client = VonageClient.builder().apiKey(API_KEY).apiSecret(API_SECRET).build();
When your user first visits your site, you want to display the registration page. Do this by defining the default route (/) using spark and rendering the register.hbs template as shown:
public static void main(String[] args) {
  port(3000);
  staticFiles.location("/public");

  VonageClient client = VonageClient.builder().apiKey(API_KEY).apiSecret(API_SECRET).build();

  get("/", (request, response) -> {
    return new ModelAndView(null, "register.hbs");
  }, new HandlebarsTemplateEngine());
Test your application by executing gradle run and then visiting http://localhost:3000 in your browser. If you have set up everything correctly, you will see the following page:
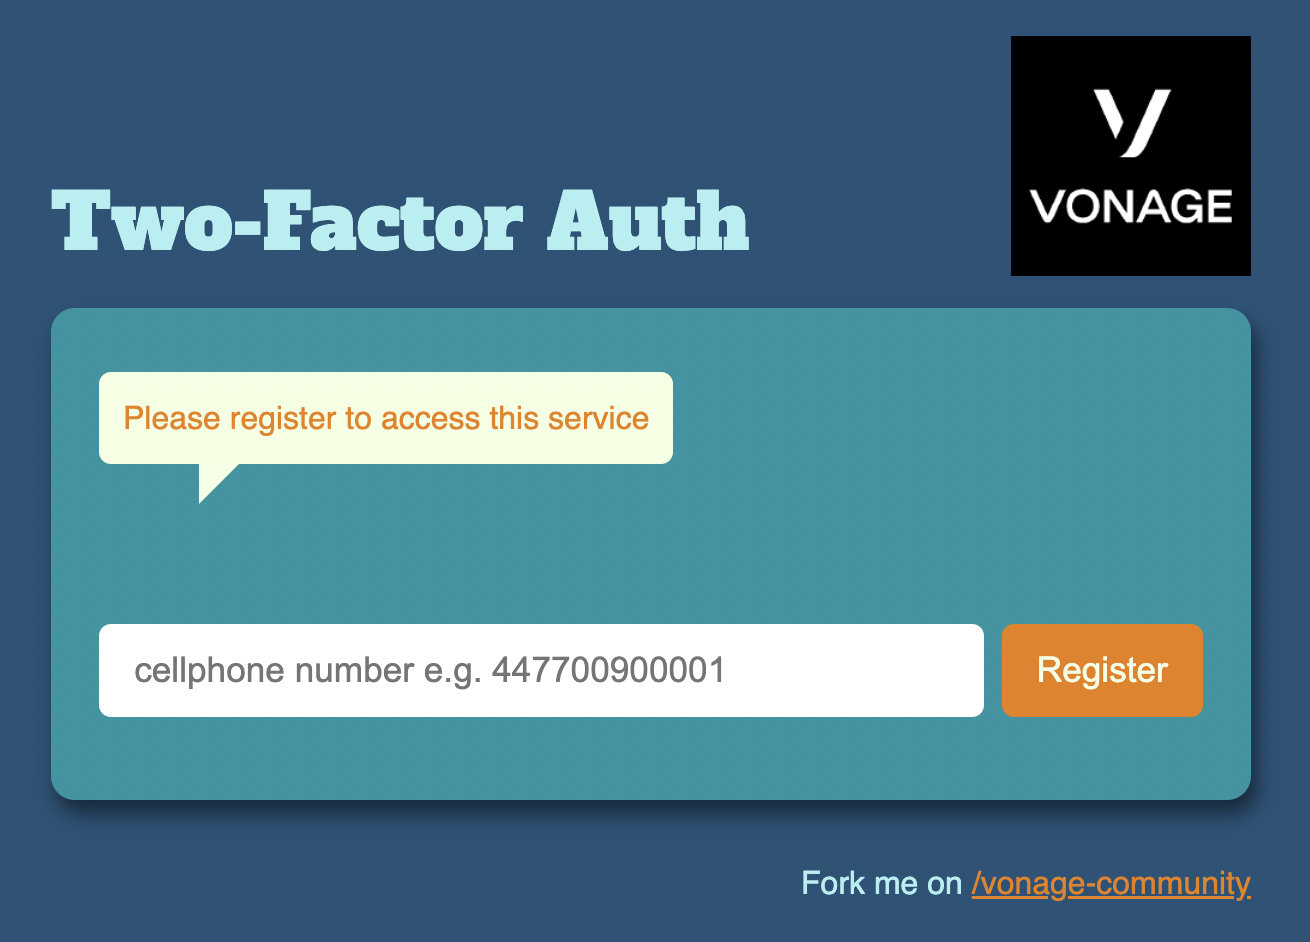 2FA Registration Page
The user must enter their cellphone number into the text box on the registration page and then click Register to start the verification process.
The Verify API expects this number to include the international dialing code but omit any leading zeroes. For example, the UK number 07700 900001 should be represented as 447700900001.
In a production application, you might want to determine the correct locale and country code programmatically and we have an API for that! Check out the Number Insight API. For now though, let's keep things simple.
When the user clicks Register we want to capture the number they entered and submit the verification request.
Each verification request is associated with a verification ID. We need to keep a record of this too so that we can use it to check that the user entered the correct confirmation code later.
So add two class-level variables to store this information, underneath the API_KEY and API_SECRET variables you populated earlier:
static String number, requestId;We'll submit the verification request from the /register route, so define the route as follows:
post("/register", (request, response) -> {
    number = request.queryParams("number");

    VerifyResponse verifyResponse = client.getVerifyClient().verify(number, "VONAGE");
    if (verifyResponse.getStatus() == VerifyStatus.OK) {
      requestId = verifyResponse.getRequestId();
      System.out.printf("RequestID: %s", requestId);
    }
    else {
      System.out.printf("ERROR! %s: %s", verifyResponse.getStatus(), verifyResponse.getErrorText());
    }

    return new ModelAndView(null, "verify.hbs");
  }, new HandlebarsTemplateEngine());
This code triggers the verification request by first retrieving an instance of VerifyClient and then calling its verify method, passing in the number we want to verify and an alphanumeric string that is used to identify the sender in the SMS message body.
It returns a VerifyResponse object which we can use to examine if the request was issued successfully. If so, we retrieve the verification request ID and use it to check the code sent to the user for that specific verification attempt in the next step.
Once we have submitted the verification request, the user will receive a verification code via SMS:
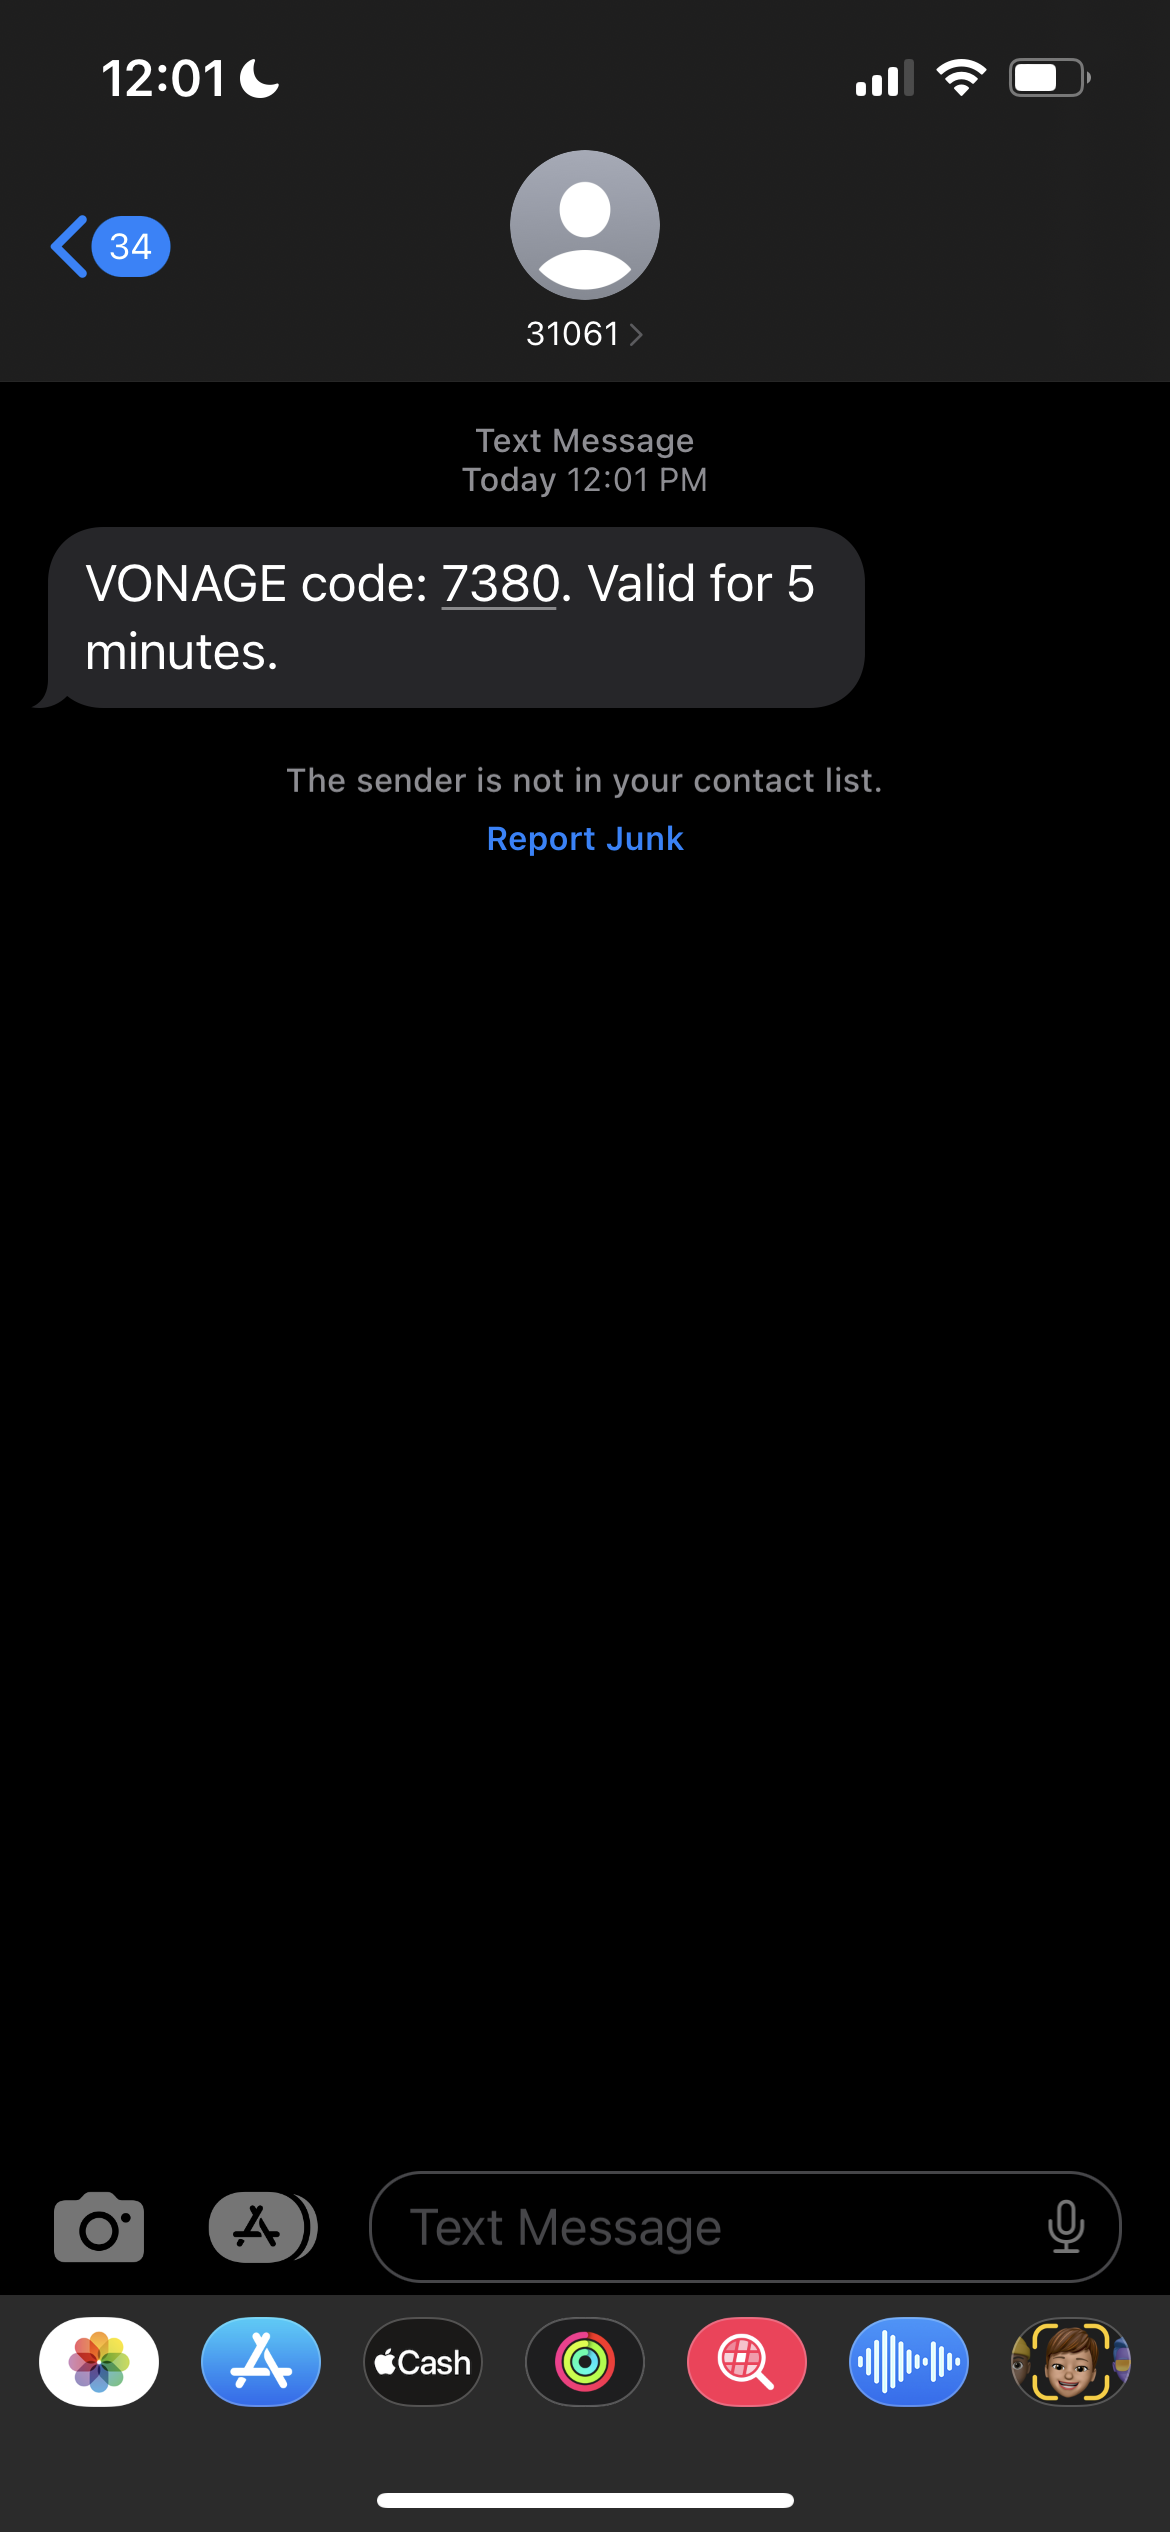 2FA Verification SMS Shown in iPhone
We render the verify.hbs view, to allow them to enter the code that they received:
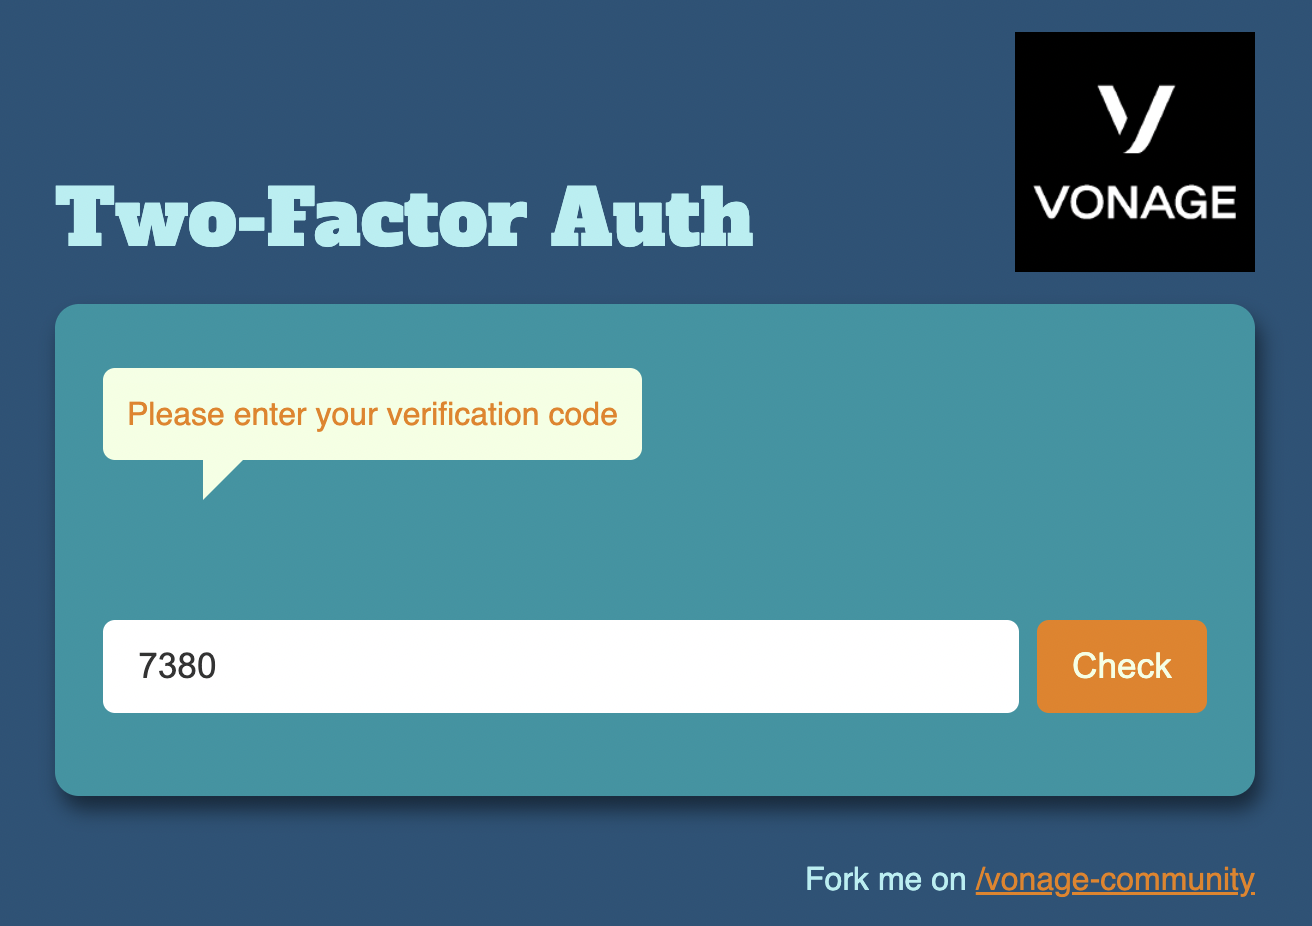 2FA Check Verification
By default, after sending the SMS, the Verify API waits for a code for 125 seconds. If it doesn't receive it within that time period, it follows up with two text-to-speech phone calls before finally giving up and failing the verification attempt. You can find out more about the default workflow and how to enable different workflows by reading the documentation.
We now need to provide the necessary logic to verify the code that they entered. Create the /check route for this:
  post("/check", (request, response) -> {
    String code = request.queryParams("code");
    CheckResponse checkResponse = client.getVerifyClient().check(requestId, code);
    return new ModelAndView(null, checkResponse.getStatus() == VerifyStatus.OK ? "success.hbs" : "failed.hbs");

  }, new HandlebarsTemplateEngine());
This code uses the VerifyClient.check method, passing it the request ID that we stored from the verification request step and the code that the user entered in the verify.hbs view.
The check method returns a CheckResponse object. We use its getStatus method to determine whether the user entered the correct code and display the appropriate response in the result.hbs view. If the user entered the code correctly, we receive the following message:
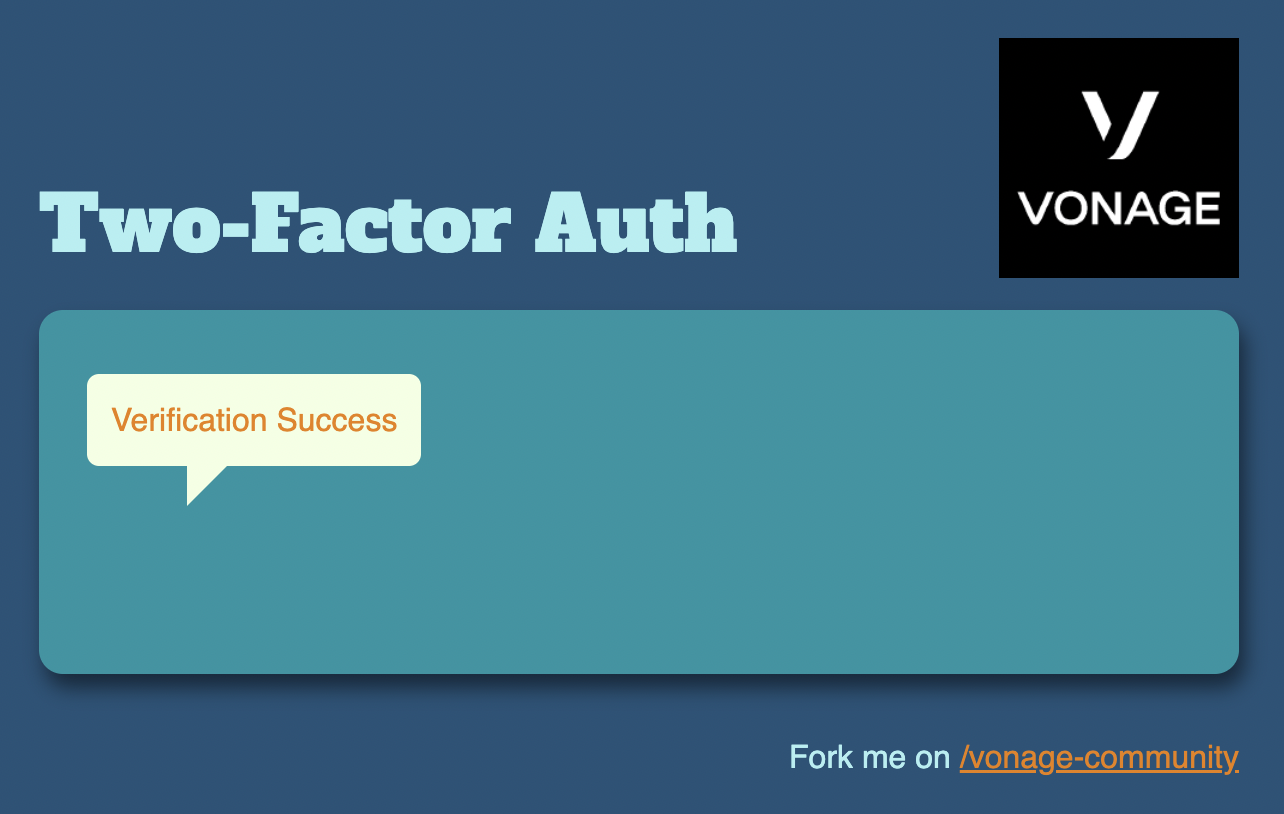 Verification Success
If the user entered the code incorrectly, we receive the following message.
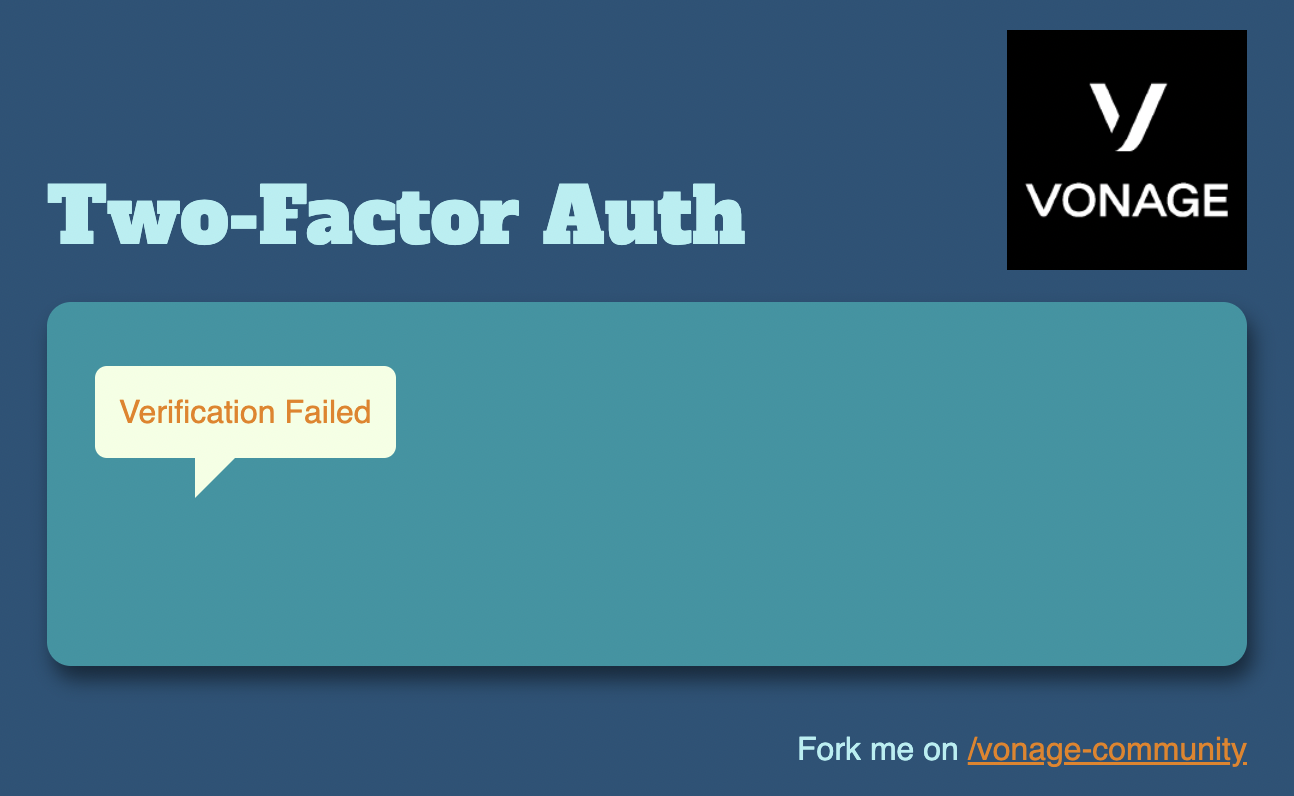 Verification Failed
Execute
gradle runin your terminal.Visit
http://localhost:3000in your browser.Enter your mobile phone number and click Register. In a moment or two, you will receive an SMS that contains a verification code.
Enter the verification code and click Check.
If you entered the code successfully, you will receive a "Registration successful" message.
These are the fundamental steps to implement two-factor authentication in your Java web applications using the Verify API. For further information, please refer to the documentation links provided below.
Have a question or want to share what you're building?
Subscribe to the Developer Newsletter
Follow us on X (formerly Twitter) for updates
Watch tutorials on our YouTube channel
Connect with us on the Vonage Developer page on LinkedIn
Stay connected and keep up with the latest developer news, tips, and events.