How to Add Two-Factor Authentication (2FA) to Your Node.JS Web Apps
Time to read: 5 minutes
This tutorial is part of the “Getting Started with Vonage APIs and Node.js” series. See links to prior tutorials at the bottom of the post.
Among app and service developers, using two-factor authentication (2FA) to verify user identity has become increasingly popular, as internet security breaches and fraud claims rise. Adding the extra layer of 2FA security makes your apps not only more reliable but also more trustworthy to your users.
In this tutorial, you will learn how to implement 2FA for your web apps and services. View the source code for both front-end and node code on GitHub.
 Two Factor Authentication
Unlike the previous tutorials, this tutorial shows how to build an entire web app, both the front end and back end altogether, and create an app project directory! So first, set up the app structure like this:
Since we are using Node.js for the backend, let’s run the command, npm init to configure your app.
Then install the modules we need- nexmo, express, body-parser, along with a view templating engine of your choice. In this tutorial, I am using ejs:
Now, use the Express.js framework to build a skeleton of the app, and then run a server. In app.js, include the modules to run a server, as well as the web entry point (index.html).
const express = require('express');
const bodyParser = require('body-parser');
const ejs = require('ejs');
const app = express();

app.use(bodyParser.json());

app.set('views', __dirname + '/views'); // Render on browser
app.set('view engine', 'html');
app.engine('html', ejs.renderFile);
app.use(express.static(__dirname + '/views'));

const server = app.listen(5000);

app.get('/', function (req, res) {
  res.render('index');
});Run the node script and your web app should work locally on http://localhost:5000 .
Now, let’s work with the HTML to create a very simple form that takes a user’s phone number and submits it:
Index.html
<form action="/register" method="post"><input name="number" required="" type="tel" placeholder="18005551234" />
  <input type="submit" value="Register" />
</form>
This will give you a number input field and a button.
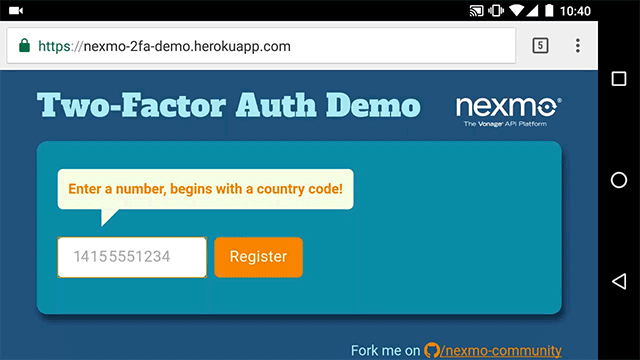
 A simple form input
As you see on the action attribute of the form, the value entered into the field will be sent to the yourapp/register.
Next, let’s handle the back-end code to receive the value from the form via POST.
app.js
app.post('/register', (req, res) => {
  let phoneNumber = req.body.number;
  //… will send a SMS with a PIN code to the number!
});
Now, we will use the Vonage Verify API with the Node.js library to send a PIN code to the phone number.
First, include the Nexmo module and instantiate it with your Vonage credentials:
const Nexmo = require('nexmo');
const nexmo = new Nexmo({
  apiKey: YOUR_API_KEY,
  apiSecret: YOUR_API_SECRET
});Then modify the /register route by adding the nexmo.verify.request method:
app.post('/register', (req, res) => {
  // A user registers with a mobile phone number
  let phoneNumber = req.body.number;
  console.log(phoneNumber);
  nexmo.verify.request({number: phoneNumber, brand: 'Awesome Company'}, (err,
  result) => {
    if(err) {
      res.sendStatus(500);
    } else {
      let requestId = result.request_id;
      if(result.status == '0') {
        res.render('verify', {requestId: requestId}); // Success! Now, have your user enter the PIN
      } else {
        res.status(401).send(result.error_text);
      }
    }
  });
});
In this scenario, the API is sending the user a 4-digit PIN, but if you wish to send a 6-digit PIN, pass the code_length param to 6 along with the nexmo.verify.request call. You also can pass extra parameters, such as pin_expiry.
Once a PIN code is successfully sent to the phone number, let’s load a next page (verify.html) with a new form field:
verify.html
<form action="/verify" method="post"><input name="pin" required="" type="number" placeholder="1234" />
  <input name="requestId" type="hidden" value=""<%=" />" >
  <input type="submit" value="Verify PIN" />
</form>
 A simple form input for PIN
Notice there is a hidden field with the requestId, which was sent at the success callback with the Verify API, and you will need the ID to verify the PIN code.
Next, go back to the app.js and add the /verify route. Check the PIN code with the nexmo.verify.check method:
app.post('/verify', (req, res) => {
  let pin = req.body.pin;
  let requestId = req.body.requestId;

  nexmo.verify.check({request_id: requestId, code: pin}, (err, result) => {
    if(err) {
      // handle the error
    } else {
      if(result && result.status == '0') { // Success!
        res.status(200).send('Account verified!');
        res.render('status', {message: 'Account verified! ?'});
      } else {
        // handle the error - e.g. wrong PIN
      }
    }
  });
});
When the API returns the status code 0, it successfully verified the PIN.
For better user experiences, you should indicate the status to the UI too. For example, upon a successful callback, load another HTML page with an “Account Verified” message. Also, it is a good idea to handle all error statuses in your app UI. For example, when the user enters a wrong PIN code, instead of just returning the error text (as shown in the simplified code sample above), show that text in the UI.
You can find the entire code in the GitHub repo and the sample code, 2fa.js (which is the complete version of the app.js code that you created in this tutorial), in the repo!
You can also find all the Verify API error status code at https://docs.nexmo.com/verify/api-reference/api-reference#check.