Share:
Diana is a developer advocate at Vonage. She likes eating fresh oysters.
Getting Started with Fraud Defender
Time to read: 2 minutes
Let's throw it back to COVID days when I was still in grad school playing Among Us with friends on Discord because we were unable to see each other in person.
In Among Us, players work together on a spaceship to identify the impostors sabotaging their efforts. Much like in the game, in the real world of software development, the challenge is to detect and neutralize the hidden threats that could undermine your application's security. Enter Vonage Fraud Defender, the developer's crewmate, in this ongoing game.
Vonage Fraud Defender is a developer-friendly tool for fraud detection and prevention, featuring real-time monitoring and alerting capabilities. It allows integration into existing systems and customizable rule creation for automated fraud response actions at no additional cost to users. This solution is particularly suited for software developers looking to enhance their applications' security measures against fraud.
Fraud Defender includes features such as:
Customizable notification and blocking settings for incoming alerts.
Ability to define specific rules to handle different types of alerts.
Options to block traffic to selected countries.
This blog explains how to use it through the user interface, where all the operations shown are also available programmatically through the API.
Once you log into your Vonage Developer Portal, look under MONITOR on the left-hand side, and you will see Fraud Defender. Under Fraud Defender, you'll see the following entries: Getting started, Alerts, Alert Rules, and Traffic Rules. Let's discuss what each of these means before moving forward.
Getting started: This is the overview where you can find the technical details and guides to each of the entries.
Alerts: The Alert tab provides an overview of all the captured fraud alerts.
Alert Rules: The Fraud Alert Rules tab allows you to customize how often you receive notifications about your fraud alerts.
Traffic Rules: Traffic rules are a set of rules where you can determine who is permitted to contact you.
Locate the Notifications tab under the API Settings page. Click "+ Subscribe for notifications". Leave the default settings and provide the email you would like to receive fraud notifications.
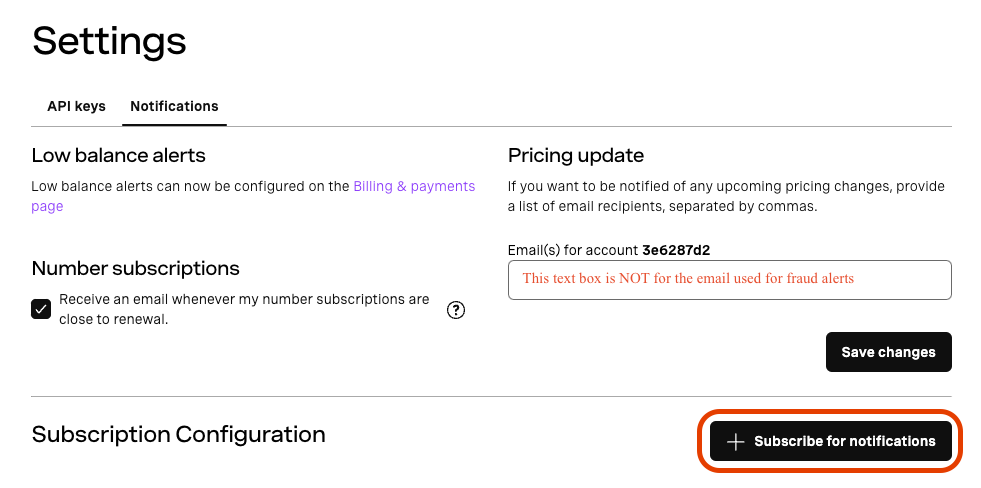 Notifications Tab
Look under "Monitor," then "Fraud Defender," then "Alert Rules." From Alert Rules, identify the rules that still have "Need review" under Alert Action. Click the edit icon on the rules listed. Go to Action Choose Action to modify the default settings on how Fraud Defender handles the alert.
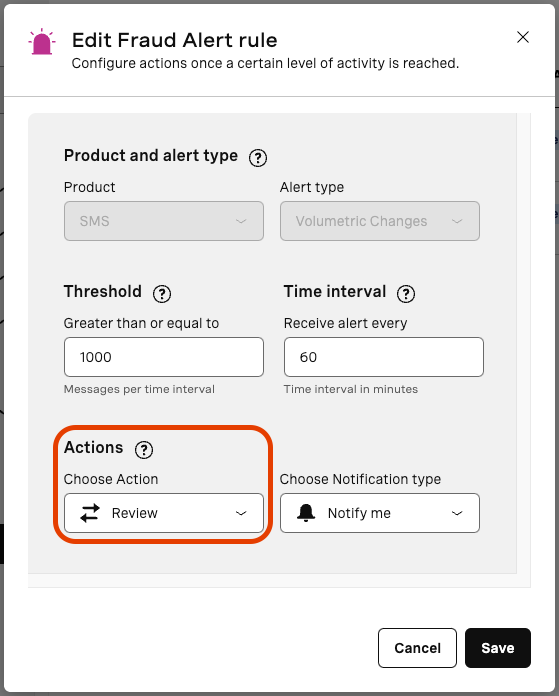 Alert Rules
Go to the Traffic Rules page and click on Configure traffic rules at the top right to select if you want to Allow or Block traffic and specify for which country.
Now that Fraud Defender is set up, go to Alerts to see a log of your fraud alerts as they (hopefully don't need to) come in.
In this article, we learned how to use Fraud Detection to improve our application's security. If you liked (or didn't like) what you read, join our "crewmates" of developers on Slack and follow us on X, formerly known as Twitter. If you end up using Fraud Detection in your application, please share your experience and tag me - I'd love to hear about your mission!