Swift
VGVoiceClient
電話を受ける前に、Client SDKはVonageサーバーに認証する必要があります。以下を追加する必要があります。 ViewController.swift.
注: をすでにインポートしていることに注意してください。 VGVoiceClient をファイルの先頭に置く。
追加 VonageClientSDKVoice の下にある。 connectionStatusLabel.
コピー
class ViewController: UIViewController {
    ...
    let connectionStatusLabel = UILabel()
    let client = VGVoiceClient()
    ...
}
JWTを追加する
最後に viewDidLoadクライアント・デリゲートを設定し、セッションを作成する。 ALICE_JWT のために JWT 前のステップで作成した
コピー
override func viewDidLoad() {
    ...
    VGVoiceClient.isUsingCallKit = false
    let config = VGClientConfig(region: .US)
    config.enableWebsocketInvites = true
    client.setConfig(config)
    client.delegate = self

    client.createSession("ALICE_JWT") { error, sessionId in
        DispatchQueue.main.async { [weak self] in
            guard let self else { return }
            if error == nil {
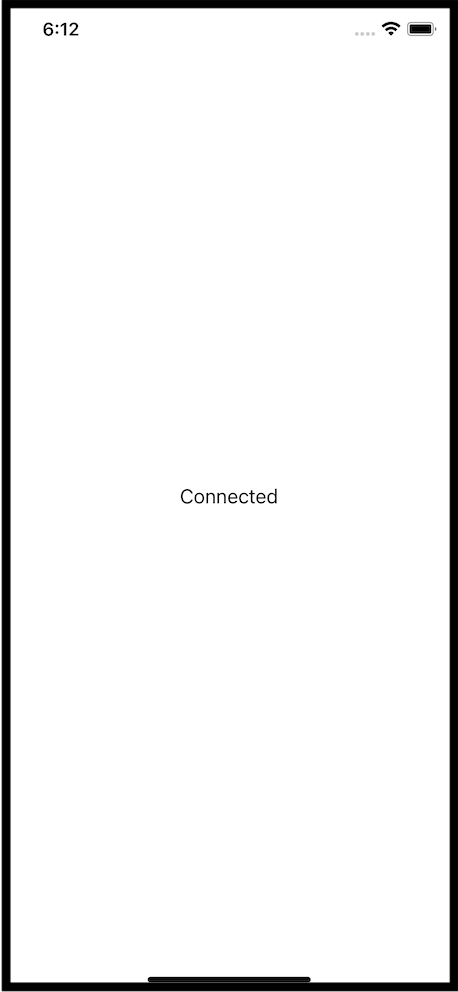
                self.connectionStatusLabel.text = "Connected"
            } else {
                self.connectionStatusLabel.text = error?.localizedDescription
            }
        }
    }
}
注: について enableWebsocketInvites フラグと isUsingCallKit 設定は本番環境では使用しないでください。プッシュ通知を有効にすると、アプリケーションがバックグラウンドでも着信があることを確認できます。 CallKit.を参照のこと。 プッシュ通知 のガイドを参照されたい。
クライアントの代理人
デリゲートが機能するためには、以下のものが必要である。 ViewController 則る VGVoiceClientDelegate.ファイルの末尾に拡張子を付ける。
コピー
extension ViewController: VGVoiceClientDelegate {

    func client(_ client: VGBaseClient, didReceiveSessionErrorWith reason: VGSessionErrorReason) {
        let reasonString: String!

        switch reason {
        case .tokenExpired:
            reasonString = "Expired Token"
        case .pingTimeout, .transportClosed:
            reasonString = "Network Error"
        default:
            reasonString = "Unknown"
        }

        DispatchQueue.main.async { [weak self] in
            self?.connectionStatusLabel.text = reasonString
        }
    }
}
エラーが発生した場合は connectionStatusLabel は関連する接続ステータスで更新される。
ビルド&ラン
プレス Cmd + R を構築し、再び実行する: