
シェア:
Benjamin AronovはVonageの開発者支援者です。彼はRuby on Railsのバックグラウンドを持つ実績のあるコミュニティ・ビルダーです。Benjaminは故郷であるテルアビブのビーチを楽しんでいる。テルアビブを拠点に、世界最高のスタートアップの創設者たちと出会い、学ぶことができる。技術以外では、完璧なパン・オ・ショコラを求めて世界中を旅するのが好き。
オープンソースのVonage MCP Tooling Serverへの貢献
所要時間:1 分
Vonage MCP Tooling Serverはオープンソースで初心者に優しいです。わかりやすいPRと明確なMCPガイドラインを通して、本物のSDK機能を追加してください。
で遊んでいるとしましょう。 Vonage MCPツーリング・サーバー.AIエージェントがどのようにWhatsAppやRCSを介して陽気なホリデーメッセージを送ることができるかを見てきました。 クロード・チャットボットを作り、MCPサーバーとやりとりすることができます。かなりすてきでしょう?
しかし、あなたの脳はこう閃く。MMSを追加したいとしたら?あるいは、機密情報をメールする前に、その番号がSIMスワップされたばかりかどうかをチェックするとか?Voice APIからもっと機能を追加できないだろうか?"
ネタバレはい、できます。そしてさらに、あなたは招待されている!
Vonage MCP Tool Server Vonage MCPツーリングサーバは完全にオープンソースであり、あなたの貢献の準備ができています。このガイドでは、新しいツール ( Verify-numberのような)を追加し、プル・リクエスト(PR)を提出する方法を説明します。
掘り下げてみよう。
ツールの追加をさらに速くするクールなAIのショートカットについては、最後までお読みください。
コードに飛び込む前に、アーキテクチャーを探求する時間を取ろう。すべての行を暗記する必要はないが、各パーツがどのように組み合わされているかを理解することで、ツールをスムーズに組み込むことができる。
const vonage = new Vonage(
  new Auth({
    apiKey: process.env.VONAGE_API_KEY!,
    apiSecret: process.env.VONAGE_API_SECRET!,
    applicationId: appId!,
    privateKey: privateKey,
  })
);
const CHANNEL_CONFIGS = {
  whatsapp: {
    channel: Channels.WHATSAPP,
    getFrom: () => whatsappNumber,
    requiresValidation: () => !!whatsappNumber,
    validationError: 'VONAGE_WHATSAPP_NUMBER is not set.',
  },
  // ...rcs, sms, etc.
};
async function sendChannelMessage(channelKey, to, message, useFailover = false) {
  // This one handles everything from validation to failover logic
}シンプルでクリーン、そして再利用のためにデザインされている。
私たちは最初のツールを作りながら多くのことを学び、AIとエージェントの統合をよりスムーズで予測可能なものにするための経験則に落ち着いた。もしあなたが貢献するのであれば、これらに従ってください:
明確で単一目的のツールは、AIエージェントにとって推論しやすい。各ツールが正確に1つのことを行う場合、より発見しやすく、文書化しやすく、エージェントの計画ロジックを混乱させる可能性がはるかに低くなります。
server.registerTool('whatsapp-send-text', {...});
server.registerTool('whatsapp-send-text-with-sms-failover', {...});注意 サーバーは MCPサーバ・バインディング・パッケージ
万能道具のようなものは避ける:
server.registerTool('send-message', {
  inputSchema: {
    channel: z.enum(['whatsapp', 'rcs', 'sms']),
    useFailover: z.boolean().optional(),
    // too many optional inputs = confusing agents
  }
});
入力ミス?環境変数の欠落?それらを早期に、明確にキャッチする。
if (!whatsappNumber) {
  throw new Error('VONAGE_WHATSAPP_NUMBER is not set.');
}

const formatted = await formatPhoneNumber(to);
if (!formatted) {
  throw new Error(`Invalid phone number format: ${to}`);
}
そして常に、エージェントが解析できるような構造化された方法で応答すること:
return {
  content: [{ type: 'text', text: `Error: ${error.message}` }],
};
型安全で文書化されたものを保つこと:
inputSchema: {
  to: z.string().describe('Recipient phone number in E.164 format'),
  message: z.string().describe('Message content to send'),
}
まだZodを使ったことがないのであれば、TypeScriptの型のように、一箇所で入力を定義し、検証する方法だと考えてほしい。入力が有効であるときのみツールが実行されるようにし、エージェントには各フィールドの意味を明確に説明します。
この 入力スキーマの一部として server.registerTool()呼び出しの一部としてこのinputSchemaを含めることになる。呼び出しの一部としてこのinputSchemaを含むでしょう、それで、あなたのツールが登録されるとき、それは期待される入力の形とそれを前もって検証する方法を正確に知っています。
ツールを READMEの表に追加し、使用例を含めてください。未来のあなたや、あなたの後に続くすべての開発者が、あなたに感謝するでしょう。
例えば、新しいツールを追加してMCP Tooling Serverを改善したいとします。この場合、電話番号が最近SIMスワップを受けたかどうかをチェックするツールの作成方法を説明します。 詐欺の一般的な指標である.これを チェックSIMスワップ.
このツールは アイデンティティ・インサイト APIを使用し、SIM 交換イベントを含む電話番号に関するリアルタイムのインテリジェンスを提供する。1つのツールで1つの作業というように、範囲を決めておこう。
まず、MCPサーバーのレポをフォークし、フォークしたものをクローンする:
# Fork the repo on GitHub
git clone https://github.com/YOUR_USERNAME/vonage-mcp-server-api-bindings.git
cd vonage-mcp-server-api-bindings

make setupまだ メイクを使ったことがないなら、これは基本的に複数のコマンドをバンドルするタスクランナーだ。複数のコマンドをバンドルするための ファイルをチェックしてください。
CやC++のエコシステムから生まれたものだが、JavaScriptやTypeScriptのプロジェクトなど、汎用的なワークフローでもうまく機能する。このリポジトリでは、依存関係のインストールや開発環境の準備などのルーチンコマンドを効率化するために使用しています。
ここで セットアップが依存関係をインストールし、プロジェクトで作業する環境を整える。
次に を開いてを開き、新しいツールをサーバーに登録します。
以下のコードを貼り付ける:
server.registerTool(
  'check-sim-swap',
  {
    title: 'SIM Swap Check',
    description: 'Check if a phone number has recently had a SIM change.',
    inputSchema: {
      number: z.string().describe('Phone number in E.164 format'),
    },
  },
  async ({ number }) => {
    try {
      const formatted = await formatPhoneNumber(number);
      if (!formatted) {
        throw new Error(`Invalid phone number format: ${number}`);
      }

      const response = await vonage.identityInsights.getInsights({
        phone_number: formatted,
        purpose: 'FraudPreventionAndDetection',
        insights: {
          sim_swap: {
            period: 240 // last 240 hours
          }
        }
      });

      const { sim_swap } = response.insights;

      return {
        content: [{
          type: 'text',
          text: sim_swap?.is_swapped
            ? `SIM swap detected! Most recent swap was on: ${sim_swap.latest_sim_swap_at}`
            : `No recent SIM swap detected.`,
        }],
      };
    } catch (error) {
      return {
        content: [{
          type: 'text',
          text: `Error checking SIM swap: ${error.message}`,
        }],
      };
    }
  }
);
このツールがすることはひとつ、電話番号が与えられたら、過去10日間(240時間)にSIMカードが交換されたかどうかをチェックする。もしそうなら、タイムスタンプを返す。そうでなければ、最近交換が行われていないことを確認する。
を開く README.mdファイルを開き、新しいツールをツール表に追加する:
| **Identity** | `check-sim-swap` | Check if a phone number has had a recent SIM change |使用例を追加する:
#### Check if a phone number has had a SIM swap

Can you check whether +14155550123 has had a SIM swap in the past 10 days?
ツールがビルドされ、チェックに合格していることを確認する:
make check
make build
npm run start
すべてがうまくいったら、変更をコミットしてプッシュする:
git checkout -b feature/add-check-sim-swap
git add .
git commit -m "Add check-sim-swap tool with Zod validation and Identity Insights API"
git push origin feature/add-check-sim-swapGitHubにアクセスして、プルリクエストを開いてください。AIエージェントと連携しているツールのスクリーンショットを添付するとボーナスポイントになります!
単純なツールの場合はおそらく必要ないだろうが、長時間実行されるプロセスやバルク・プロセスの場合は、この構造を検討してほしい。
時間がかかる作業(検証ワークフローなど):
server.registerTool('start-verification', {
  inputSchema: {
    number: z.string(),
    workflow_id: z.string().optional(),
  },
  async ({ number, workflow_id }) => {
    // Implement tracking logic here
  }
});
バルクオペレーション用:
server.registerTool('verify-numbers-batch', {
  inputSchema: {
    numbers: z.array(z.string()),
  },
  async ({ numbers }) => {
    // Loop through and verify all
  }
});
プルリクエストを提出する前に、すべてが期待通りに動作することを確認してください。実行中 チェックを実行することで、ほとんどのリントや型エラーが検出されるはずだ。しかし、そこで立ち止まってはいけない。既存のツールがすべて正しく動作することを手動でテストし、追加した機能が誤って既存の機能を壊していないか再確認してください。プッシュする前に、TypeScriptはきれいにコンパイルされるはずだ。
ネーミングは想像以上に重要です。ツール名は大文字と小文字を区別してください(例えば チェックシムスワップ, ではなく チェックシムスワップ).環境変数は upper_snake_caseで始まる VONAGE_.そして関数を書くときは、信頼できる古き良き キャメルケース.
エラー処理も重要な領域だ。物事が常にスムーズに進むと思わないこと。ネットワーク障害、無効な認証情報、APIレートの制限、不正なユーザ入力などのエッジケースを処理しましょう。もしあなたのツールが優雅に失敗しなければ、下流のユーザやエージェントに頭痛の種をもたらすでしょう。
最後に、あなたのツールが新しい環境変数を導入する場合、それらを明確に文書化してください。READMEの環境変数の表に、それぞれのキーが何をするもので、それが必須かどうか短い説明とともに追加してください。この小さな文書化によって、将来の自分(あるいは仲間の貢献者)が後で頭を悩ませることがなくなります。
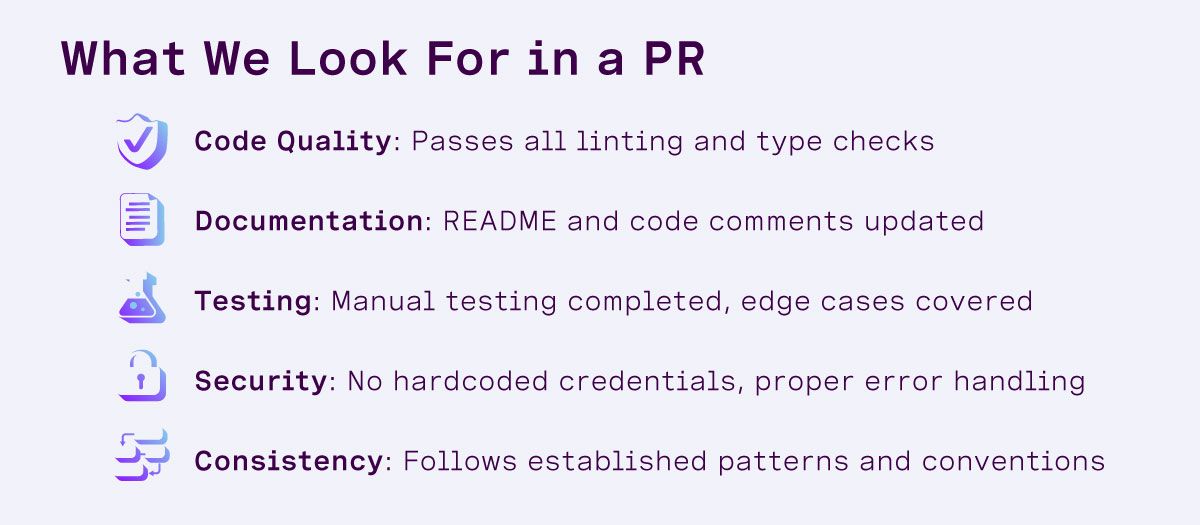 Checklist of contribution requirements for a Vonage open-source pull request, including code quality, documentation, testing, security, and consistency.
AIエージェントで作業する場合、Vonage MCP Tooling Server と VonageドキュメンテーションMCPサーバーを同時に実行することで、貢献プロセスを簡素化することができます。この組み合わせにより、エージェントはプロジェクトのツール定義だけでなく、公式のVonage APIドキュメントにもアクセスできるようになり、確立されたパターンに従った新しいツールの起草が容易になります。
両方のサーバーがアクティブな状態で、多くの場合、次のようなプロンプトから始めることができる:
「Vonage MCP Tooling Server に、Verify API を使用して電話認証ワークフローを開始する新しいツールを追加したいのですが。1ファイル1ツールの構造に従い、入力検証にZodを使用し、READMEに使用例を記載してください。最新のパラメータについては、Vonageのドキュメントを参照してください。"
このアプローチは、テストやレビューの代わりにはならないが、迅速に作業を進め、プロジェクトの慣例に沿った変更を維持するのに役立つ。
オープンソースは、あなたのような人々が参加するときに最もうまく機能します。新しいSDK機能のアイデアがあれば、それはMMSや通話処理、あるいはアカウント管理かもしれません、 それを作ってください!そして、何から始めたらいいかわからない場合は、ご連絡ください。私たちはPRが大好きです!
私たちは、あなたが何を考え出すか楽しみにしています。
ご質問がある場合、またはあなたが作っているものを共有したい場合は、こちらをクリックしてください。
登録する 開発者ニュースレター
フォローする X(旧ツイッター)最新情報
チュートリアルを見る YouTubeチャンネル
LinkedInの LinkedIn の Vonage デベロッパーページ
最新の開発者向けニュース、ヒント、イベント情報をお届けします。