Create an Android project
New Android Project
Create new phone-to-app folder inside phone-to-app-java folder:
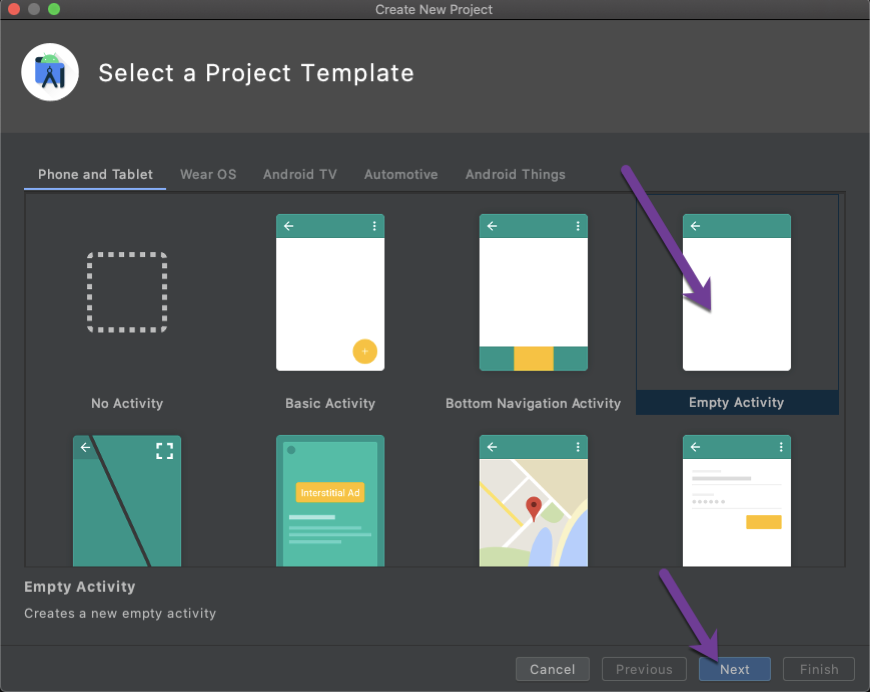
Open Android Studio and, from the menu, select File > New > New Project.... Select an Empty Activity template type and click Next.
Enter phone-to-app as project name, point location to previously created phone-to-app-java/phone-to-app folder, select as Java language and press Finish button.
You now have a brand new Android Project.
Add Client SDK dependency
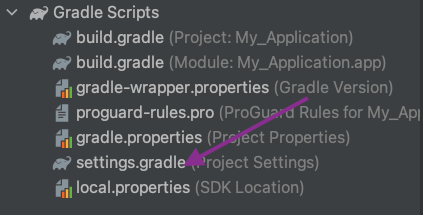
You need to add a custom Maven URL repository to your Gradle configuration. Add the following maven block inside the repositories block within the project-level settings.gradle file:
repositories {
    google()
    mavenCentral()
    maven {
        url "https://artifactory.ess-dev.com/artifactory/gradle-dev-local"
    }
}
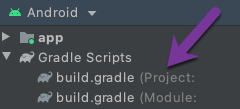
If you are using an older version of Android Studio and there is no dependencyResolutionManagement in your settings.gradle file then add the maven block to the repositories block within the project-level build.gradle file:
NOTE You can use the Navigate file action to open any file in the project. Run the keyboard shortcut (Mac: Shift + Cmd + O ; Win: Shift + Ctrl + O) and type the filename.
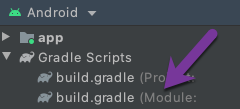
Now add the Client SDK to the project. Add the following dependency in the module-level build.gradle file.:
dependencies {
    // ...

    implementation 'com.nexmo.android:client-sdk:4.0.0'
}
Enable jetifier in the gradle.properties file by adding the below line:
android.enableJetifier=true
Finally, you will need to increase the memory allocation for the JVM by editing the org.gradle.jvmargs property in your gradle.properties file. We recommend this be set to at least 4GB:
org.gradle.jvmargs=-Xmx4096m -Dfile.encoding=UTF-8
Receiving a phone call in-app
You receive a call from a phone to your app