NXMClient
Before you can receive a call, the Client SDK needs to authenticate to the Vonage servers. The following additions are required to ViewController.swift.
NOTE: Notice that, you have already imported NexmoClient at the top of the file.
Add a NXMClient instance, below the connectionStatusLabel.
class ViewController: UIViewController {
    ...
    let connectionStatusLabel = UILabel()
    let client = NXMClient.shared
    ...
}
Add the JWT
At the end of viewDidLoad, set the client delegate and log in - please make sure to replace ALICE_JWT for the JWT you created during a previous step. Please remember, the expiry time for the token was set to 6 hours so you will need to generate a new one if it is too old.
override func viewDidLoad() {
    ...
    client.setDelegate(self)
    client.login(withAuthToken: "ALICE_JWT")
}
The Client Delegate
For the delegate to work, you need to have ViewController conform to NXMClientDelegate. Add the extension the end of the file.
extension ViewController: NXMClientDelegate {

    func client(_ client: NXMClient, didChange status: NXMConnectionStatus, reason: NXMConnectionStatusReason) {
        DispatchQueue.main.async { [weak self] in
            switch status {
            case .connected:
                self?.connectionStatusLabel.text = "Connected"
            case .disconnected:
                self?.connectionStatusLabel.text = "Disconnected"
            case .connecting:
                self?.connectionStatusLabel.text = "Connecting"
            @unknown default:
                self?.connectionStatusLabel.text = "Unknown"
            }
        }
    }

    func client(_ client: NXMClient, didReceiveError error: Error) {
        DispatchQueue.main.async { [weak self] in
            self?.connectionStatusLabel.text = error.localizedDescription
        }
    }

}
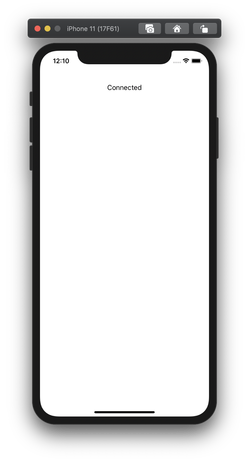
An error is shown if encountered and the connectionStatusLabel is updated with the relevant connection status.
Build and Run
Press Cmd + R to build and run again:
Receiving a phone call in-app
You receive a call from a phone to your app