Share:
Friendly tech educator, family man, diversity champion, probably argue a bit too much. Formerly a backend engineer. Talk to me about JavaScript (frontend or backend), the amazing Vue.js, DevOps, DevSecOps, anything JamStack. Writer on DEV.to
Register to Chat with Typeform
Time to read: 43 minutes
In this article, you'll learn how to set up Typeform and capture data from a webhook in the Node.js framework Express.js. You'll use Passport.js to authenticate a user, use Nexmo's Node.js Server SDK to register a user, and generate a JWT to use with Nexmo's JavaScript Client SDK.
You'll be starting from a pre-built chat application built using Nexmo's JavaScript Client SDK and Bootstrap.
This tutorial starts from the master branch and ends at the tutorial-finish branch. You can skip to the end by checking out tutorial-finish and following the README to get up and running quickly.
To follow this guide, you'll need Node.js and NPM installed. This guide uses Node.js 13.1 and NPM 6.12. Check you have stable or long-term support versions of Node.js installed, at least.
If you don't have Node.js or NPM, or you have older versions, head over to nodejs.org and install the correct version if you don't have it.
To complete this tutorial, you will need a Vonage API account. If you don’t have one already, you can sign up today and start building with free credit. Once you have an account, you can find your API Key and API Secret at the top of the Vonage API Dashboard.
To set up your application, you'll need to install the Nexmo CLI. Install it using NPM in terminal.
Now, configure the CLI using your API key and secret, found on your Nexmo account dashboard.
We'll be storing information in MongoDB. If you don't have MongoDB installed, follow the correct MongoDB Community Edition installation guide for your system.
Because you'll be receiving information from a 3rd party, you'll need to expose the application running on your local machine, but in a safe way. Ngrok is a safe way to use a single command for an instant, secure URL that allows you to access your local machine, even through a NAT or firewall.
Sign up and configure ngrok by following the instructions on their site.
You'll use Typeform to capture input from users, so sign-up now for a free Typeform account.
You'll be sending emails. You'll need the hostname, port, a login and a password for an SMTP provider.
You can use Google Mail to send email from an app.
You can use git to clone the demo application from GitHub.
If you're not comfortable with git, this guide also contains instructions on downloading the project as a ZIP file.
Follow this guide to install git
The application you're starting with is a chat application built using Bootstrap and the Nexmo JavaScript Client SDK. It's configurable through editing static files, but launched using Express.js, a lightweight Node.js based http server.
Clone the demo application straight from GitHub.
Or, for those not comfortable with git commands, you can download the demo application as a zip file and unpack it locally.
Once cloned or unpacked, change into the new demo application directory.
Install the npm dependencies.
Installed alongside Node.js is a package called nodemon, that will automatically reload your server if you edit any files.
Start the application the standard way.
Start the application, but with nodemon instead.
Tip: If you're running the application with
nodemonfor the rest of this tutorial, whenever I suggest restarting the application you won't need to do that becausenodemondoes it for you. However, if you need to reauthenticate with the application, you will still need to do that, as the session information is stored in memory and not configured to use any other storage.
Whichever way you choose to run the application, once it's running you can try it out in your favourite browser, which should be able to find it running locally: http://0.0.0.0:3000/.
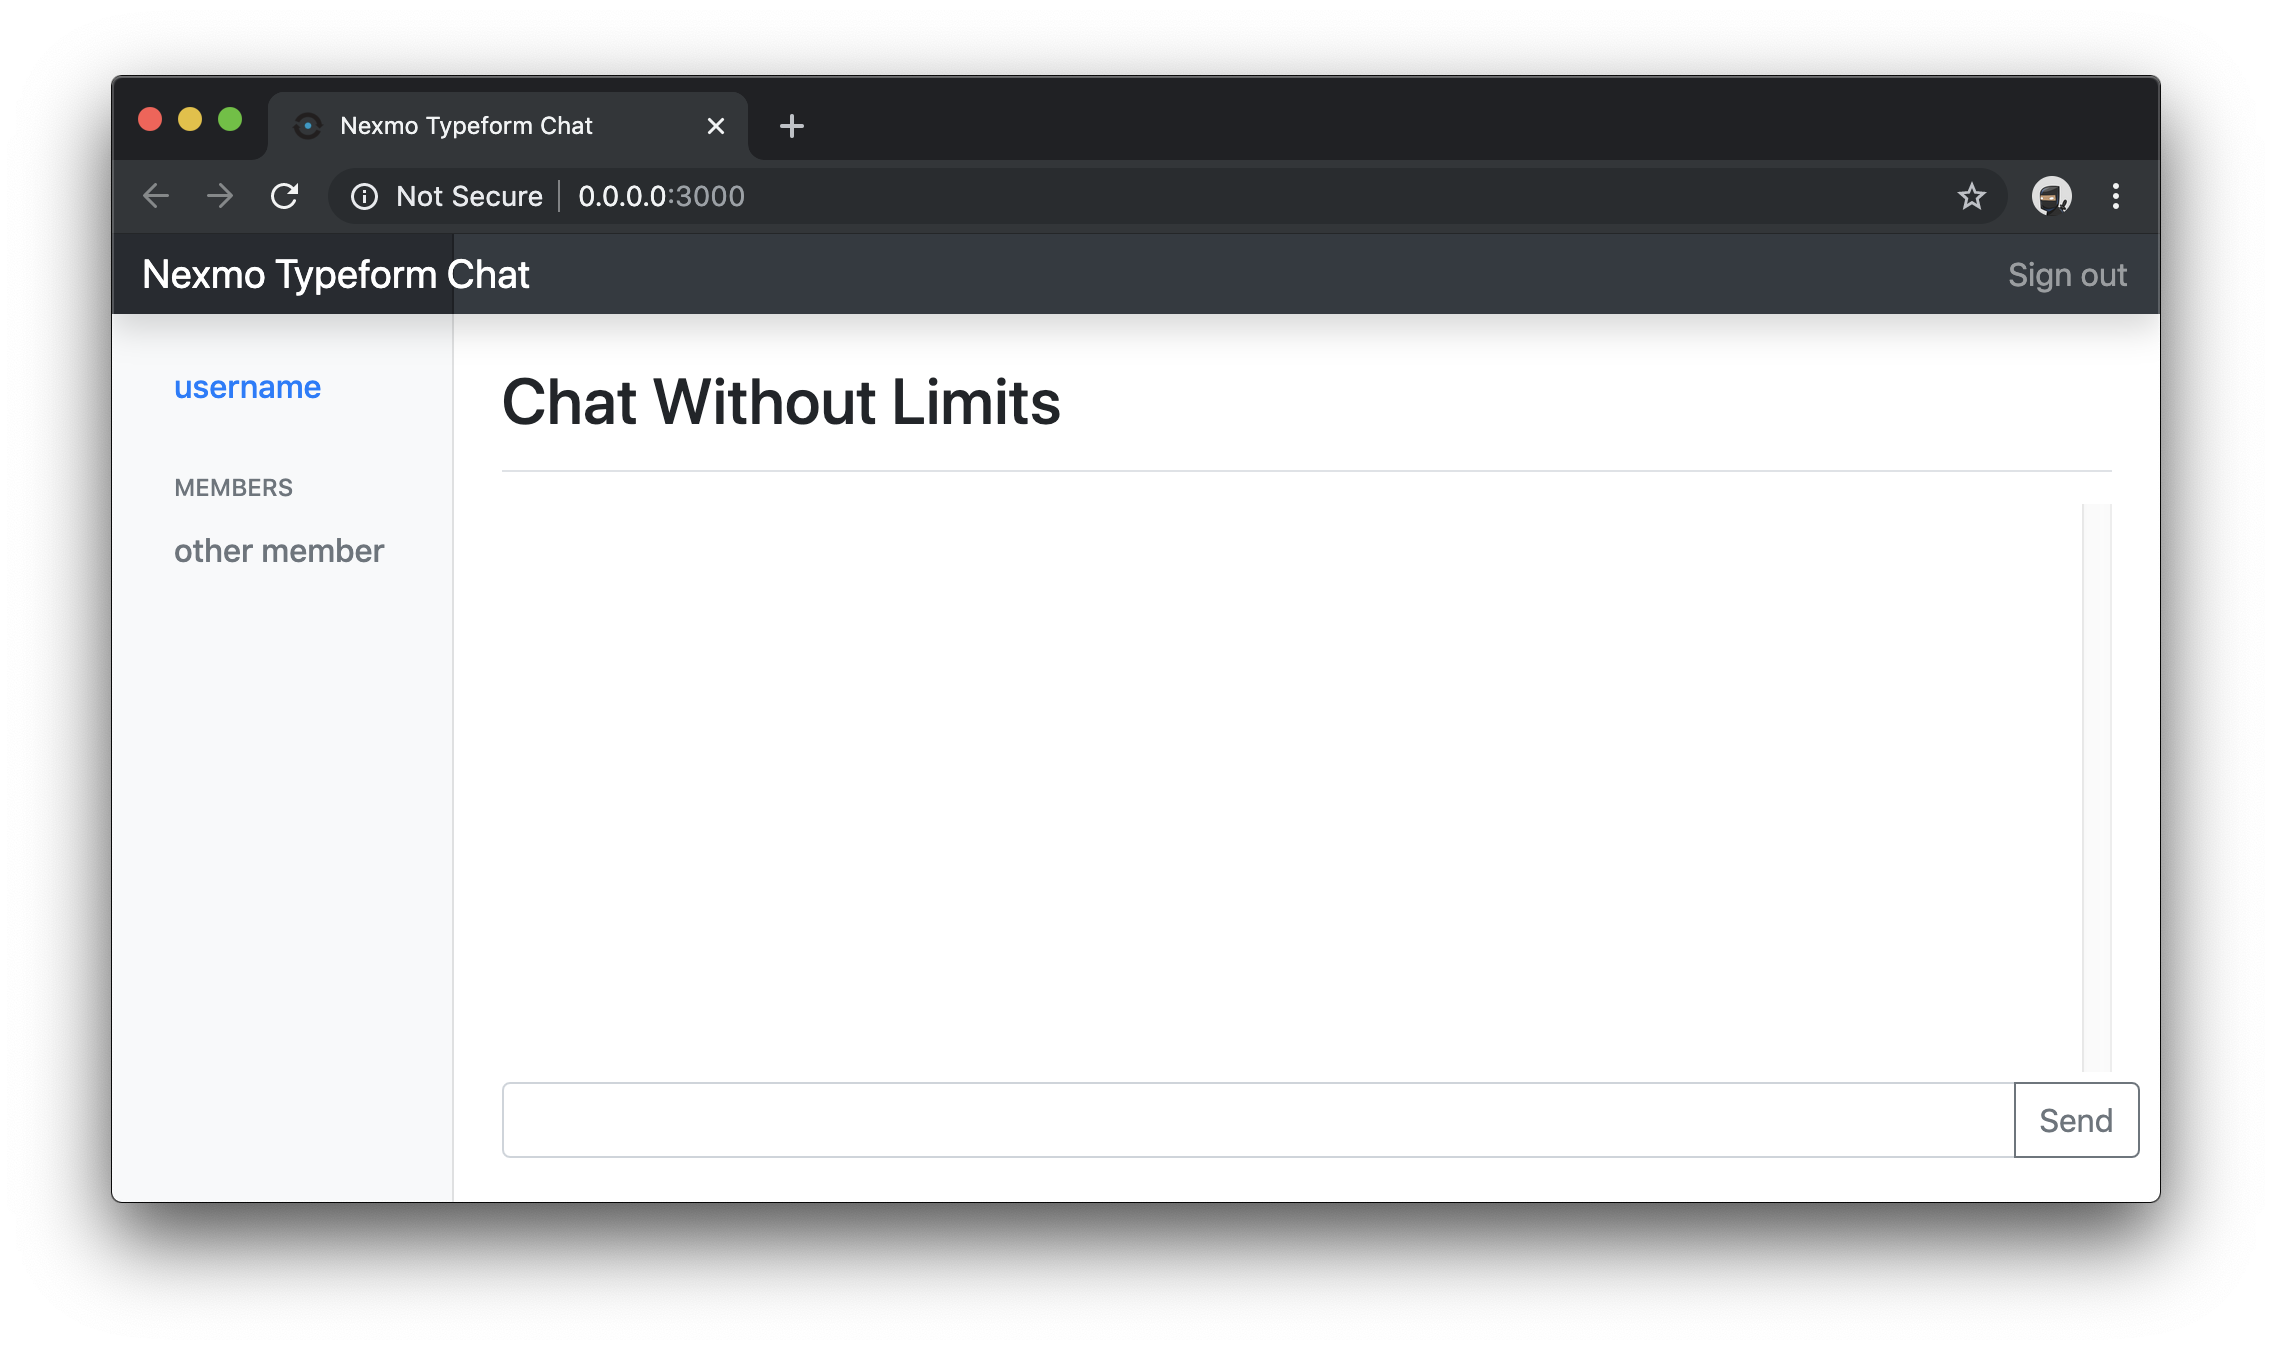 Chat running locally
As the application is unconfigured, you'll see a very plain empty chat application that you cannot submit messages too. In the real world with error handling, you might show the user a connection error.
But, if you check the browser console now, you'll just see a Nexmo API error for a missing token. This means the application tried to connect but didn't provide a user token permitting access the API.
Test ngrok is configured properly, by running ngrok in a separate tab or window to npm.
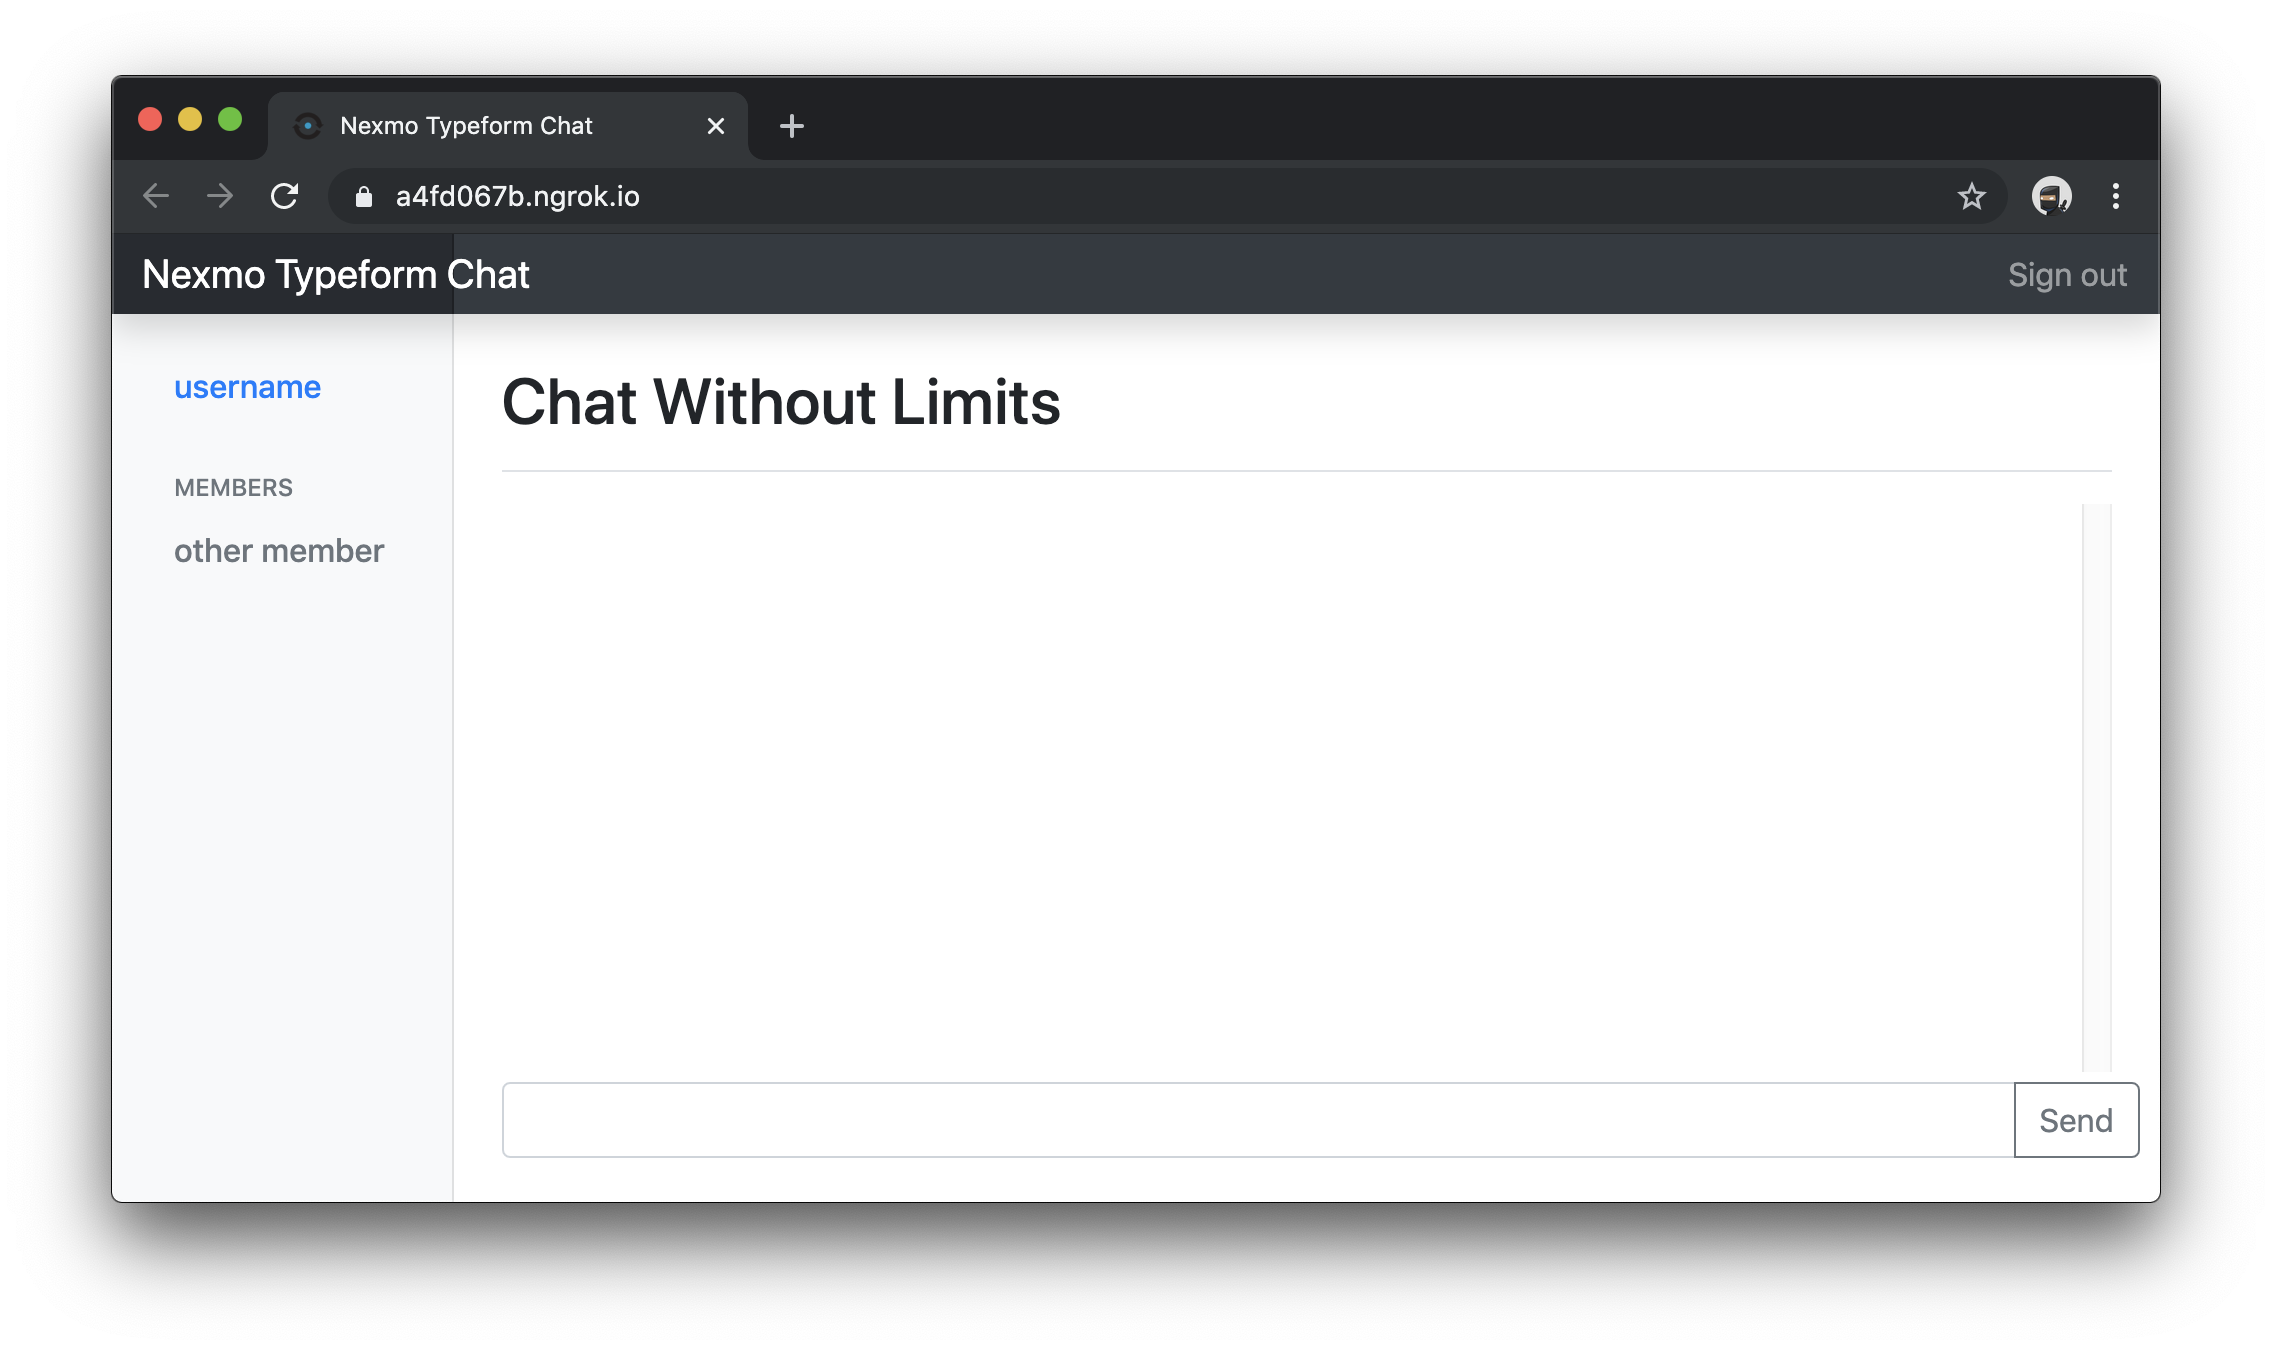 Chat running locally through ngrok
You need to run this ngrok command, and npm at the same time. This means you need two terminal windows or tabs available, both at the application directory.
Tip: If you need to repeat any quests later, like submitting data from Typeform to the webhook, you can open up ngrok's web interface at http://127.0.0.1:4040 while it's running and Replay a request.
One thing to remember is that until you pay for ngrok, your URL will be different every time you start it. Remember this when configuring your Typeform webhook later on. If you stop ngrok, you will need to reconfigure Typeform with the new URL when you start it again.
Tip: If you're confident with using a tool like Postman or writing manual cURL requests, and once you have your first webhook request from Typeform, you could create a request to be able to repeat that request later.
In the prerequisites, you setup your CLI using your Nexmo API key and secret. Now, you can run CLI commands to create a Nexmo application, user, conversation, join the user to the conversation and generate a JWT so your user can chat.
You'll need to use some of the IDs returned once you've ran some of the commands. Keep a note, by copying and pasting your application, conversation, and user IDs.
This command creates a new Nexmo application with RTC (real-time communication) capabilities. You won't be capturing the events in your application, so you can provide an example web address for the event URL. The private key will be output to a file path of your choice.
Tip: Your application is also output to a config file (
.nexmo-app) in the directory you ran this command. This means that some further commands from this directory will be relevative to this application, like creating users and conversations.
With an application created, you can create a conversation. The conversation will be what your users join to send messages to and fro.
Now, create a user. This will be the user you authenticate with. For the moment you just need a user name and display name.
With your conversation ID and user ID, run this command to join the conversation with your user.
Use this command to generate a user token in the form of a JWT, usable by the API but also by Nexmo's JavaScript Client SDK. It will return a JWT for you to use which expires in 24 hours, or 86400 seconds.
To configure your application, edit the views/layout.hbs file and find the JavaScript configuration around line 61.
<script>
      var userName = '';
      var displayName = '';
      var conversationId = '';
      var clientToken = '';
</script>Firstly, configure the application like this, but by the end of the guide you'll be able to authenticate with a magic link and the clientside application with get your user token from your authorized session.
Edit the config with the values you've generated in the commands above.
<script>
      var userName = 'luke.oliff@vonage.com';
      var displayName = 'Luke Oliff';
      var conversationId = 'CON-123...y6346';
      var clientToken = 'eyJhbG9.eyJzdWIiO.Sfl5c';
</script>Now, you can start the application again and start chatting... with yourself... because no one else can log in.
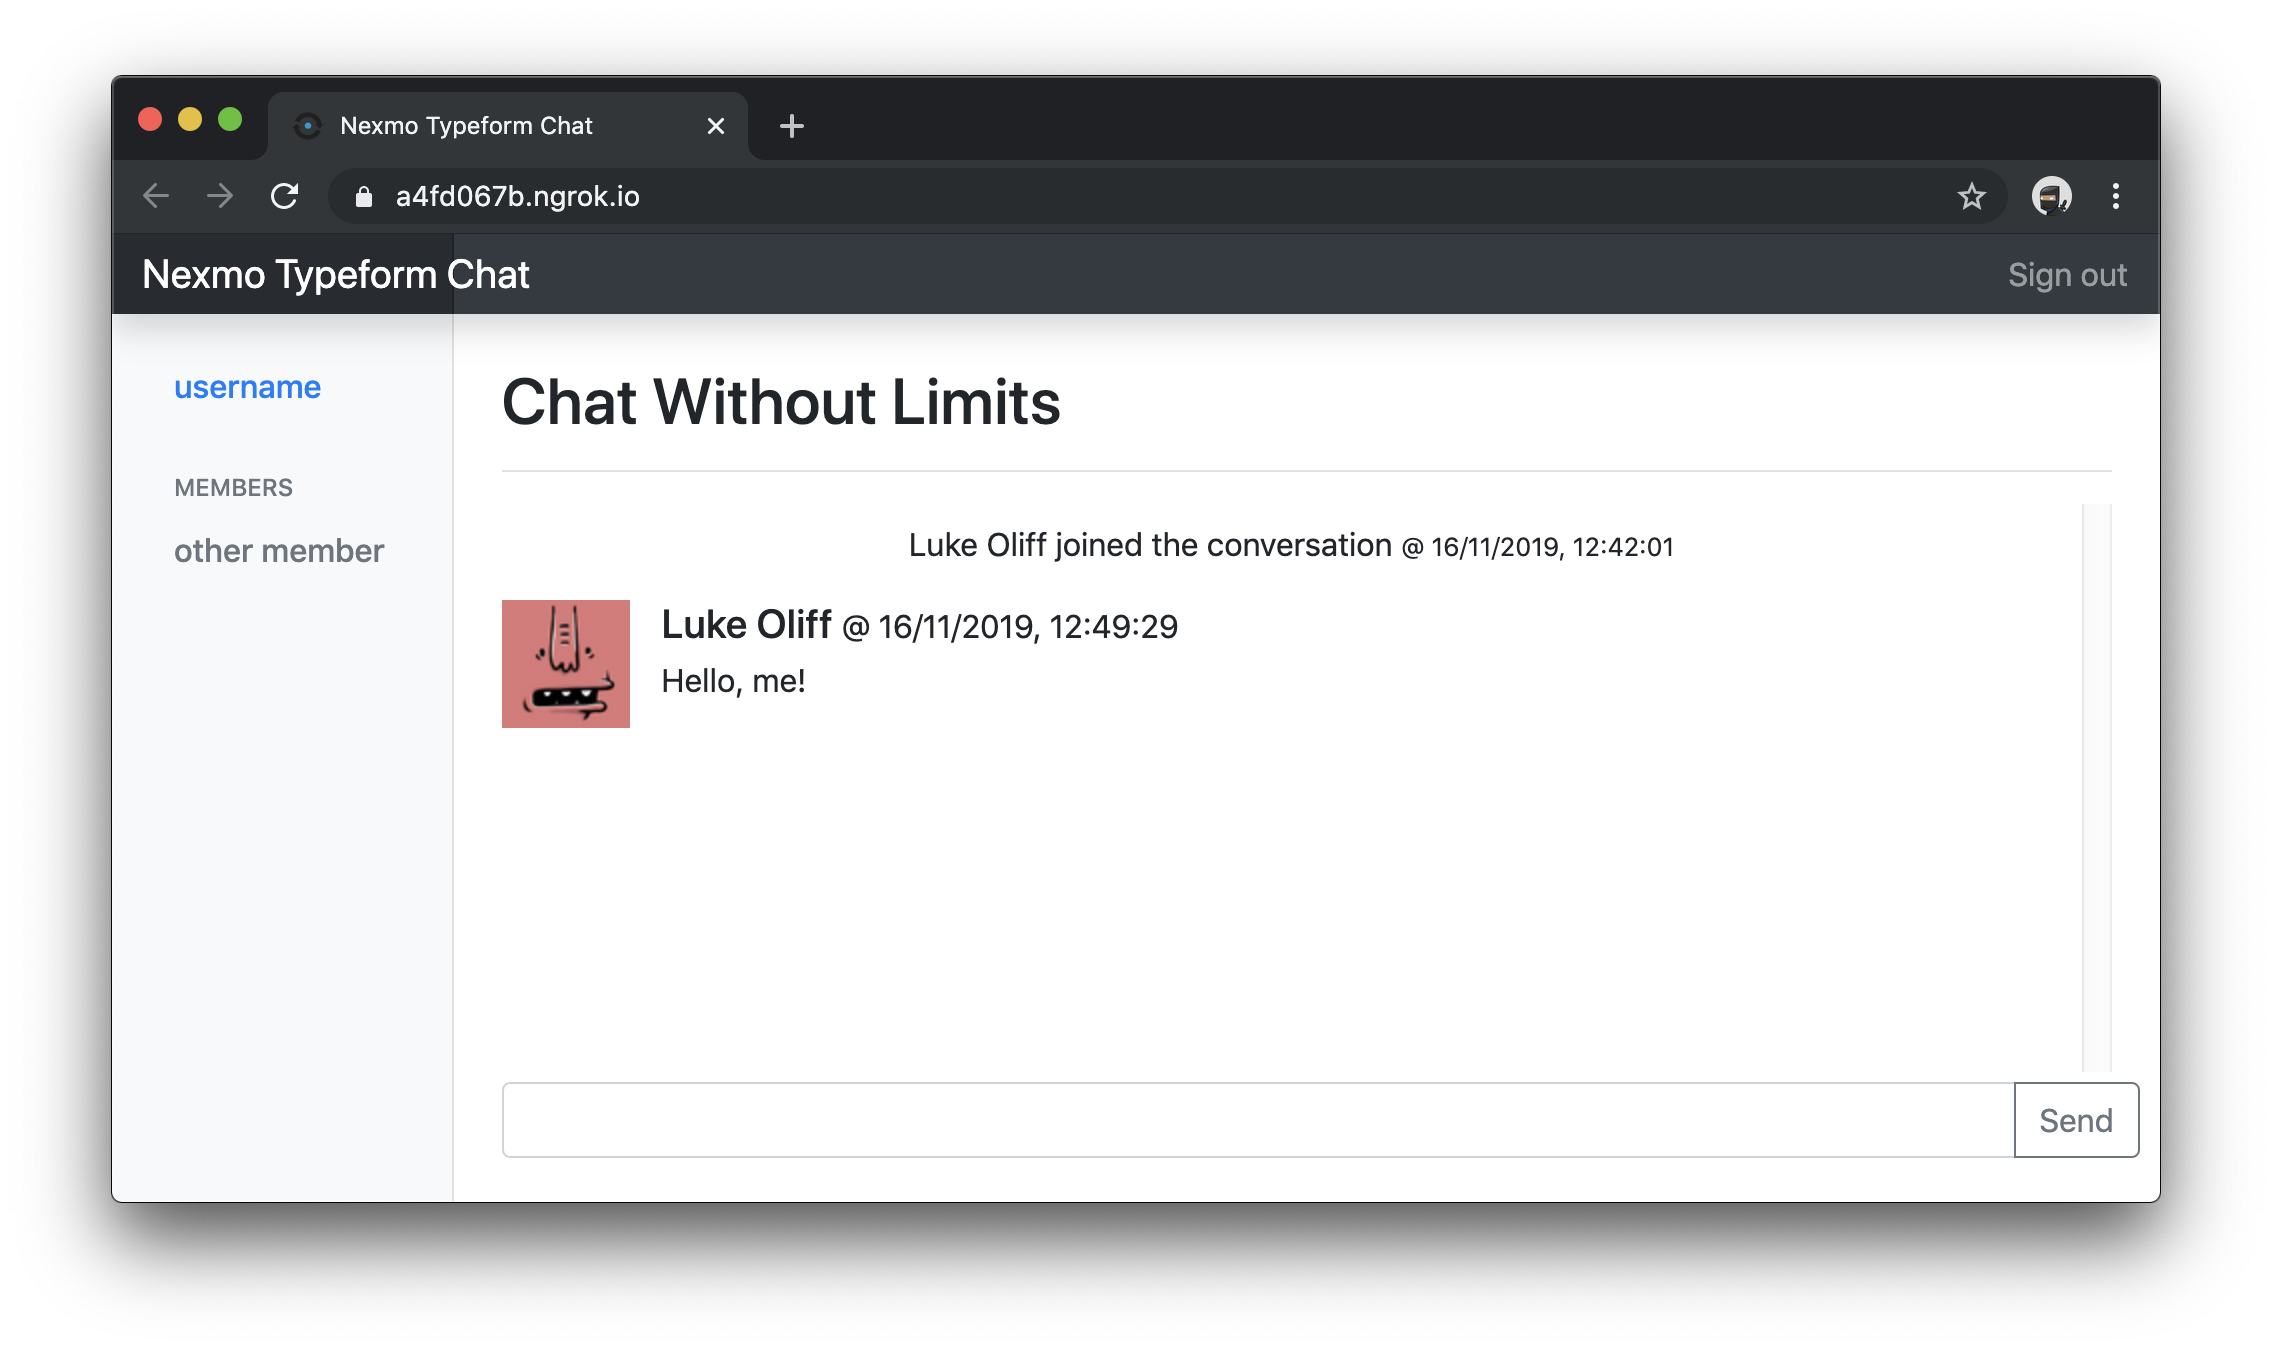 Running chat without errors
You can capture as much data as you like from your Typeform. But, for this guide, ensure you have a least an email field on the form.
Once you have created your Typeform, click over to the Connect tab on your Typeform edit page and click on Webhooks.
Click on Add a webhook and enter the URL as https://<your_url>.ngrok.io/webhooks/magiclink. Then click Save webhook.
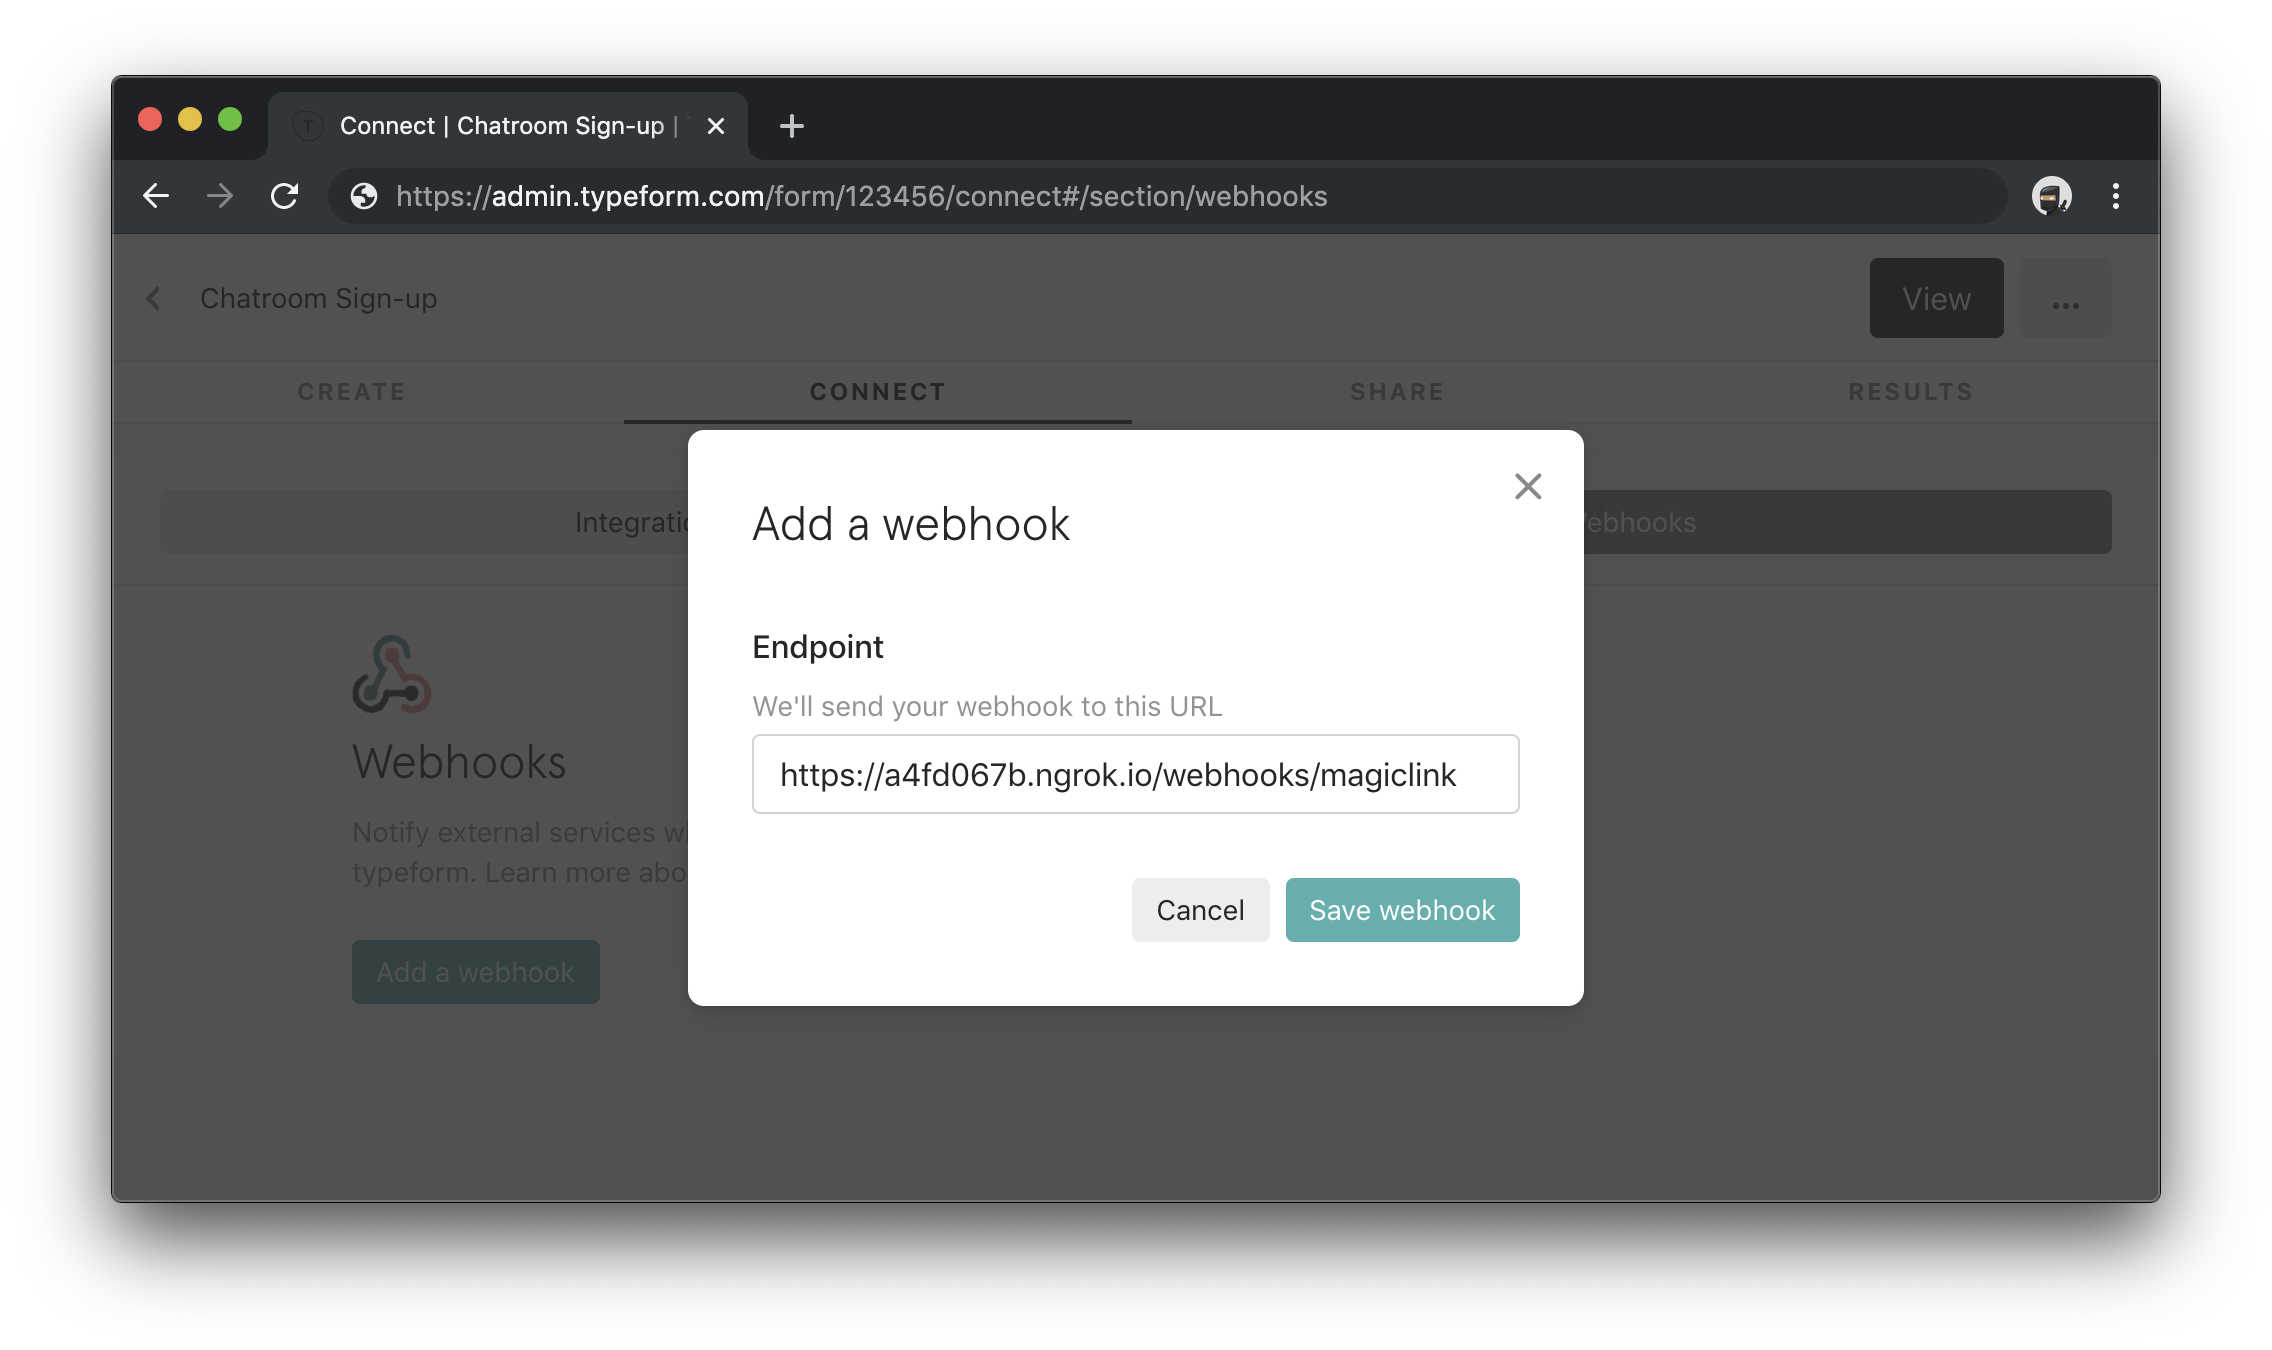 Configure Typeform webhook
Once created, you can go back and add a secret to verify requests reaching your webhook are actually coming from Typeform.
If you complete your Typeform now and submit it while your application is running, the Typeform will receive a 404 Not Found error and retry. If a webhook request fails for any reason, Typeform will retry the request to your endpoint three times using a back-off mechanism after 5, 10, and 20 minutes.
From here on in, you're going to be configuring your application with credentials that not only might differ between environments but also that you won't want to commit along with your source code.
dotenv was already a dependency of the starting project, so check out the .env file where it already contains the default port for the application. You'll be coming back to this file soon to add more environment variables.
Now, to fix your potential 404 Not Found error, add the webhook by creating a new file in the application called routes/webhook.js. In the new file, add the following code.
var express = require('express');
var router = express.Router();

/* POST webhook generates a magic link email to the provided email address */
router.post('/magiclink', (req, res, next) => {
  console.log(req.body);

  // always return a response...
  res.sendStatus(200);
});

module.exports = router;
Edit app.js and add in the webhook router.
// ...

var indexRouter = require('./routes/index');
var webhookRouter = require('./routes/webhook');

// ...

app.use('/', indexRouter);
app.use('/webhooks', webhookRouter);

// ...With npm and ngrok running you should now be able to complete your Typeform and receive a webhook request. The payload will contain data that looks like this and it will be output in the window where you started the application with npm.
{
    ...
    "form_response": {
        ...
        "answers": [
            {
                "type": "email",
                "email": "email@example.com",
                "field": {
                    "type": "email",
                }
            }
        ]
    }
}
Before editing the webhook, configure some variables for the Typeform and question inside your environment file .env. For FORM_FIELD_REF, you'll need to edit your Typeform question and find the Question reference inside your question settings. FORM_URL is the public URL to complete the form.
Now, going back to your webhook route at routes/webhook.js and edit it to include code that will extract the email address.
//...

require('dotenv').config();

/* POST webhook generates a magic link email to the provided email address */
router.post('/magiclink', (req, res, next) => {
  // find answers from the typeform response
  let { answers } = req.body.form_response;

  const answer = answers
    .find(answer => process.env.FORM_FIELD_TYPE === answer.type && answer.field.ref === process.env.FORM_FIELD_REF);

  // it'll probably be an email
  const email = answer[process.env.FORM_FIELD_TYPE];

  console.log(email);

  // always return a response...
  res.sendStatus(200);
});
This code will find an answer of type email type with the matching Question reference (just in case you capture more than one email address in your form!) and finally returns the value of the answer. The type and reference were set in the .env file.
The output of this will be the string submitted to the Typeform question.
This tutorial will continue to assume you're only capturing a single email field from Typeform and no further user information. It will store other derived information on the user as it is created.
You'll use Mongoose for storing your users in the database. Mongoose provides a straight-forward, schema-based solution to model your application data. It includes built-in type casting, validation, query building, business logic hooks and more, out of the box.
To capture user creation and details, install mongoose to your project.
Configure the project so that Mongoose will be able to connect to the MongoDB database. This guide uses default MacOS values, which could differ from what you need, all depending on the development environment you're using.
Edit .env and add the following configuration.
You can decide your-database-name here, because it will create it if it doesn't already exist.
Now, configure your application to connect to Mongoose when it is run by editing the bin/www file and placing this code at the end.
/**
 * Database config
 */

const mongoose = require('mongoose');

// Set mongoose promises to global
mongoose.Promise = global.Promise

// Set up default mongoose connection
mongoose.connect(process.env.MONGO_URL, { useNewUrlParser: true, useUnifiedTopology: true, useFindAndModify: false });

// Get the default connection
const db = mongoose.connection;

// Bind connection to error event (to get notification of connection errors)
db.on('error', onError);
Everything in Mongoose starts with a Schema. Each schema maps to a MongoDB collection and defines the shape of the documents within that collection. While MongoDB is Schema-less, Mongoose uses Schema's to formalise the standard object before modification.
Create a new file for the schema at schemas/user.js and add the following code.
const mongoose = require('mongoose');
const Schema = mongoose.Schema;

const UserSchema = new Schema({
  name: {
    type: String,
    required: true
  },
  display_name: {
    type: String,
    required: true
  },
  email: {
    type: String,
    required: true
  },
  user_id: {
    type: String
  },
  member_id: {
    type: String
  }
});

module.exports = UserSchema;A model is what is used to create documents that you can use to create, edit, update and delete items on a MongoDB collection. Create a new file for the model at models/user.js and add the following code.
const mongoose = require('mongoose');
const UserSchema = require('../schemas/user');

const User = mongoose.model('User', UserSchema);

module.exports = User;Notice how the model includes the schema to return a User document.
In this instance, you're going to use the email as your users string identifier, or username. Their email address will eventually also become their display name. You could choose to capture both of these things individually on your Typeform if you wished.
Edit routes/webhook.js and add the following code to find users by their username and create them if they don't already exist.
//...
var User = require('../models/user');

/* POST webhook generates a magic link email to the provided email address */
router.post('/magiclink', (req, res, next) => {
  // ...

  User.findOne({ name: email }, (err, user) => {
    // error handling here

    // if our user is new, save it and output it
    if (null === user) {
      user = new User({
        name: email,
        email: email,
        display_name: email
      });

      user.save((err) => {
        // error handling here

        console.log(user);

        res.sendStatus(200);
      });

    // otherwise, just output it
    } else {
      console.log(user);

      res.sendStatus(200);
    }
  });
});
This code is going to attempt to find a user by their email address, creating one if one didn't already exist. This doesn't support updating an existing user. If they already existed, you could error. Later, we'll generate a magic link to login, rather than give them an error.
Your webhook is going to email your user a magic link that can be used to authenticate them with the service.
Install jsonwebtoken using npm.
Edit .env to create a secret key that can be used for token generation.
So, now edit routes/webhook.js to generate the magic link and output it to the server.
//...

var jwt = require('jsonwebtoken');

var createMagicLink = (req, payload) => {
  var token = jwt.sign(payload, process.env.SECRET);

  return `${req.protocol}://${req.get('host')}/auth?token=${token}`;
}

/* POST webhook generates a magic link email to the provided email address */
router.post('/magiclink', (req, res, next) => {

  // ...

    // ...

    if (null === user) {

      // ...

      user.save((err) => {
        // ...

        console.log(createMagicLink(req, user.toObject()));

        res.sendStatus(200);
      });

    // otherwise, just output it
    } else {
      console.log(createMagicLink(req, user.toObject());

      res.sendStatus(200);
    }

  // ...

});
We're adding a JWT to a magic link URL as a method for identifying the user when they try to access the site.
It’s important to note that a JWT guarantees data ownership, not encryption. It's a URL-safe way of representing claims by encoding them as JSON objects which can be digitally signed or encrypted. Digitally signing a JWT allows validation against modifications. Encryption, on the other hand, makes sure the content of the JWT is only readable by certain parties.
In this instance, the guide doesn't use RSA or other asymmetric encryption, choosing only to sign the data instead using the JWT library's default HMAC SHA256 synchronous signing.
Using a JWT in this way verifies the magic link originated from your application, signed by your SECRET and cannot be modified.
When you submit data to the webhook from Typeform now, the output should be a link to the application that looks like a much longer version of this:
https://<your_url>.ngrok.io/webhooks/auth?token=eyJhbCJ9.eyEflLxN.N9eq6b5o
Click the link for a 404 error. Let's fix that.
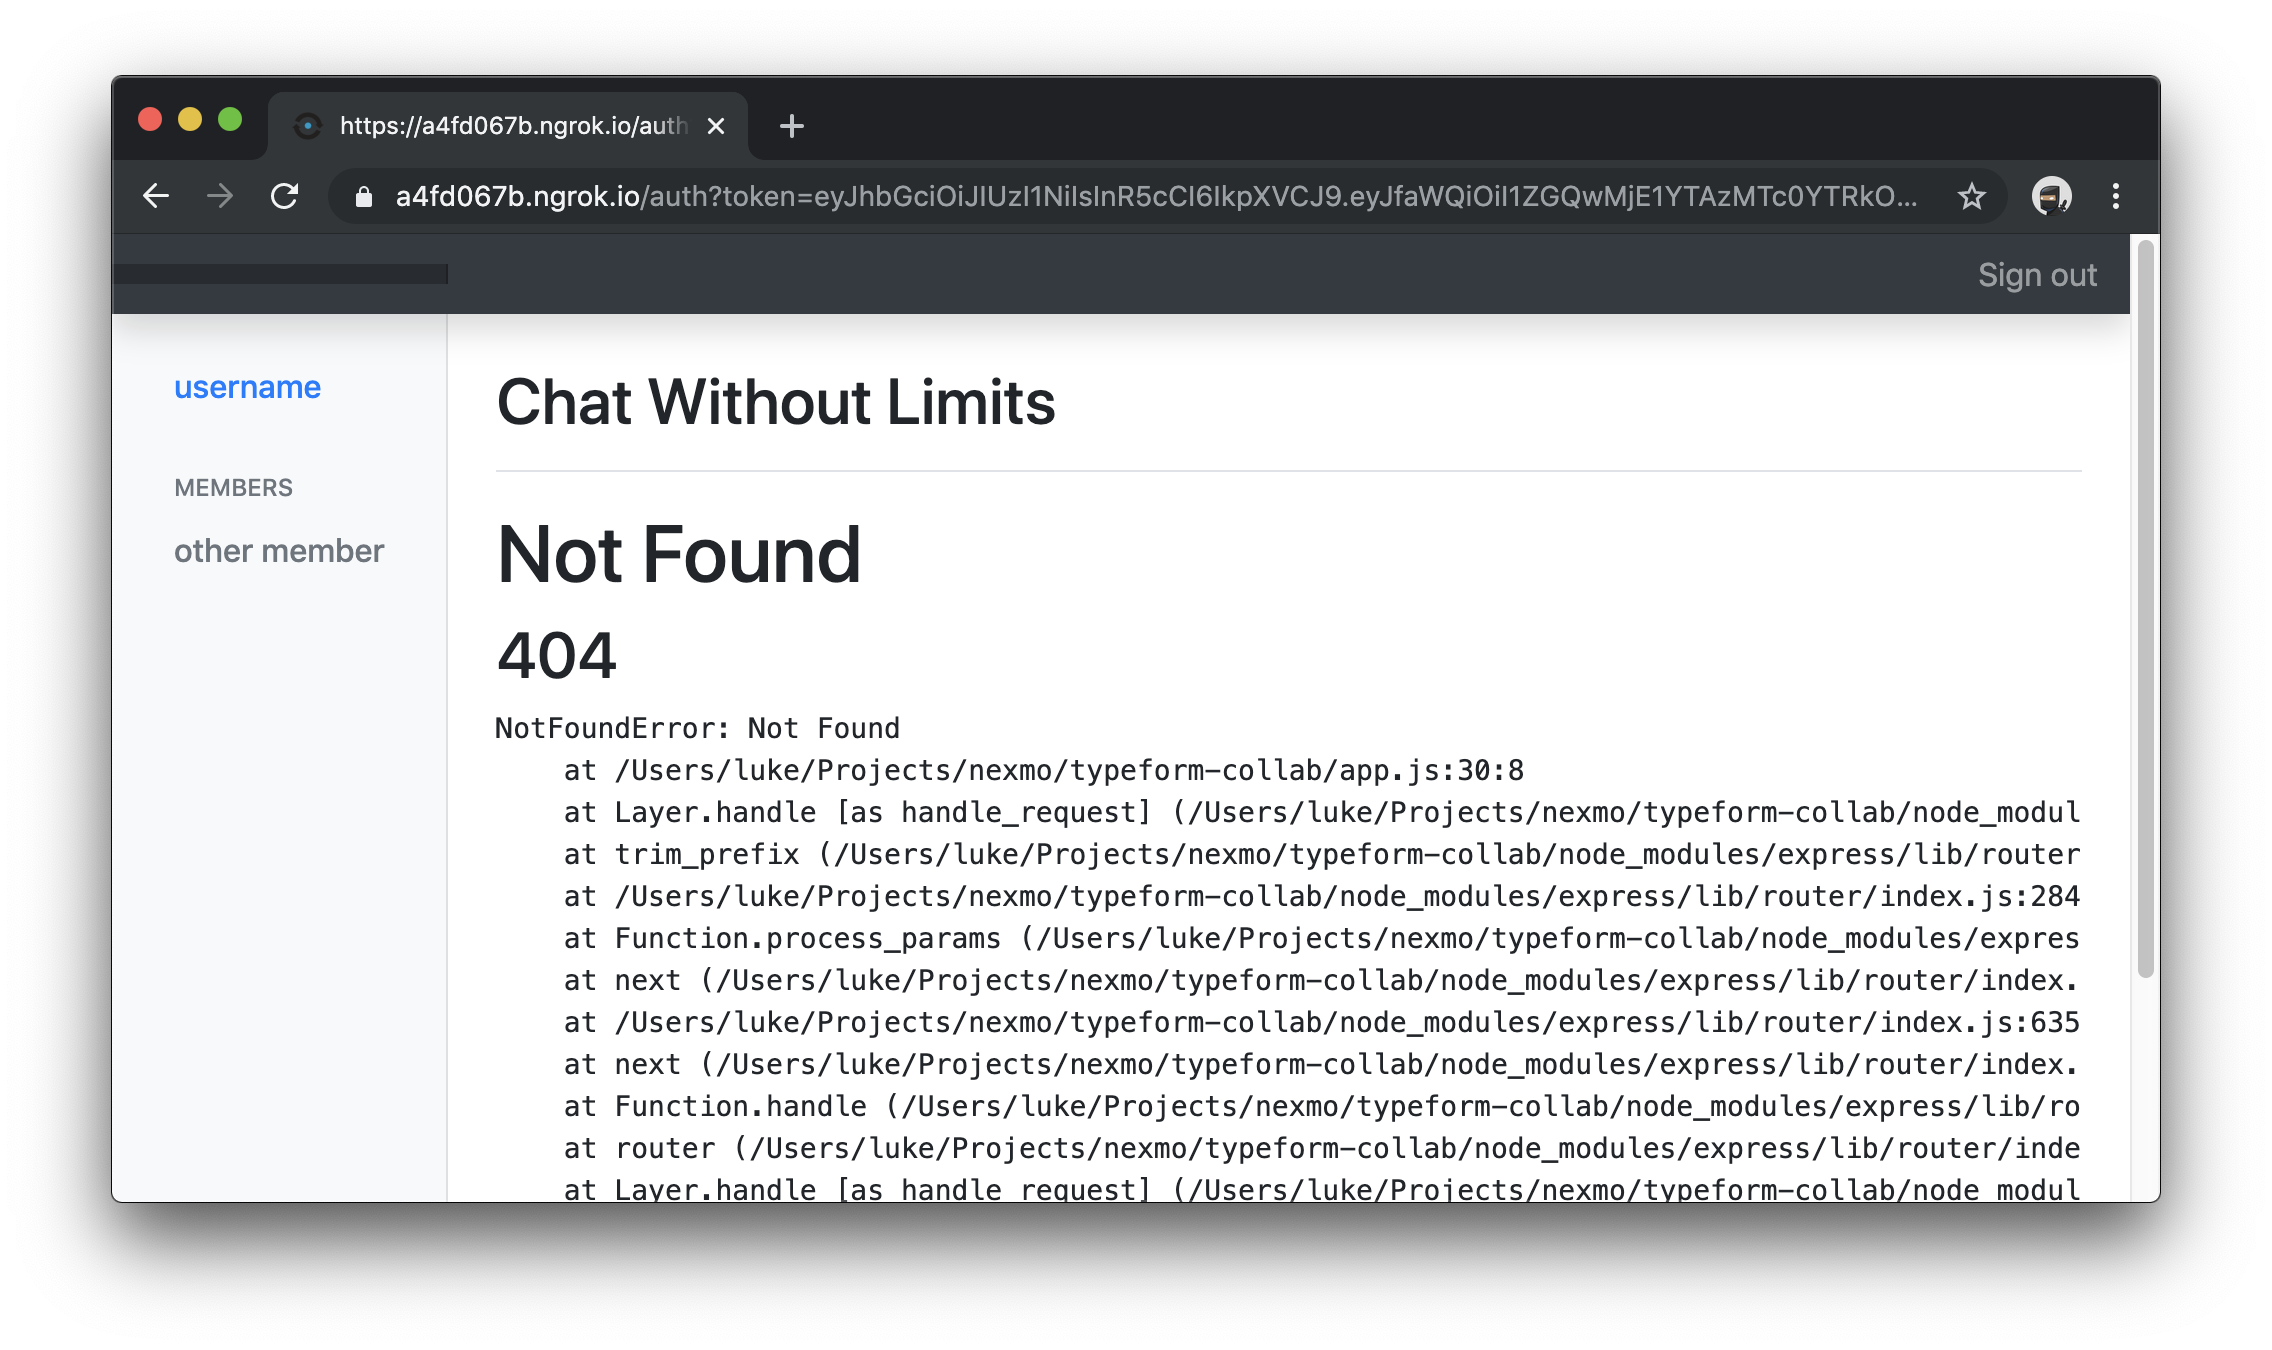 Magic link 404s
Passport.js describes itself as unobtrusive authentication for Node.js. It is incredibly flexible and modular and can be unobtrusively dropped into an application like this.
Install passport, the passport-jwt strategy and express-session so it can be used for authentication and maintaining a session.
Create a new file named routes/auth.js with this source code.
var express = require('express');
var router = express.Router();

/* GET authenticate user with magic link and direct to home */
router.get('/', (req, res, next) => {
  res.redirect(req.protocol + '://' + req.get('host') + '/');
});

module.exports = router;
This router is going to redirect you to the homepage. You'll only reach this router, though, if you're authorised by the JWT when you request the page.
Edit app.js and add this code to add passport authentication to a new auth route.
// ...

var indexRouter = require('./routes/index');
var webhookRouter = require('./routes/webhook');
var authRouter = require('./routes/auth');

// ...

var User = require('./models/user');
var session = require('express-session');
var passport = require('passport');
var jwtStrategy = require('passport-jwt').Strategy;
var jwtExtractor = require('passport-jwt').ExtractJwt;

app.use(session({
  secret: process.env.SECRET,
  resave: true,
  saveUninitialized: true
}));

app.use(passport.initialize());
app.use(passport.session());

passport.serializeUser((user, done) => {
  done(null, user._id);
});

passport.deserializeUser((id, done) => {
  User.findById(id, (err, user) => {
    done(err, user);
  });
});

passport.use(new jwtStrategy({
  jwtFromRequest: jwtExtractor.fromUrlQueryParameter('token'),
  secretOrKey: process.env.SECRET
}, (payload, done) => {
  return done(null, payload);
}))

app.use('/', indexRouter);
app.use('/webhooks', webhookRouter);
app.use('/auth', passport.authenticate('jwt', { session: true }), authRouter);

// ...
This code will authenticate any request to the /auth endpoint using the JWT extractor from passport-jwt strategy. It will try to validate the token from a query string parameter.
Once authenticated, the application will create a session and the user data becomes available as req.user.
To test this, edit routes/index.js and add this code before the res.render() line.
console.log(req.user);Now, restart the application and generate a magic link using your Typeform request. When you click on the link, you're redirected back to the chat after authentication. But in your console, you'll have output some user data that looks like this:
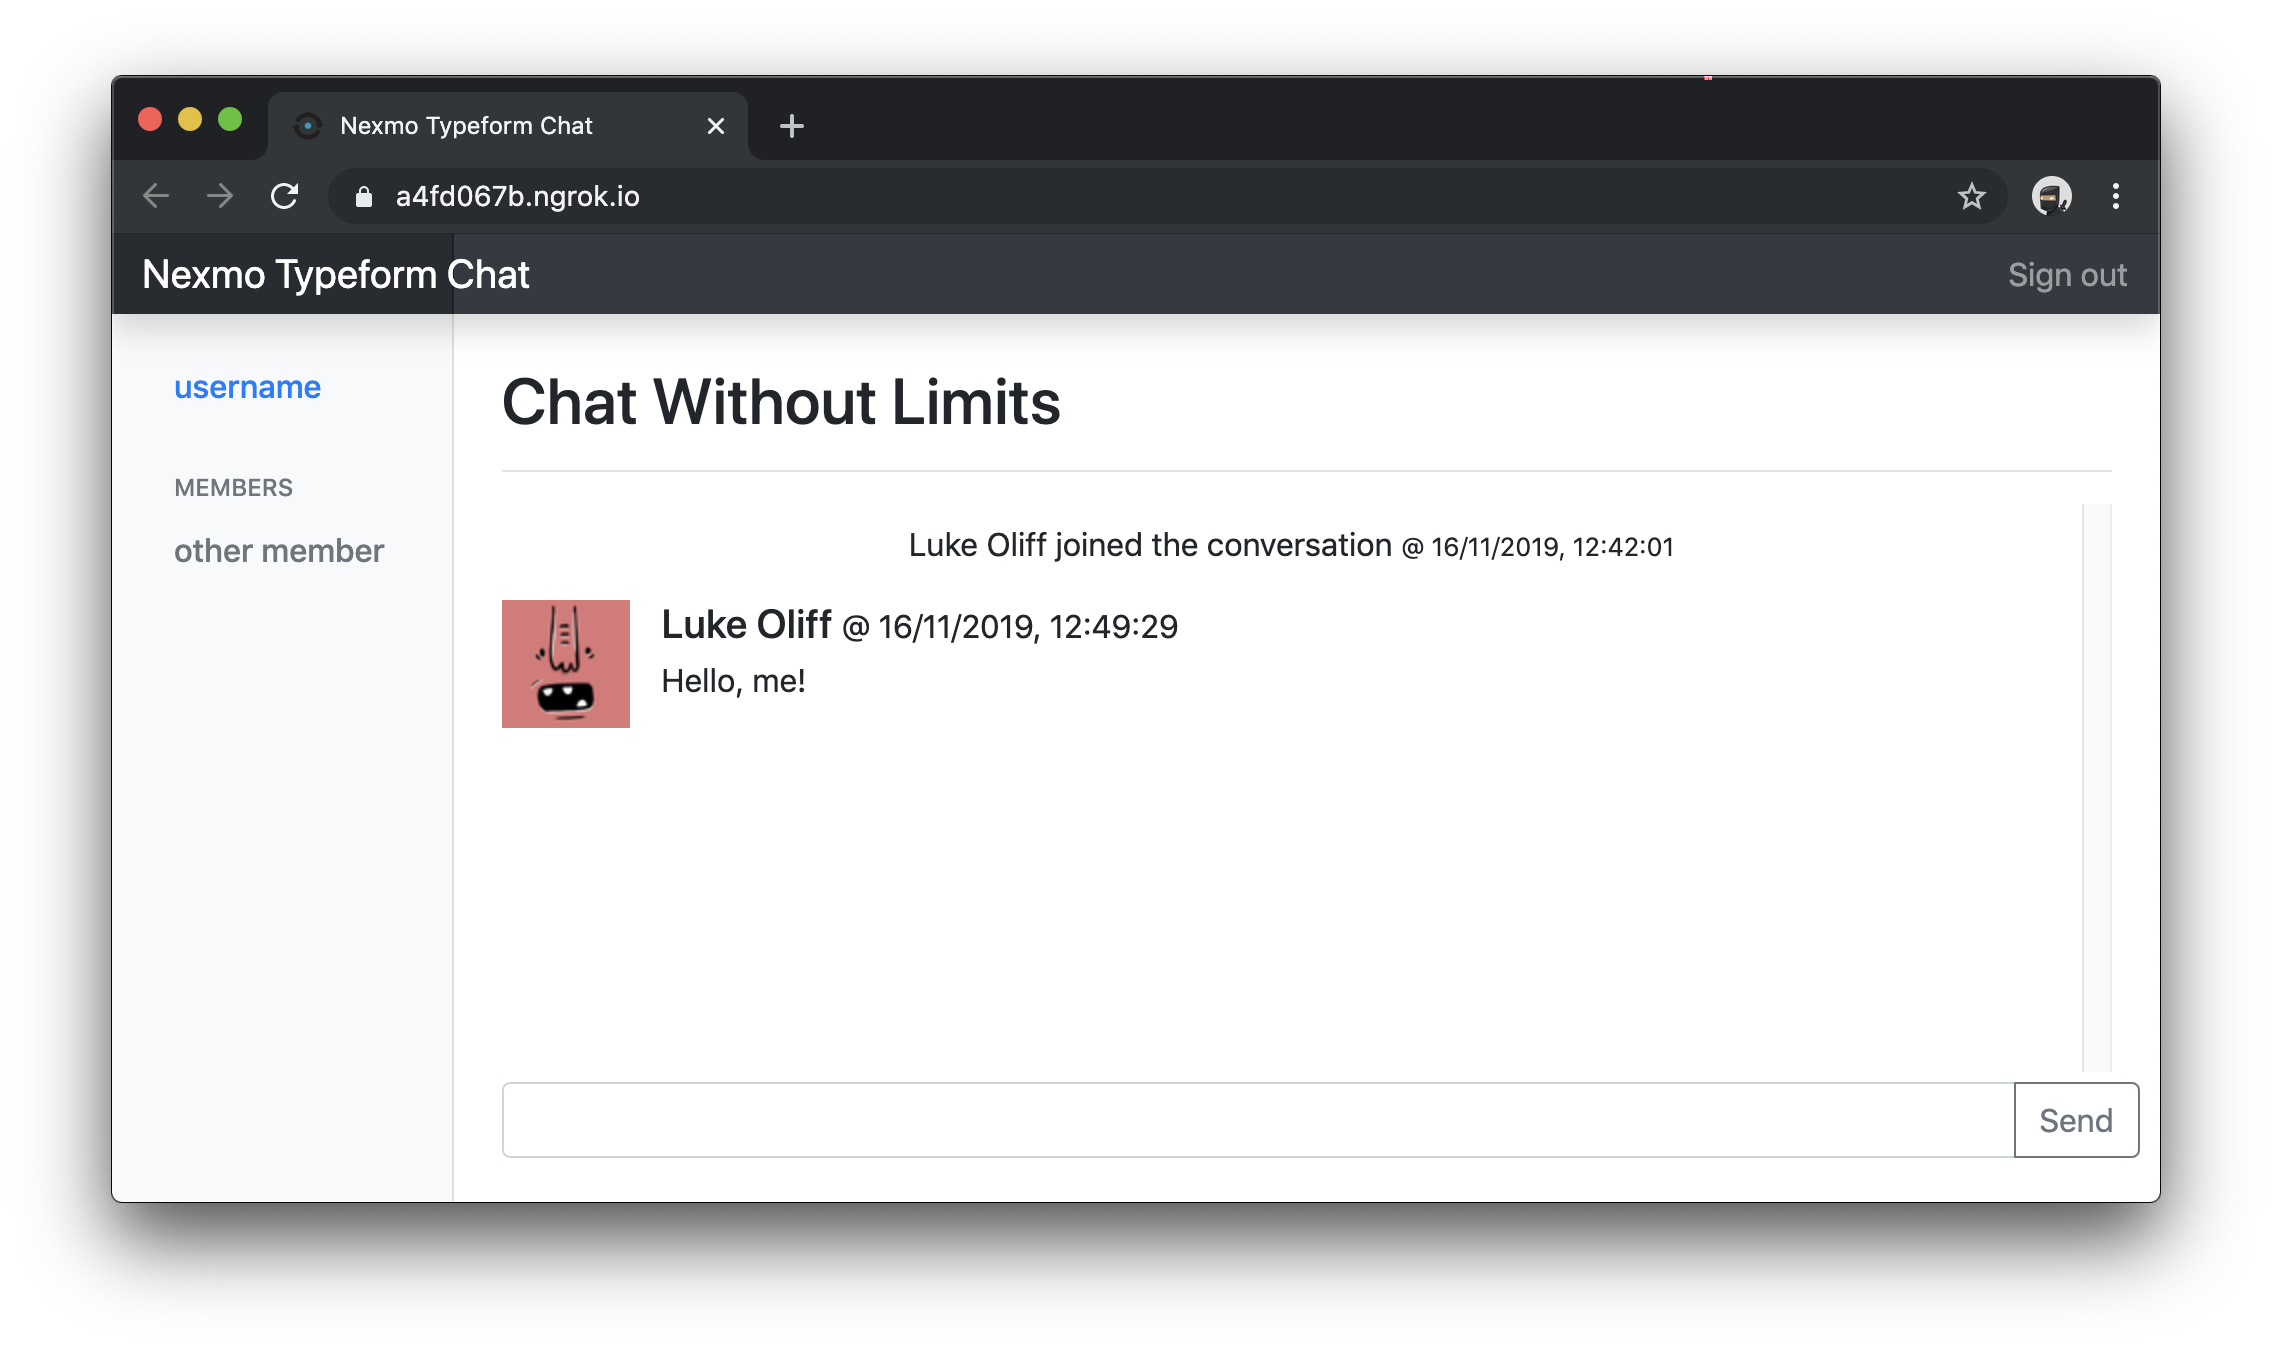 Logged in but nothing has changed
Make sure no one can access the chat, unless they're authenticated, by editing the routes/index.js to look exactly like this.
var express = require('express');
var router = express.Router();
require('dotenv').config();

var isAuthenticated = (req, res, next) => {
  if(req.isAuthenticated()){
    next();
  } else{
    res.redirect(process.env.FORM_URL);
  }
}

/* GET home */
router.get('/', isAuthenticated, (req, res, next) => {
  res.render('index', { title: 'Nexmo Typeform Chat', user: req.user.display_name });
});

module.exports = router;
Removing the console.log output you just added above; the chat will no longer log the current user data to console. Instead, the display name is added to the scope of the templates to render. This change will also redirect to the Typeform if they're not logged in.
Edit views/layout.hbs and output the display name. Find username and replace it with {{user}}, the surrounding code should end up looking like this.
<ul class="nav flex-column">
              <li class="nav-item">
                <a class="nav-link active" href="#">
                  <span data-feather="home"></span>
                  {{user}}
                </a>
              </li>
</ul>When they're logged in, let's also show the members of chat (out of the database) on the page. Edit routes/index.js and wrap the res.render in the User.find which returns all the registered users.
// ...
var User = require('../models/user');

// ...

/* GET home */
router.get('/', isAuthenticated, (req, res, next) => {
  User.find((err, users) => {
    res.render('index', { title: 'Nexmo Typeform Chat', members: users, user: req.user.display_name });
  })
});
Edit views/layout.hbs again and find this entire block:
{{!-- {{#each members}} --}}
              <li class="nav-item">
                <a class="nav-link text-muted" href="#">
                  <span data-feather="file-text"></span>
                  other member
                </a>
              </li>
{{!-- {{/each}} --}}Replace it with this functional code.
{{#each members}}
              <li class="nav-item">
                <a class="nav-link text-muted" href="#">
                  <span data-feather="file-text"></span>
                  {{this.display_name}}
                </a>
              </li>
{{/each}}Restart the application and access it once again through your magic link. Now, you should see some user information on the page.
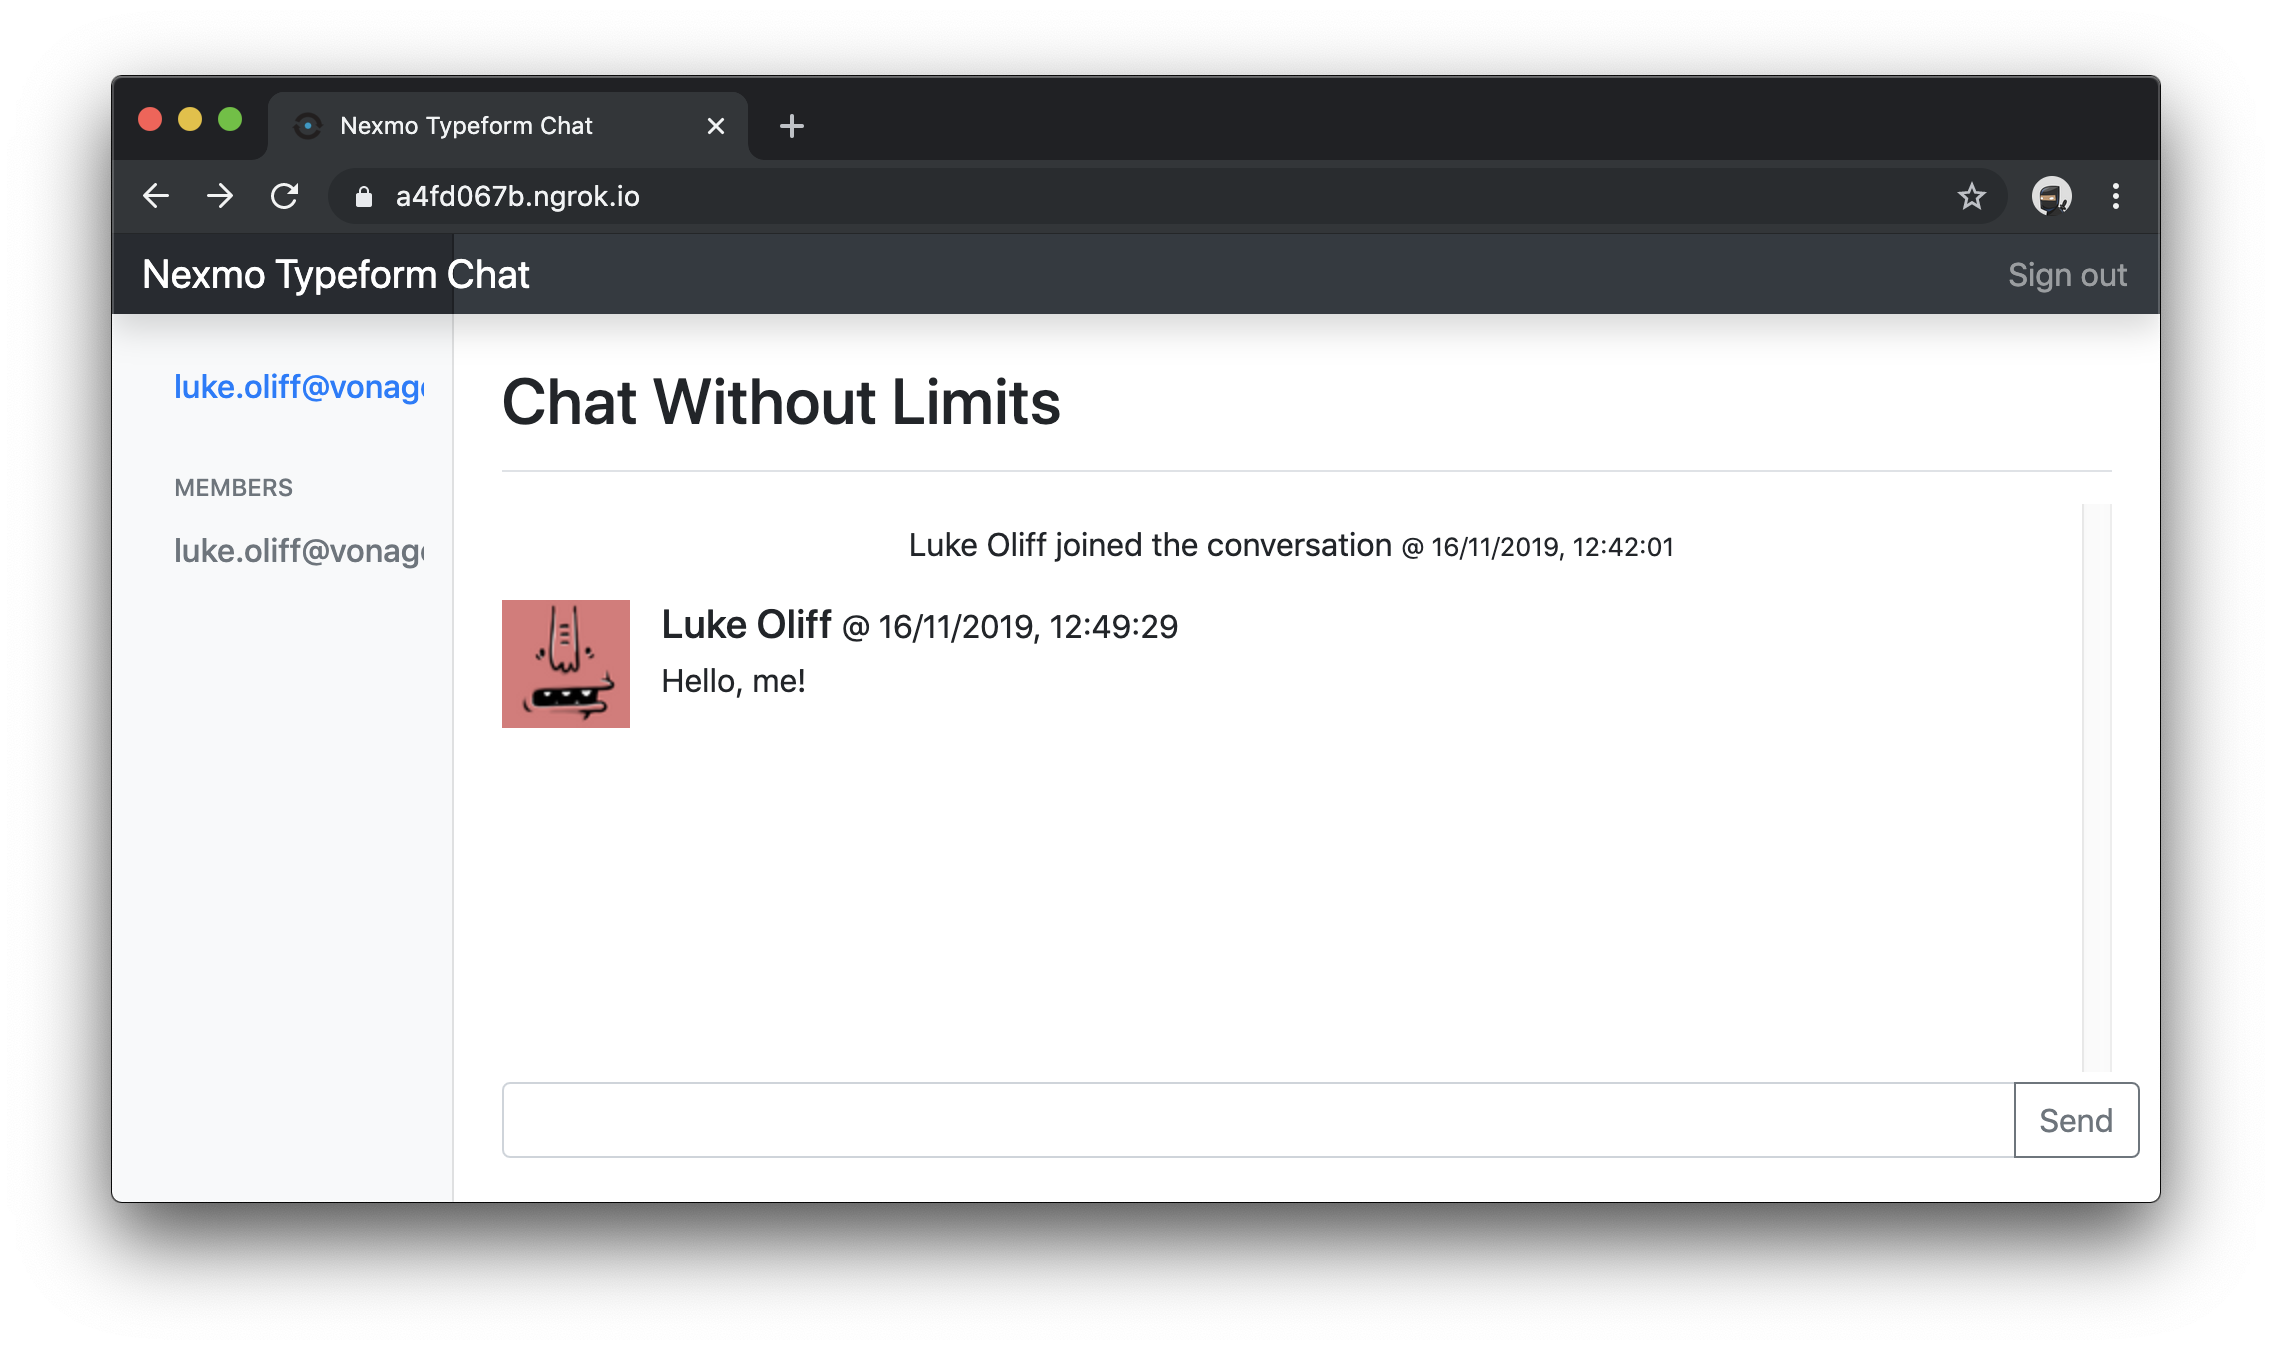 Logged in with user info
You're still accessing chat on the using the hardcoded test data. It's time to register your users to Nexmo and let them access the conversation, too.
At the moment you have users signing up but only using the chat through your hardcoded user information.
At this point, you're going to start interacting with the Nexmo service from within your node application for the first time.
Install nexmo now with this command.
Configure some variables for Nexmo inside your environment file .env. You'll need the same API key and secret you used to configure nexmo-cli at the very start. You'll also need the application ID and private key path from when you ran nexmo app:create, as well as the conversation ID from when you ran nexmo conversation:create.
Create a utility file at util/nexmo.js that is going to configure the nexmo library.
const Nexmo = require('nexmo');
require('dotenv').config();

let options = {};

module.exports = new Nexmo({
    apiKey: process.env.NEXMO_API_KEY,
    apiSecret: process.env.NEXMO_API_SECRET,
    applicationId: process.env.NEXMO_APP_ID,
    privateKey: process.env.NEXMO_PRIVATE_KEY_PATH
  }, options);
First thing is first, you need to create a Nexmo user in parallel to your local user when they sign up.
Edit routes/webhook.js and completely replace the file with this code:
var express = require('express');
var router = express.Router();
var jwt = require('jsonwebtoken');
require('dotenv').config();

var User = require('../models/user');
var nexmo = require('../util/nexmo');

var createMagicLink = (req, payload) => {
  var token = jwt.sign(payload, process.env.SECRET);

  return `${req.protocol}://${req.get('host')}/auth?token=${token}`;
}

/* POST webhook generates a magic link email to the provided email address */
router.post('/magiclink', (req, res, next) => {
  // find answers from the typeform response
  let { answers } = req.body.form_response;

  const answer = answers
    .find(answer => process.env.FORM_FIELD_TYPE === answer.type && answer.field.ref === process.env.FORM_FIELD_REF);

  // it'll probably be an email
  const email = answer[process.env.FORM_FIELD_TYPE];

  User.findOne({ name: email }, (err, user) => {
    // error handling here

    // if we can't find an existing user, prepare a new user document
    if (null === user) {
      user = new User({
        name: email,
        email: email,
        display_name: email
      });
    }

    if (null === user.user_id) {
      nexmo.users.create(user.toObject(), (err, nexmoUser) => {
        // error handling here

        user.user_id = nexmoUser.id;

        nexmo.conversations.members.create(process.env.NEXMO_CONVERSATION_ID, {
          action: 'join',
          user_id: nexmoUser.id,
          channel: { type: 'app' }
        }, (err, member) => {
          // error handling here

          user.member_id = member.id;

          user.save((err) => {
            // error handling here

            console.log(createMagicLink(req, user.toObject()));

            res.sendStatus(200);
          });
        });
      });
    } else {
      console.log(createMagicLink(req, user.toObject()));

      res.sendStatus(200);
    }
  });
});

module.exports = router;
This new webhook code is going to check for a database user and create one where it's new, just as it had before. But now, it will create a Nexmo user and connect the user to the conversation, updating their database record with the Nexmo user ID and a member ID.
Restart the application and generate a new magic link for your user. Click it to authenticate. It will now see there is no Nexmo user, create one, add it to the conversation, and save it to the user record.
When redirected to the chat application, you'll now see that your created user has joined the conversation. You're still chatting as your hardcoded user, though.
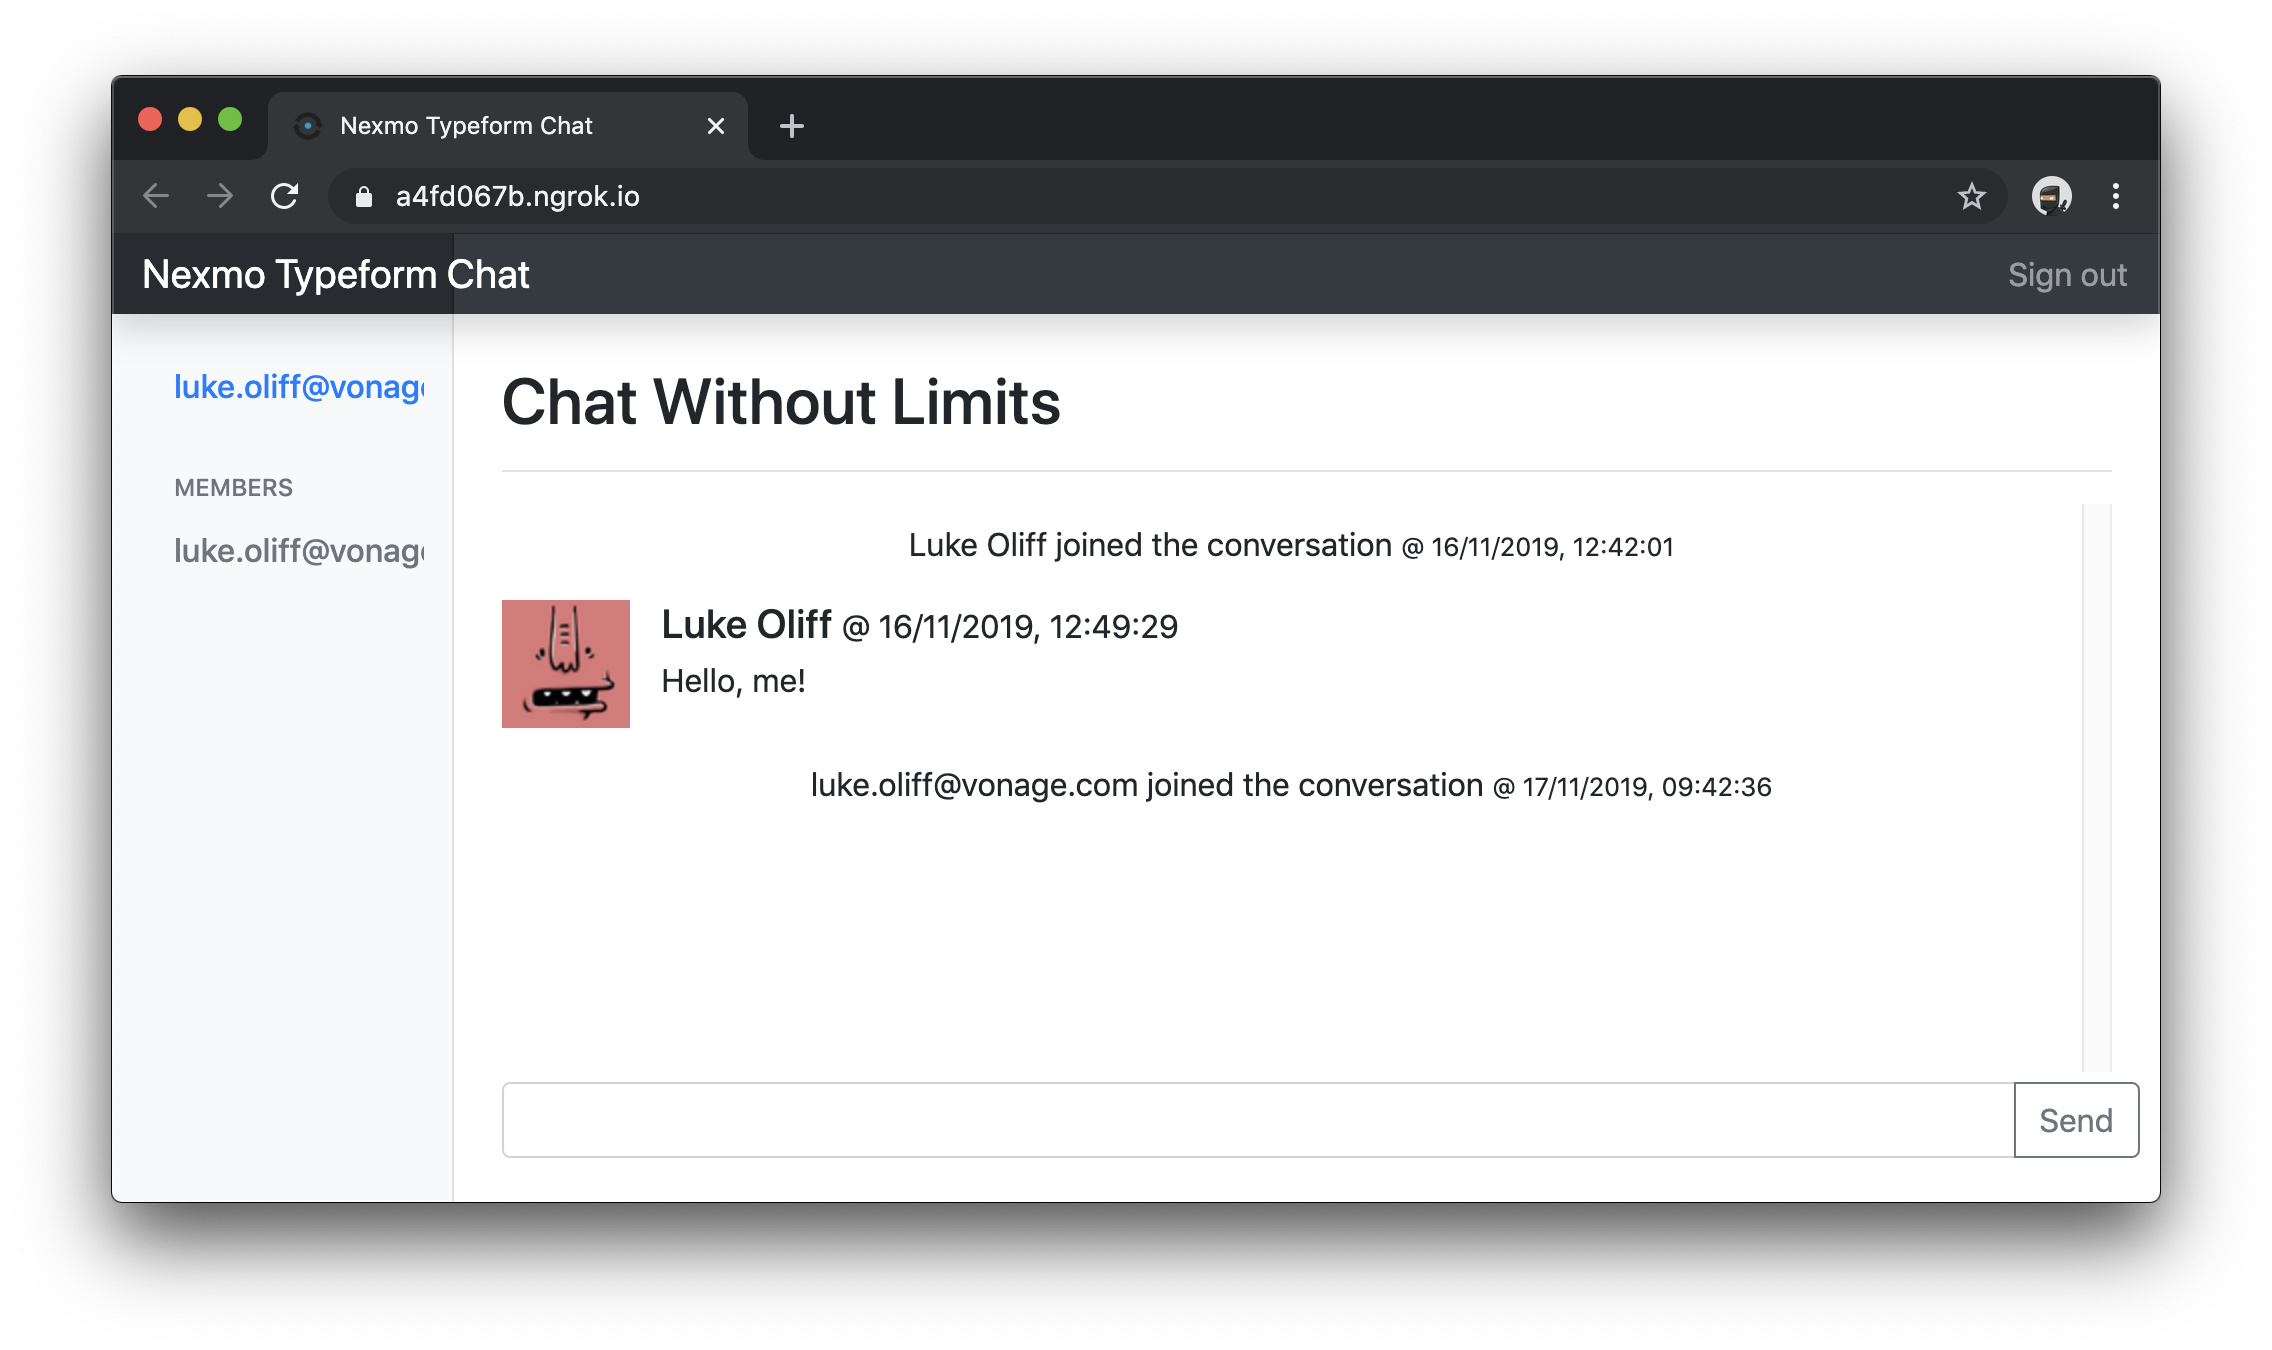 New user joins the conversation
Your users can sign up, login and even join the conversation. But right now, they'll only chat using hardcoded user data. It's time to fix that and allow them to talk as themselves.
Open routes/index.js and create a new route /jwt, because primarily you'll expose a new JWT specifically for the Nexmo service, usable by the Client SDK.
// ...
var nexmo = require('../util/nexmo');

/* GET home */
// ...

/* GET user data and jwt */
router.get('/jwt', isAuthenticated, (req, res, next) => {
  const aclPaths = {
    "paths": {
      "/*/users/**": {},
      "/*/conversations/**": {},
      "/*/sessions/**": {},
      "/*/devices/**": {},
      "/*/image/**": {},
      "/*/media/**": {},
      "/*/push/**": {},
      "/*/knocking/**": {}
    }
  };

  const expires_at = new Date();
  expires_at.setDate(expires_at.getDate() + 1);

  const jwt = nexmo.generateJwt({
    application_id: process.env.NEXMO_APP_ID,
    sub: req.user.name,
    exp: Math.round(expires_at/1000),
    acl: aclPaths
  });

  res.json({
    user_id: req.user.user_id,
    name: req.user.name,
    member_id: req.user.member_id,
    display_name: req.user.display_name,
    client_token: jwt,
    conversation_id: process.env.NEXMO_CONVERSATION_ID,
    expires_at: expires_at
  });
})

// ...This new route uses the users existing session to provide data to the browser. The homepage provides this as HTML, but this new endpoint returns JSON.
Restart the application, follow the magic link and then browse to https://<your_url>.ngrok.io/jwt. You'll see information based on your current user, including a client_token to use in the Client SDK.
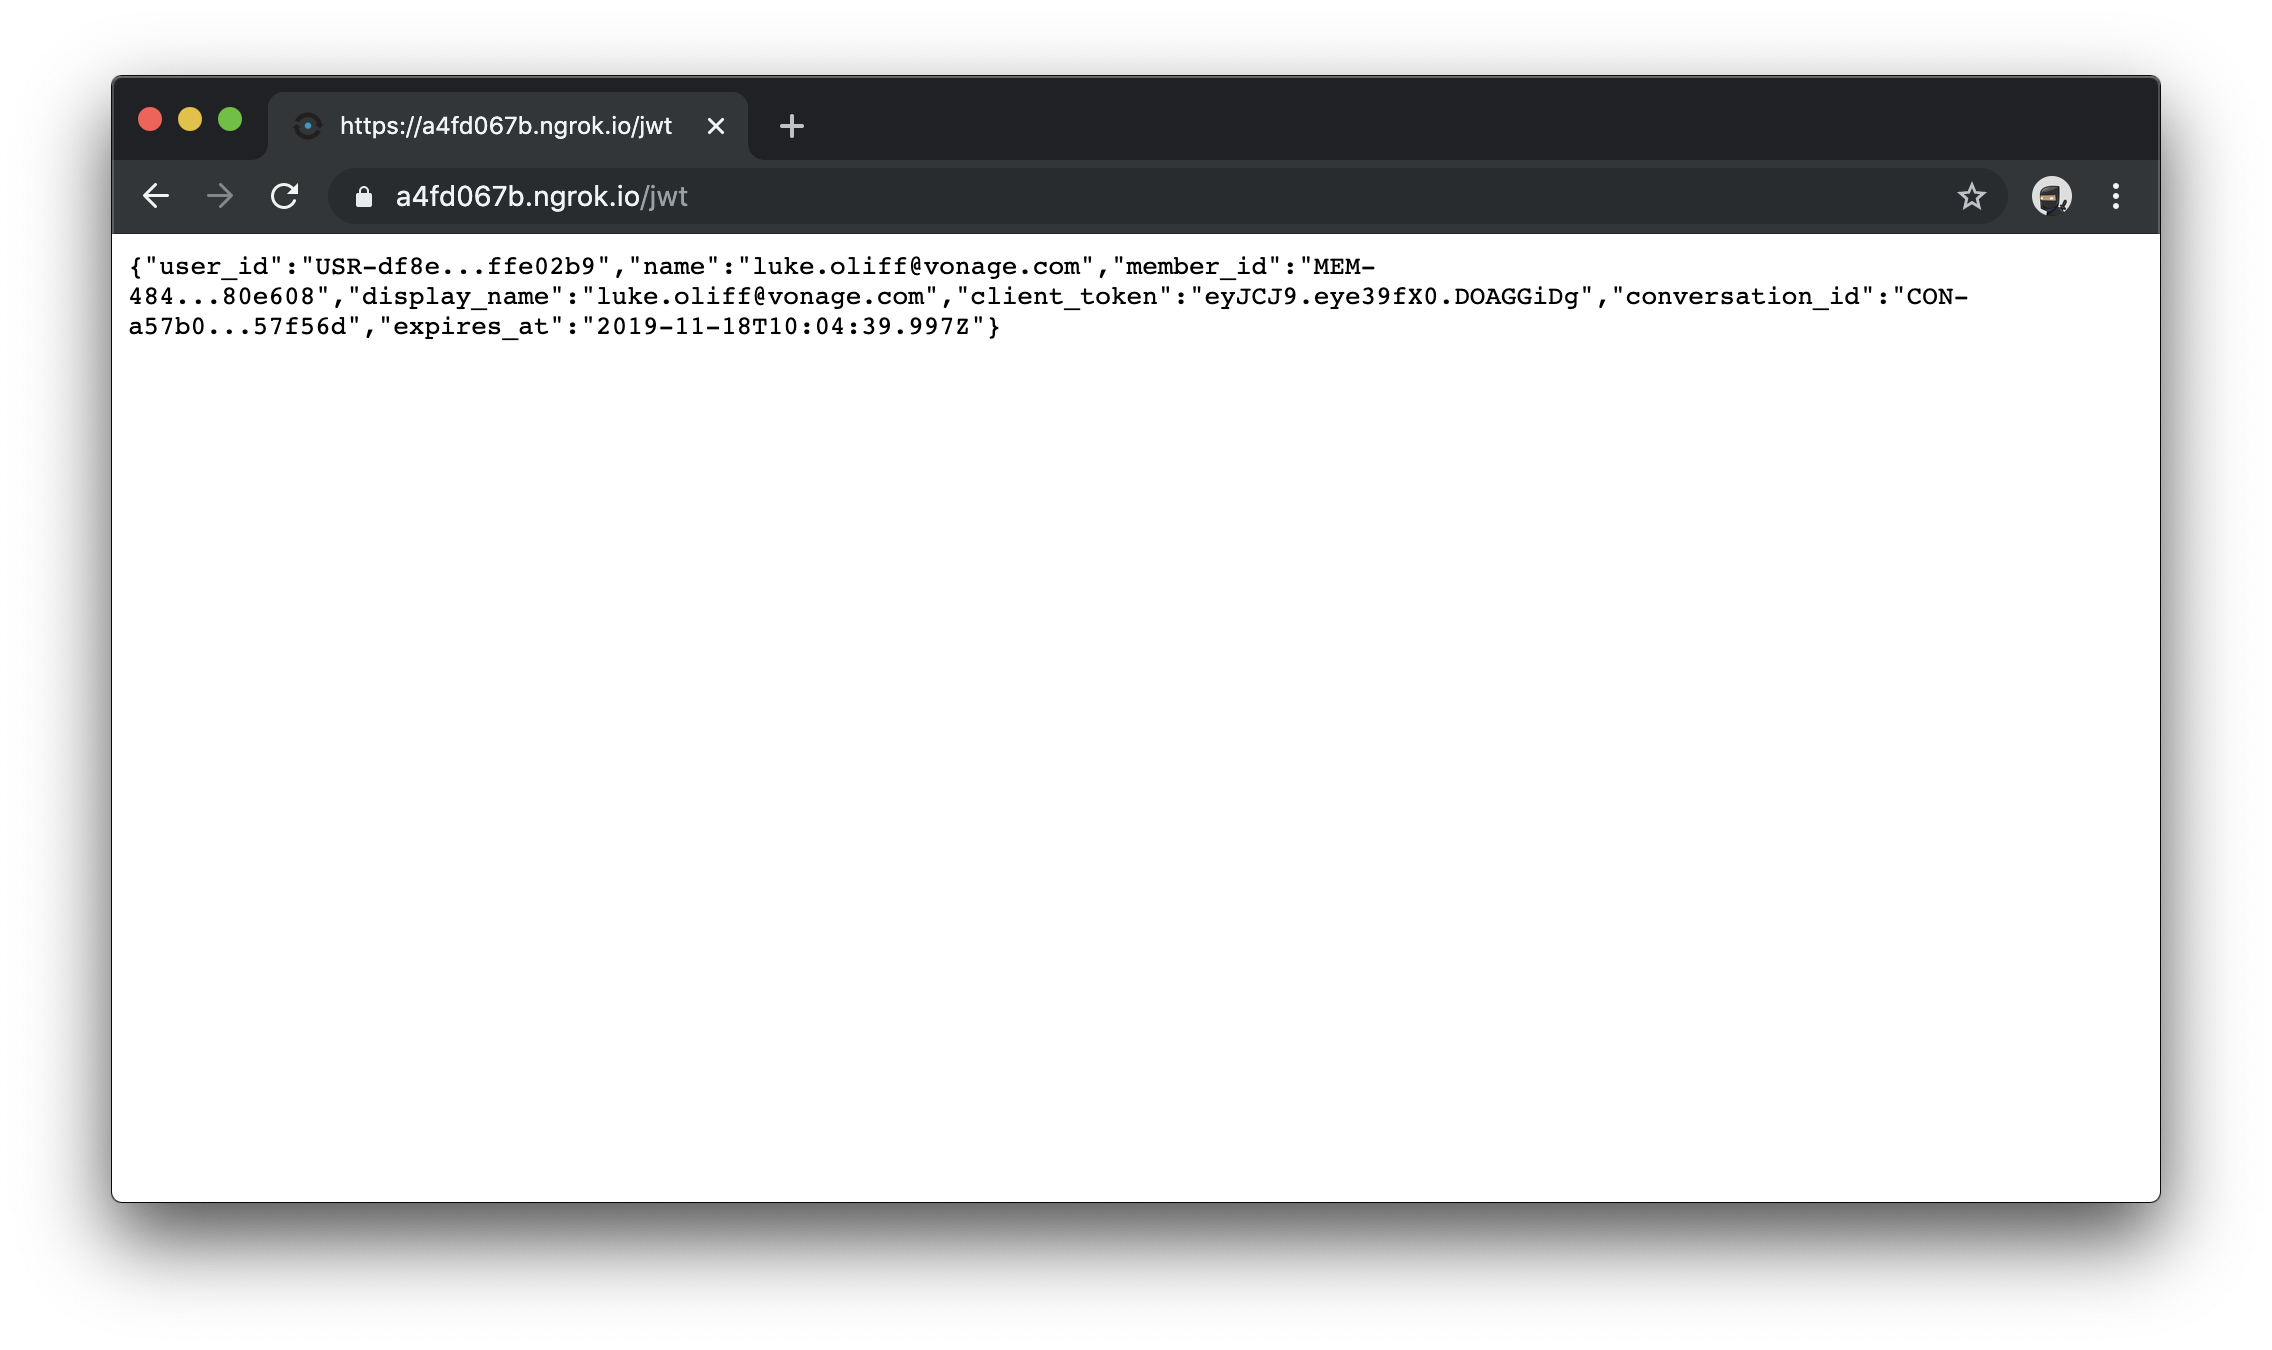 JWT endpoint shares client token
It is time to stop hardcoding config inside the application. Edit the views/layout.hbs file, finding the configuration you added inside the <script> tags. It looked something like this.
<script>
      var userName = 'luke.oliff@vonage.com';
      var displayName = 'Luke Oliff';
      var conversationId = 'CON-123...y6346';
      var clientToken = 'eyJhbG9.eyJzdWIiO.Sfl5c';
</script>Delete the script tags and their contents, totally.
If you want to see what it's done to your app, restart and authenticate to find that it's almost back to the very beginning, with broken chat. At least you're still logged in!
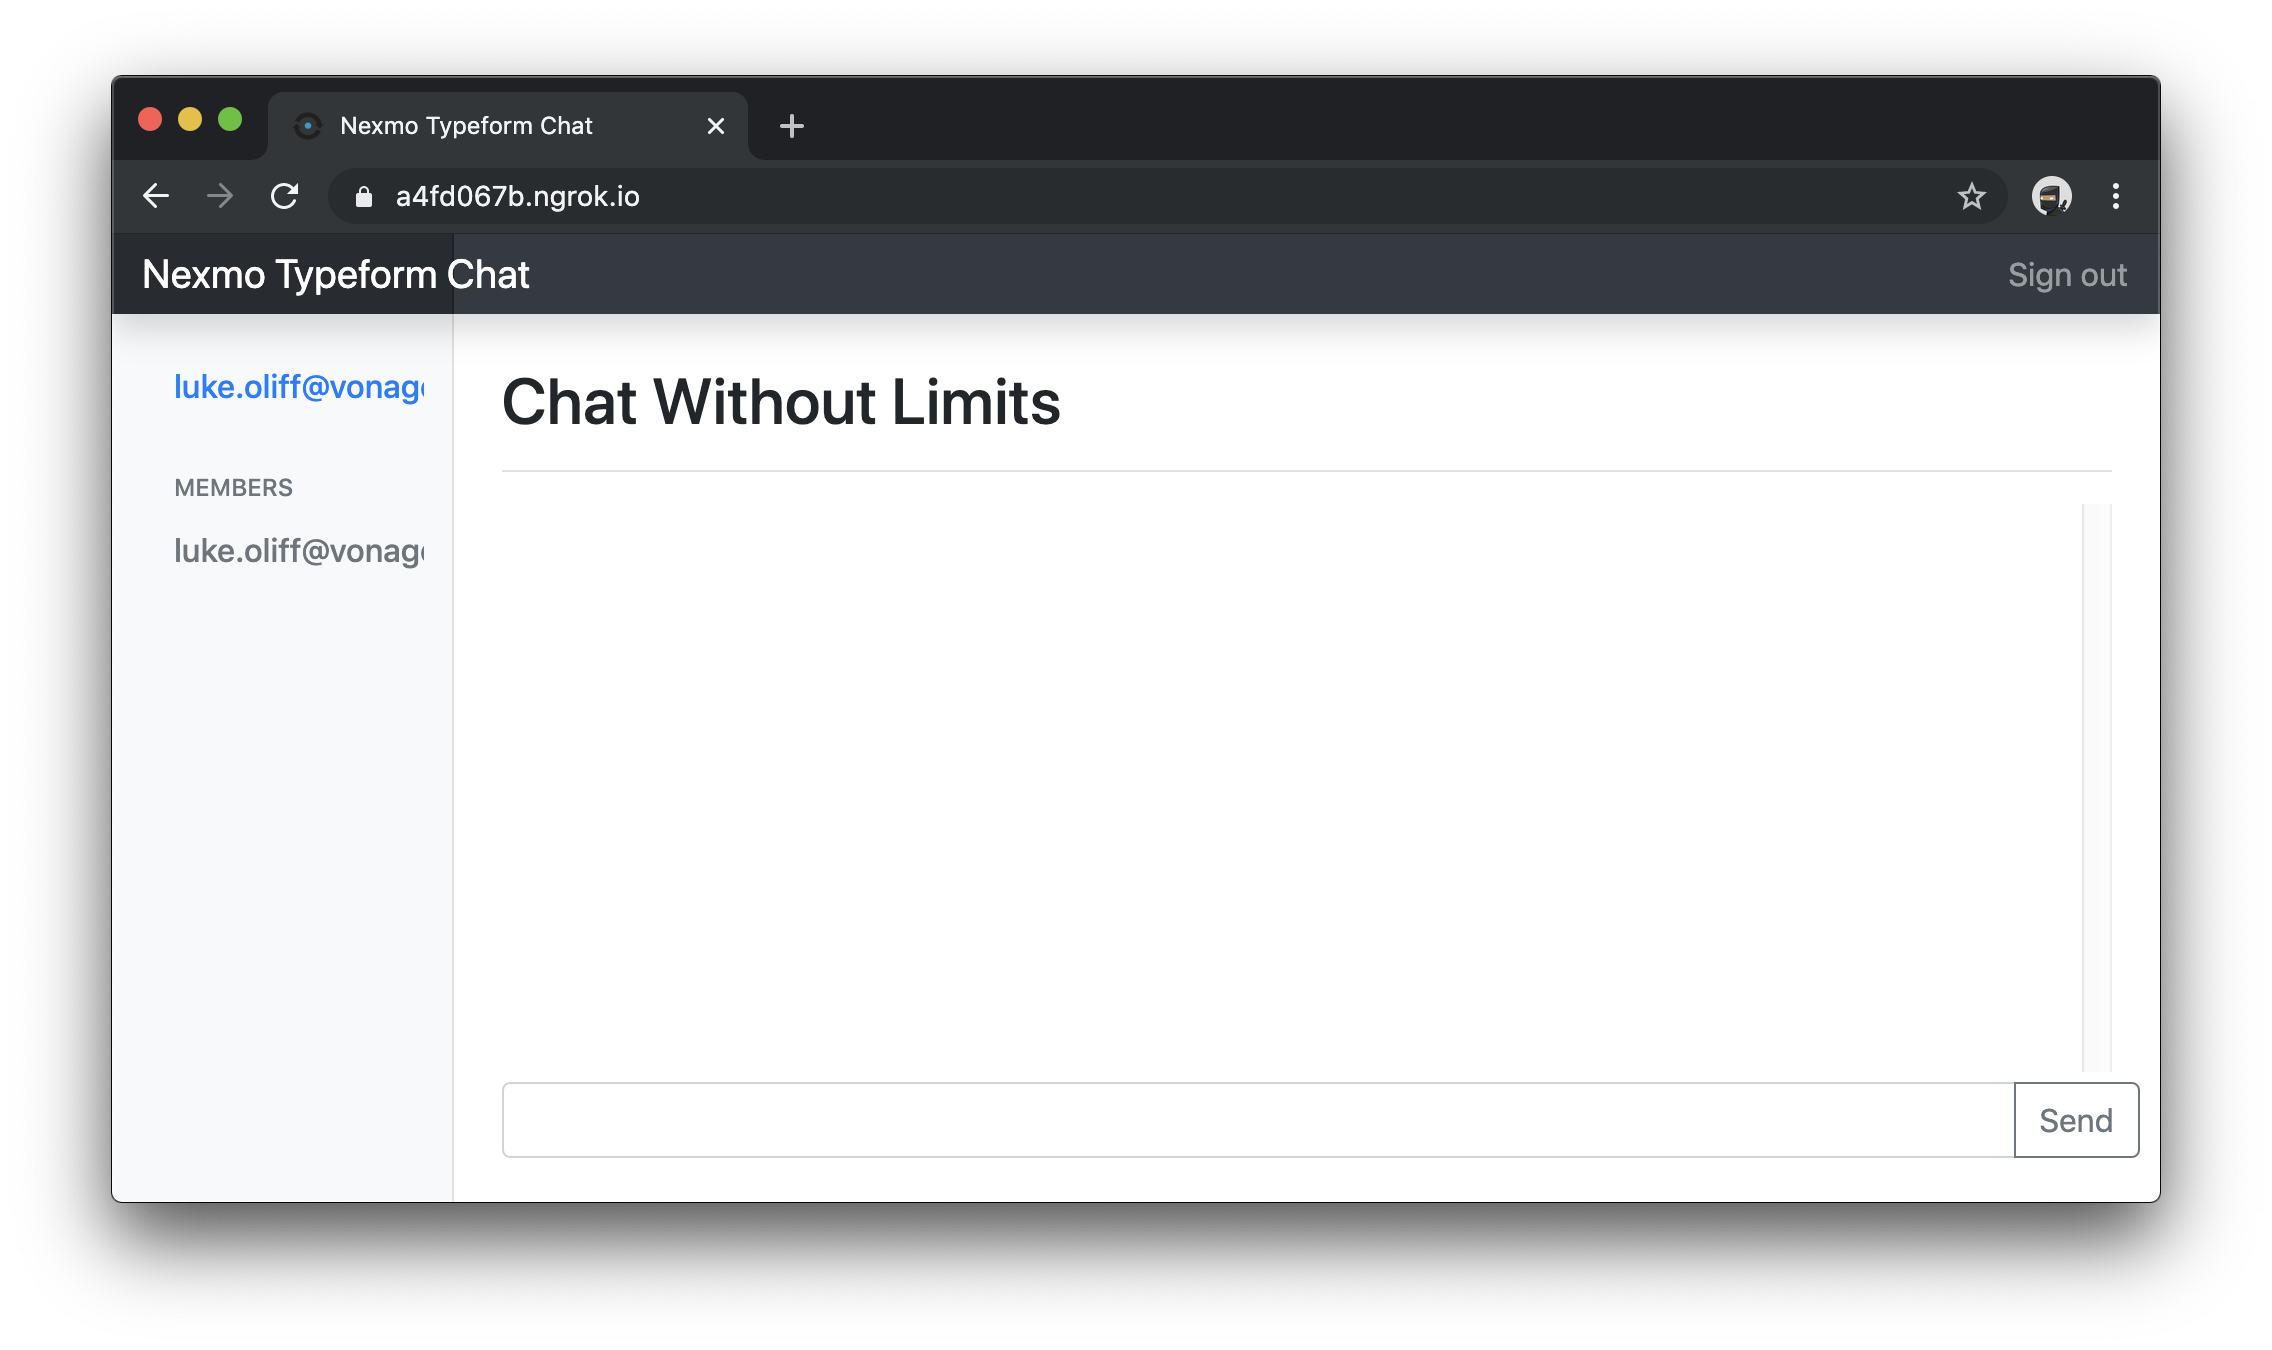 Logged in with broken chat
You can access the user's client token from a URL as JSON data. So, edit public/javascripts/chat.js and change the authenticateUser method so that it fetches this data, to use it when connecting to the conversation.
// ...

  authenticateUser() {
    var req = new XMLHttpRequest();
    req.responseType = 'json';
    req.open('GET', '/jwt', true);

    var obj = this;
    req.onload  = function() {
       obj.joinConversation(req.response);
    };

    req.send(null);
  }

// ...Restart the application, authenticate and enjoy a quick game of spot the difference!
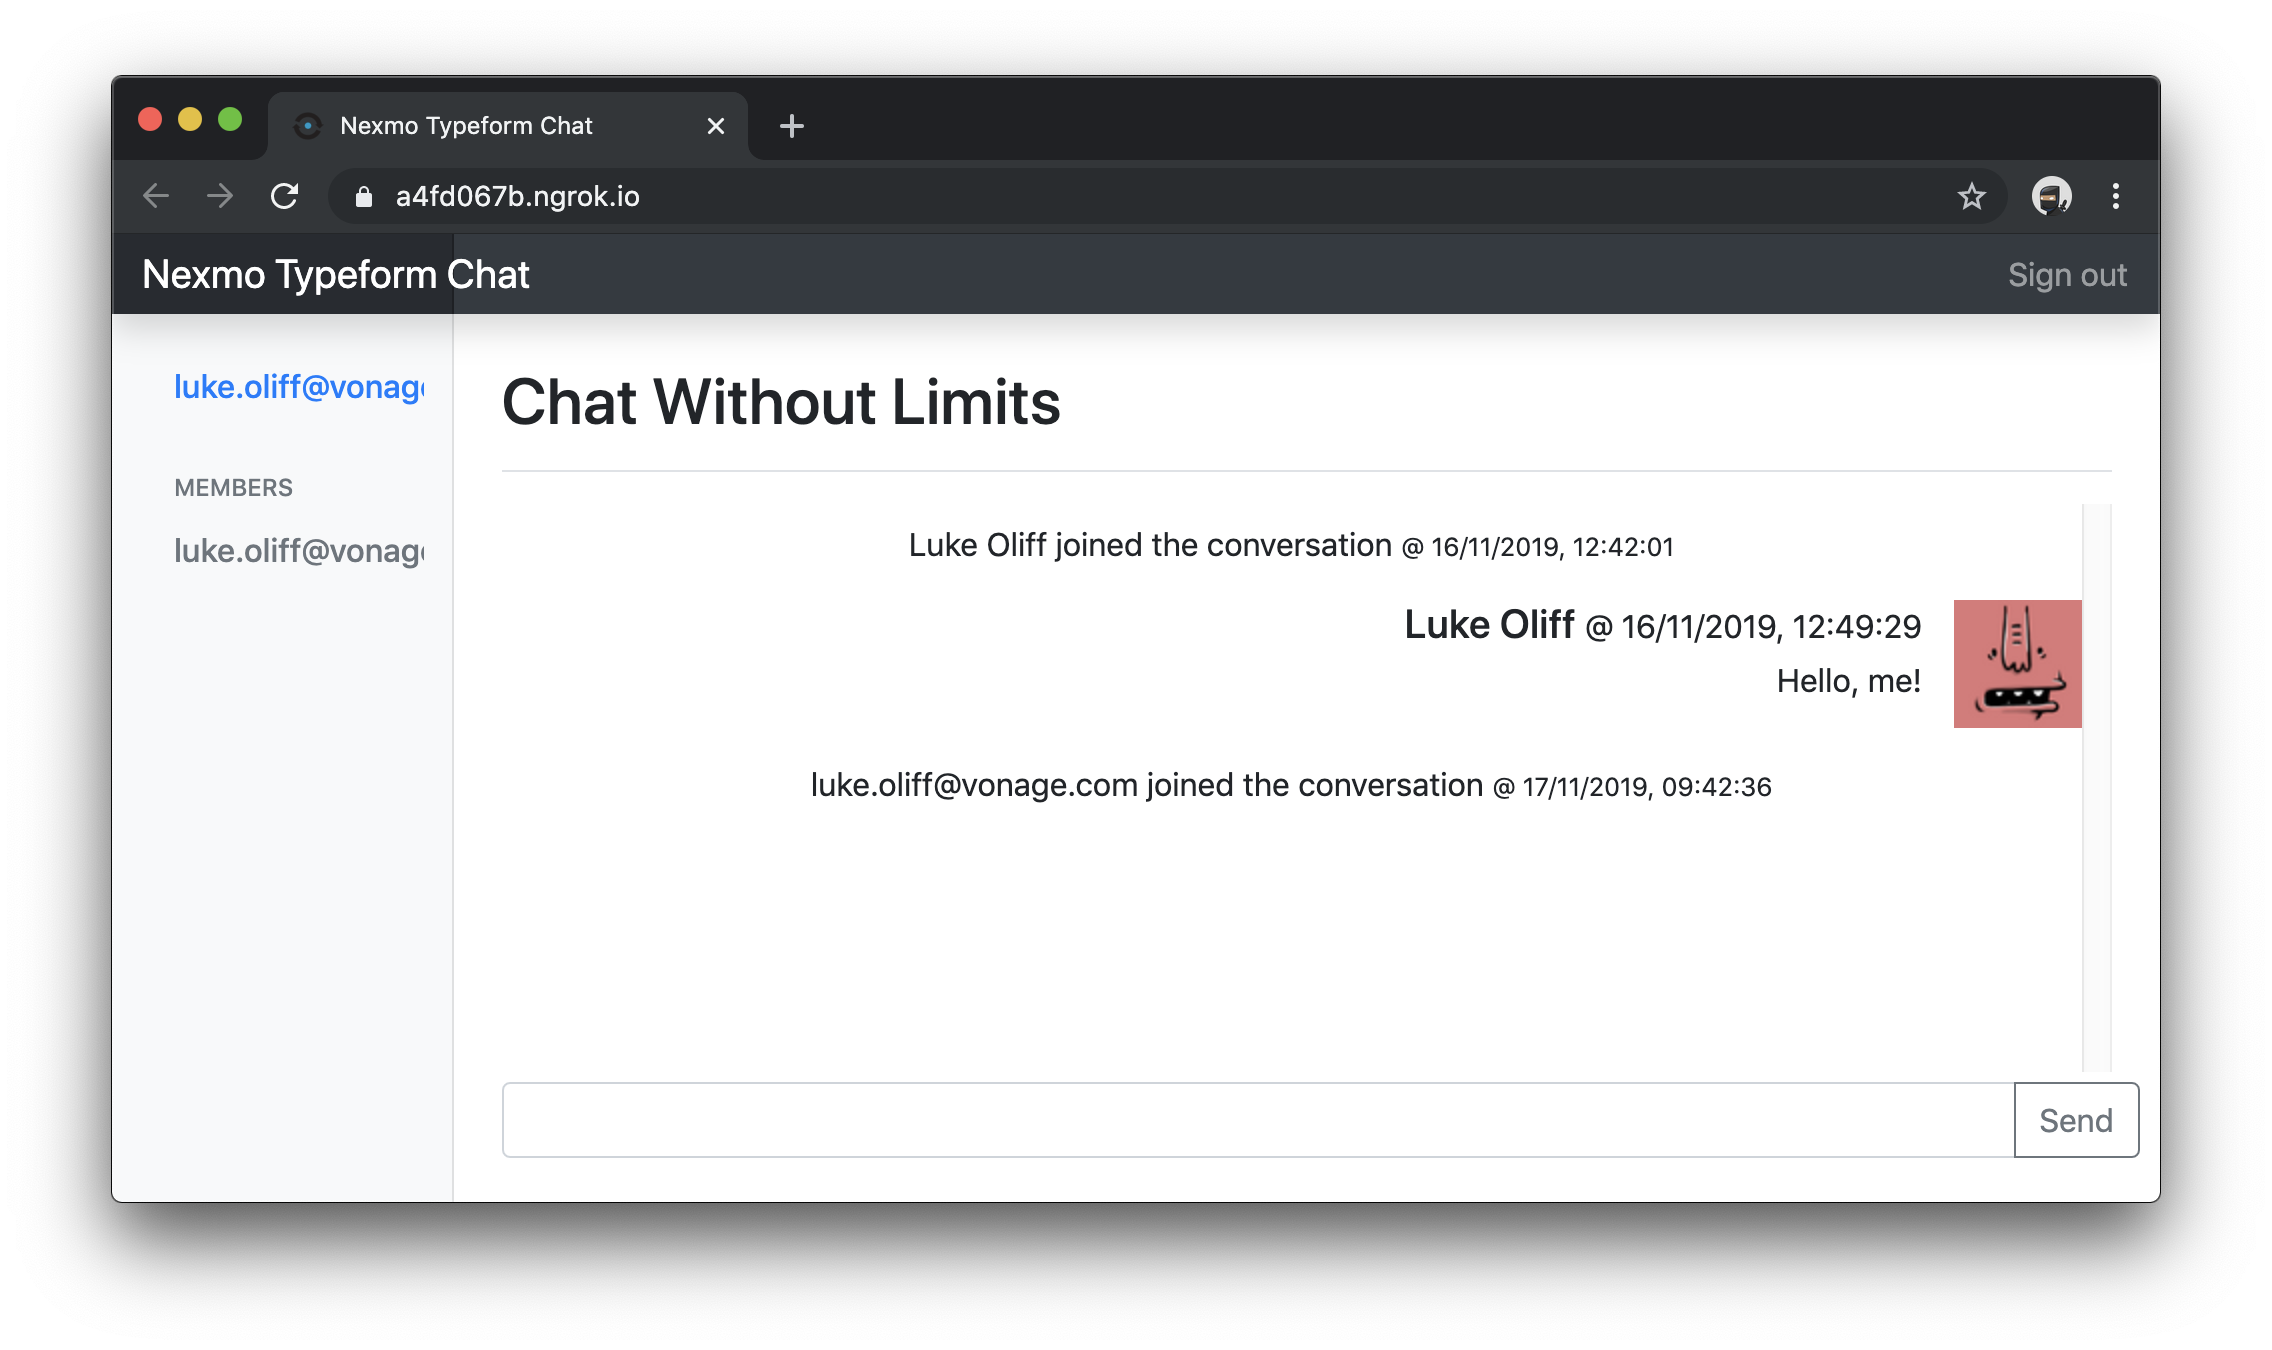 Logged in with Nexmo user
You see, now you're logged in as a different user. Messages from other users are formatted differently. So when you join in the conversation, it'll look like this.
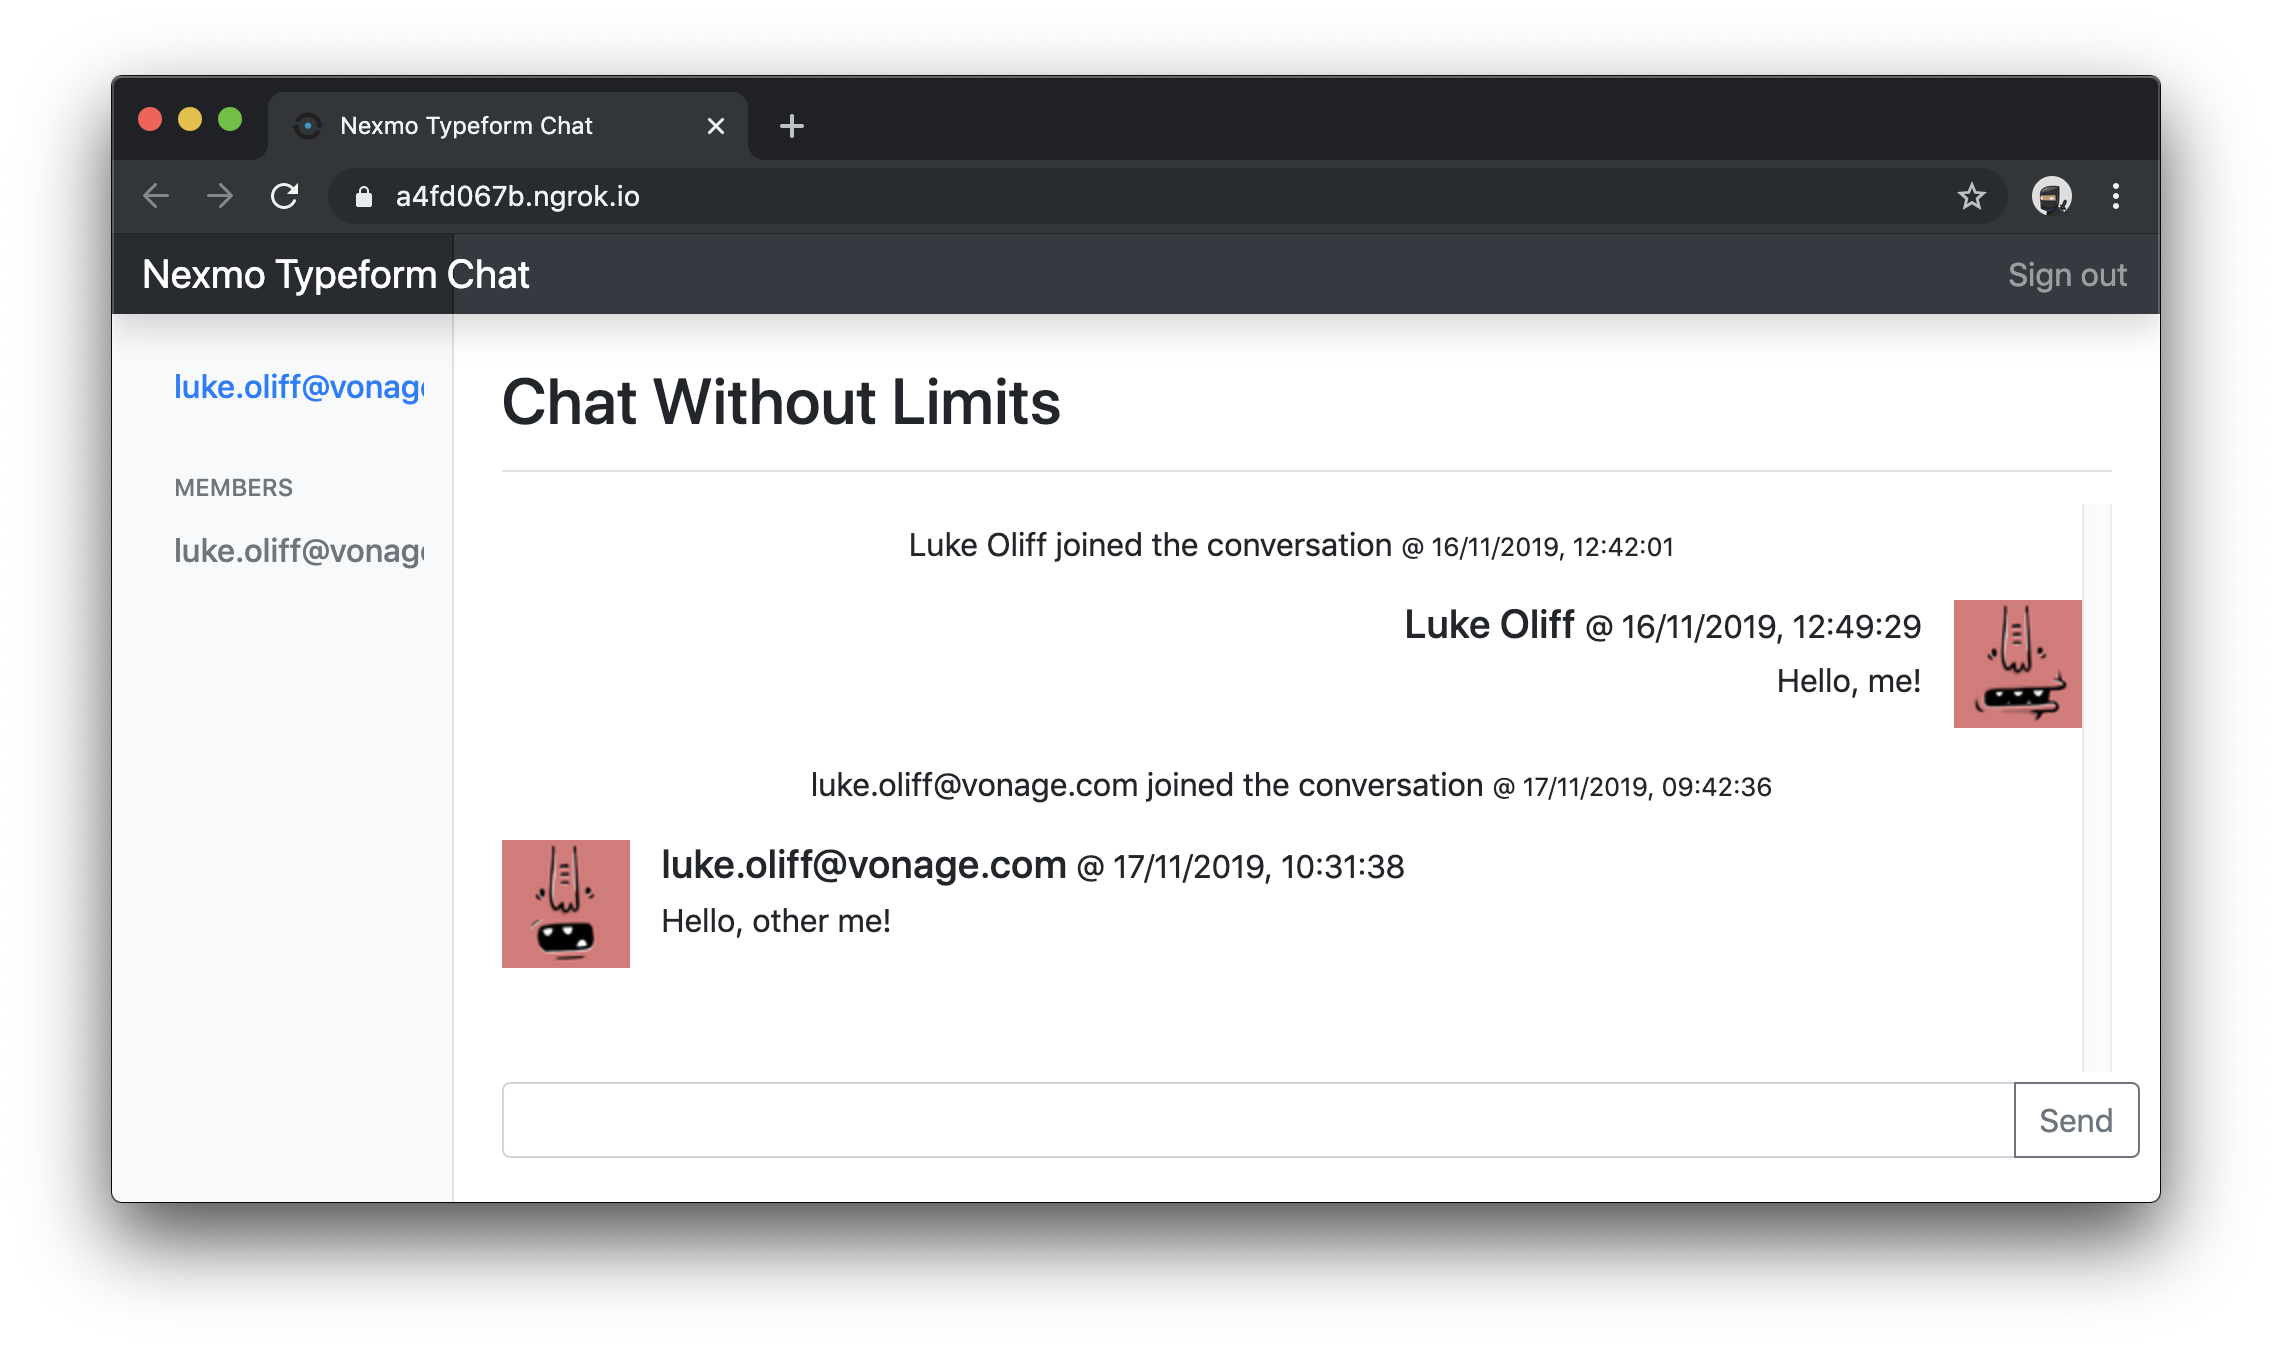 Chatting with myself
You've got a magic link, but it is still output in the console. It is time to send that by email instead.
Install nodemailer now with this command.
Configure some variables for the nodemailer library inside your environment file .env.
If you're using Google or other well known mail host with 2-Step Verification turned on, you'll probably need to setup an application password. It will let you authenticate from the application without a need for 2-Step Verification.
Create a new utility file that will configure nodemailer at util/mailer.js with this code:
const mailer = require('nodemailer');
require('dotenv').config();

let options = {
  host: process.env.SMTP_HOST,
  port: process.env.SMTP_PORT,
  secure: true,
  auth: {
      user: process.env.SMTP_AUTH_USER,
      pass: process.env.SMTP_AUTH_PASS
  }
};

module.exports = mailer.createTransport(options);
The final edit of routes/webhook.js will be to add the sendEmail function and use it to replace the console.log commands completely.
// ...

var mailer = require('../util/mailer');

// ...

var sendEmail = (magicLink, email) => {
  var mailOptions = {
      to: email,
      subject: 'Magic Link',
      text: 'Click to login: ' + magicLink,
      html: `<a href="${magicLink}">Click to Login</a>`
  };

  mailer.sendMail(mailOptions);
}

/* POST webhook generates a magic link email to the provided email address */
router.post('/magiclink', (req, res, next) => {

  // ...

    if (null === user.user_id) {

      // ...

        // ...

          user.save((err) => {
            // ...

            sendEmail(createMagicLink(req, user.toObject()), user.email);

            res.sendStatus(200);
          });

        // ...

      // ...

    } else {
      sendEmail(createMagicLink(req, user.toObject()), user.email);

      res.sendStatus(200);
    }

  // ...

});

// ...
For the final type, restart the application and send a webhook request using Typeform data.
With everything working as expected, you'll receive an email to the address you submitted to Typeform with a magic link. Click the magic link to authenticate with the application and join the conversation.
Time to invite some friends!
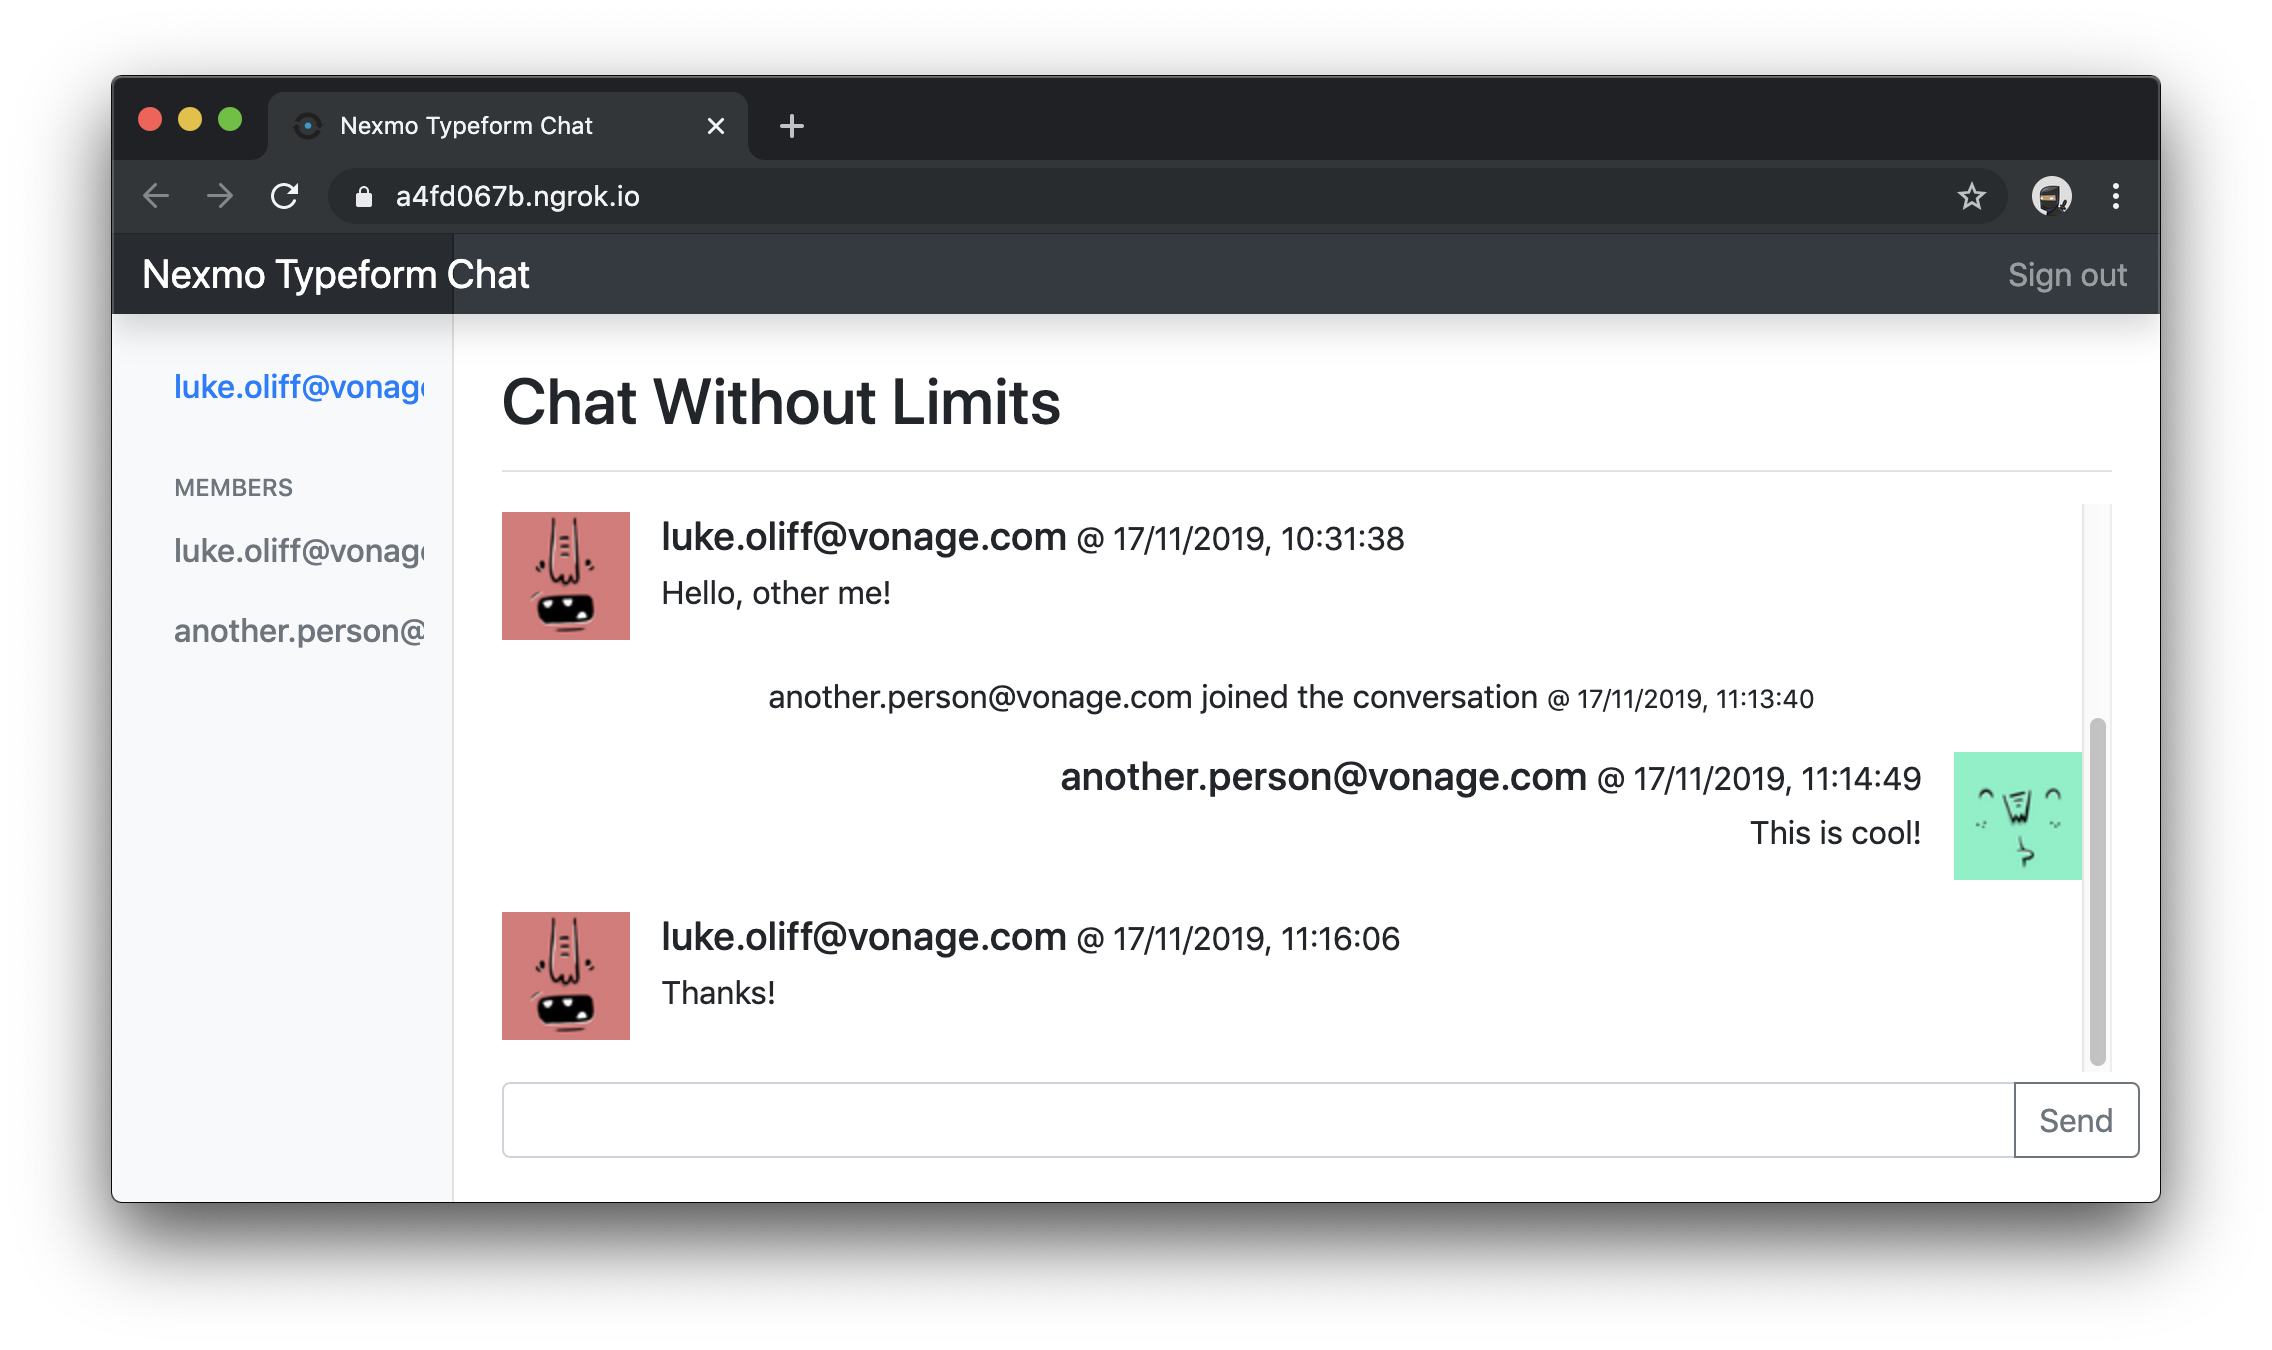 Other people can now join chat
If you're interested in how the UI for this tutorial was built, check out my latest post Create a Simple Messaging UI with Bootstrap.
Also, here are some things to consider if you're building this for real-world use:
Use a separate form to handle authentication after a user has already registed.
Capture a display name and user image inside your Typeform.
Use a revokable opaque string instead of a JWT inside a magic link.
Allow users to update their data once authenticated.
Show all currently online in the side menu.
Allow users to sign out.
Allow users to delete messages.
Allow users to share media.
Expand shared URLs as previews.
If you want to enable audio inside an existing chat application like this, you can check out my guide for Adding Voice Functionality to an Existing Chat Application.
Thanks for reading and let me know what you think in the Community Slack or in the comments section below 👇
