Protect Your Kids Online with Vonage Voice API and Android 10
Time to read: 5 minutes
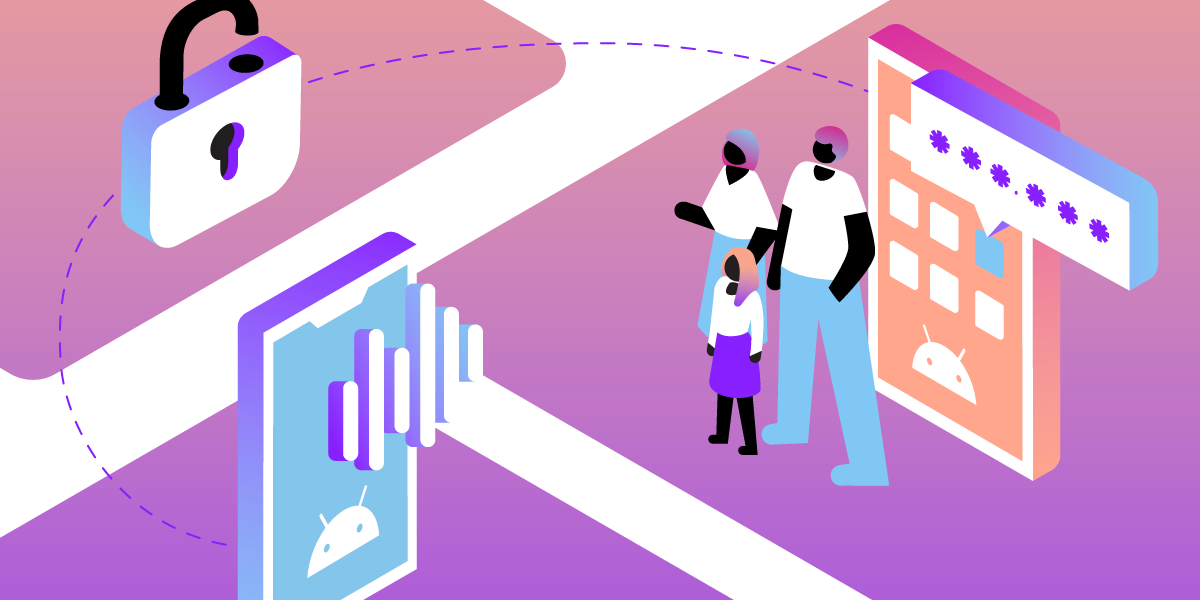
We live in an increasingly digital world, and kids are often the first to use new technologies and applications. They may be competent at using digital technologies, but they don’t always understand online security, including which data they can share with strangers, and which they must not.
In this post, we will show you how you can use the Vonage Voice API to protect one of their most valuable data assets—their phone number. In a few simple steps we will build a parental control application that will mask your child’s phone number using the Voice API and Android 10. To do so, we will build a thin Android application and connect it to a NodeJS webhook server.
You can find the full code of the tutorial here.
This tutorial will help you build two components—an Android application and a NodeJS webhook server. After finishing you will have a basic parental control application that can proxy calls with the Vonage Voice API on Android 10 devices.
To redirect calls we will use a new Android 10 feature: Roles. Roles grant an application access to certain system functions, such as call redirection. Android 10 introduced the RoleManager, which controls access to those roles.
In our case, we will use ROLE_CALL_REDIRECTION, together with a CallRedirectionService (CallRedirectionService). We’ll bundle both with the Voice API for masking the user's phone number.
The user (in this case a parent on their kid’s device) will download and install an Android application. Next, they will configure it with the kid’s phone number, so once a call is executed from the device, a hook method will be called and redirect the call to a Vonage number.
To determine which number to redirect to, for every outgoing call the application will send an HTTP request to your webhook server, which creates a mapping between the destination number and the user’s phone number. In response the server will return the Vonage number to call.
Finally, the device will execute the call to the Vonage number and the webhook server will return the appropriate mapping to connect the call, through Vonage, to the original destination.
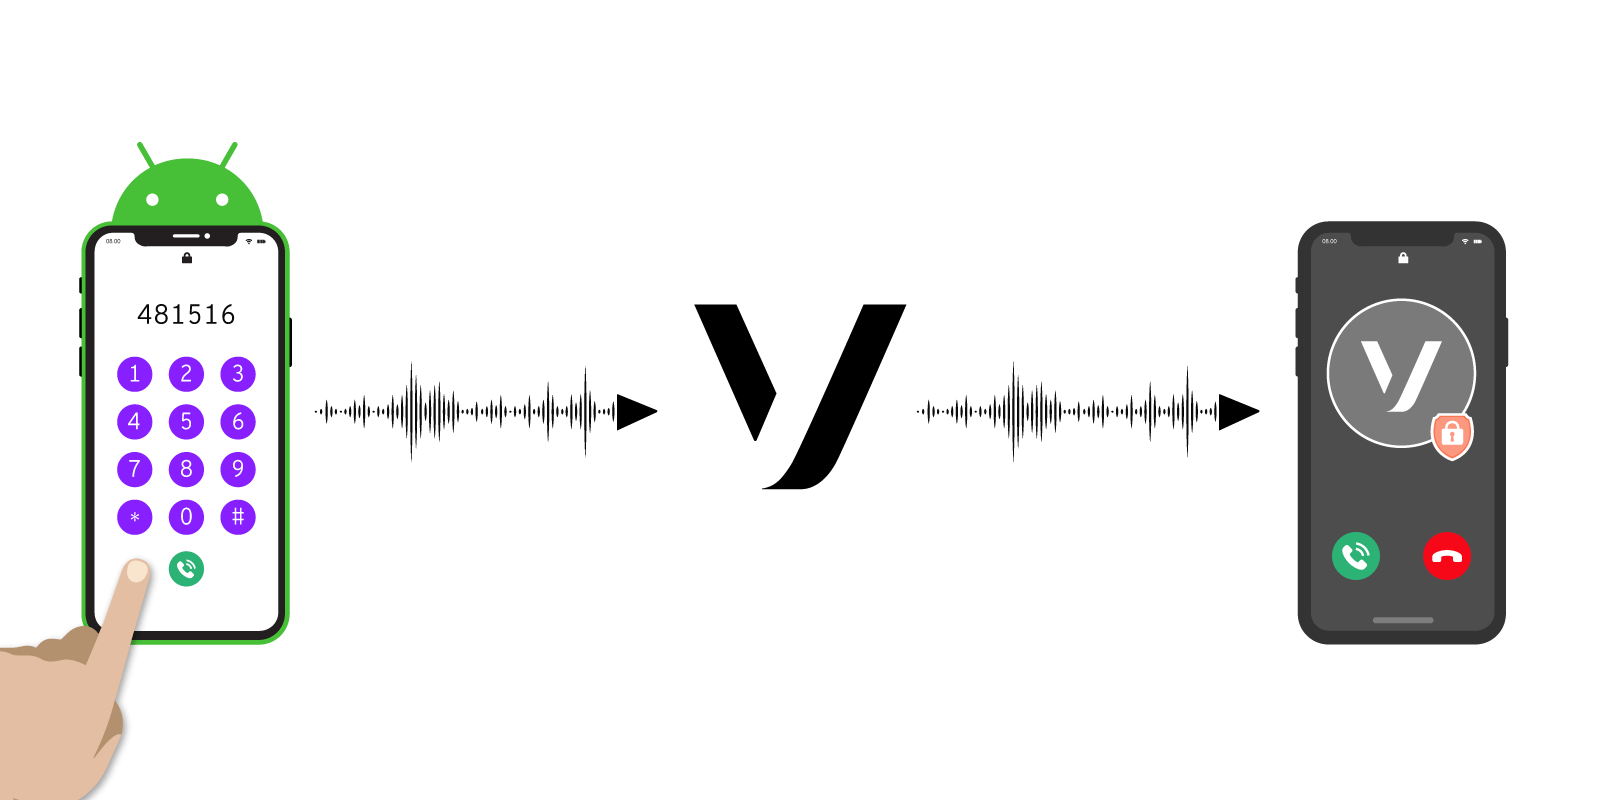 Android Proxy Call
The Vonage Voice API will be used to mask our calls and create the proxy.
For this tutorial you will need:
A voice application
A number that you’ve linked to your application
We recommend using ngrok to expose your webhook server and Android Studio to work on the Android application.
The full source code of the webhook server can be found here.
The example.env file contains all the required parameters to get the webhook server ready. For this tutorial all you need to do is to fill the number you’ve linked to your application in the dashboard.
So first, fill in example.env, VONAGE_PROXY_NUMBER is the number you've assigned to your application. VONAGE_PROXY_NUMBER_LOCAL is the same number, but formatted for local use. This is how you want your Android device to dial your Vonage number, and it is important because it will be used for the outbound calls.
Second, copy the file to .env:
cp example.env .env`Third, install and run your server by using the following command:
npm install && npm run start`
Your server should now run locally.
NOTE: In our implementation a call back is available only after the user (or the kid, for that matter) initiated a call.
We will cover the main points for building the application. If you are not familiar with Android at all we recommend using this guide for creating your first app.
The full source code of the sample application can be found here.
Open AndroidManifest.xml in /app/src/main and add the BIND_CALL_REDIRECTION_SERVICE permission. It will allow your service to be notified when a new call is executed, and redirect it.
    <service
        android:name=".CallRedirectionServiceImplementation"
        android:permission="android.permission.BIND_CALL_REDIRECTION_SERVICE">
        <intent-filter>
            <action android:name="android.telecom.CallRedirectionService" />
        </intent-filter>
    </service>
Extend the CallRedirectionService (‘CallRedirectionServiceImplementation’ in our case), and override the ‘onPlaceCall’ method. This method will be called on every outgoing GSM call.
class CallRedirectionServiceImplementation : CallRedirectionService() {
    override fun onPlaceCall(handle: Uri, initialPhoneAccount: PhoneAccountHandle allowInteractiveResponse: Boolean) {
        //redirection logic here
    }
}Please note the limitations of call redirection:
Time - Your method implementation must finish executing within five seconds, or it will fail. Path - For any call of the system to onPlaceCall you must make sure all possible paths end in either one of the methods: placeCallUnmodified, cancelCall or redirectCall.
Create an activity to control your redirection service. The activity should acquire the role and request for the user’s approval, and it should also allow the user to turn redirection on and off.
Role Acquirement:
Check that the role is available before trying to acquire it (isRoleAvailable)
Fire the intent created by createRequestRoleIntent
Receive result at ‘OnActivityResult’. Verify the result before proceeding.
After you acquire a role you can’t give it back to the system. The role ownership means that you have certain privileges that will revoke immediately as soon as you lose the role ownership. In an Android system there can only be one app that acquires a specific role in a specific time.
Login to the Vonage dashboard and navigate to your voice application. Fill in the ‘answer’ URL with your server’s address + /answer. It should look like http://${server_adress}/answer. Similarly, fill in the ‘event’ URL with http://${server_adress}/event.
NOTE: If you’re using ngrok, the address should look like https://${your_ngrok_id}.ngrok.io
Now that you have your webhook server up and running, your voice application configured to request NCCOs from it, and a built Android application, it’s time to play with your solution.
Install the application on your Android device and open it.
Set it up by entering the device’s phone number.
Press ‘enable’. You should see a prompt that asks you to grant the redirection permission to the application, please accept.
Call any number, using the native dialer, and your call will be proxied.
To follow the stream of events, take a look at the webhook’s logs!
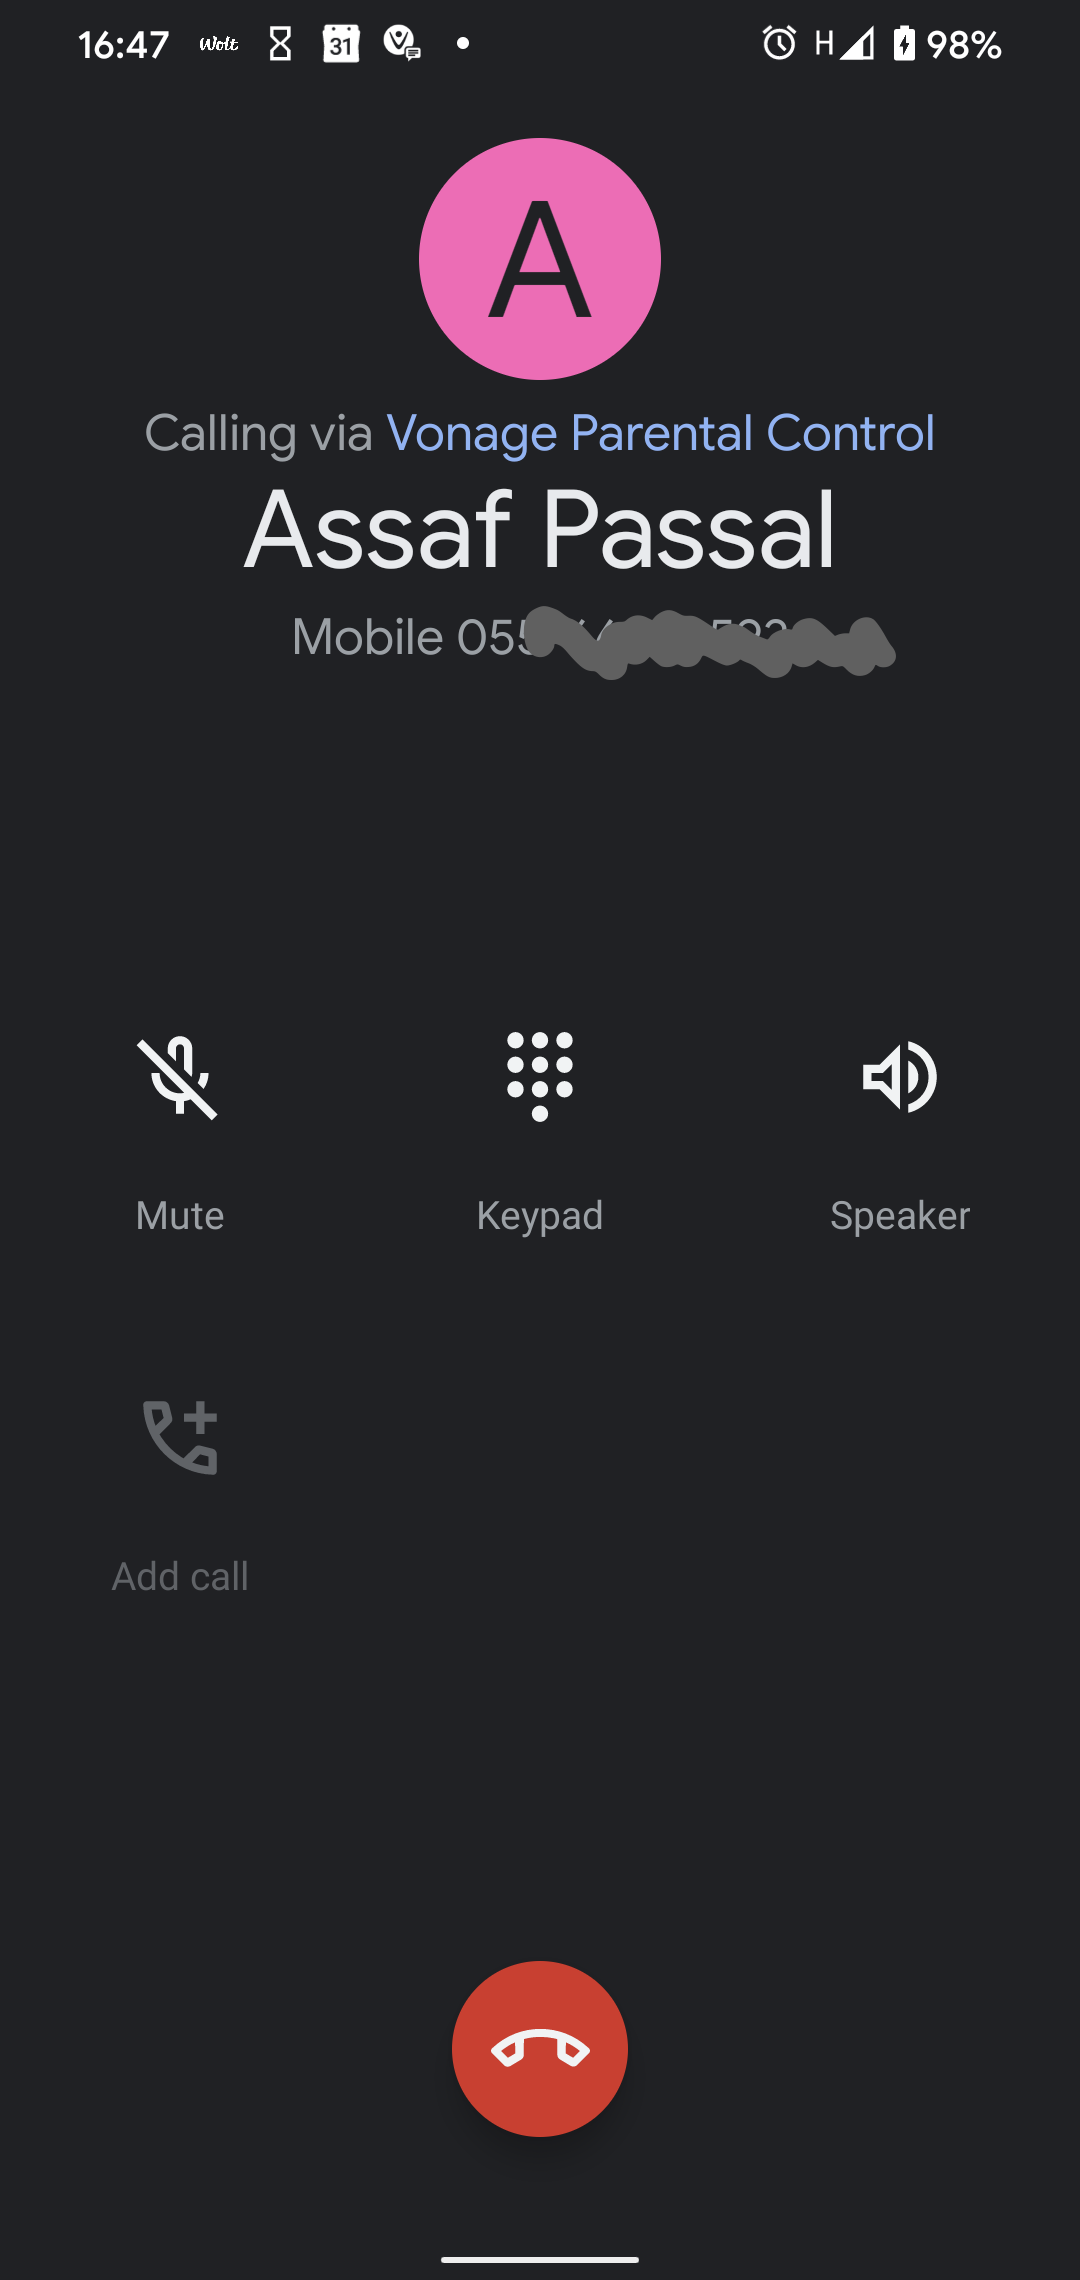 android screen
The native dialer will indicate that your calling is through your application
We have learned in the previous sections how to leverage the Voice API together with Android 10’s ‘Call Redirection’ feature to build a seamless call masking solution.
Protecting children is a great cause, but it is definitely just a fraction of what you can achieve with the solution we’ve built—create a call proxy for more use cases, or even extend your solution and add an SMS proxy!
The flexibility that the Voice API has enables you to create solutions for many needs, but perhaps most importantly it allows you to augment next-generation voice capabilities on top of your existing logic and infrastructure.
For a completed version of this tutorial, you can find it on GitHub.
If you want to learn more about what you can do with our APIs, please visit our developer portal.