Share:
Eric Giannini was the iOS developer advocate at Nexmo. He is really passionate about both Objective-C and Swift, especially the latter. Eric blogs often about this, that or the other iOS thing, hacking apps, building SDKs, or rapidly prototyping. He also meets with iOS developers or other strongly typed Swift types at conferences, Meetups, and other variadic functions.
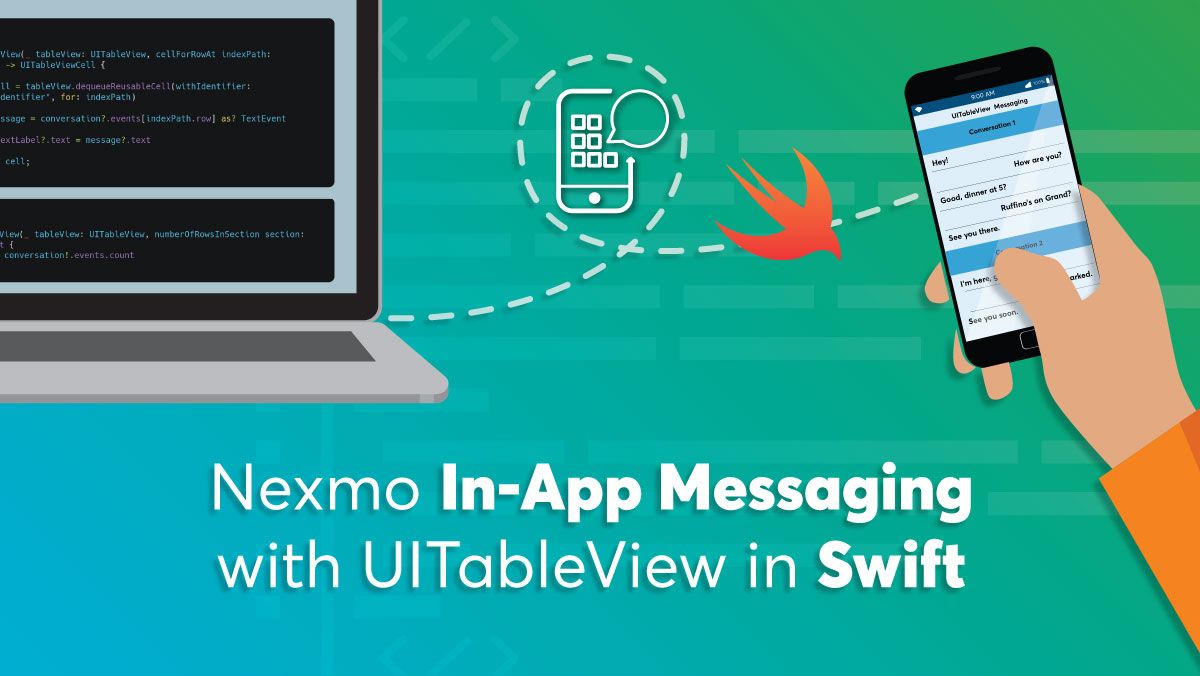
Build a UI in UITableView with Nexmo In-App Messaging
Time to read: 5 minutes
In this tutorial we will review how to integrate Nexmo Stitch's In-App Messaging into a UITableView.
Ensure you have taken a look at the codebase in the starter app here.
Make sure you have two iOS devices to complete this example. They can be two simulators, one simulator and one physical device, or two physical devices.
The app is already set up. All we have to do now is configure an UITableView to work in it with Nexmo Stitch! We will leave LoginController.swift alone. For this demo, we'll solely focus on the ChatController.swift.
We're going to be adding some new elements to our chat app so let's update our layout to reflect them.
UITableView
Let us start with an instance of UITableView whose cells we will use to display messages from the chat.
In our .xcodeproj navigate to ChatController scene in Main.storyboard. Our first step is to delete the textView.
To set up the the UITableView in its place, do the following:
control drag an instance of
UITableViewonto the scene.After adding the
UITableViewto storyboards, constrain its leading, trailing, and top guides to the surrounding Safe Area respectively. We want to set the leading and trailing space to the Safe Area at 16 points. Let us set the constraint for the top layout guide to the top of the Safe Area layout at zero points.Add a prototype cell. Control drag from the object library to add a prototype cell to the top of our instance of
UITableView. To finalize the addition name the cell:messageCellbecause the reusable cells will house messages!
ChatController
In the previous quick starts we showed messages by adding to a TextView. For this example we'll show you how to use the iOS SDK with an instance of UITableView.
To add our new UI outlets from the view to their controller ChatController, do the following:
create a connection from our instance of
UITableViewto its controller inChatController.swiftwe set thedelegateordataSourceproperties referentially.With
Main.storyboardopen, simultaneously hold shift option command, and click onChatController.swiftso that it appears in the assistant editor.Control drag from within the body of
UITableViewtoChatController.swiftto declaretableViewas an outlet as such:
class ChatController: UIViewController {
// tableView for displaying chat
@IBOutlet weak var tableView: UITableView!
}
Our instance of UITableView will need a delegate and dataSource. In viewDidLoad(:) we can use this:
// assignment of delegate to our ChatController
tableView.delegate = self
// assignment of dataSource to our ChatController
tableView.dataSource = selfDesignating ChatController as delegate for the UITableView means that the ChatController agrees to act on behalf of the UITableView to take care of whatever delegate methods are required for our instance of UITableView. Similarly, designating ChatController as the the dataSource means that the ChatController agrees to act on behalf of the UITableView to handle methods required for funneling data into the UITableView. Accordingly, we must now program these methods. This is called 'conforming'.
If you followed the steps in 2.3, then you should immediately receive a warning saying that "Type ChatController.swift does not conform to the protocol UITableViewDataSource". If you do, great! It means our instance of tableView is configured to its controller. Let's make it conform to the protocol now!
In order to make it conform to the UITableViewDataSource protocol we will make use of one of Swift's powerful features: an extension. Down below the class's closing brack for its declaration, declare an extension for ChatController.
Since this extension conforms to UITableViewDelegate, we program it thus:
func tableView(_ tableView: UITableView, numberOfRowsInSection section: Int) -> Int {
return 0
}
Since the last remaining required method for conforming to the protocol for UITableViewDataSource is cellForRowAt, we will add the method in the following way:
func tableView(_ tableView: UITableView, cellForRowAt indexPath: IndexPath) -> UITableViewCell {
let cell = tableView.dequeueReusableCell(withIdentifier: "cellWithIdentifier", for: indexPath)
return cell;
}
Implementing these two methods should remedy the error mentioned earlier. Both methods--numberOfRowsInSection and cellForRowAt, however, are boilerplate. In the next section we configure these methods to interact directly with our instance of ConversationClient to show chat history".
To configure the boilerplate code to display chat history with properties from our instance of the conversation client we need to work on numberOfRowsInSection and cellForRowAt.
numberOfRowsInSection
Let's start numberOfRowsInSection. We access the conversations property on conversation that we passed through performSegue(withIdentifier:sender) from the LoginController.swift. On the events property, which conforms to Swift's CollectionType, there is a property for .count, which returns the number of messages in a chat's history. It happens like so:
func tableView(_ tableView: UITableView, numberOfRowsInSection section: Int) -> Int {
return conversation!.events.count
}
Our instance of tableView ought to return as many rows now as there are events in our instance of conversation, whereas earlier it returned none. If it does, we are halfway there! The next step is to configure cellForRowAt to display the events as messages in the prototype cell's textLabel.text property. We do it by downcasting an event per the row in indexPath as TextEvent that is assigned to the value of constant called message. With message containing the value for each row's messages, we assign it to the value for cell.textLabel?.text. It happens like so:
func tableView(_ tableView: UITableView, cellForRowAt indexPath: IndexPath) -> UITableViewCell {
let cell = tableView.dequeueReusableCell(withIdentifier: "cellWithIdentifier", for: indexPath)

let message = conversation?.events[indexPath.row] as? TextEvent

cell.textLabel?.text = message?.text

return cell;
}
The next step is to ensure that our instance of tableView updates so in sendBtn(:) we call tableView.reload().
Calling tableView.reload() on a conversation retrieves the event history. Now when we trigger a segue and open the ChatController.swift, we'll have the history of the chat loaded in our instance of UITableView.
Showing a chat's history is only one of the many features available for Stitch. In addition to chat history there are features for typing indicators, enabling / disabling voice, call convenience methods, or even IP-PSTN / IP-IP calling functionality and much, much more!
If you’re an active Swift developer or just getting started with the language, we encourage you to get involved in the Nexmo Developer Community. Check out the projects hosted on the Nexmo GitHub or follow us on Twitter @NexmoDev.
We welcome you to interact with our team of developer advocates, check out our code repositories and more. If you’d like to check out more tutorials about how to use Nexmo Stitch In-App Messaging for iOS, check out our other quickstarts.
Questions? Contact us at our Nexmo Community Slack or email us. If you had any trouble with the code, you can cross-reference your base with this one!
Share:
Eric Giannini was the iOS developer advocate at Nexmo. He is really passionate about both Objective-C and Swift, especially the latter. Eric blogs often about this, that or the other iOS thing, hacking apps, building SDKs, or rapidly prototyping. He also meets with iOS developers or other strongly typed Swift types at conferences, Meetups, and other variadic functions.