Share:
Benjamin Aronov is a developer advocate at Vonage. He is a proven community builder with a background in Ruby on Rails. Benjamin enjoys the beaches of Tel Aviv which he calls home. His Tel Aviv base allows him to meet and learn from some of the world's best startup founders. Outside of tech, Benjamin loves traveling the world in search of the perfect pain au chocolat.
Make Local Calls with No Code and Vonage Code Hub
Time to read: 3 minutes
If you're like me and do a lot of international travel, you know the pain of purchasing a local SIM card. You need to find a shop, compare providers, install the local SIM, and pray that you buy enough data/minutes to last your trip (but not too much that you waste a ton of money!). And the worst part..trying to find a paperclip or nail or pencil to put your original SIM card back in at the airport!
Thankfully, eSIMs have changed the game and removed most of the hassle of dealing with SIM swaps. Except eSIMs only work for data!
In this post, I'll show you how to have a local number anywhere you go, capable of receiving and sending out local calls. The best part? You'll be able to set it up in 5 minutes or less with Vonage's Code Hub platform and will require no coding from you!
Vonage API Developer Account: If you don't have a Vonage API Developer Account, sign up now (link below)
Vonage Virtual Number: Head to the Buy Numbers panel in your API Developer Dashboard. Select a number in the region you want to make calls in and make sure it has Voice capabilities.
Vonage's Code Hub is a new platform that takes away the hard part of setup and infrastructure to get going fast with Vonage APIs. To get started, log in to your API Developer Account and find the Receive and Make Local Calls product in Code Hub.
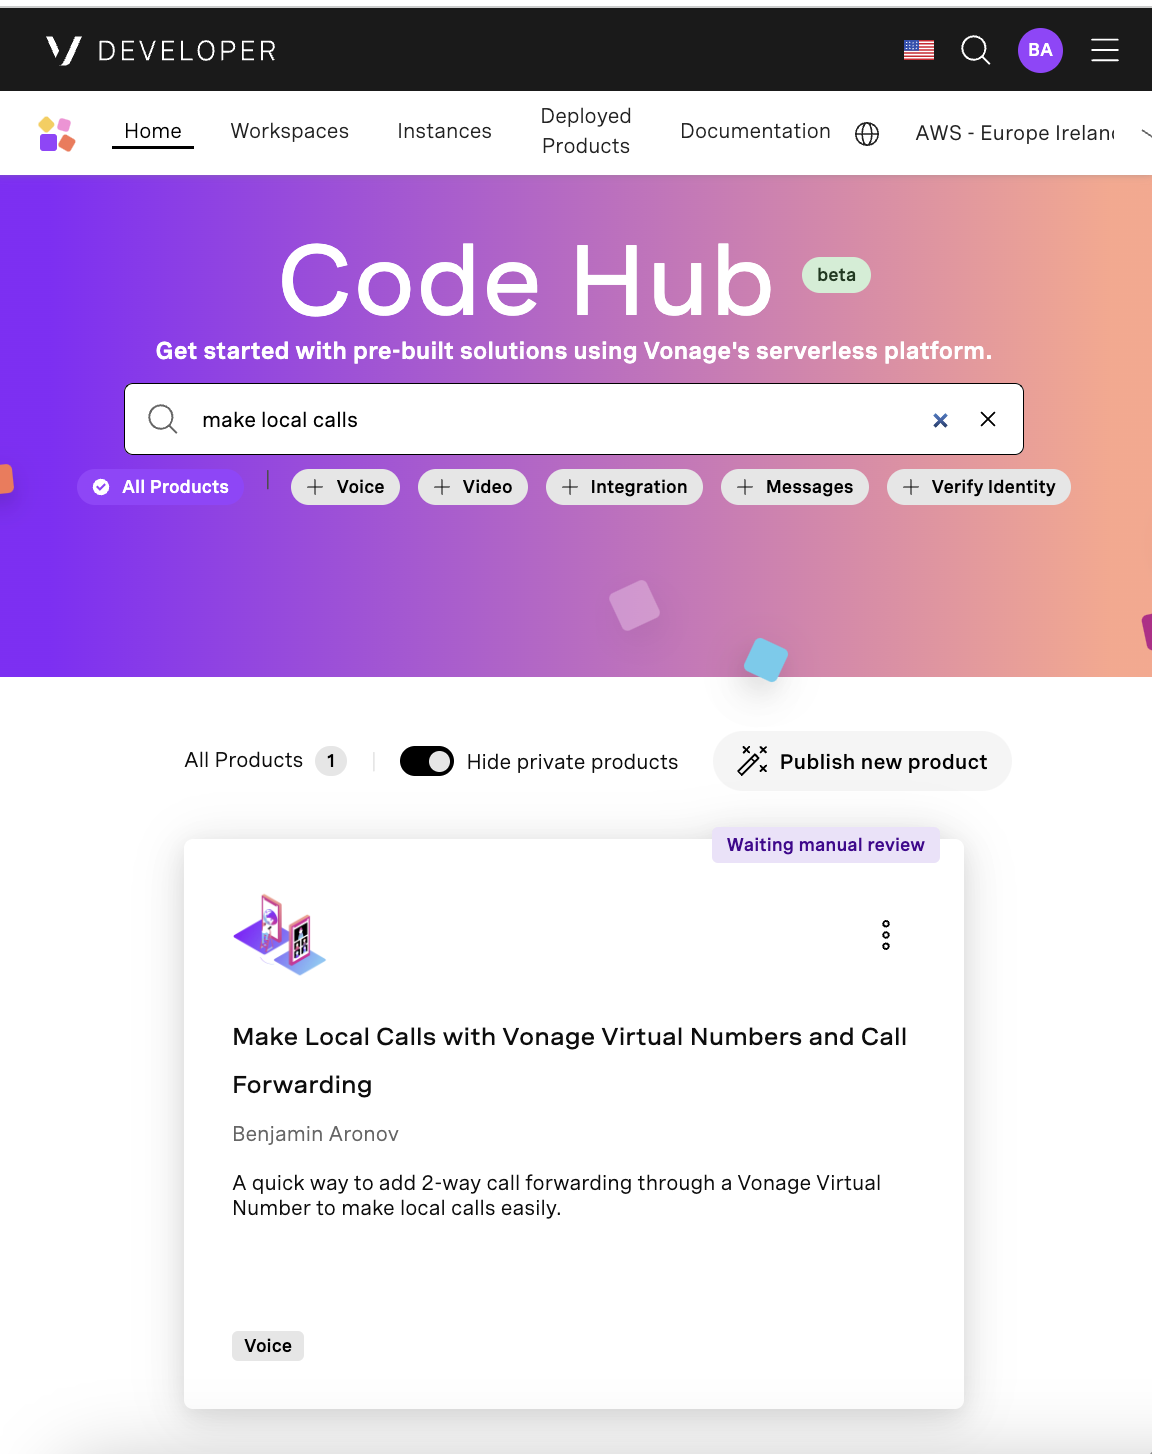 Search Code Hub for Local Calls
Once you open the product, you'll need to open the Deploy Code panel. There you will find the Create a new instance button.
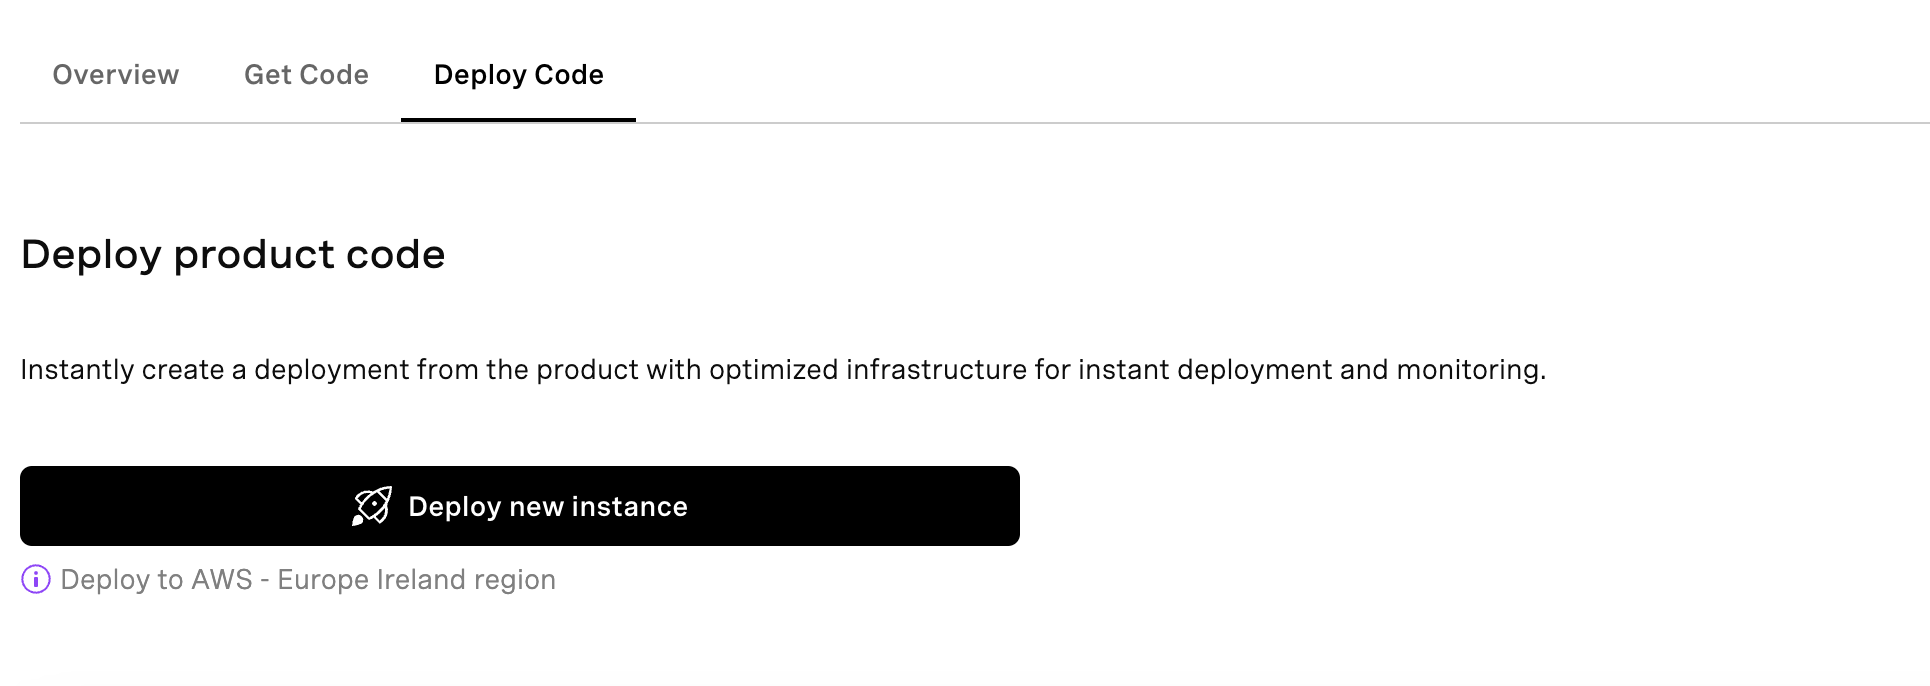 Deploy a new instance in Code Hub
This will pop open a panel that will ask you to set up your project deployment:
Region: select the region closest to you
Workspace name: select something descriptive, e.g. "My American Local Call Forwarding"
Home Country Number: Your Vonage Virtual Number with the country code of your home country (same country code as your personal number).
Destination Number: Your Vonage Virtual Number with the country code of your destination locale.
Personal Number: This should be your normal number to which calls are forwarded.
For all numbers, the International code is required, without +
Example US Number: 15551234567
Example UK Number: 445551234567
Once you submit the form, you will be taken to your deployed products dashboard. That's it! Your app is ready to go!
Then you can test your application by calling the DESTINATION_NUMBER or HOME_COUNTRY_NUMBER.
Call your
DESTINATION_NUMBERfrom a phone with the country code of your destination locale and it will connect you to your Personal Number.Call your
HOME_COUNTRY_NUMBERfrom your personal number and it will connect you to your desired number in your destination locale.
Instead of opening the Deploy Code tab, go under the Get Code tab and open the project in the Virtual development environment. Using the Explorer tab (shift+command+E) open the index.js file. This is where all the code for the project lives. You can see the logic of the application here.
We set our environment variables at the top, these come from vcr.yml and correspond with the form that is presented to Code Hub users that is defined in the setup.json file.
const destinationlNumber = process.env.DESTINATION_NUMBER;
const homeCountrylNumber = process.env.HOME_COUNTRY_NUMBER;
const personalNumber = process.env.PERSONAL_NUMBER;Our application is listening to the /onCall endpoint and then determines if the caller is personalNumber (us) or if it's another person trying to reach us.
If the call is coming from us, then it will use the
talkanddtmfactions of the Voice API, before sending us to the/dtmfendpoint which triggers the "operator" to connect us to thedialedNumber.If the call is coming from another number, then it will connect the caller to the
personalNumberbut through the intermediaryhomeCountrylNumberto avoid roaming charges for either parties.
Wasn't that cool? But what's going on under the hood? This application relies on the Vonage VCR SDK (which powers Code Hub) and the underlying Voice API.
The Voice API gives us access to NCCOs, which give us the ability to send messages to callers, accept the DTMF inputs, and connect calls to other phone numbers.
We also used SSML (Speech Synthesis Markup Language) to customize the speech of our agent to pronounce digits of a phone number more naturally.
If you enjoyed this post or even if you hated it, let us know on the Vonage Developer Slack or message me on X, formerly known as Twitter.
Share:
Benjamin Aronov is a developer advocate at Vonage. He is a proven community builder with a background in Ruby on Rails. Benjamin enjoys the beaches of Tel Aviv which he calls home. His Tel Aviv base allows him to meet and learn from some of the world's best startup founders. Outside of tech, Benjamin loves traveling the world in search of the perfect pain au chocolat.