Share:
Michael Crump works at Vonage on the Developer Experiences team and is a coder, YouTuber, and frequent speaker of various .NET and cloud/communication development topics. He’s passionate about helping developers understand the benefits of each in a no-nonsense way.
Build Voice Applications Faster
Time to read: 4 minutes
Vonage Cloud Runtime is our cloud-native, serverless development platform engineered to speed up your development process. And Code Hub is the home for prebuilt solutions for common communication workflows and browser-based coding environments. Taking advantage of these pre-built solutions can greatly reduce your development time. Gone are the days of downloading a sample, configuring dependencies, and manual configuration of API Keys.
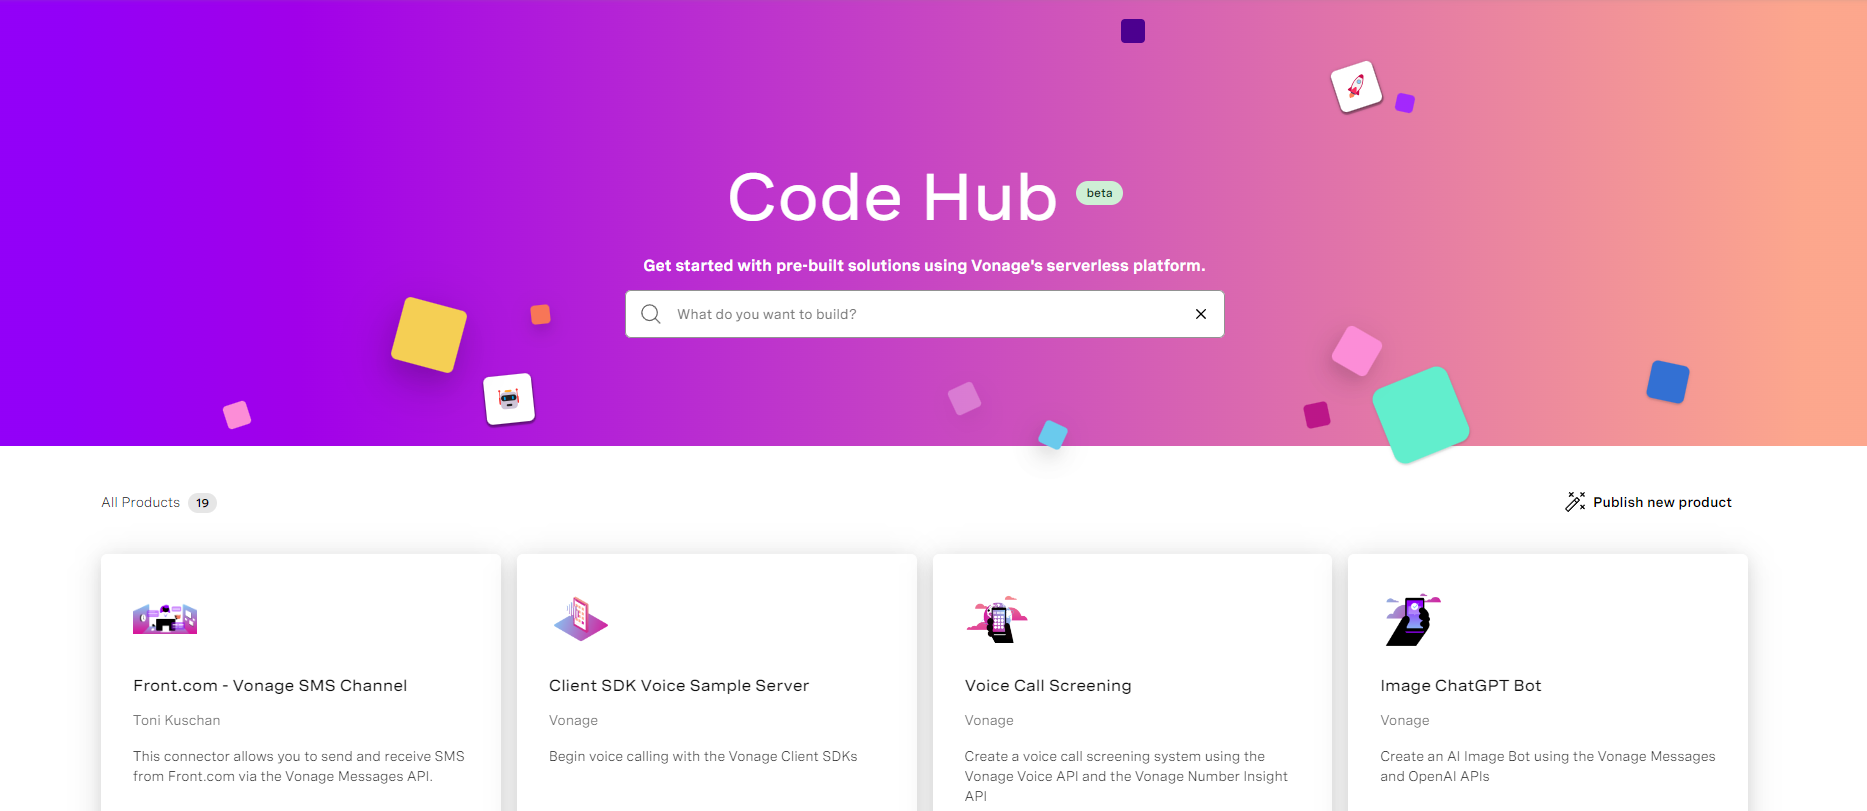
Code Hub's intuitive interface allows you to browse use cases that span our Vonage Voice API as well as our Video API, Number Insight API, Messages API, and more.
For our Voice API, we have several use cases available today, which include:
Click to Call - Create a button to allow visitors to your website to quickly get in touch using the Vonage Voice API.
Interactive Voice Response (IVR) - Build an automated phone system using the Vonage Voice API for users to input information with the keypad and hear a spoken response.
Voice Notifications - Contact a list of people by phone and convey a given message.
Voice WebSocket Echo - Build a voice echo server using WebSockets and the Vonage Voice API.
In today’s blog post, we’ll focus on walking through a Voice use case. Other use cases will be featured in future posts.
Head over to https://developer.vonage.com/cloud-runtime and scroll through the list of available solutions to familiarize yourself with the user interface. You may also use the search bar if there is something specific that you are looking for.
 cloud-runtime-marketplace-lp.png
Before we begin working with the Voice use case, you must Sign In to your Vonage account first. If you don't have one, click on Sign Up. Once you have an account and have signed in, you'll notice a few additional options, as shown below.
 signing-in.png
Home - Always returns you to the main menu.
Workspaces - This shows the code workspaces that you have created.
Instances- This shows the deployed instances that you have created.
Deployed Products - Allows you to manage, launch or view logs of installed product instances.
Region - This shows the current region that you are working out of.
Signed-in User Account - Your assigned API Key that future deployments will use. If you have multiple API Keys, select from the drop-down you'd like to use.
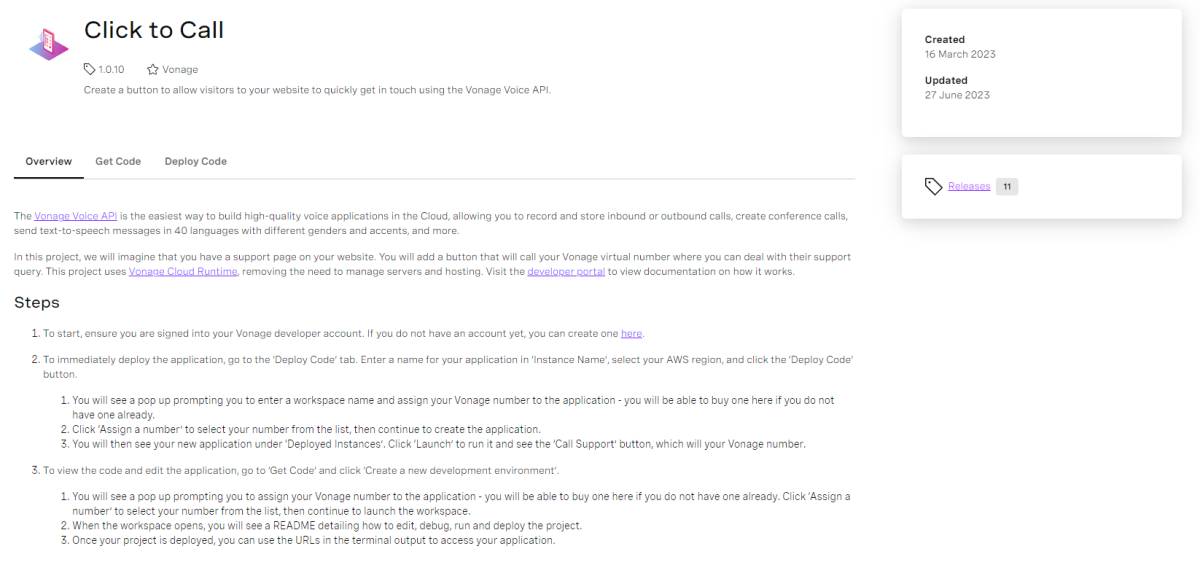
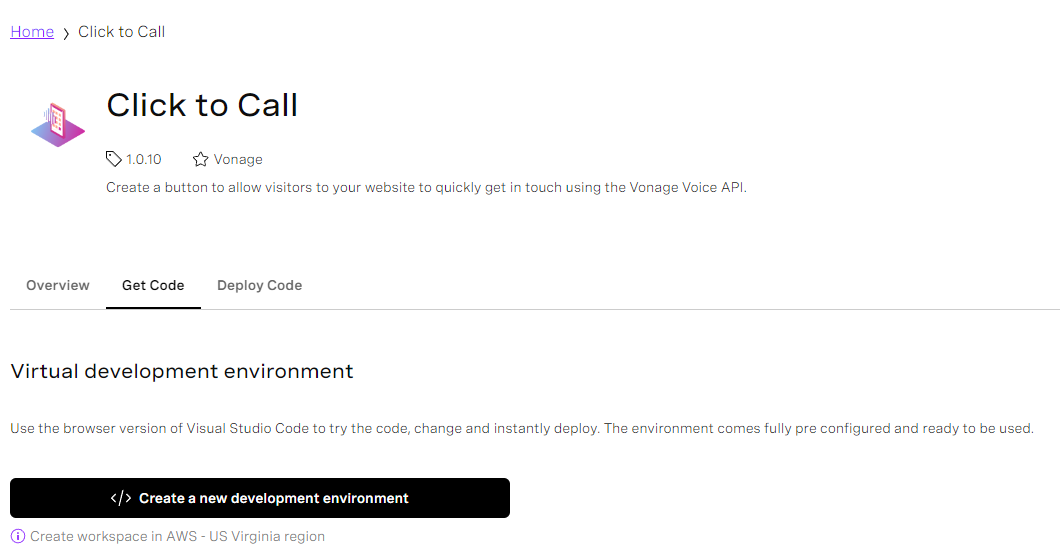
Let’s take the Click to Call use case as our first example.
 click-to-call-overview.png
After you visit the use-case page, you'll see three sections:
Overview - A short description of what the sample is. Get Code - Allows you to use the Visual Studio Code browser version to try the code, make changes, and instantly deploy it. Deploy Code - Allows you to deploy the application and see it in action.
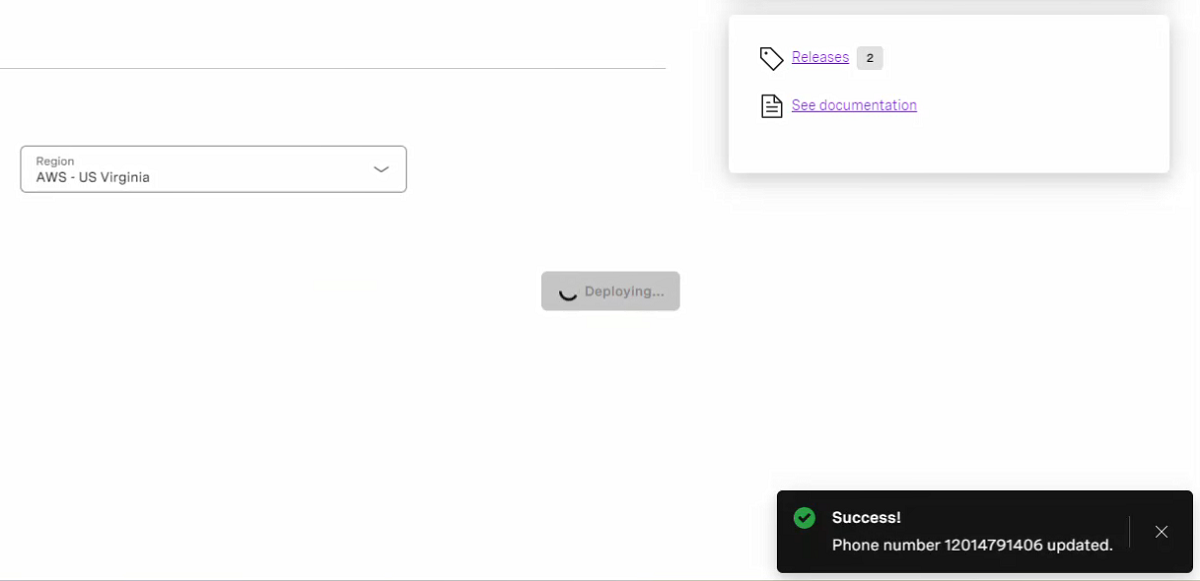
You'll also note that you can see when the sample was last created or updated on the upper right-hand side of the screen. If there are multiple versions, you can click on Releases to see them.
To begin, select Deploy Code. Give it an Instance name, ensure the Region selected is closest to you, and click Deploy Code.
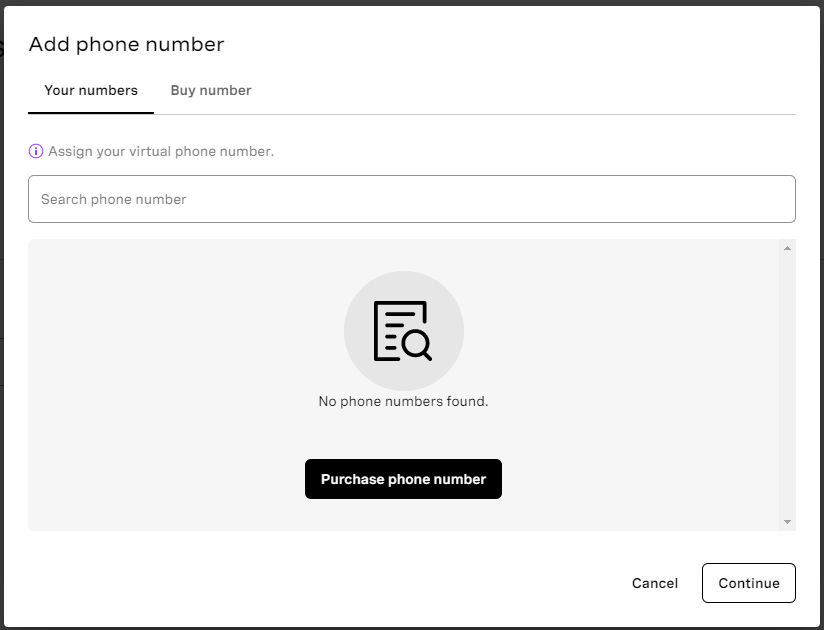
You'll notice a popup that denotes that this sample requires a number.
 setup-project-deployment.png
Within the deployment option, you can Assign a number that you already have or Buy a New One.
 add-phone-number.png
Once you've selected a number, it begins deploying.
 deployed-app.png
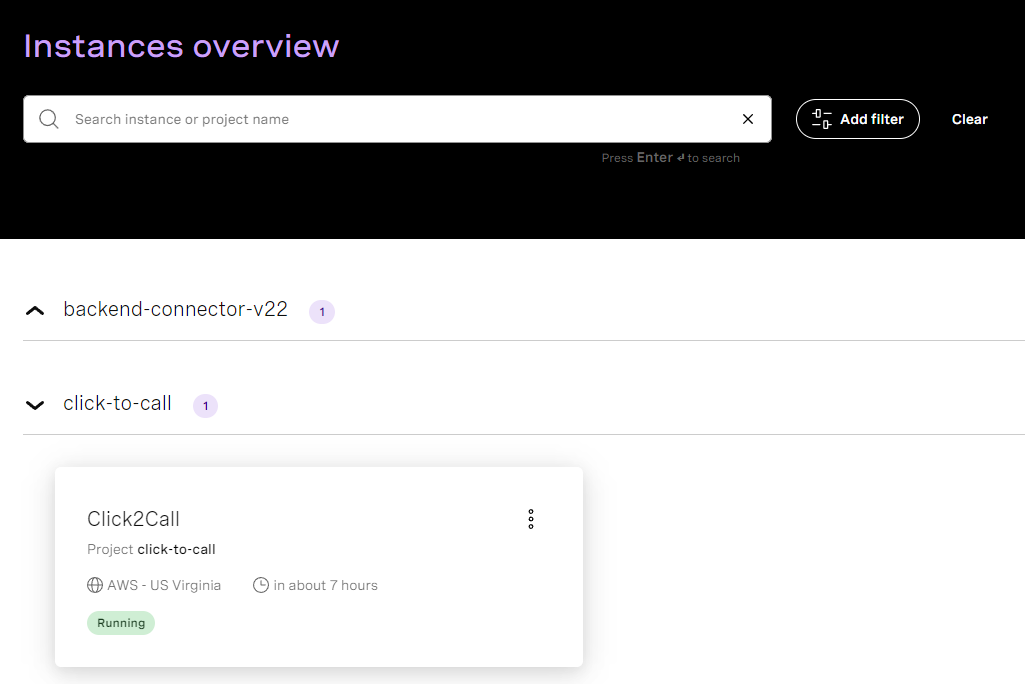
If you click on Instances from the top menu, you can locate the “Click To Call” project, as shown below.
 instances-overview.png
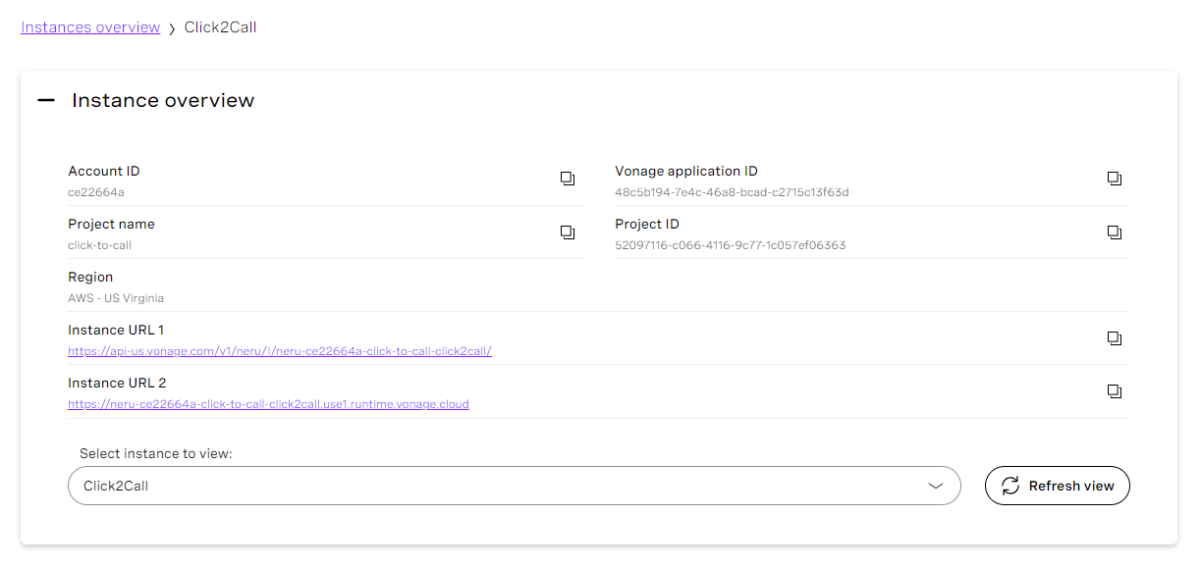
If you click on it, you’ll be taken to the Instance overview, which contains information about the project and several Instance URLs that you can run the application.
 instances-overview-expanded.png
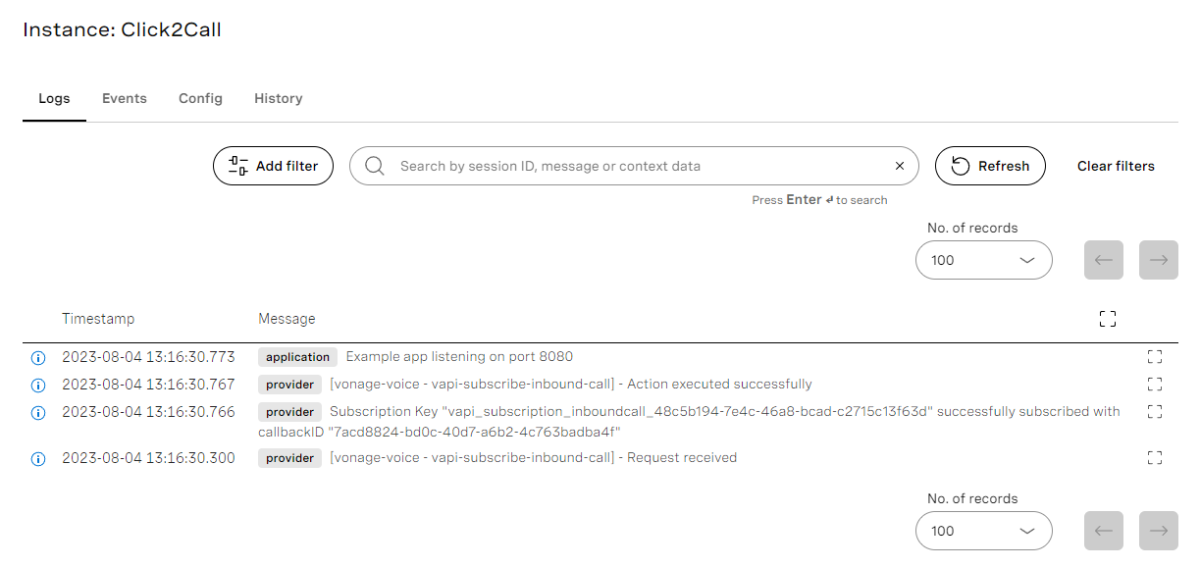
Below the instance information, you’ll see that the Logs, Events, Configuration, and History is also available to assist with tracking and troubleshooting.
 logging-sample.png
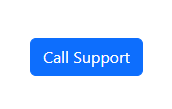
Click on the Instance URL 1 from the Instance overview section.
You’ll see a button called “Call Support.” Once clicked, the Vonage Voice API will begin an inbound call.
 call-support-button.png
Now that we have successfully deployed a sample, let's try to change the code and instantly deploy it to see the changes live. Click on Get Code and then Create a new development environment.
 create-dev-env.png
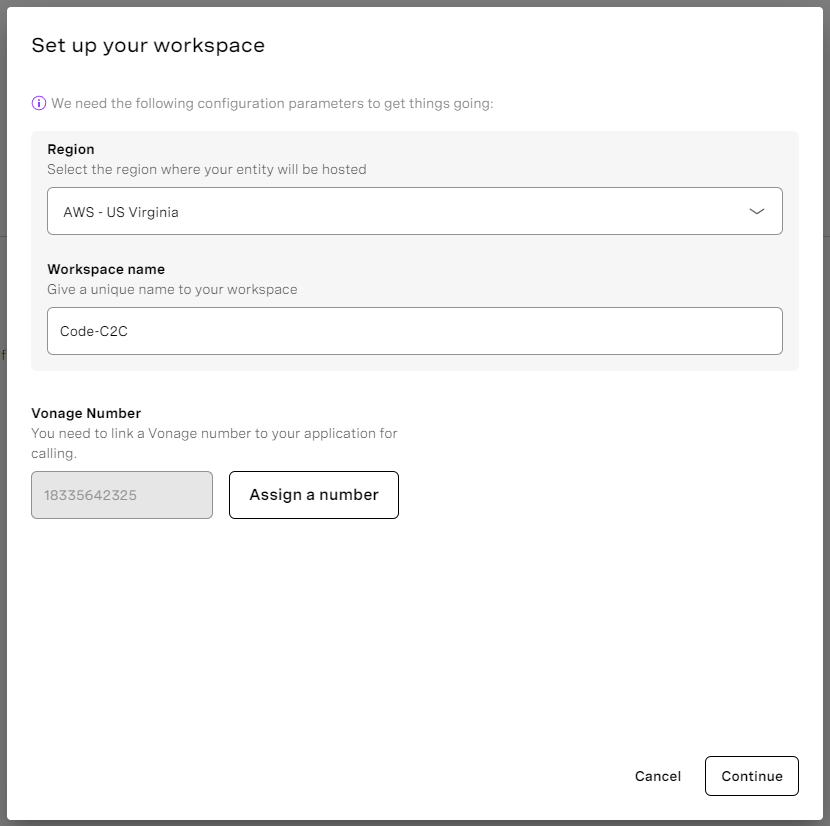
Provide a Region, Workspace Name, and a Vonage Number. If you don't know what that is, you can click Assign a number, and available numbers in your Vonage account will be listed. Mine looks like the following:
 setup-workspace.png
Press Continue , and you'll be presented with the project in Visual Studio Code inside your browser.
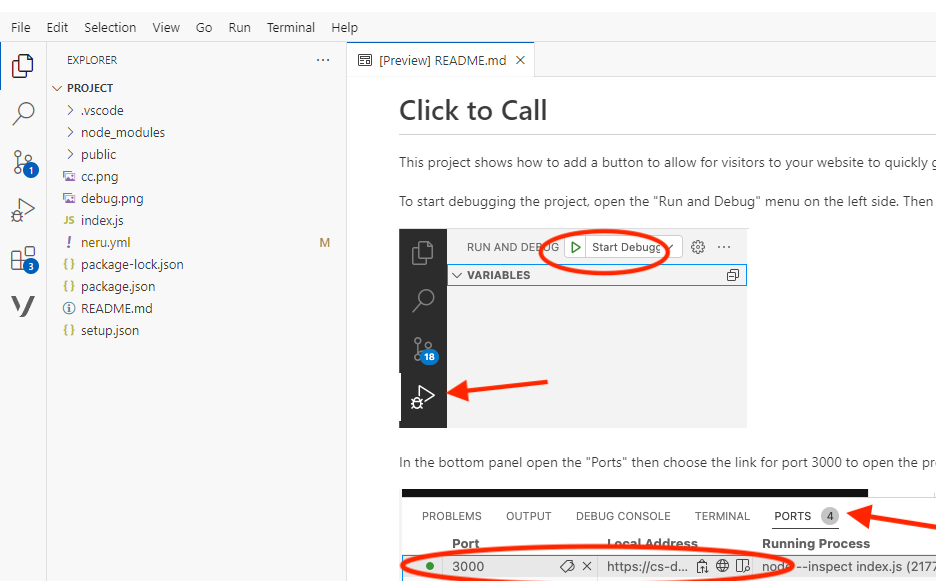 vscode-project-loaded.png
Begin by reviewing the Readme.md, which contains essential information on how to run the sample.
If you navigate to one of the source files (such as index.js), you can modify the code in-browser!
Go ahead and make some changes to the file. For example, on line 69, you could provide a different audio mp3 file to play instead of our sample one.
We're excited to see all the new and exciting ways customers use this tool. For further information, consult our documentation. Also, if you have questions or feedback, join us on the Vonage Developer Slack or send me a Tweet on Twitter, and I will get back to you. Thanks again for reading, and I will catch you on the next one!
Share:
Michael Crump works at Vonage on the Developer Experiences team and is a coder, YouTuber, and frequent speaker of various .NET and cloud/communication development topics. He’s passionate about helping developers understand the benefits of each in a no-nonsense way.