Share:
An English teacher turned empathetic software engineer. A curious optimist with a passion for creating accessible content and helping developers level up their skills.
Create an Interactive Scavenger Hunt with Nexmo SMS and Voice API
Time to read: 5 minutes
QR codes are everywhere these days: on the back of business cards, on flyers, or billboards—you name it. They make information quickly accessible for anyone with a smartphone and thus have become popularized in the past decade.
Today we are going to capitalize on that functionality to create an interactive scavenger hunt throughout your city!
I figure, what better way to get your friends and family up off the couch and out into the neighborhood than with an interactive scavenger hunt? And thus I thought it'd be fun to design and build something with Nexmo's Voice and SMS APIs to do just that. This tutorial will cover how to create QR Codes to hide throughout your neighborhood and how to create an app with Express and Node.js to populate a corresponding SMS to send to a Nexmo phone number that will call the player back with a recorded clue! The hunt can continue up to however many clues YOU choose.
User finds a QR code
Scans QR code with their smartphone
SMS is prepopulated to with a clue to be sent to a Nexmo phone number
User hits send
App initializes a phone call
Recording of the clue plays
User searches for that new clue and the game continues!
To work through this tutorial, you will need a Vonage account. You can sign up now for free if you don't already have an account.
But, if you want to skip to a working project you can remix the QR Code Reader App right away in Glitch.
Otherwise, in just a few steps you can create your own clues and app from scratch!
Using your preferred recording device, record the clues for your scavenger hunt as .ogg files. Here's an example of one of my clues: [audio ogg="https://www.nexmo.com/wp-content/uploads/2019/08/clue1.ogg"]
(HINT: it leads to the Fremont Troll under a bridge here in Seattle 😆)
 troll
troll
If you haven’t done so already, create a Nexmo account for free, and as an added bonus, your account will be credited with 2 euros to begin using your new application. Head over to <${CUSTOMER_DASHBOARD_URL}/sign-up?icid=tryitfree_api-developer-adp_nexmodashbdfreetrialsignup_nav> and go through the signup steps. Once you have finished you will be in your Nexmo dashboard.
From the Nexmo Dashboard, click on the Numbers menu item on the left-hand side.
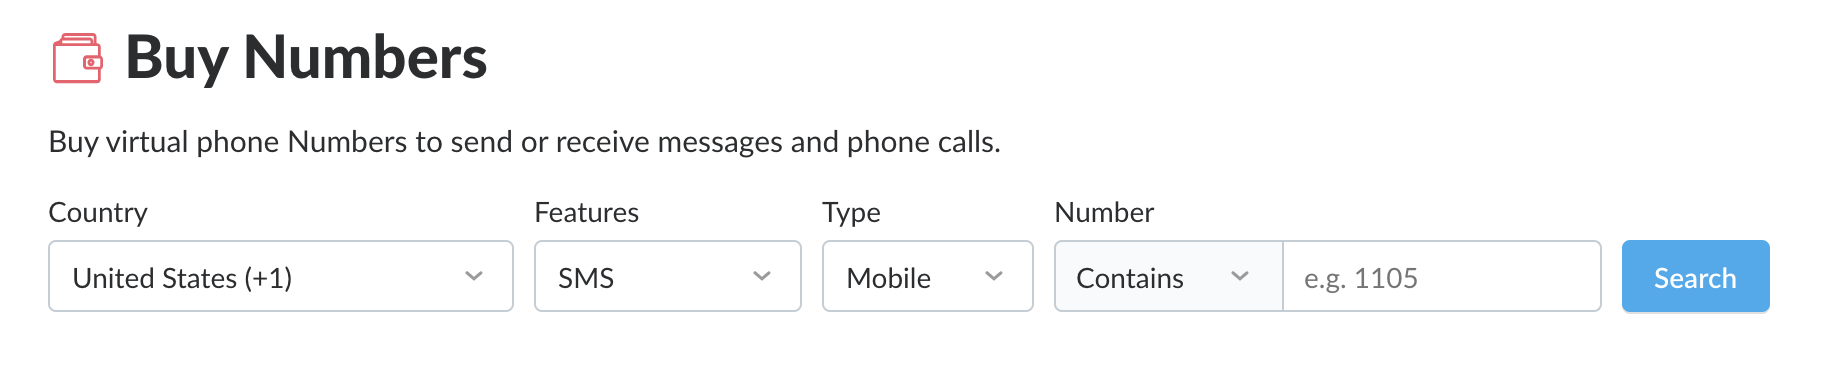
Click the Buy Numbers option and you’ll be directed to a page where you can choose a country, features, type, and four digits you would like the number to have.
 buy number dashboard
Select the country that you are currently in so the call is local. For features, select Voice and for type, either mobile or landline will work just fine.
Click Search to see a list of phone numbers available.
Select a number by clicking the orange Buy button, and clicking the orange Buy button again once you’re in the confirmation prompt.
You now own a Nexmo phone number. Your next step is to create an application in the Nexmo dashboard.
From the left-hand menu, click on the Voice menu item.
Select the Create an application option. You are directed to a page where you can set up a new Nexmo application.
Complete the form with the following:
Application name text field enter qr code scavenger hunt
Event URL text field enter your Glitch URL: https://[your Glitch URL].glitch.me/events
Answer URL text field enter your Glitch URL again: https://[your Glitch URL].glitch.me/answer
Once that is all in there, click the blue Create Application button.
Be sure to generate a public/private key pair and save it.
You now have a Nexmo number and a voice application, all that is left to do is link the two together.
Select the Numbers menu option in the left-hand menu and then click on Your numbers. You’ll be directed to a page listing the phone number you just purchased.
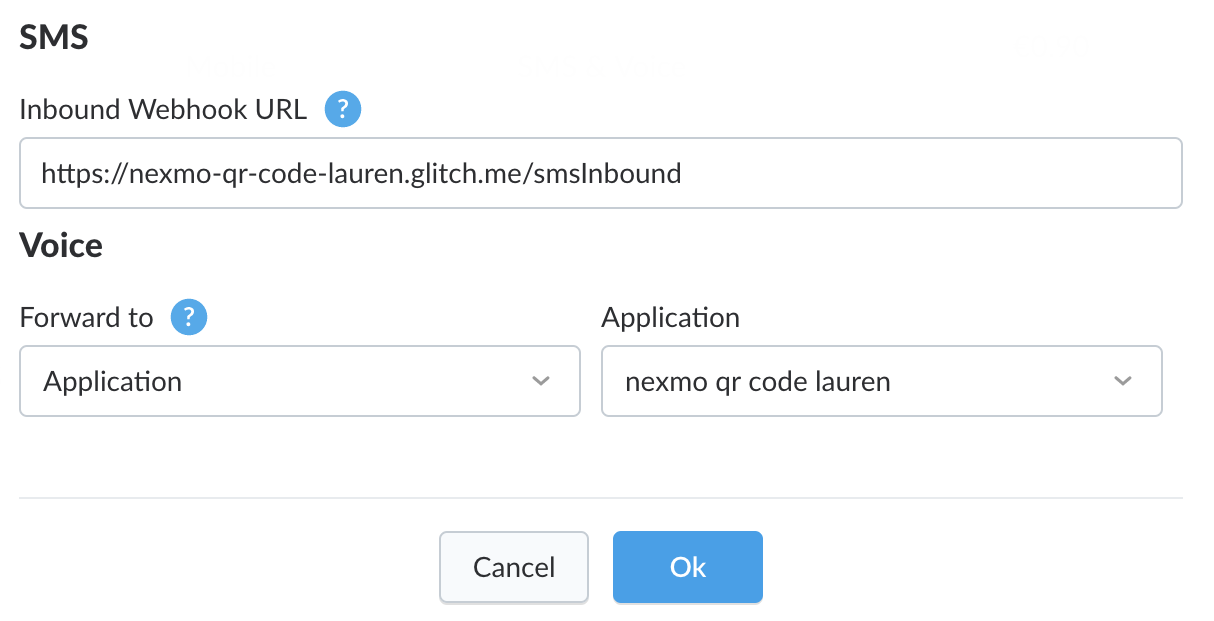
Click on the gear icon on the right-hand side of the page and a menu will pop up. In the Inbound Webhook URL field enter your Glitch URL followed by /smsInbound: https://[your Glitch URL].glitch.me/smsInbound`
Select Application under the Forward to area
Select your new application from the drop-down list under the Application area. Press the blue Ok button
 inbound webhook
Your new Nexmo voice number is now linked to your new Nexmo application, and with that last step, you are ready to build your application!
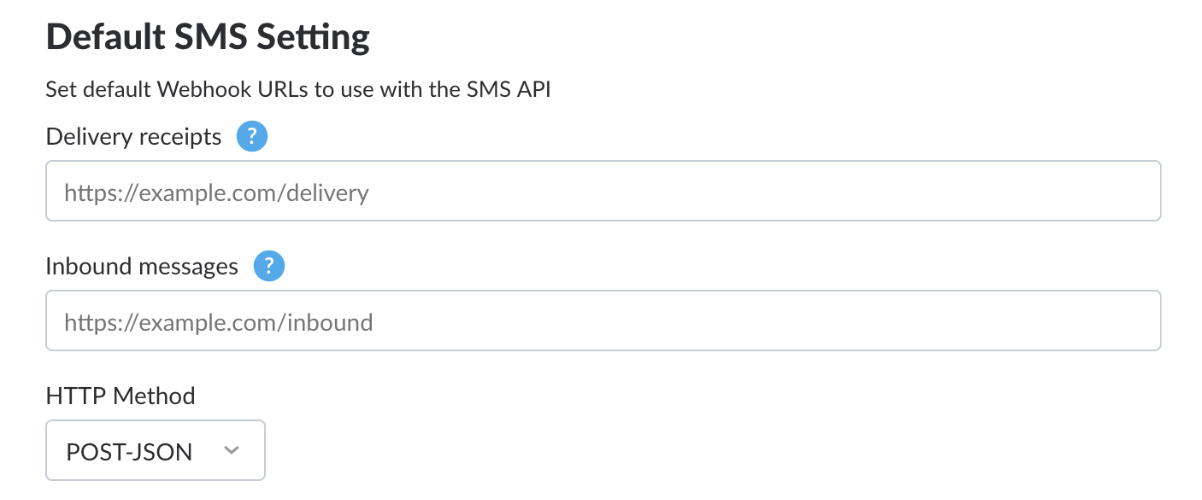
On the Nexmo dashboard, under your name and the account settings, be sure to select POST-JSON as your default HTTP METHOD as so:
 post json
To begin, create a new project on Glitch, choosing the hello-express template.
In the package.json file, select the Add a package dropdown to search for and add the following dependencies: nexmo, qrcode, body-parser, and dotenv.
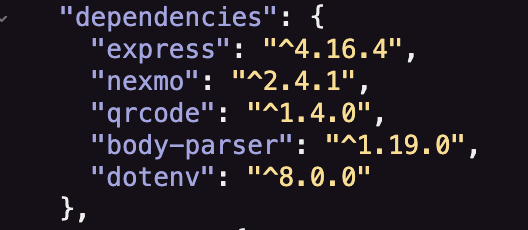 dependency list
At the top of your server.js file, let’s set up our Express server, require our dependencies, and embed our Nexmo credentials:
// server.js
require('dotenv').config();

const express = require('express');
const bodyParser = require('body-parser')
const Nexmo = require('nexmo');
const app = express();
const assets = require('./assets');

app.use(express.static('public'));
app.use(bodyParser.json());
app.use("/assets", assets);

const nexmo = new Nexmo({
    apiKey: process.env.API_KEY,
    apiSecret: process.env.API_SECRET,
    applicationId: process.env.APP_ID,
    privateKey: `${__dirname}/${process.env.PRIVATE_KEY_PATH}`
});In the .env file, fill in those Nexmo specific credentials we just created in the Nexmo Dashboard:
API_KEY=**ABC123**
API_SECRET=***aBc1xYZ***
APP_ID=**2xyZ-3aBc**
PRIVATE_KEY_PATH=.data/private.key
NEXMO_NUMBER=15551234567Replace the API Key, API Secret, App ID, and your Nexmo Number. To include the Private Key, select the New File toggle in the top left corner and name it .data/private.key. In that file paste the private key you generated when you created your voice application. This file will become invisible within Glitch if you remix your code for security reasons.
server.js
Next, beneath those credentials, in addition to our default route and the listener, let’s create a few different routes:
// server.js
app.get('/', (req, res) => {
  res.sendFile(__dirname + '/views/index.html');
});

app.post('/events', (req, res) => {});

app.get('/answer', (req, res) => {});

app.get('/playRecording/:name', (req, res) => {});

app.post('/smsInbound', (req, res) => {});

const listener = app.listen(process.env.PORT, function() {
  console.log('Your app is listening on port ' + listener.address().port);
});
The first functions we need to fill in are for /events and /answer which both will respond with the send() functionality if the status response is 200:
// server.js
app.post('/events', (req, res) => {
  res.status(200).send();
});

app.get('/answer', (req, res) => {
  res.status(200).send();
});
Then for the /playRecording route, you will dynamically direct the app to play the recordings of your scavenger hunt clues:
// server.js
app.get('/playRecording/:name', (req, res) => {
  let filename= req.params.name

  let ncco = [
    {
      "action": "stream",
      "streamUrl": [`${req.protocol}://${req.headers.host}/assets/${filename}`]
    }
  ];
  res.status(200).json(ncco);
});
Lastly, for the /smsInbound route, create a switch statement that will handle which clue is found. You can name them whatever you like (I'd recommend getting a bit more creative than my boring numerical names 😂).
// server.js
app.post('/smsInbound', (req, res) => {
  let keyword;
  console.log(req.body)
  switch (req.body.keyword) {
  case 'CLUE1':
    keyword = 'clue1.ogg'
    break;
  case 'CLUE2':
    keyword = 'clue2.ogg'
    break;
  }
});
Then, still within the /smsInbound route, connect to the Nexmo Voice API with nexmo.calls.create() which will then call the /playRecording route and function to stream the correct clue. And finally send the function if the response is 200.
// server.js
nexmo.calls.create({
  to: [{
    type: 'phone',
    number: req.body.msisdn
  }],
  from: {
    type: 'phone',
    number: process.env.NEXMO_NUMBER
  },
  answer_url: [`${req.protocol}://${req.headers.host}/playRecording/${keyword}`]
});
res.status(200).send();
Next, in your index.html file, let's create the QR Codes. I used the qrcode-generator CDN to dynamically generate codes based on the amount of clues. This is what the <body /> of my index.html looks like:
<!-- index.html -->
<body>
  <header>
    <h1>
      Scavenger Hunt
    </h1>
    <h3>
      with Nexmo SMS & Voice APIs and QR Codes
    </h3>
  </header>

  <main>
    <div id="placeHolder"></div>
  </main>

  <footer>
  </footer>

  <script src="https://cdnjs.cloudflare.com/ajax/libs/qrcode-generator/1.4.3/qrcode.min.js" integrity="sha256-zJI7J3Bt9A8QR4/b9OIKXFw25pp2rpoQBQXUVLrdYL8=" crossorigin="anonymous"></script>
  <script>

    const codes = ['clue1', 'clue2'];
    const YOUR_NEXMO_NUMBER = 18001234567

    const createQRCode = (data) => {
      let typeNumber = 4;
      let errorCorrectionLevel = 'L';
      let qr = qrcode(typeNumber, errorCorrectionLevel);

      qr.addData(data);
      qr.make();

      return qr.createImgTag(4,40);
    }

    codes.map((code) => {
      let elementNode = document.getElementById('placeHolder');
      let image = createQRCode(`SMSTO:${YOUR_NEXMO_NUMBER}:${code}`);
      let clueCount = "clue " + code.substr(-1);
      elementNode.append(clueCount);
      elementNode.appendChild(document.createRange().createContextualFragment(image));
    });

  </script>

</body>
Be sure to replace YOUR_NEXMO_NUMBER in the createQRCode() function with your Nexmo number that you send the SMS to.
The last thing we need to do is create a assets.js file and fill it in with logic to handle Glitch's assets and clues so that we can use the CDN.
// assets.js
var express = require('express');
var fs = require('fs');

var router = express.Router();
var content = fs.readFileSync('.glitch-assets', 'utf8');
var rows = content.split("\n");
var assets = rows.map((row) => {
  try {
    return JSON.parse(row);
  } catch (e) {}
});
assets = assets.filter((asset) => asset);


router.use((request, response) => {
  response.header("Access-Control-Allow-Origin", "*");
  response.header("Access-Control-Allow-Methods", "GET");
  response.header("Access-Control-Allow-Headers", "Origin, X-Requested-With, Content-Type, Accept, Authorization");

  var path = request.path.substring(1);

  var [matching] = assets.filter((asset) => {
    if(asset.name)
      return asset.name.replace(/ /g,'%20') === path;
  });

  if (!matching || !matching.url) {
    return response.status(404).end("No such file");
  }

  return response.redirect(matching.url);
});

module.exports = router;
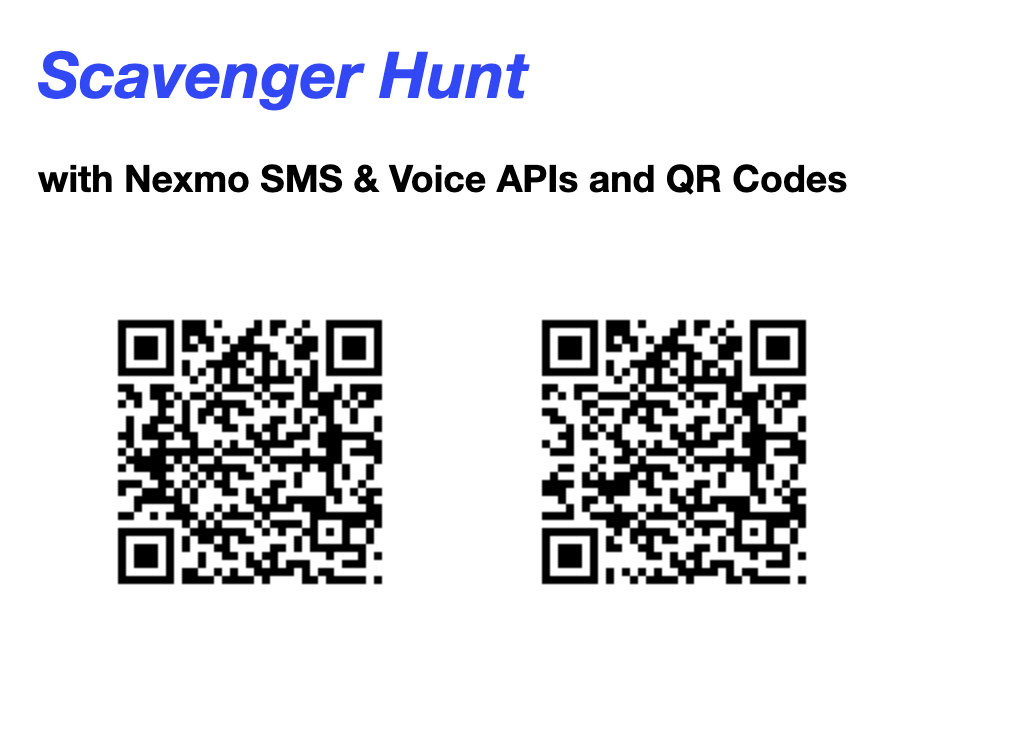 qr codes
Congrats! We have successfully generated QR codes onto the frontend of our webpage. You can take those and place them at their corresponding clue locations throughout your city or neighborhood!
Once a scavenger hunter finds a particular clue, they should be able to scan it with their smartphone and a prepopulated text message will be prepared and ready to send to your Nexmo phone number. Once that SMS is successfully sent, the scavenger hunter will receive a phone call from that same number with the audio recording of their next clue. The hunt can then continue!