
Share:
Diana is a developer advocate at Vonage. She likes eating fresh oysters.
Customize Your macOS Terminal Using Starship
Time to read: 5 minutes
As someone easily drawn to pretty and aesthetic things, customizing my macOS terminal to create an environment I resonate with has helped improve my productivity and simplify complex tasks. In this blog, I'll show you how to create your own vibe by using Starship.
Ready to customize your terminal? Let's go!
Starship is an open-source, customizable prompt for shell environments used in command-line interfaces (CLI). It is available on Android, BSD, Linux, macOS, and Windows; in this blog, I will be giving you instructions for macOS. It allows users to easily modify its appearance and the type of information it shows, such as Git status or programming language versions, by editing a simple configuration file. It's designed to be quick and light, so your work won't be slowed down in the terminal. A key advantage of Starship is that it works with various shells like Bash, Zsh, and Fish, keeping the terminal experience consistent and efficient. This means you can use it in different environments without needing to adjust to a new setup each time.
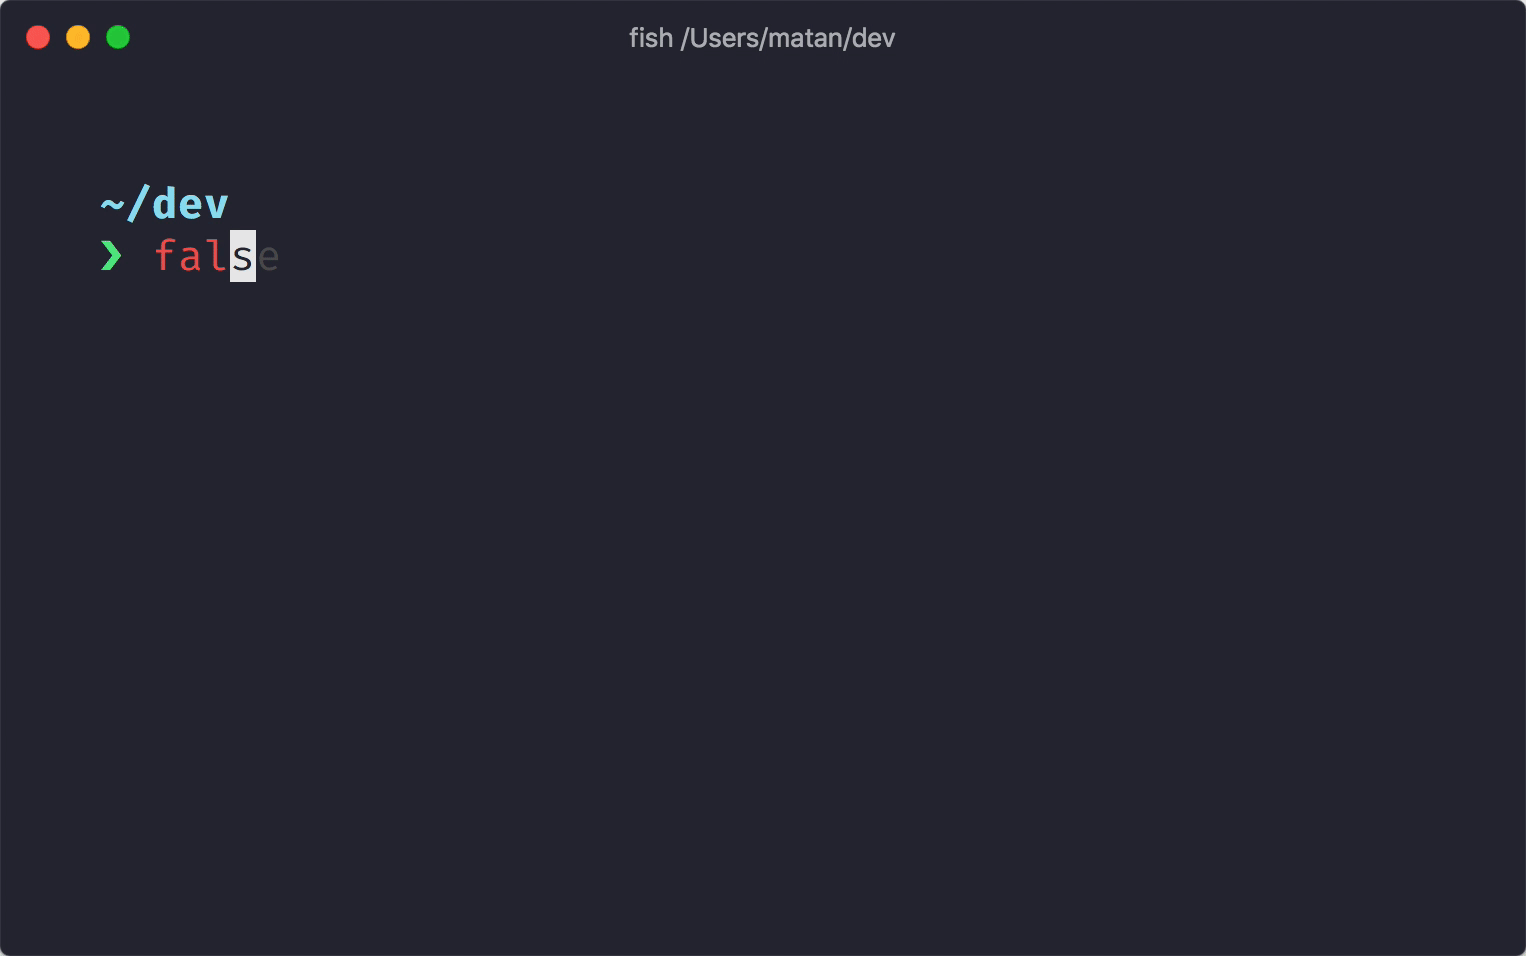 Demo of Customized Terminal
Source: starship.rs
Now, let's open our terminal to get started!
1. Install Starship: Run curl -sS https://starship.rs/install.sh | sh in your terminal.
Alternatively, if you have brew installed, you can do a quick brew install starship.
2. Set Up Your Shell: Choose and configure your shell. Starship supports a list of different shells. For this blog, I will be using Zsh.
Next, run: nano ~/.zshrc
Once the file is open in nano, add the following to the end of ~/.zshrc: eval "$(starship init zsh)"
Once you've saved the changes with Ctrl + O in nano, you can simply exit nano with Ctrl + X, and your changes will be applied to the configuration immediately.
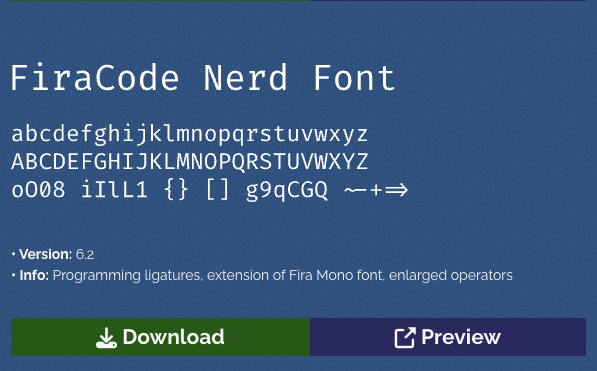
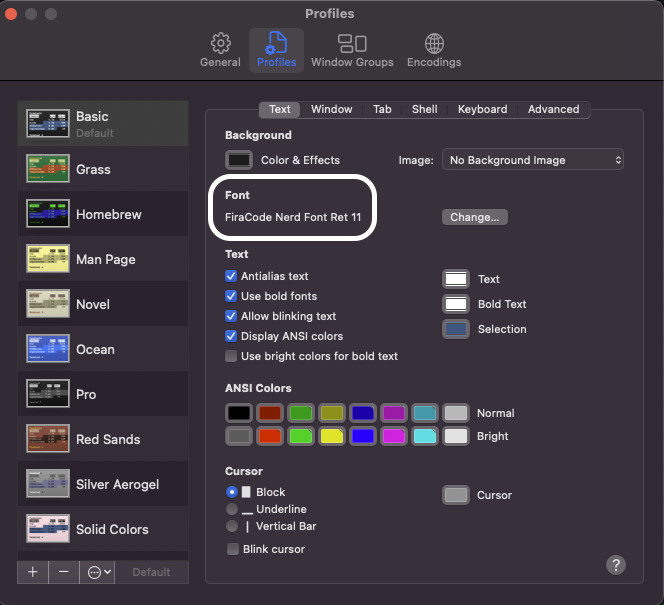
3. Choosing the Right Font: You can choose whatever font you'd like. I downloaded FiraCode Nerd Font because it is readable and compatible with a wide range of development tools and environments.
 Font Book
Once you've chosen your font and clicked "Download", locate the downloaded zip file in your Downloads folder. Double-click the zip file to extract its contents. This action should create a new folder containing the font files. Open that new folder to view the font files inside.
Select all the font files (usually with .ttf extension) that you want to install. Right-click on the selected font files and choose "Open" or "Open with" -> "Font Book" (macOS's default font manager).
The Font Book will open and display the selected font files.
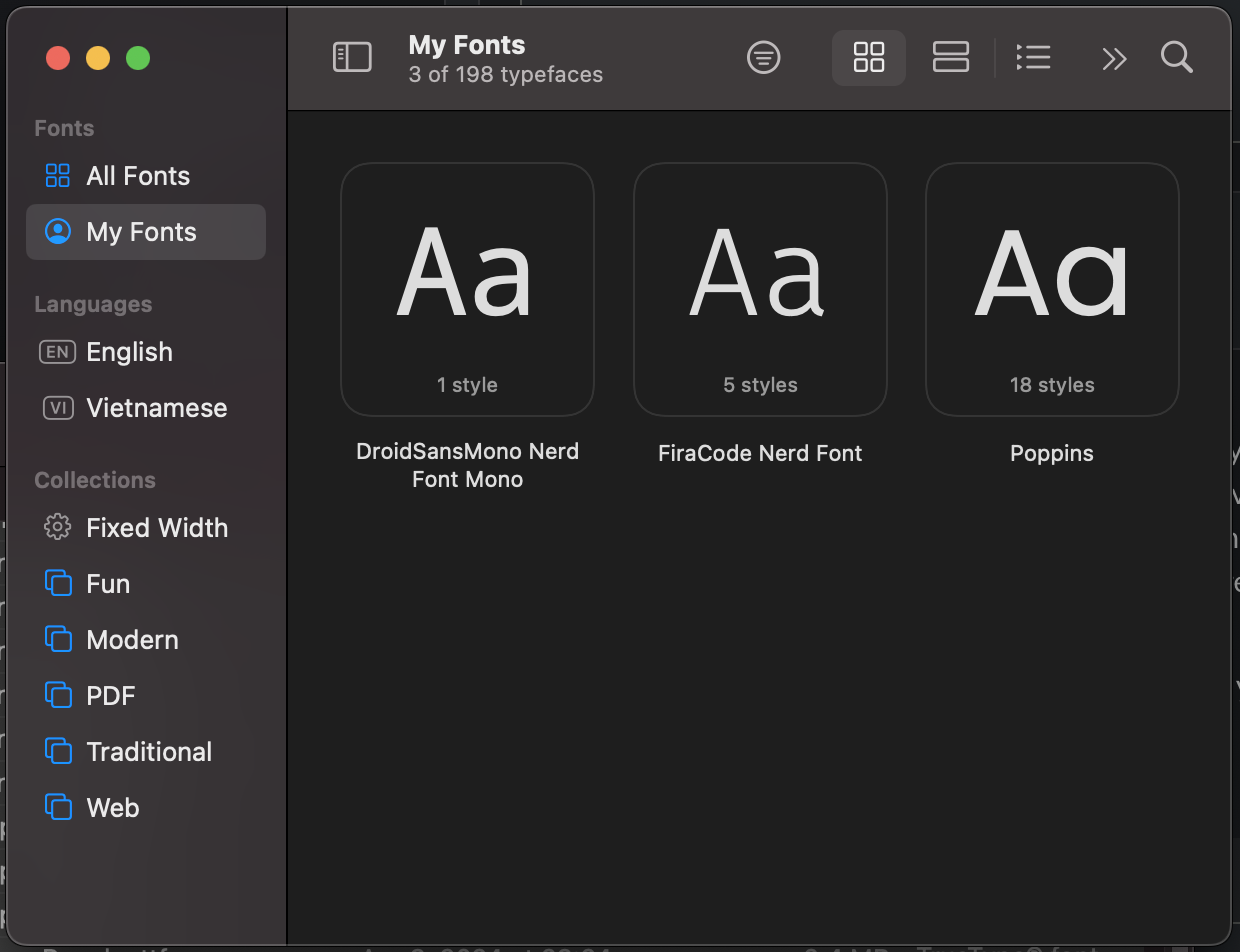
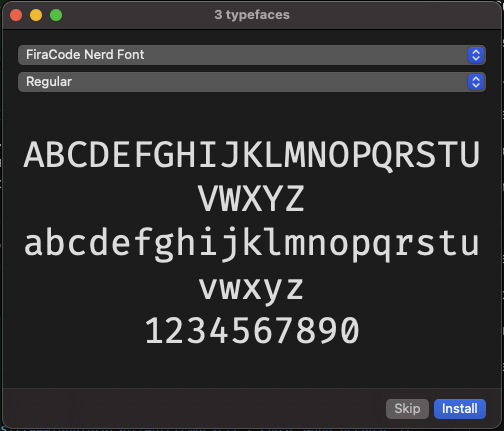 Font BookClick "Install Font" for each font variant you want to install (regular, bold, italic, etc.). Alternatively, you can drag and drop the font files into the Font Book window to install them. Once that is done, you should see your new font in your Font Book under "My Fonts".
 Terminal ProfilesOnce the fonts are installed, you can verify their installation by opening your terminal. At the top left of your screen, click on "Terminal" -> "Settings" (a "Profiles" window will appear). Click "Profiles". If you see the FiraCode Nerd Font options in the font selection dropdown, it means the fonts are successfully installed. Select it, and you'll see the terminal font change.
 Terminal Profiles4. Create and Edit the Starship Configuration File: Since you're working in a terminal, you can use a command-line text editor like Nano, Vim, or Emacs. I chose Nano because it is pretty user-friendly.
Type the following command in your terminal to create and edit the starship.toml file: nano ~/.config/starship.toml
This is where you get to change the terminal. You can change every aspect of your prompt through the starship.toml file.
Configuring Starship:
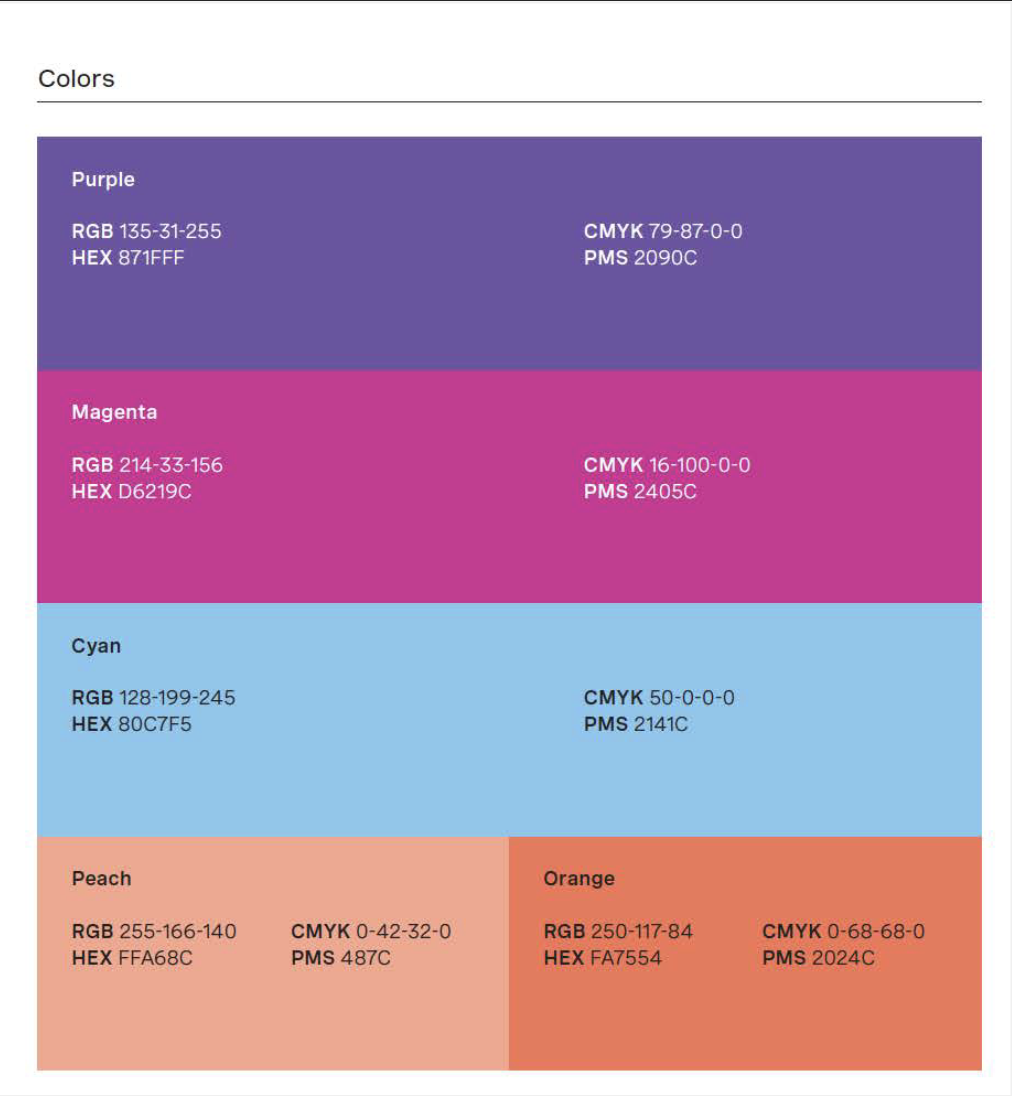
I was inspired by therubberduckiee's terminal, so I used her dev environment file as a template. Copy and paste the contents of this file into your starship.toml file, and change the HEX codes to whatever you want. I replaced her colors with the Vonage colors' HEX codes:
| Color | HEX Code |
|---|---|
| Purple | 871FFF |
| Magenta | D62190 |
| Cyan | 80C7F5 |
| Peach | FFA68C |
| Orange | FA7554 |
 Vonage ColorsIf you need to find your color choices' HEX codes, use a tool that gives information about colors calculated in a color page, like Color Hex.
Save your changes, and your terminal should be good to go!
Now, let's see these beautiful changes. I used Visual Studio Code and opened my terminal there. Here are commands you can run in your terminal to see your customization:
Install Vonage CLI: npm install --location=global @vonage/cli
 InstallCheck your installed version:
 vonage --version
 VersionAfter creating your Vonage developer account, you can find your API Key and API Secret on your dashboard. Set your configuration:
 vonage config:set --apiKey=XXXXXX --apiSecret=XXXXXX
 ConfigTo see your current Vonage apps, use:
 vonage apps
 AppsFor more information on how to create and manage your Vonage application, follow the documentation for the Vonage CLI or Michael Crump's blog "Better together: GitHub & Vonage CLI".
This blog taught us how to customize our macOS terminal using Starship and tested it with the Vonage CLI. As developers, our environment is key to our productivity, so why not make it as unique as the code we write? If you need help creating a pretty terminal, drop a message into our community Slack channel. If you end up following this tutorial, feel free to share your terminal on X, formerly known as Twitter, and tag me. I'd love to see your new environment!