
Share:
Steve is a self-proclaimed Mathlete, and King of Snark. He is also a lover of Greyhounds, twisty puzzles, and European Board Games. When not talking math to non-math people, and Java to non-Java people, he can be found sipping coffee and hacking on code.
How to Create a WebSocket Server with the Java API for WebSockets
Time to read: 7 minutes
This article was updated in August 2025
WebSocket is a protocol that allows a server and a client (like a browser or mobile app) talk to each other in real time. Unlike RESTful HTTP, where the client has to keep checking in for updates (a process called polling), WebSocket keeps a constant, two-way connection open. That means the server can send updates to the client whenever something changes, so there is no need to wait for the client to ask.
In this tutorial, we’ll walk you through how to implement a WebSocket server in Java using the Jakarta WebSocket API (JSR 356).
Java Development Kit (JDK) 17 or newer (Java 16+ is now supported by Gretty v4.1.6)
Gradle, run
brew install gradleorsdk install gradle, or follow the Gradle installation guide.
Introduced in Java EE 7, the Java API for WebSockets, or JSR 356, is a specification that Java developers can use in order to integrate WebSockets into their applications.
It allows developers to write their WebSocket-based application completely independent of their container's implementation. For this guide, you will be using Tomcat. However, because you will be using JSR 356, any other web container that supports Jakarta EE 9 or later should work.
You will use Gradle to initialize a new Java application. You can use the following command to create a directory for your project, navigate to that directory, and initialize the application:
Create a new Gradle project:
Run
gradle init --type=java-applicationcommandSelect
Groovyas script languageSelect
JUnit Jupiteras a testing frameworkLeave default
Project nameLeave default
Source package
Add the following dependency to the dependencies block of app/build.gradle file:
implementation 'jakarta.websocket:jakarta.websocket-api:2.1.1'
Jakarta EE 9+ uses the jakarta.websocket namespace instead of javax.websocket, and Tomcat 10+ follows this convention.
WebSocket messages can be both text and binary. You're going to create an endpoint that can handle both of these messages.
The @ServerEndpoint annotation is used to decorate a class and declare it as a WebSocket endpoint. The annotation takes a path argument that defines where the endpoint will be accessible.
Create a new class called WebSocketEndpoint inside the src/main/java/websocket/java/api folder and add the following code:
import jakarta.websocket.server.ServerEndpoint;
import jakarta.websocket.OnMessage;

@ServerEndpoint("/socket")
public class WebSocketEndpoint {
    @OnMessage
    public String handleTextMessage(String message) {
        System.out.println("New Text Message Received");
        return message;
    }

    @OnMessage(maxMessageSize = 1024000)
    public byte[] handleBinaryMessage(byte[] buffer) {
        System.out.println("New Binary Message Received");
        return buffer;
    }
}The @OnMessage annotation links Java methods to incoming text or binary WebSocket messages. The method signature determines which type of message it handles. For example, String is used for text and byte[] is for binary.
In this example, you're creating an echo server that returns the same message it receives. The maxMessageSize parameter on the binary handler allows the server to accept large payloads such as image files. You’ll test this using a browser-based client later in the tutorial.
You will need to create a client to test your WebSocket server. You will want to test sending both text and binary messages. This can be accomplished with a simple application written in HTML and JavaScript.
Create the webapp folder inside of the src/main folder.
Add the following to index.html inside of the src/main/webapp folder:
<html>
<head>
    <style>
        #messages {
            text-align: left;
            width: 50%;
            padding: 1em;
            border: 1px solid black;
        }
    </style>
    <title>Sample WebSocket Client</title>
</head>
<body>
<div class="container">
    <div id="messages" class="messages"></div>
    <div class="input-fields">
        <p>Type a message and hit send:</p>
        <input id="message"/>
        <button id="send">Send</button>

        <p>Select an image and hit send:</p>
        <input type="file" id="file" accept="image/*"/>

        <button id="sendImage">Send Image</button>
    </div>
</div>
</body>
<script>
    const messageWindow = document.getElementById("messages");

    const sendButton = document.getElementById("send");
    const messageInput = document.getElementById("message");

    const fileInput = document.getElementById("file");
    const sendImageButton = document.getElementById("sendImage");

    const socket = new WebSocket("ws://localhost:8080/socket");
    socket.binaryType = "arraybuffer";

    socket.onopen = function (event) {
        addMessageToWindow("Connected");
    };

    socket.onmessage = function (event) {
        if (event.data instanceof ArrayBuffer) {
            addMessageToWindow('Got Image:');
            addImageToWindow(event.data);
        } else {
            addMessageToWindow(`Got Message: ${event.data}`);
        }
    };

    sendButton.onclick = function (event) {
        sendMessage(messageInput.value);
        messageInput.value = "";
    };

    sendImageButton.onclick = function (event) {
        let file = fileInput.files[0];
        sendMessage(file);
        fileInput.value = null;
    };

    function sendMessage(message) {
        socket.send(message);
        addMessageToWindow("Sent Message: " + message);
    }

    function addMessageToWindow(message) {
        messageWindow.innerHTML += `<div>${message}</div>`
    }

    function addImageToWindow(image) {
        let url = URL.createObjectURL(new Blob([image]));
        messageWindow.innerHTML += `<img src="${url}"/>`
    }
</script>
</html>
Unlike Creating a WebSocket Server with Spring Boot, or Creating a WebSocket Server with the Spark Framework, there is initially no embedded server to run your application.
The Gretty plugin for Gradle can be used to embed a variety of containers.
First, apply the Gretty plugin to build.gradle file by adding this to your plugins block:
plugins {
    id 'org.gretty' version '4.1.7'
}Second, you will need to configure Gretty to use Tomcat as the servlet container, and set the context path to / for the sake of simplicity.
Add the following block to build.gradle:
gretty {
    servletContainer = 'tomcat10'
    contextPath = '/'
}Gretty 3.0.5+ supports tomcat10 for compatibility with Jakarta EE 9+ (jakarta.* namespaces).
Note that, by default, Gretty will use Jetty as the servlet container. This same guide will also run in Jetty, but that is the same container that both Spring Boot and the Spark framework embed and I wanted to show something different.
Your WebSocket server is now complete. Start your application using the gradle appRun command inside of the application's directory.
Make sure your JAVA_HOME is set to JDK 21 before running the application:
Leave the terminal window open.
You can access your application by opening http://localhost:8080 URL in the browser.
You will be greeted with the following page:
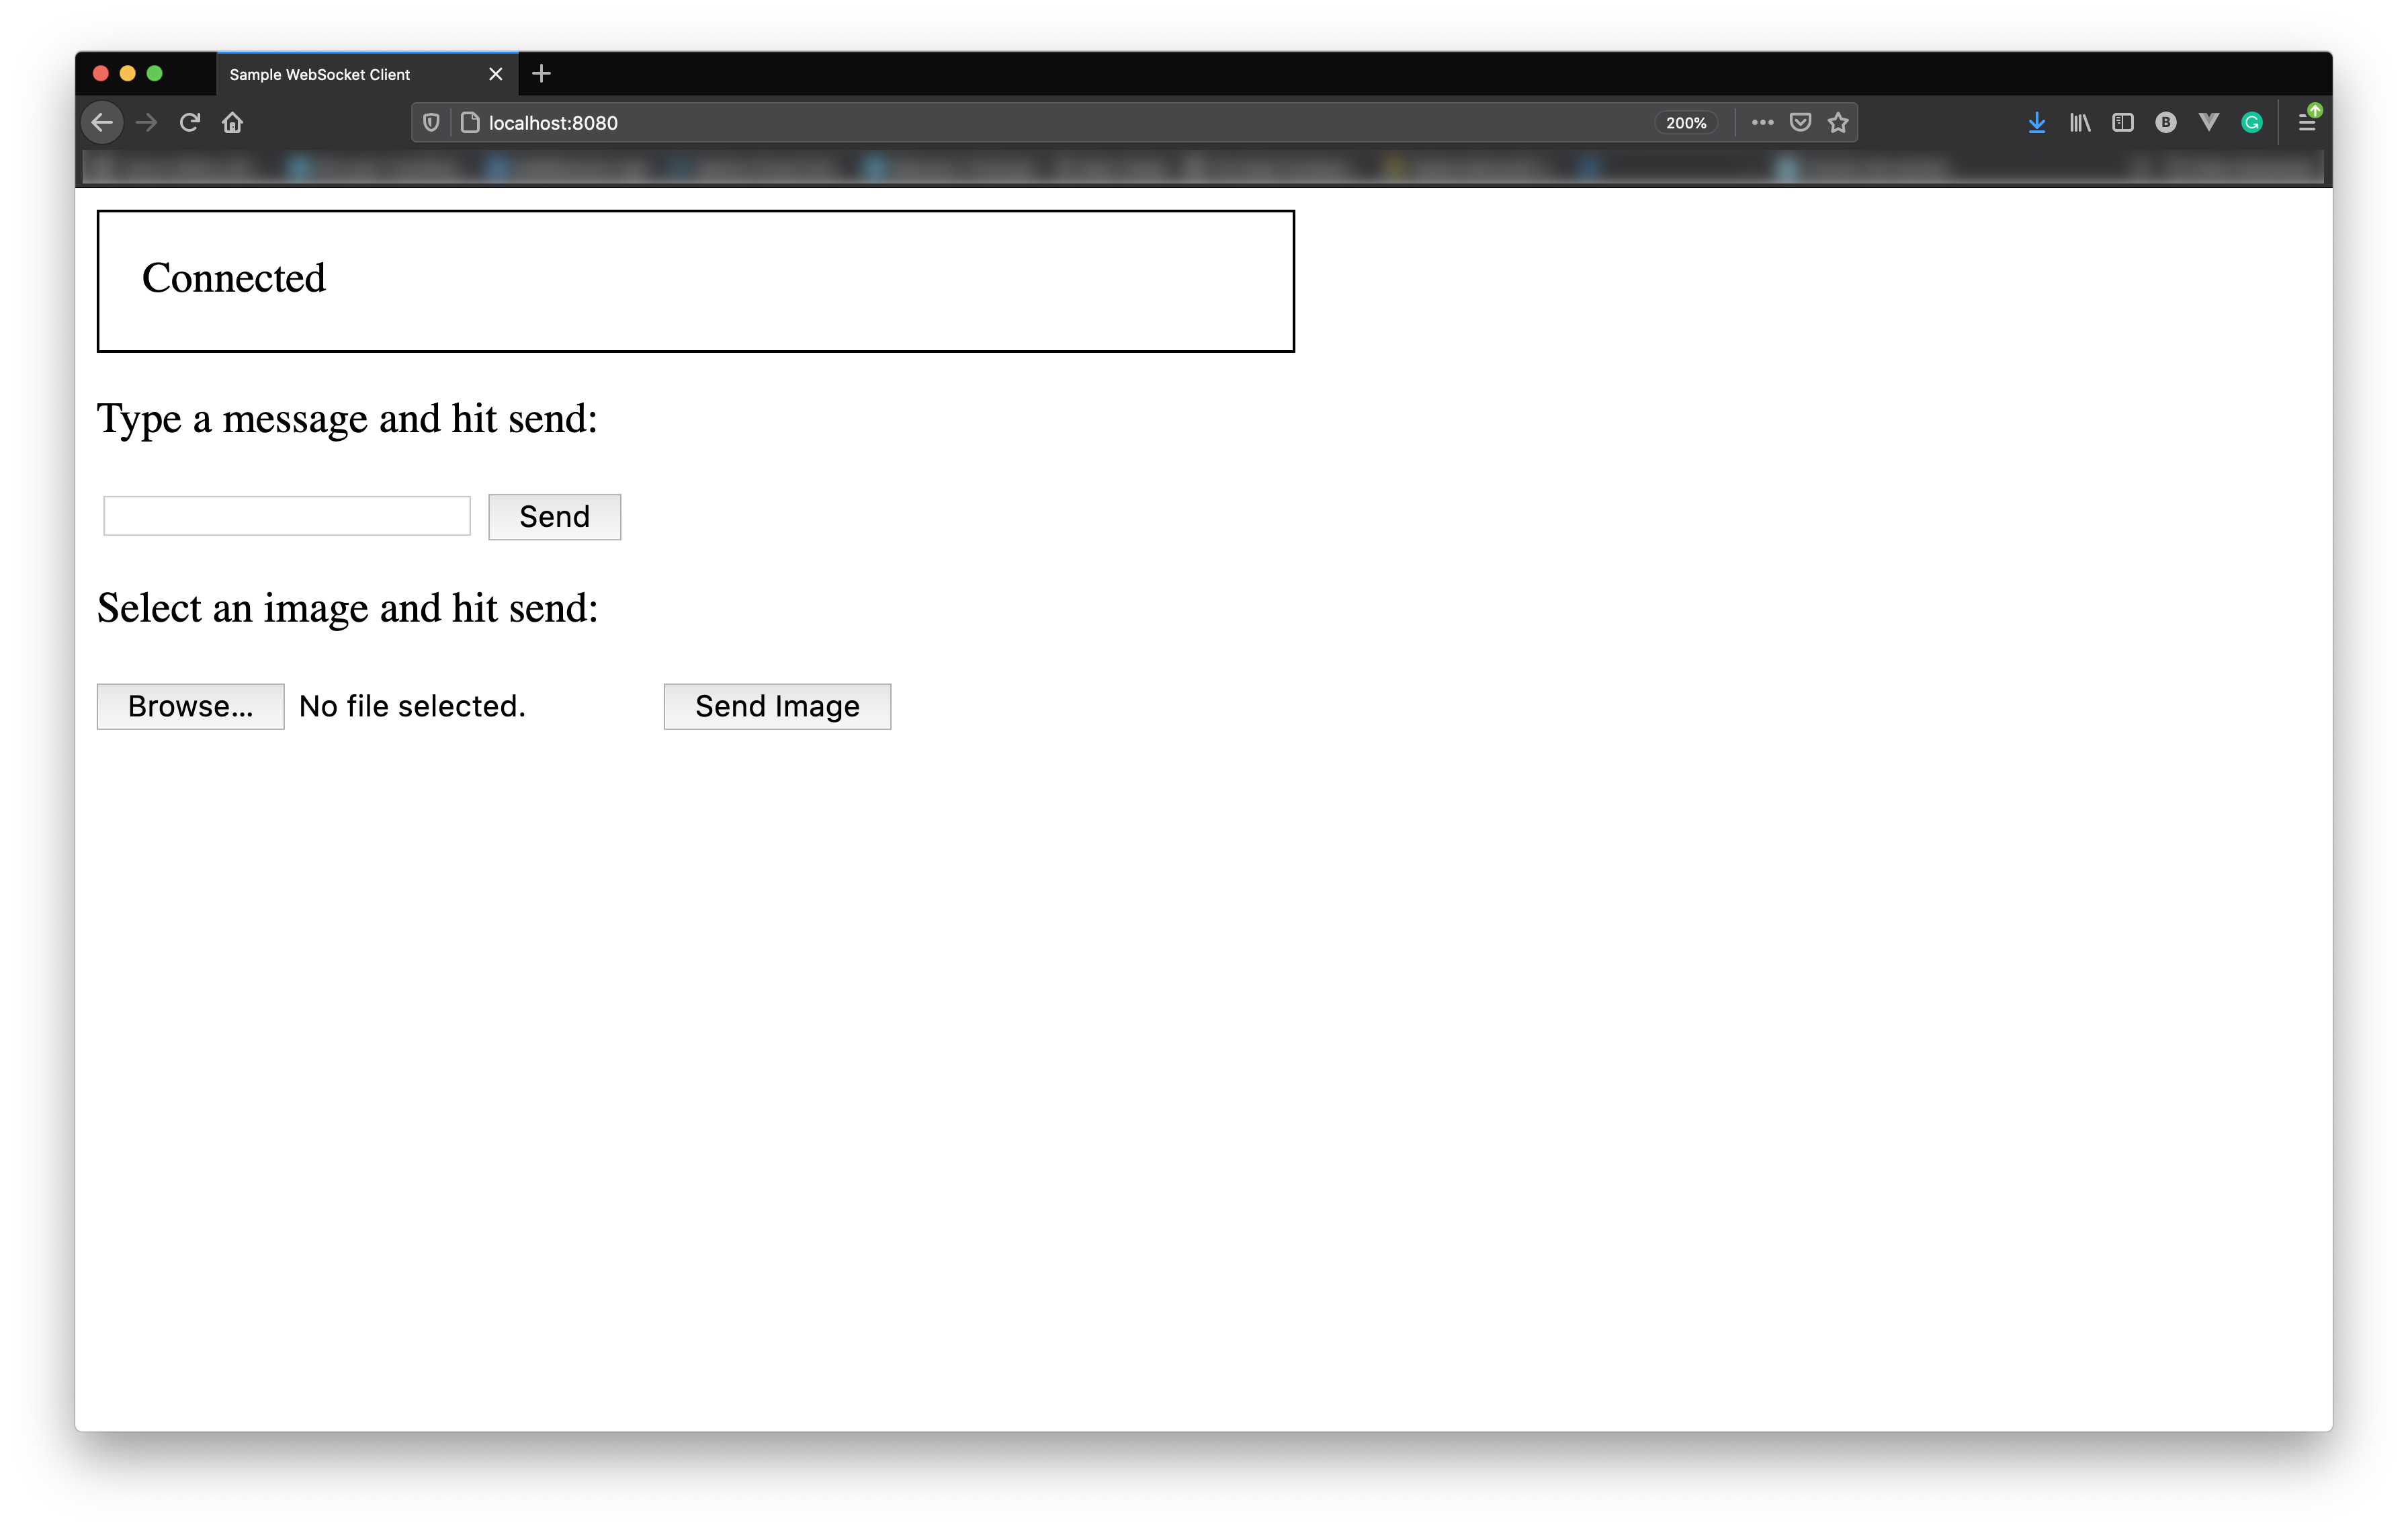 Sample JavaScript-enabled client for testing the WebSocket serverThe "connected" message indicates that the JavaScript client was able to make a connection.
Try sending a text message by typing into the input field and clicking on the send button. Also try uploading an image. In both instances, you should see the same message and image echoed back.
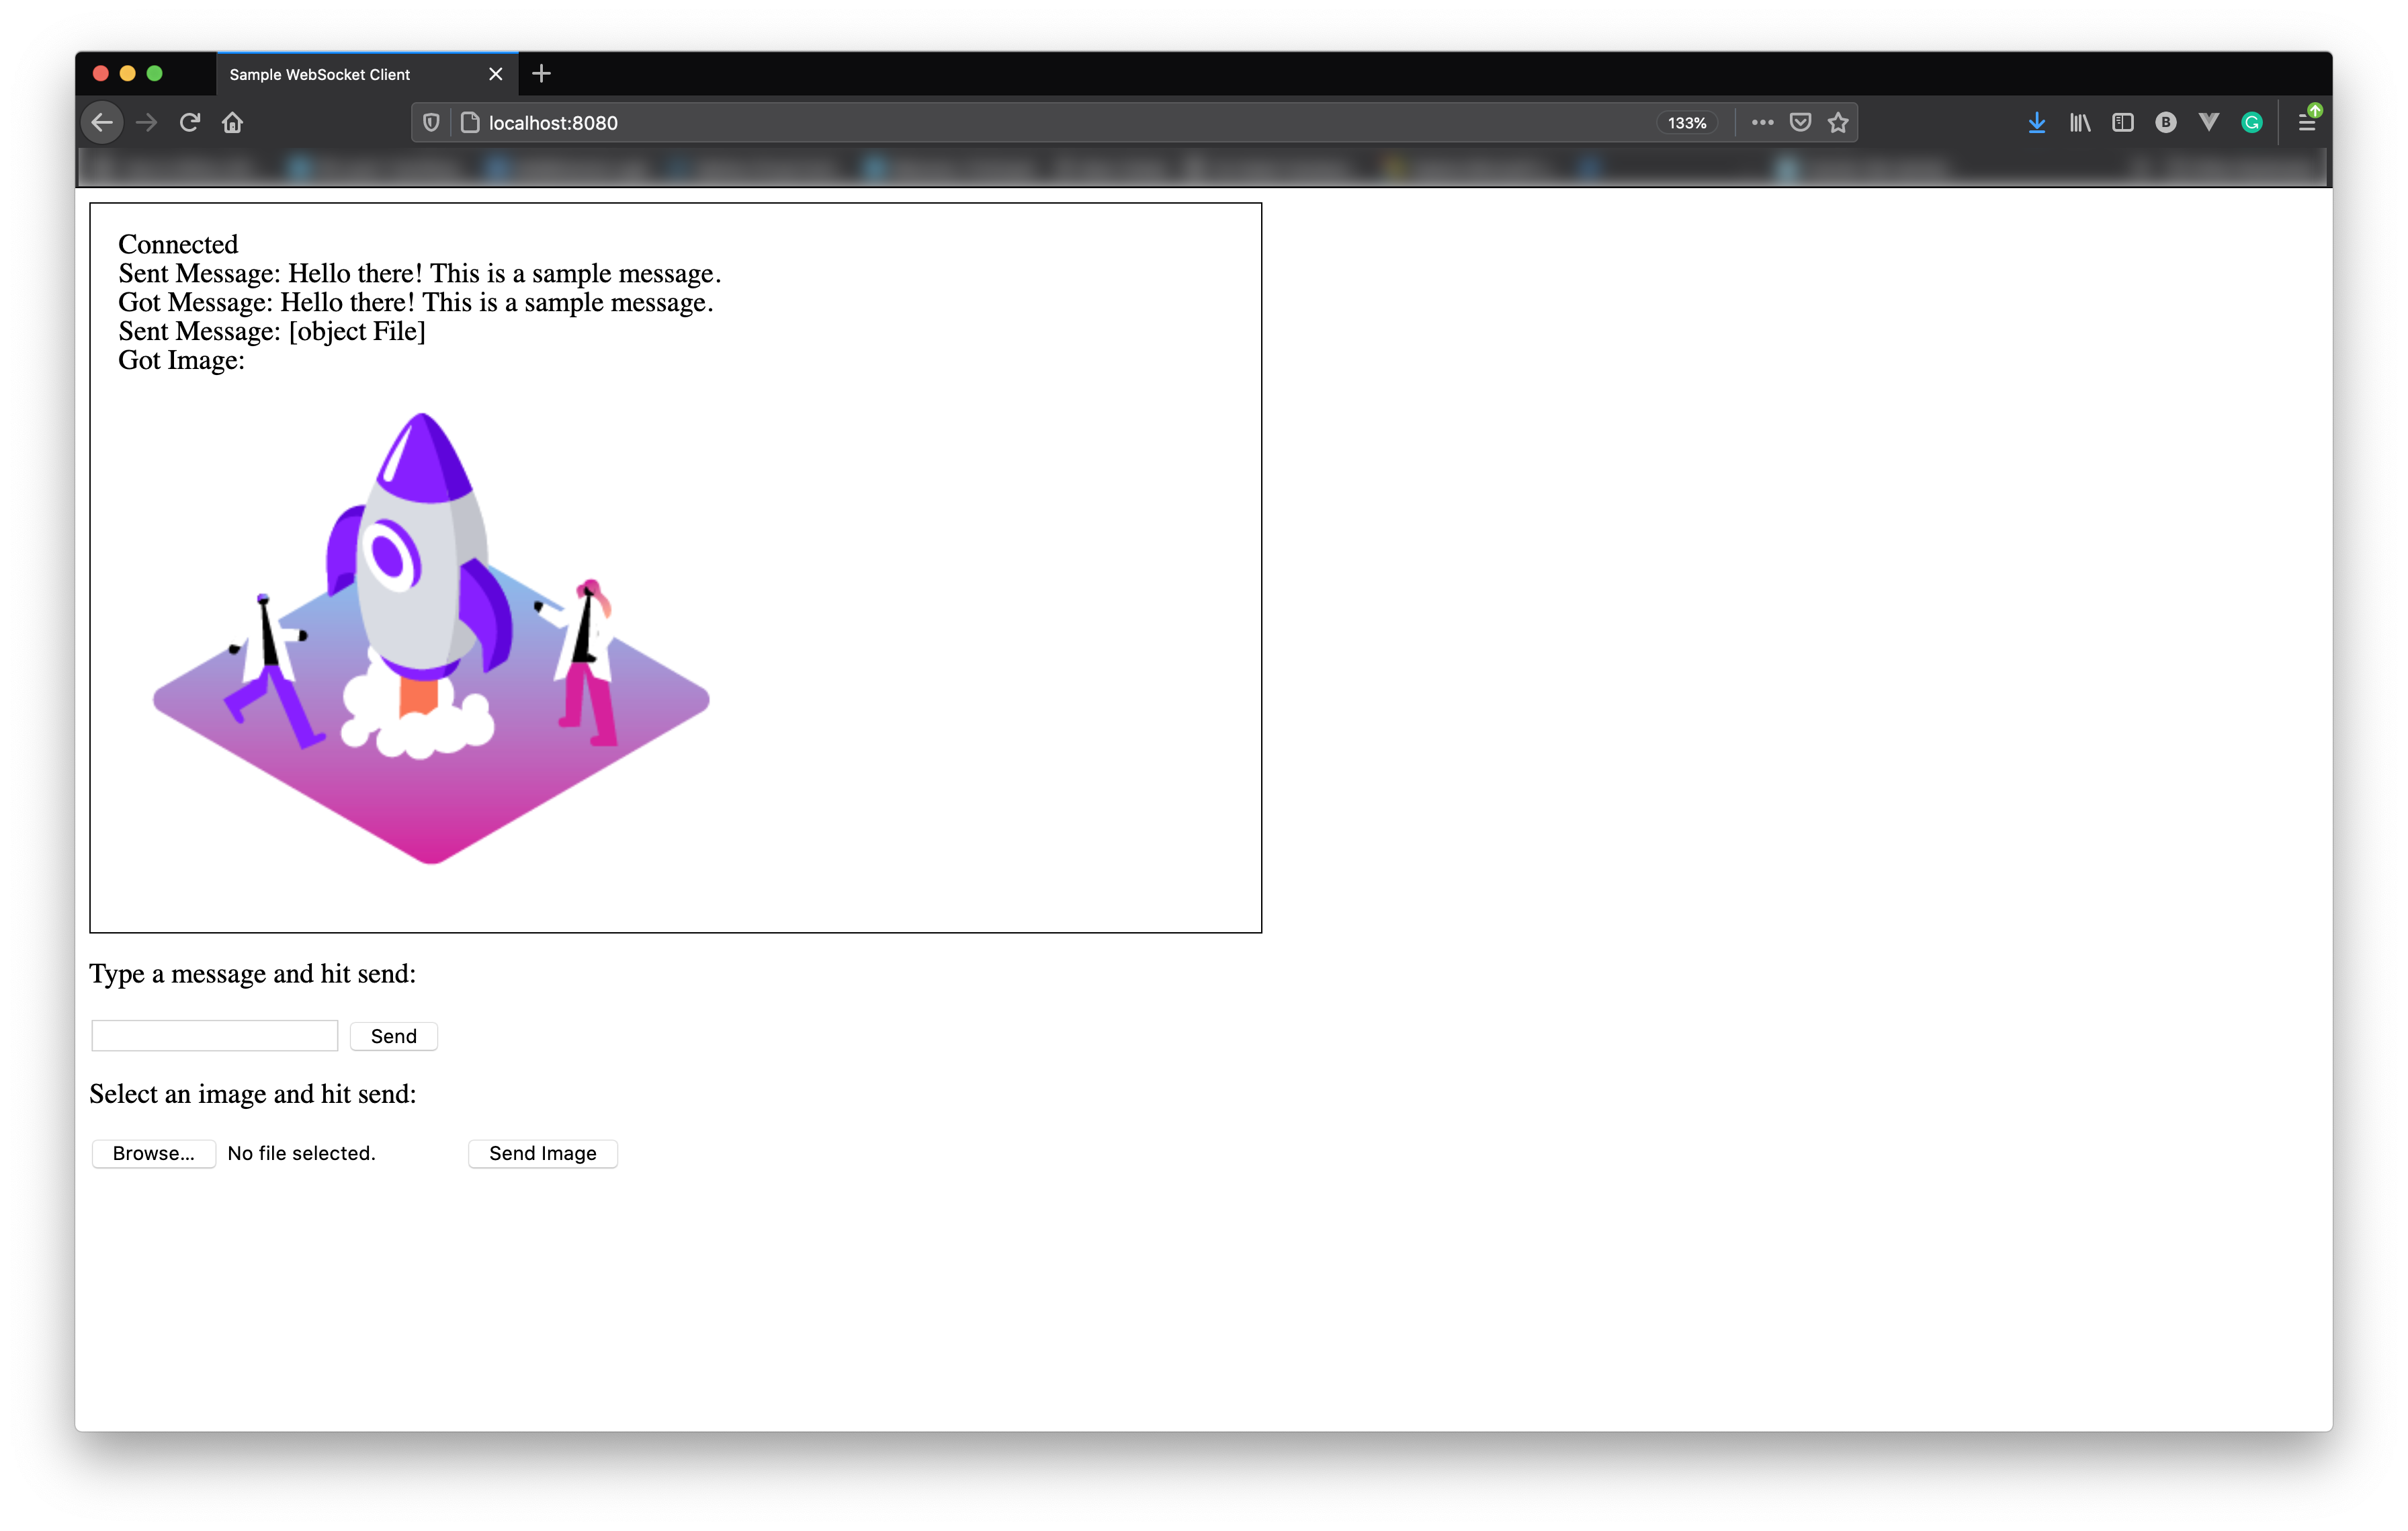 Sample JavaScript-enabled client showing a text and binary message echoed back.
You have successfully created a WebSocket server using the Java API for WebSockets (JSR 356), embedded it in a Tomcat container with Gretty, and tested it with a simple HTML and JavaScript client.
This setup allows you to handle real-time two-way communication between your server and clients with both text and binary data.
Next steps could include adding authentication, handling more message types, or integrating with your existing Java applications.
Have a question or want to share what you're building?
Subscribe to the Developer Newsletter
Follow us on X (formerly Twitter) for updates
Watch tutorials on our YouTube channel
Connect with us on the Vonage Developer page on LinkedIn
Stay connected and keep up with the latest developer news, tips, and events.