
Share:
Cory Althoff is a developer advocate at Vonage and the author of two books: The "Self-Taught Programmer" and "The Self-Taught Computer Scientist". Book Authority named "The Self-Taught Programmer" one of the greatest programming books of all time, and The Next Web listed it as one of the ten books that will help you become a better software engineer. Cory lives in the Bay Area with his wife and daughter.
Create an Emergency Broadcast System With Vonage, Node, and MongoDB
Time to read: 6 minutes
It is hard to get anything right during an emergency, especially if you are panicking! If you are in an emergency, something as simple as letting the right person know you need help may prove impossible. Today, we will solve this by building a web app that allows you to click a single button to notify your family that you are in the middle of an emergency via text and send your location. We will create this website using Node.js, Express, MongoDB, and the Vonage Messages API. Node is a popular web server, and Express is a framework developers often use with it. MongoDB is a NoSQL database, and the Vonage Messages API lets you quickly send messages (such as SMS messages) programmatically.
Your web app will look like this.
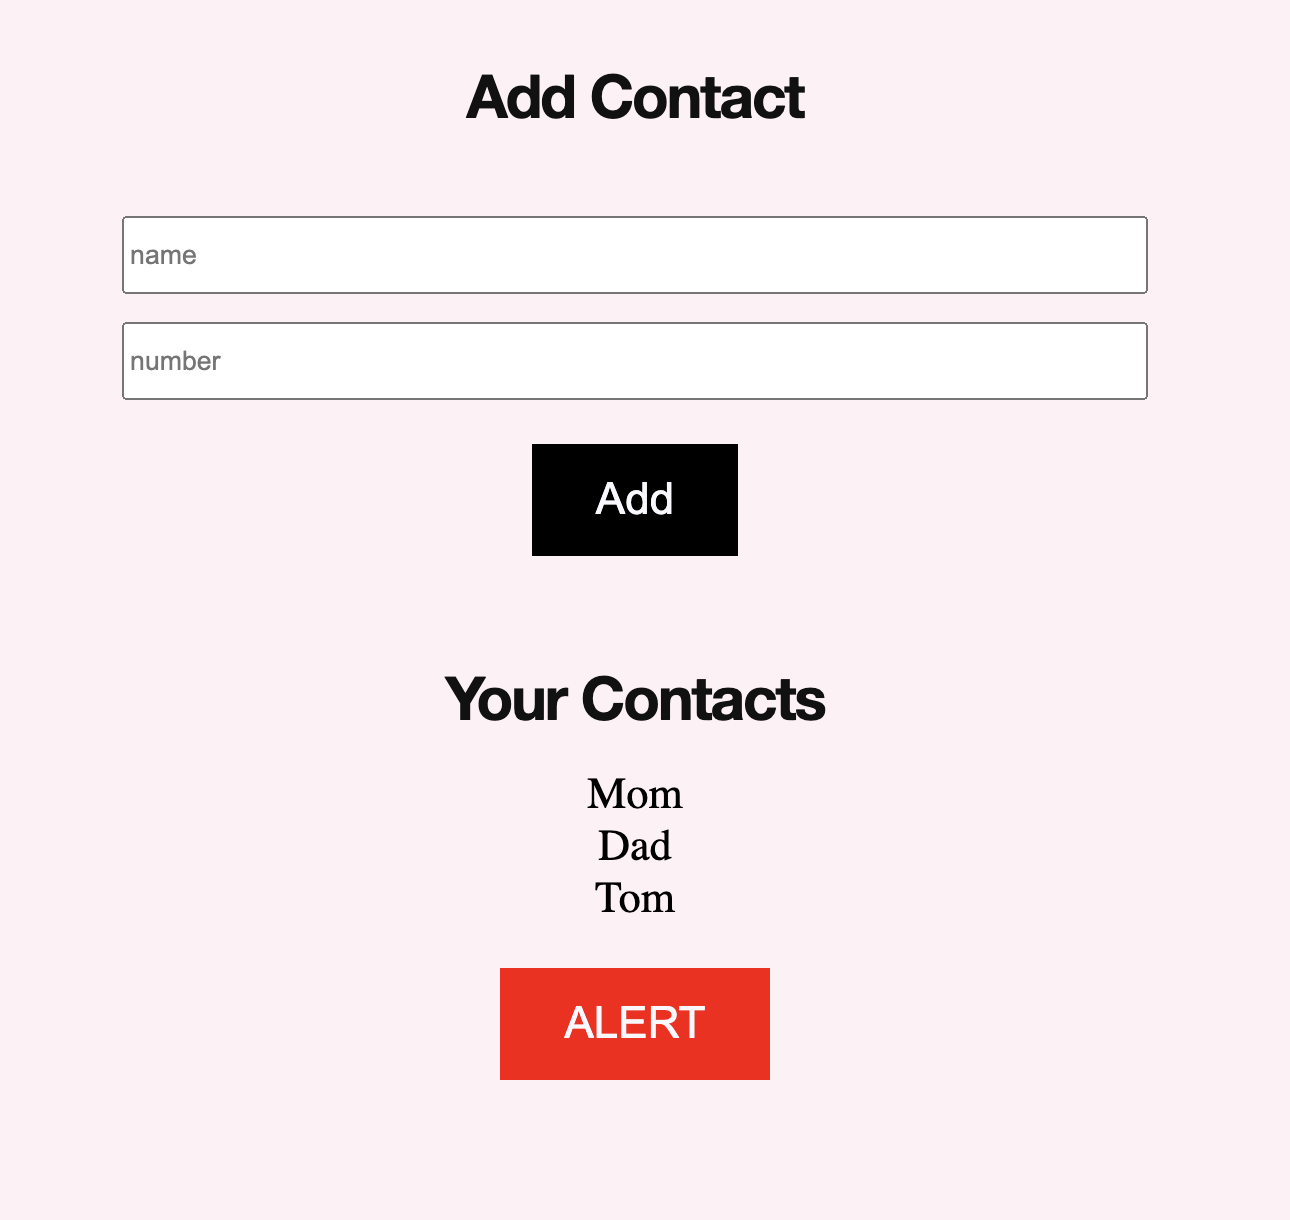
You can add contacts, see them, and when you press the Alert button, it sends an SMS message to all of your contacts, letting them know your location and that you are in an emergency.
As you are following along, you can find all the code for this project in this GitHub repository.
Ready to get started? Let's build an emergency broadcast app!
To follow this tutorial, you need Node (you can download it here). You also need a Vonage account, which you can register for here. You will also need a MongoDB account.
After you register for your MongoDB account, you need to set up a MongoDB Atlas database, which you can learn to do in MongoDB’s documentation.
Once you’ve created your Vonage account, you need to do some initial setup.
Install the Vonage CLI globally with this command:
npm install @vonage/cli -gNext, configure the CLI with your Vonage API key and secret. You can find this information in the Developer Dashboard.
vonage config:set --apiKey=VONAGE_API_KEY --apiSecret=VONAGE_API_SECRETCreate a new directory for your project and CD into it:
mkdir my_project
cd my_projectNow, use the CLI to create a Vonage application with this command:
vonage apps:createScroll to Messages, click the spacebar, and it hit enter. Now you need a number so you can receive calls. You can rent one by using the following command (replacing the country code with your code). For example, if you are in Great Britain, replace US with GB:
vonage numbers:search US
vonage numbers:buy [NUMBER] [COUNTRYCODE]Now link the number to your app:
vonage apps:link --number=VONAGE_NUMBER APP_ID
To get started, you need to install the JavaScript libraries you will use for this project like this:
npm install express body-parser dotenv firebase mongodb mongoose @vonage/server-sdkNext, create a .env file in your project and add the following variables:
API_KEY=your_vonage_api_key
API_SECRET=your_vonage_secret
APPLICATION_ID=your_vonage_application_id
PRIVATE_KEY=your_vonage_private_key
FROM_NUMBER=your_vonage_number
PORT=5000
MONGO_URL=your_mongodb_urlMake sure to replace everything after each equals sign for each variable with the information from your Vonage and MongoDB accounts.
Now, create a file called app.js and import these libraries:
require('dotenv/config')
require('mongodb')
const express = require('express')
const Vonage = require('@vonage/server-sdk')
const bodyParser = require('body-parser')
const mongoose = require('mongoose')Let’s start by creating a "Hello, World!" Express app. Here is how:
const app = express()

app.get('/', function(req, res) {
    res.send('Hello World!')
})

app.listen(process.env.PORT)Now, run your code like this:
node app.jsWhen you run this code and go to your local server (http://127.0.0.1:5000), it should say Hello, World!
Now, add this code underneathconst app = express():
app.use(bodyParser.json())
app.use(bodyParser.urlencoded({
    extended: true
}))
app.use(express.static('public'))This code helps you accept POST requests using Express and tells Express to serve static files from a directory called public.
It is time to add code to connect to your MongoDB database! Add this code to your app and update your .env file to include an environment variable called MONGO_URL that contains the link to your MongoDB database.
mongoose.connect(process.env.MONGO_URL, {
    useNewUrlParser: true,
    useUnifiedTopology: true
})
const contactsSchema = new mongoose.Schema({
    name: String,
    number: Number
})
const Contacts = mongoose.model('Contacts', contactsSchema)The code above uses Mongoose to connect to your MongoDB database, creates a schema for your contacts (the people you will send an SMS message to), and creates a new model called Contacts to add and get the contacts from your database.
Next, add this code to help send SMS messages using the Vonage messages API.
const vonage = new Vonage({
    apiKey: process.env.API_KEY,
    apiSecret: process.env.API_SECRET,
    applicationId: process.env.APPLICATION_ID,
    privateKey: process.env.PRIVATE_KEY
})The code above creates a new Vonage object and passes in your API key, secret, application ID, and the private key to your app.
Now, let’s create a few endpoints. Add the following code to app.js:
app.post('/contacts', function(req, res) {
    const contact = new Contacts({
        name: req.body.name
    })
    contact.save()
    res.redirect('/')
})Now, when you send a POST request to /contacts, this code creates a new contact in your MongoDB and redirects the user to the homepage.
Let’s create an endpoint to get all of the contacts from your database. Add the following code to app.js:
app.get('/contacts', function(req, res) {
    Contacts.find({}, function(err, contacts) {
        if(err){
            console.log(err)
       }
       else {
           res.json(contacts)
       }
   })
})This code gets all of the contacts in your database and returns it as JSON when you send a GET request to /contacts.
Now, let’s define an endpoint to send an SMS message. Add this code to app.js:
app.post('/alert', function(req, res) {
    let long = req.body['coordinates']['long']
    let lat = req.body['coordinates']['lat']
    let contacts = req.body['contacts']
    for (let i = 0; i <= contacts.length; i++) {
        vonage.channel.send({
                'type': 'sms',
                "number": contacts[i].number
            }, {
                'type': 'sms',
                "number": process.env.FROM_NUMBER
            }, {
                'content': {
                    'type': 'text',
                    'text': `SOS! Your friend is in an emergency! Their latitude is ${lat} and` +
                        `their longitude is ${long}!`
                }
            },
            (err, data) => {
                if (err) {
                    console.error(err)
                } else {
                    console.log(data.message_uuid)
                }
            }
        )
    }
})
This endpoint accepts a POST request with JSON containing the user’s latitude, longitude, and a list of numbers to send an SMS message to.
let long = req.body['coordinates']['long']
let lat = req.body['coordinates']['lat']
let contacts = req.body['contacts']Then, it loops through the contacts and uses the Vonage Messages API to send a message to each number.
for (let i = 0; i <= contacts.length; i++) {
    vonage.channel.send({
                'type': 'sms',
                'number': contacts[i].number
            }, {
                'type': 'sms',
                'number': process.env.FROM_NUMBER
            }, {
                'content': {
                    'type': 'text',
                    'text': `SOS! Your friend is in an emergency! Their latitude is ${lat} and` +
                        `their longitude is ${long}!`
                }
            },
Finally, let’s update our homepage endpoint to handle when users go to our web app’s homepage. Change this code from earlier:
app.get('/', function(req, res) {
    res.send('Hello World!')
})To this:
app.get('/', function(req, res) {
    res.sendFile('index.html')
})Now, your homepage will serve the file index.html, which you are about to create.
Go ahead and create a new file called index.html and add the following code:
<!DOCTYPE html>
<html lang='en'>
   <head>
      <meta charset='UTF-8'>
      <title>Emergency Broadcast</title>
      <link rel='stylesheet' href='style.css'>
   </head>
   <body>
      <h1 id='top'>Add Contact</h1>
      <form action='/contacts' method='POST'>
         <div>
            <input id='name' class='forms' type='text' name='name' placeholder='name'> <br>
            <input id='number' class='forms' type='text' name='number' placeholder='number'>
         </div>
         <div>
            <input type='submit' value='Add' class='tons' id='add'>
         </div>
      </form>
      <br> <br>
      <h1>Your Contacts</h1>
      <div></div>
      <div id='contacts'></div>
      <button onclick='alert_them()' class='tons' id='alert'>ALERT</button>
   </body>
</html>The HTML above creates a form that allows you to enter a person’s name and number and press an Add button. When you press Add the form sends a POST request to /contacts, which creates a new contact in your database. This HTML also has an ALERT button. When you press it, it sends a POST request to /alert, sending an SMS message to all contacts in your database.
Finally, you need to add some JavaScript to this HTML to display the user’s contacts list and prepare the data to send to /alert.
After the ALERT button in your HTML, add a script tag and define an object called data.
<script>
    let data = {}
</script>We will use data to store the data to send to /alert.
Next, call a function called httpPostAsync and pass in ‘/contacts’and create_contacts:
<script>
    let data = {}
    httpPostAsync('/contacts', create_contacts)
</script>Now, define create_contacts:
function create_contacts(contacts) {
    data['contacts'] = []
    for (let i = 0; i < contacts.length; i++) {
        let contact = contacts[i]
        data['contacts'].push(contact)
        const newDiv = document.createElement('div')
        newDiv.className = 'left'
        const newContent = document.createTextNode(contact.name)
        newDiv.appendChild(newContent)
        const currentDiv = document.getElementById('contacts')
        document.body.insertBefore(newDiv, currentDiv)
    }
}
This is a callback function httpPostAsync will call when it gets the contact data from the server. It accepts contacts as a parameter (the contact data). First, this function adds an array to data['contacts']. Then, it loops through the contacts from the server and adds each contact to the array, and creates a new HTML div with each contact’s name.
Now, you need to define httpPostAsync:
function httpPostAsync(theUrl, callback) {
    let xmlHttp = new XMLHttpRequest()
    xmlHttp.onreadystatechange = function() {
        if (xmlHttp.readyState == 4 && xmlHttp.status == 200)
            callback(JSON.parse(xmlHttp.responseText))
    }
    xmlHttp.open('GET', theUrl, true)
    xmlHttp.send()
}
This code sends a GET request to a URL and passes in the JSON it received in the response to a callback function.
Finally, you need to define a function that responds when a user clicks the ALERT button.
function alert_them() {
    function success(position) {
        data['coordinates'] = {}
        data['coordinates'] = position.coords.latitude
        data['coordinates'] = position.coords.longitude
        let xmlHttp = new XMLHttpRequest()
        xmlHttp.open('POST', '/alert', true)
        xmlHttp.setRequestHeader('Content-Type', 'application/json')
        xmlHttp.send(JSON.stringify(data))
        alert('Message Sent!')
    }

    function error() {
        console.log('error')
    }
    if (!navigator.geolocation) {
        console.log('Geolocation is not supported by your browser')
    } else {
        navigator.geolocation.getCurrentPosition(success, error)
    }
}This function checks to see if navigator.geolocation is true. Navigator.geolocation lets you get the user’s location. You have to check if it is true because some browser versions do not support it. If it is true, the function above calls navigator.geolocation.getCurrentPosition(success, error) and passes in two functions: one that handles what happens if the browser successfully gets the user’s location and one that handles errors.
The success function adds the user’s coordinates to data['coordinates'] and then sends a POST request to /alert with the data.
function success(position) {
    data['coordinates'] = {}
    data['coordinates'] = position.coords.latitude
    data['coordinates'] = position.coords.longitude
    let xmlHttp = new XMLHttpRequest()
    xmlHttp.open('POST', '/alert', true)
    xmlHttp.setRequestHeader('Content-Type', 'application/json')
    xmlHttp.send(JSON.stringify(data))
}Your /alert endpoint then sends an SMS message to all of the contacts in the database, letting them know the sender is in trouble along with the sender's latitude and longitude. Now all you need is to style your app with some CSS. Create a new file in public called style.css and add the following code:
body {
    background-color: lavenderblush;
    text-align: center
}

h1 {
    color: #111;
    font-family: 'Helvetica Neue', sans-serif;
    font-size: 30px;
    font-weight: bold;
    letter-spacing: -1px;
    line-height: 1;
    text-align: center;
}

.forms {
    height: 2.5em;
    width: 30%;
}

.tons {
    margin-top: 1em;
    background-color: #4CAF50; /* Green */
    border: none;
    color: #f8f8ff;
    padding: 15px 32px;
    text-align: center;
    text-decoration: none;
    display: inline-block;
    font-size: 22px;
    font-family: Arial, serif;
}

.custom-field input {
    border: none;
    -webkit-appearance: none;
    -ms-appearance: none;
    -moz-appearance: none;
    appearance: none;
    background: #f2f2f2;
    padding: 12px;
    border-radius: 3px;
    width: 250px;
    font-size: 14px;
}

#alert {
    margin-bottom: 5em;
    margin-top:1em;
    background-color:red;
}

#alert:hover {
    background-color: black;
}

#add {
    background-color:black;
}

#add:hover {
    background-color: pink;
}

#top {
    margin-top: 5em;
    margin-bottom: 1.5em;
}

.cons{
    font-size: 22px;
}

#number {
    margin-top: 1em;
}Now when you go to your website’s homepage, you should see a website like the image at the beginning of this article.
Add yourself as a contact and press alert.
You should receive a text containing your longitude and latitude letting you know you are in an emergency.
This demo is only a starting point! There are a ton of features you can add to it. For example, if you were using this in production, you would want to create a feature to handle different users (logging in with a username and password, etc.). You could also add features like editing contacts and adding options for what type of emergency is happening. If you decide to build on this demo, I would love to see what you do: make sure to send us what you build on Twitter. Also, make sure to join the Vonage developer community for more awesome content and tutorials. You can follow Vonage on Twitter here and join our Slack channel here. I hope you enjoyed this tutorial! Thanks for reading!
Share:
Cory Althoff is a developer advocate at Vonage and the author of two books: The "Self-Taught Programmer" and "The Self-Taught Computer Scientist". Book Authority named "The Self-Taught Programmer" one of the greatest programming books of all time, and The Next Web listed it as one of the ten books that will help you become a better software engineer. Cory lives in the Bay Area with his wife and daughter.