
Share:
Julia is committed to empowering fellow developers by creating tutorials, guides, and practical resources. With a background in outreach and education, she aims to make technology more accessible and enhance the overall developer experience. You can often find her at local community events.
Build an SMS Web Service With Java
We've built this example using JDK 11, Gradle 7.1, Gretty 3.0.5, and the Vonage Server SDK for Java v.6.4.0
The Vonage SMS API is a service that allows you to send and receive SMS messages anywhere in the world. Vonage provides REST APIs, but it's much easier to use the Java SDK we've written for you.
You've already learned how to send SMS messages with Java. In this tutorial, we are taking it one step further and building a Web service around it!
View the source code on GitHub.
Before starting, there are a few things you're going to need to have installed on your development machine:
Gradle for building your project
First, you need to set up your Gradle project and download the Vonage Java SDK.
Create a directory to contain your project. Inside this directory, run gradle init.
Create a new Gradle project:
Run
gradle init --type=java-applicationcommandSelect
Groovyas the script languageSelect
JUnit Jupiteras the testing frameworkLeave default
Project nameLeave default
Source package
Next, open the build.gradle file and add the following to the dependencies block:
// Install the Vonage Java SDK
implementation 'com.vonage:client:6.4.0'Now, if you open your console in the directory that contains this build.gradle file, you can run:
This command will download the Vonage Java SDK and store it for later. If you had any source code, it would also compile that—but you haven't written any yet. Let's fix that!
We're going to build a tiny HTTP service and then test it with Postman. Fortunately, Gradle makes this relatively easy.
First, apply the Gretty plugin to build.gradle file by adding this to your plugins block:
id 'war'
id 'org.gretty' version '3.0.5'The first line tells Gradle it should build a war file, using source files in src/main/java and src/main/webapp. The second line adds the ability to fire up your web app straight from Gradle using the Jetty servlet container!
Next, let's set the context path to / for the sake of simplicity.
Add the following block to build.gradle:
gretty {
    contextPath = '/'
}Run gradle appRun (note that you use appRun and not run to run the webserver). It'll take a while the first time around while it downloads some dependencies.
Eventually, you should see something like this:
Jetty is now running your (empty) web service. Fire up the URL you see to check it's running OK. It should look a bit like this:
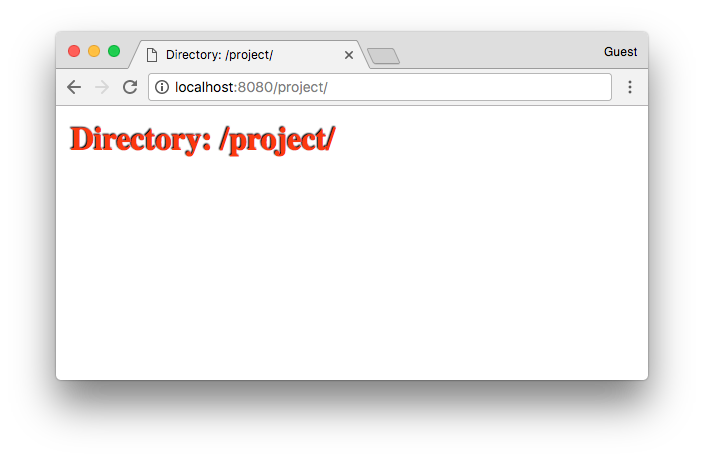 Empty web page
Now let's write a servlet! Create a file called src/main/java/sms/webservice/SendSMSServlet.java.
package sms.webservice;

import com.vonage.client.VonageClient;
import com.vonage.client.VonageClientException;
import com.vonage.client.sms.MessageStatus;
import com.vonage.client.sms.SmsSubmissionResponse;
import com.vonage.client.sms.messages.TextMessage;

import javax.servlet.ServletConfig;
import javax.servlet.ServletException;
import javax.servlet.http.HttpServletRequest;
import javax.servlet.http.HttpServletResponse;
import javax.servlet.http.HttpServlet;

public class SendSMSServlet extends HttpServlet {
    private String VONAGE_BRAND_NAME;
    private VonageClient client;

    public void init(ServletConfig config) {
        // Load configuration from the servlet container:
        VONAGE_BRAND_NAME = config.getInitParameter("from_number");
        String api_key = config.getInitParameter("api_key");
        String api_secret = config.getInitParameter("api_secret");

        client = VonageClient.builder().apiKey(api_key).apiSecret(api_secret).build();
    }

    protected void doPost(HttpServletRequest req,
                          HttpServletResponse resp)
            throws ServletException,
            java.io.IOException {
        try {
            // Extract form parameters from the request:
            String to_number = req.getParameter("to");
            String message = req.getParameter("message");

            TextMessage sms = new TextMessage(VONAGE_BRAND_NAME,
                    to_number,
                    message
            );

            SmsSubmissionResponse response = client.getSmsClient().submitMessage(sms);

            if (response.getMessages().get(0).getStatus() == MessageStatus.OK) {
                System.out.println("Message sent successfully.");

                resp.getWriter().println(response.getMessages().get(0));
            } else {
                System.out.println("Message failed with error: " + response.getMessages().get(0).getErrorText());
            }

        } catch (VonageClientException nce) {
            throw new ServletException(nce);
        }
    }
}And then we need to configure the servlet in our servlet container by creating the following at src/main/webapp/WEB-INF/web.xml:
<web-app>
    <servlet>
        <servlet-name>send-sms</servlet-name>
        <servlet-class>sms.webservice.SendSMSServlet</servlet-class>
        <init-param>
            <param-name>from_number</param-name>
            <param-value>VONAGE_BRAND_NAME</param-value>
        </init-param>
        <init-param>
            <param-name>api_key</param-name>
            <param-value>VONAGE_API_KEY</param-value>
        </init-param>
        <init-param>
            <param-name>api_secret</param-name>
            <param-value>VONAGE_API_SECRET</param-value>
        </init-param>
    </servlet>
    <servlet-mapping>
        <servlet-name>send-sms</servlet-name>
        <url-pattern>/*</url-pattern>
    </servlet-mapping>
</web-app>Fill in VONAGE_API_KEY and VONAGE_API_SECRET with the values found in your Vonage API Dashboard. You'll need to replace VONAGE_BRAND_NAME with one of your Vonage virtual numbers.
Note: In some countries (US),
VONAGE_BRAND_NAMEhas to be one of your Vonage virtual numbers. In other countries (UK), you're free to pick an alphanumeric string value—for example, your brand name like AcmeInc. Read about country-specific SMS features on the dev portal.
Next, run gradle appRun. If everything builds correctly, let's fire up Postman and make a POST request to http://localhost:8080/send-sms/, specifying message and to in the body as shown below:
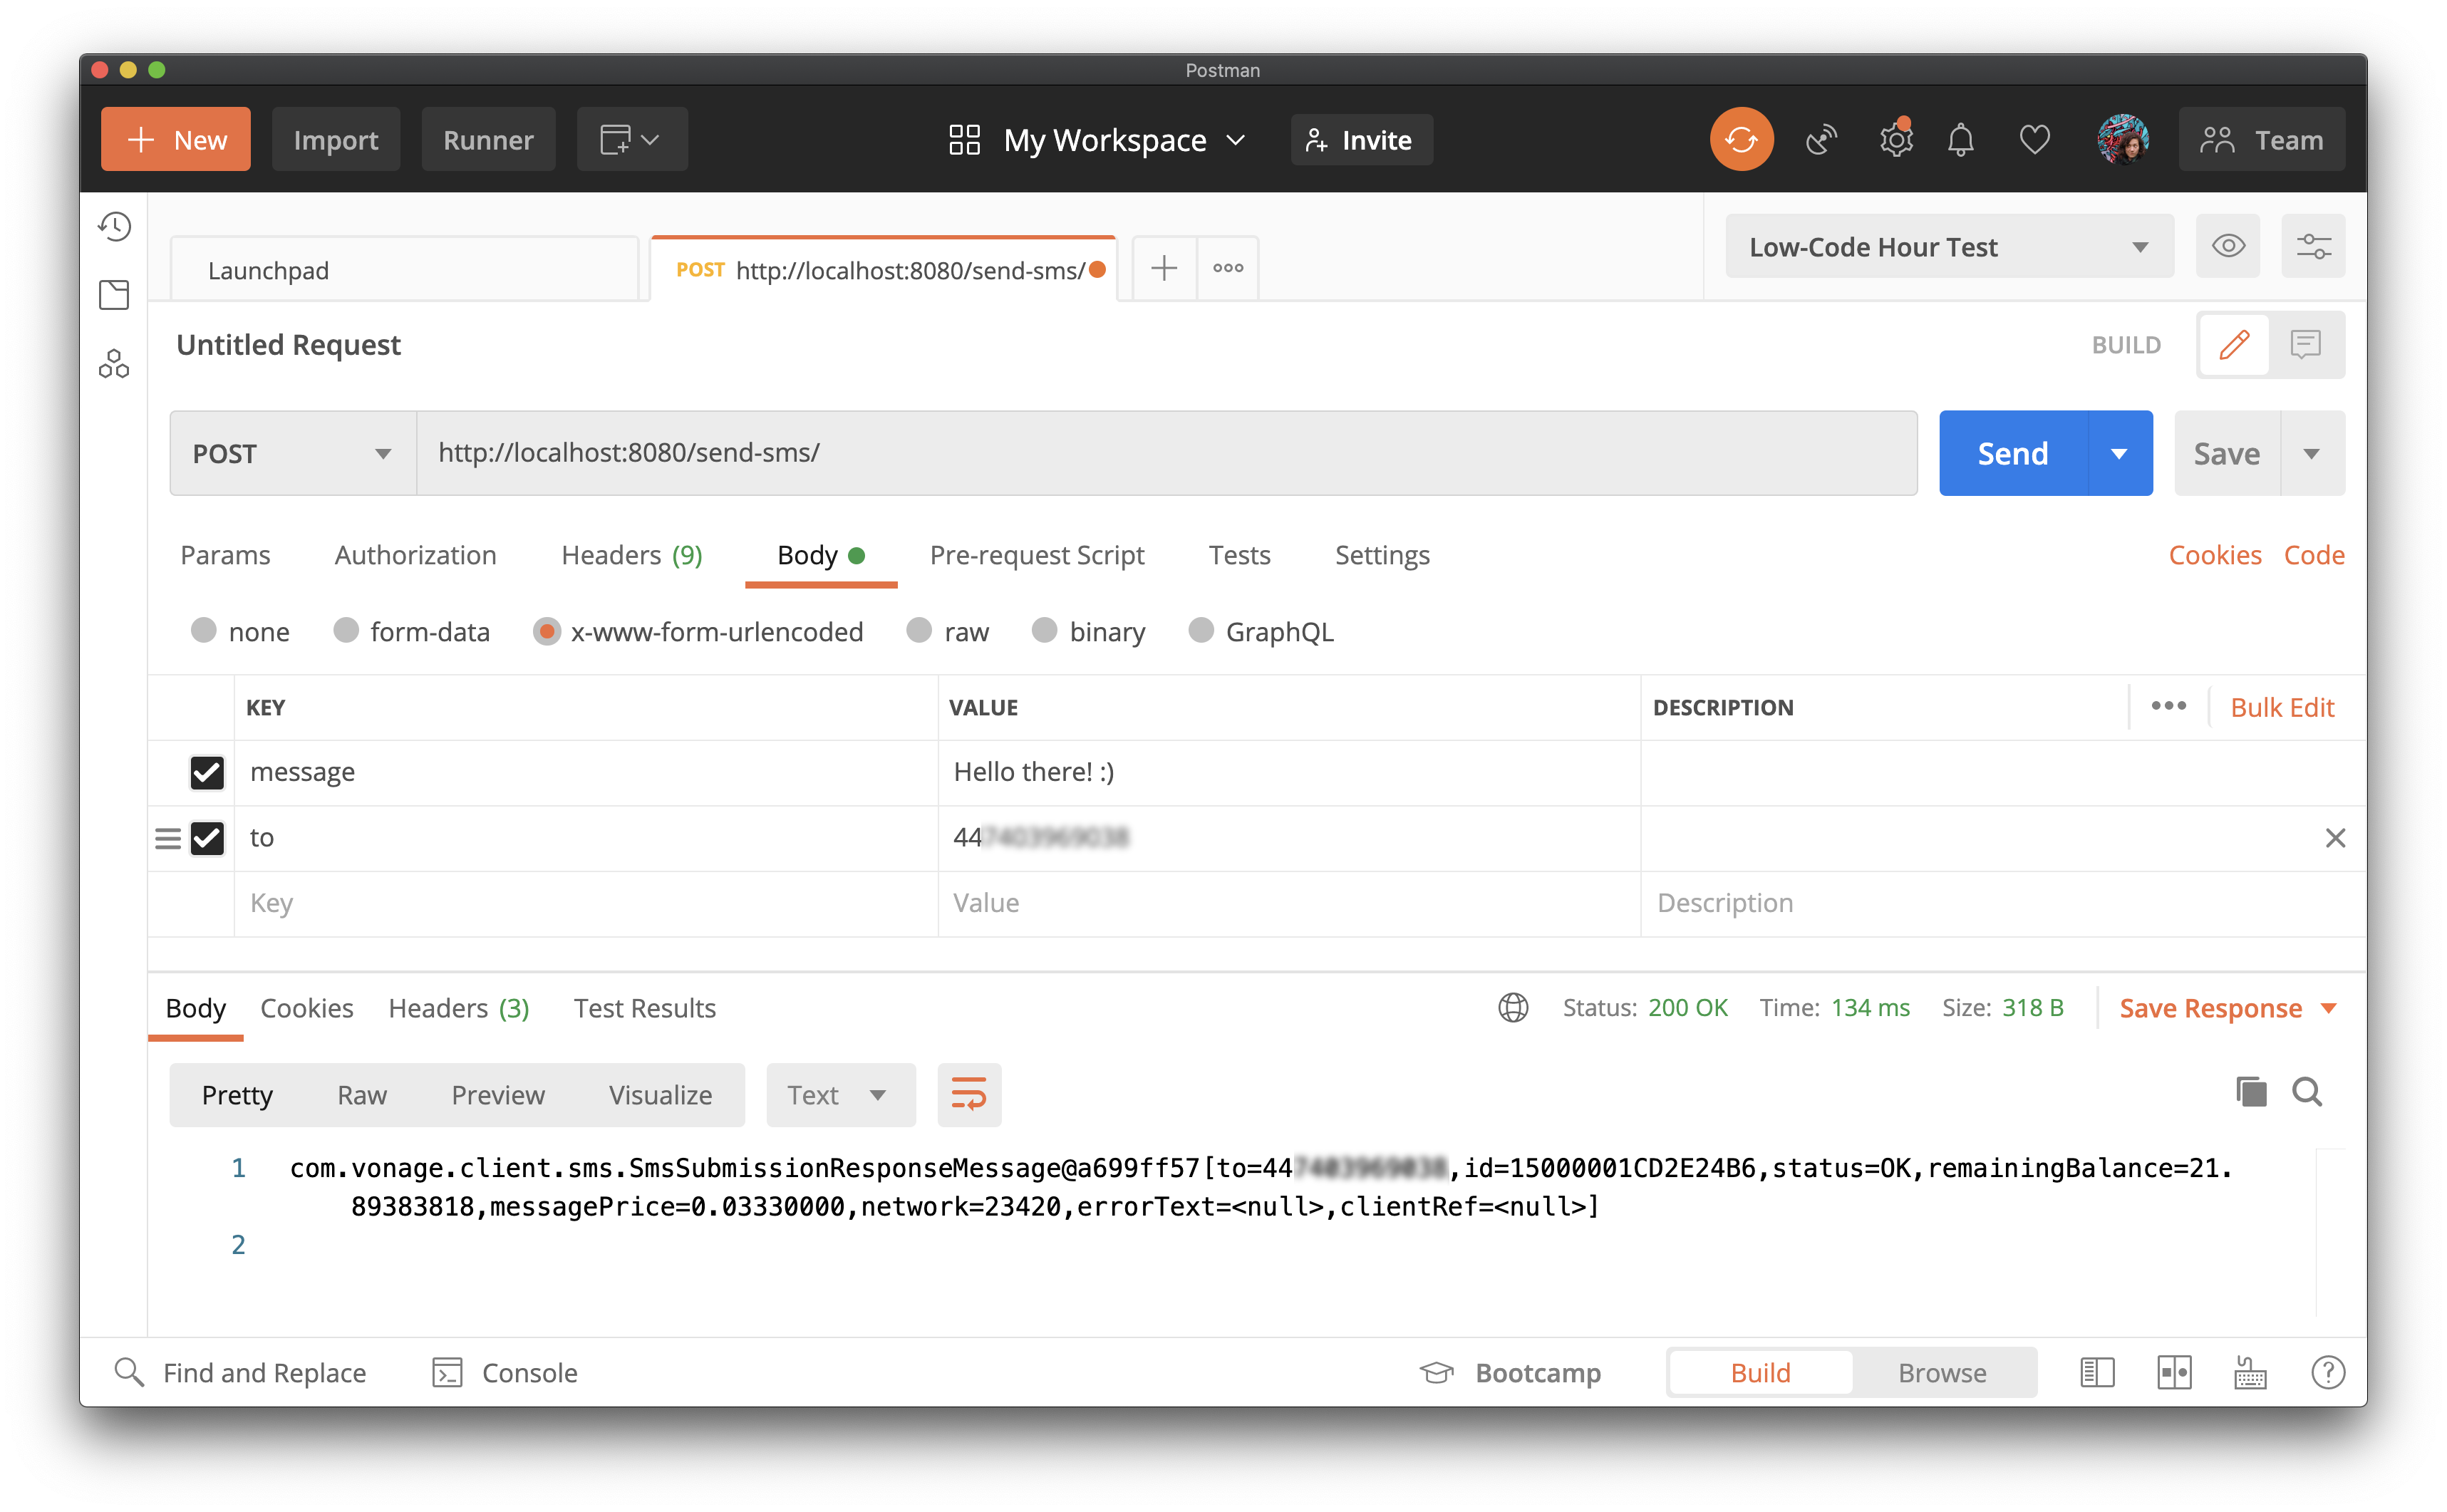 Making a request with Postman
I hope it worked! So now you've built a REST Web service for sending SMS messages! In reality, there are lots more things you'd want to do before deploying this. You could consider adding authentication (otherwise, anyone could send a message using your Vonage API account!), a nice Webform for posting to the service, and improving the error handling - but this is a good start!
Share:
Julia is committed to empowering fellow developers by creating tutorials, guides, and practical resources. With a background in outreach and education, she aims to make technology more accessible and enhance the overall developer experience. You can often find her at local community events.