
Share:
Adrian is a problem solver and Python developer advocate. He works with various programming languages to solve engineering problems. Introduced to programming at age 16, Adrian has spent the last 8 years oscillating between backend development and automation. He lives in Nairobi and when not writing code he is most likely playing Call Of Duty or NBA 2K on his PlayStation, riding his bicycle or binge watching the latest series on Netflix.
Add Dialogflow and the Vonage SMS API to your Flask App
Time to read: 2 minutes
Dialogflow is a natural language understanding (NLU) platform provided by Google. It is used to design and integrate conversational user interfaces into mobile and web apps, devices, bots, and interactive voice systems. In this tutorial, we'll demonstrate how to integrate with the Dialogflow and Vonage SMS APIs to build a quiz bot that interacts with the end user via SMS. We won't be covering every piece of the application, so if you're starting from scratch check out the full project repo (or read one of our previous tutorials on Flask development from the ground up!)
We will begin by using the Vonage CLI mode to create an app. Install the Vonage CLI on your machine as follows:
npm install -g @vonage/cliCreate a directory for your application locally:
mkdir your-applicationInside the directory, run the following command:
vonage apps:createIn the interactive CLI mode:
Application Name: your-app-name
Select capabilities: press the space bar to select voice, messages and rtc
Create voice webhooks? No
Create messaging webhooks? No
Create RTC webhooks? No
Allow use of data for AI training? NoThe application should now be created. Visit the dashboard and navigate to Applications. Your shiny new app should be listed there.
To set up the Dialogflow agent, visit https://console.cloud.google.com and create a new project:
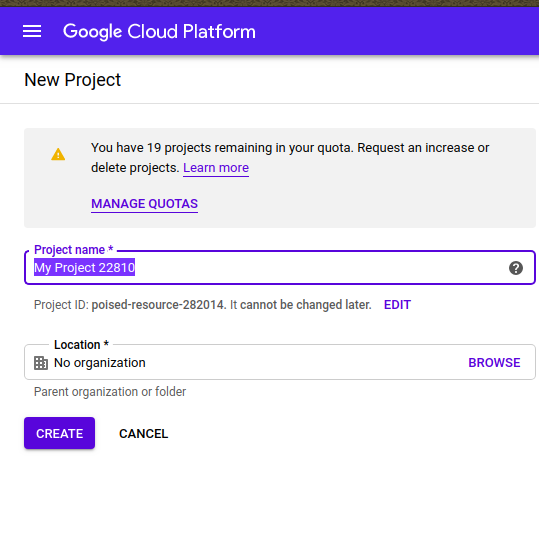 New Dialogflow project
Take note of the PROJECT ID. Enable the Dialogflow API from the list of APIs:
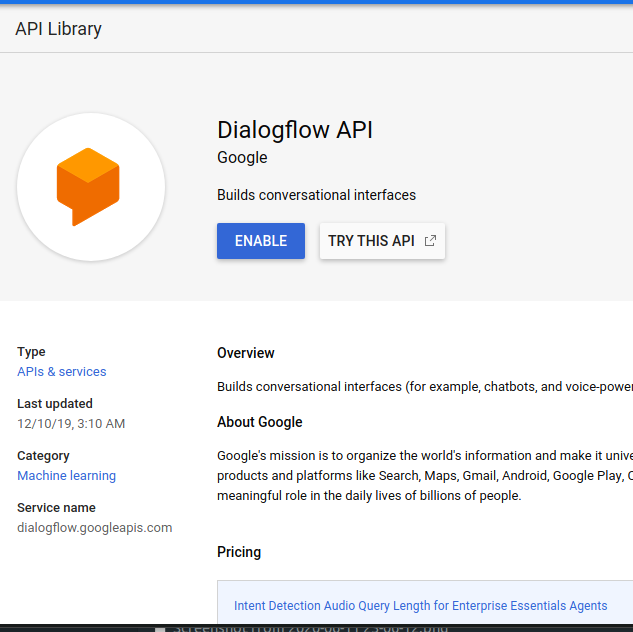 Enable Dialogflow
Visit https://dialogflow.cloud.google.com to create a new agent:
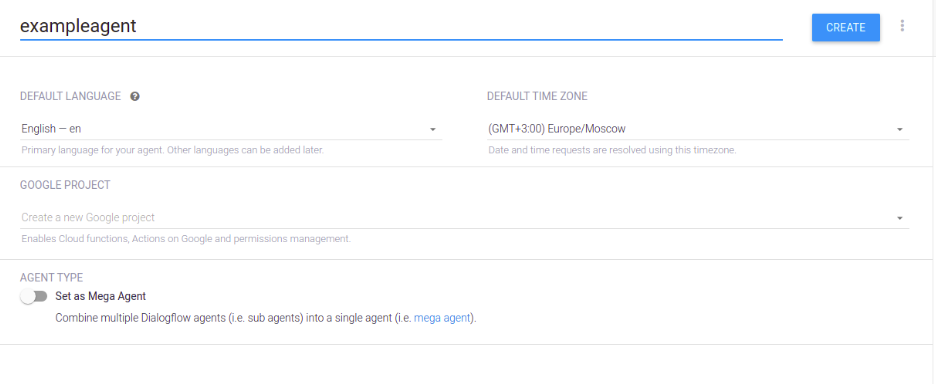 Create Dialogflow agent
To make it easy to get your application up and running, I've included a zip file in the GitHub repo for this project. Navigate to the dialogflow directory, and under resources download the quizzie.zip file. This zip is exported from the Dialogflow settings page and it contains all the intents, contexts, and responses required to set up an agent on the Dialogflow dashboard.
On the Dialogflow dashboard, click Settings and navigate to Export/Import. Import the zip file we just downloaded:
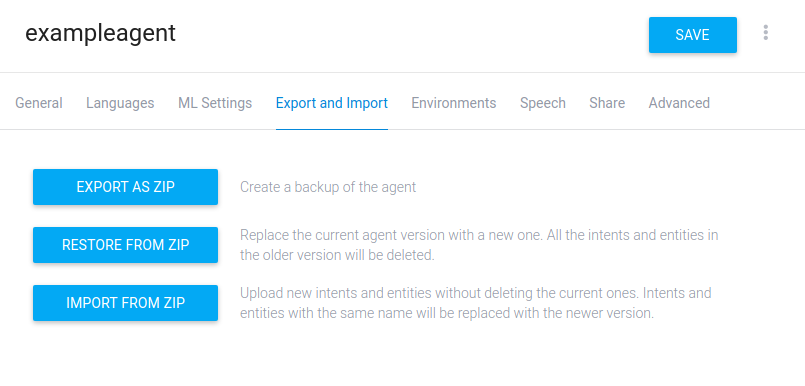 Import settings
Our Dialogflow quiz agent is all set up and ready to go!
For the next steps, we need to create the logic that will handle the back and forth messaging between the end user and our Dialogflow agent.
We want to write an interface for sending an SMS to the end user. First, make sure you have the Vonage Python library installed:
pip install vonageThe function for sending an SMS looks like this:
import vonage
import os
import json


def vonage_sms(message, recipient):
   VONAGE_API_KEY = os.getenv("VONAGE_API_KEY")
   VONAGE_API_SECRET = os.getenv("VONAGE_API_SECRET")
   VONAGE_NUMBER = os.getenv("VONAGE_NUMBER")

   client = vonage.Client(key=VONAGE_API_KEY, secret=VONAGE_API_SECRET)
   sms = vonage.Sms(client)

   response_data = sms.send_message(
       {
           "from": VONAGE_NUMBER,
           "to": recipient,
           "text": message,
       }
   )

   if response_data["messages"][0]["status"] == "0":
       return json.dumps("Message sent successfully.")
   else:
return json.dumps(f"Message failed with error: {response_data['messages'][0]['error-text']}")Next add the code that will notify our customer:
#! /usr/bin/env python3
import argparse
import sys
import os

from dotenv import load_dotenv

sys.path.append('../')
import vonage

APP_ROOT = os.path.join(os.path.dirname(__file__), '..')  # refers to application_top
dotenv_path = os.path.join(APP_ROOT, '.env')
load_dotenv(dotenv_path)


def notify_customer(number):
   text = "Hello. You can start your quiz with quizzie-bot by sending the following keywords: hi," \
          " hello or vonage."
print(vonage_sms(text, number))Once the end user receives the messages, we want them to reply. We need to create an incoming webhook endpoint to receive the reply. Remember, we set up the inbound sms URL while creating an app earlier. It is now time to add logic to our webhook:
@app.route("/update/", methods=['POST'])
def update_url():
   trigger = request.get_json().get('message')
   project_id = os.getenv("PROJECT_ID")
   session_id = os.getenv("SESSION_ID")
   language_code = os.getenv("LANG_CODE")

   response = detect_intent_texts(project_id, session_id, trigger, language_code)
   phone = phone_number()

return send_sms(response, phone)We need to chain the responses we receive from the end user as input to our Dialogflow agent. For this, we need to use the Dialogflow REST agent.
Specifically we need to detect the user intent and pass it as input to the agent:
def detect_intent_texts(project_id, session_id, texts, language_code):
   """Returns the result of detect intent with texts as inputs.
   Using the same `session_id` between requests allows continuation
   of the conversation."""
   import dialogflow_v2 as dialogflow

   session_client = dialogflow.SessionsClient()

   session = session_client.session_path(project_id, session_id)
   print('Session path: {}\n'.format(session))

   for text in texts:
       text_input = dialogflow.types.TextInput(
           text=text, language_code=language_code)

       query_input = dialogflow.types.QueryInput(text=text_input)

       response = session_client.detect_intent(
           session=session, query_input=query_input)

       return response.query_result.fulfillment_text
The basic setup is now complete. We've shown the logic necessary for the app to send and receive SMS messages, as well as how to connect to the Dialogflow agent. To see the full code for the app, check out the project repo: https://github.com/nexmo-community/Vonage-QnA-app. And for any further questions, feel free to shoot me an email.
Share:
Adrian is a problem solver and Python developer advocate. He works with various programming languages to solve engineering problems. Introduced to programming at age 16, Adrian has spent the last 8 years oscillating between backend development and automation. He lives in Nairobi and when not writing code he is most likely playing Call Of Duty or NBA 2K on his PlayStation, riding his bicycle or binge watching the latest series on Netflix.