Share:
Michael is a polyglot software engineer, committed to reducing complexity in systems and making them more predictable. Working with a variety of languages and tools, he shares his technical expertise to audiences all around the world at user groups and conferences. Day to day, Michael is a former developer advocate at Vonage, where he spent his time learning, teaching and writing about all kinds of technology.
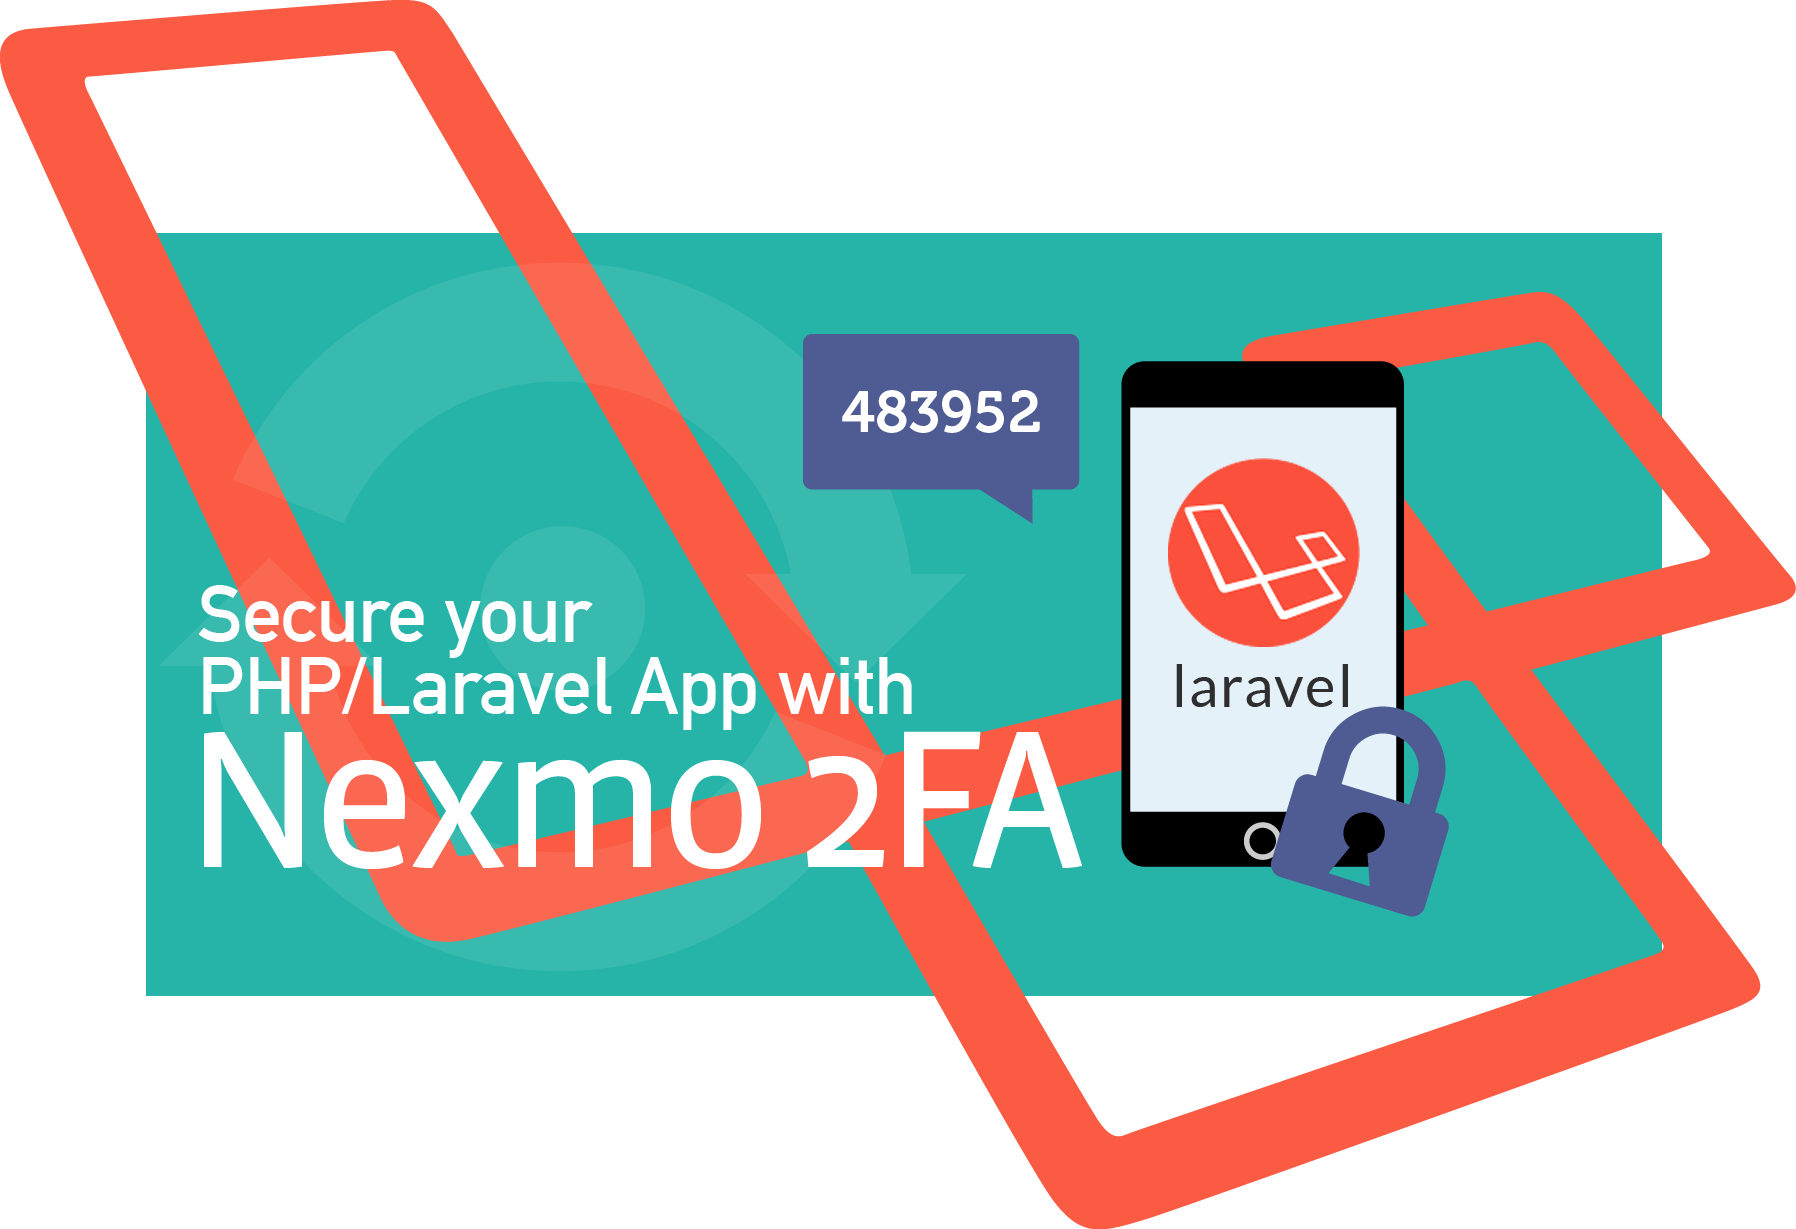
2FA Login with Laravel and Nexmo
This post originally appeared on michaelheap.com before Michael joined the Nexmo team!
I recently wrote about bootstrapping Laravel with user authentication and how easy it is (seriously, it takes less than 5 minutes). That provides us with a great starting point for our applications, but then I stumbled across this post about integrating two factor authentication with Google Authenticator and started thinking about Nexmo Verify.
I recently integrated Verify into a chatbot without any issues, and I thought that it could be a useful thing to integrate into my Laravel login flow.
We need to collect the user's phone number - we can't send them a verification text without it. We could collect this after the user has registered, but I've decided to collect it at registration time instead.
The first thing we need to do is alter the users table so that there is a field ready to store the user's phone number. To do this, let's create a new migration to alter our users table:
This creates a file in the database/migrations folder called <current time>_add_users_phone_number.php. Open up that file and replace it's contents with the following:
<?php

use Illuminate\Support\Facades\Schema;
use Illuminate\Database\Schema\Blueprint;
use Illuminate\Database\Migrations\Migration;

class AddUsersPhoneNumber extends Migration
{
    /**
     * Run the migrations.
     *
     * @return void
     */
    public function up()
    {
        Schema::table('users', function (Blueprint $table) {
            $table->string('phone_number');
        });
    }

    /**
     * Reverse the migrations.
     *
     * @return void
     */
    public function down()
    {
        Schema::table('users', function (Blueprint $table) {
            $table->dropColumn('phone_number');
        });
    }
}This migration adds a column named phone_number when run, and drops the column when rolled back. Apply it now by running php artisan migrate in your terminal.
Next, we need to add a text input to our registration form for the user to provide their phone number. Edit resources/views/auth/register.blade.php and add the following to the bottom of the form just before the submit button:
<div class="form-group{{ $errors->has('phone_number') ? ' has-error' : '' }}">
    <label for="name" class="col-md-4 control-label">Phone Number</label>
    <div class="col-md-6">
        <input id="name" type="tel" class="form-control" name="phone_number" value="{{ old('phone_number') }}" required autofocus>

     @if ($errors->has('phone_number'))
        <span class="help-block">
            <strong>{{ $errors->first('phone_number') }}</strong>
        </span>
    @endif
    </div>
</div>If we visit http://localhost:8000/register now, we should see the phone number field at the bottom of our registration form. We're almost there, but there's still one key part missing - we don't actually save the number that the user provides to our new field in the database.
Laravel keeps all of it's logic for registering a user in the app/Http/Controllers/Auth/RegisterController.php file. Open it up and take a look - you should see a validator method and a create method. We'll need to change both of these to save our user's phone number.
Let's start with the validator method. We need to add a new entry for phone_number to make sure that the number provided is valid. I've chosen to be quite strict with my validation rules, requiring that it is exactly 12 characters long and unique across all users - you may choose to be less strict. After adding a validation rule, your validator method should look similar to the following:
return Validator::make($data, [
    'name' => 'required|max:255',
    'email' => 'required|email|max:255|unique:users',
    'password' => 'required|min:6|confirmed',
    'phone_number' =>; 'required|size:12|unique:users',
]);Once that data has passed the validation rules we specified, we need to store it in the database. To do this, we edit the create method and add an line that saves our phone number. All of the incoming request data is available in the $data variable, so it's as simple as adding a single line:
return User::create([
    'name' => $data['name'],
    'email' => $data['email'],
    'password' => bcrypt($data['password']),
    'phone_number' =>; $data['phone_number']
]);
If we try and add a user now, it won't work as expected. This is due to a safety feature in Laravel that prevents mass assignment of properties to a class. We haven't informed our User class that phone_number is a valid field, so it'll reject our request to save it. To solve this issue, edit app/User.php and add phone_number to the $fillable array:
protected $fillable = [
    'name', 'email', 'password', 'phone_number'
];After making this change, feel free to register an account via the register page and log in to our application.
Now that we have the user's phone number, we're in a position to start implementing our Verify logic. Laravel runs the user's login request through app/Http/Controllers/Auth/LoginController.php to find out if the credentials provided are valid or not. If the credentials are valid, Laravel will then look for an authenticated method in the LoginController. If the method exists it will execute the logic in there. This is where we will add our two factor authentication logic.
Open up app/Http/Controllers/Auth/LoginController.php and add the following to the top next to the other use declarations:
use Illuminate\Http\Request;
use Illuminate\Support\Facades\Auth;
use Illuminate\Contracts\Auth\Authenticatable;We need these three use statements to be able to type hint our authenticated method, which we should add next. Add the following to the LoginController class:
public function authenticated(Request $request, Authenticatable $user)
{
    Auth::logout();
    $request->session()->put('verify:user:id', $user->id);
    // @TODO: Send the Verify SMS here
    return redirect('verify');
}
This code will log the user out again, storing their user ID in the session so that we know which user they tried to log in as. Once the verify request has been completed, we will use this ID to log the user in again automatically.
You may have noticed that there is a @TODO in there to add the Verify SMS logic. We don't currently have a way to send an SMS via Nexmo yet, so let's take care of that next. Thankfully, Nexmo have a Laravel package that makes this nice and easy for us. Following the README in that project, we install both the Nexmo client and the Laravel service provider with Composer:
After it's installed, we need to tell Laravel that our client exists. We need to edit two sections in config/app.php to do this - providers and aliases.
Add the following to providers:
Nexmo\Laravel\NexmoServiceProvider::classAdd the following to aliases:
'Nexmo' => \Nexmo\Laravel\Facade\Nexmo::class
Finally, we need to run php artisan vendor:publish to generate our Nexmo configuration file. Once we've run this command, we can edit config/nexmo.php and provide our API credentials in api_key and api_secret. We can either provide them directly here, or we can use the .env similar to the database configuration file. I'm going to use the .env file, so I've changed config/nexmo.php so that it contains the following:
'api_key' => env('NEXMO_KEY', ''),
'api_secret' => env('NEXMO_SECRET', ''),
Then in .env, I've added two entries at the bottom of the file - NEXMO_KEY and NEXMO_SECRET:
Now that the Nexmo client is configured, we can go back to app/Http/Controllers/Auth/LoginController.php and implement our notification system. Replace the @TODO comment that we left with the following:
$verification = Nexmo::verify()->start([
    'number' => $user->phone_number,
    'brand'  => 'Laravel Demo'
]);
$request->session()->put('verify:request_id', $verification->getRequestId());
This will trigger a verify request via Nexmo to the phone number that we have on record for that user. We'll also need to add use Nexmo; to the top of the file so that our facade is available. Once you've done that, you'll be able to log in and trigger a verify request - but don't do that yet! We don't have a way for the user to provide their verification code, so you won't be able to confirm your identity.
At the end of LoginController::authenticated we redirect the user to a /verify url. It's time to register that route with Laravel and write an implementation for it.
Open routes/web.php and add the following to the bottom of it:
Route::get('/verify', 'VerifyController@show')->name('verify');
Route::post('/verify', 'VerifyController@verify')->name('verify');
This registers two routes (a GET and a POST to /verify) that we will use to verify a user's code. We've told Laravel that it should call the show and verify methods on the VerifyController for these requests, so we should generate the controller using artisan:
php artisan make:controller VerifyControllerThis will create a file at app/Http/Controllers/VerifyController.php - you should replace its contents with the following:
<?php

namespace App\Http\Controllers;

use Auth;
use Nexmo;
use Illuminate\Http\Request;

class VerifyController extends Controller
{
    public function show(Request $request) {
        return view('verify');
    }

    public function verify(Request $request) {
        return 'Not Implemented';
    }
}This is enough to show the verify view when someone makes a GET request to /verify. Once again, this file doesn't exist yet, so let's create it at resources/views/verify.blade.php with the following contents:
@extends('layouts.app')

@section('content')
<div class="container">
    <div class="row">
        <div class="col-md-8 col-md-offset-2">
            <div class="panel panel-default">
                <div class="panel-heading">Verify</div>

                <div class="panel-body">
                    <form class="form-horizontal" role="form" method="POST" action="{{ route('verify') }}">
                        {{ csrf_field() }}

                        <div class="form-group{{ $errors->has('code') ? ' has-error' : '' }}">
                            <label for="code" class="col-md-4 control-label">Code</label>

                            <div class="col-md-6">
                                <input id="code" type="number" class="form-control" name="code" value="{{ old('code') }}" required autofocus>

                                @if ($errors->has('code'))
                                    <span class="help-block">
                                        <strong>{{ $errors->first('code') }}</strong>
                                    </span>
                                @endif
                            </div>
                        </div>
                           <div class="form-group">
                            <div class="col-md-6 col-md-offset-4">
                                <button type="submit" class="btn btn-primary">
                                    Verify Account
                                </button>
                            </div>
                        </div>
                    </form>
                </div>
            </div>
        </div>
    </div>
</div>
@endsectionThere's a lot of HTML there, but all it does is show a single form input with a submit button. You can visit the verify page to see it now.
Now that we have our page to input our Verify code, all that's left to do is verify the code provided with Nexmo. Replace your verify method in VerifyController with the following code. This method validates that our incoming data is 4 characters long (Nexmo verification codes can be 4 or 6 characters long, I'm working with 4) then checks the provided code with Nexmo. If it doesn't validate, an exception is thrown and we return an error to the user. Otherwise, we fetch the user ID from the session, log the user in and redirect to the home controller.
public function verify(Request $request) {
    $this->validate($request, [
        'code' => 'size:4',
    ]);

    try {
        Nexmo::verify()->check(
            $request->session()->get('verify:request_id'),
            $request->code
        );
        Auth::loginUsingId($request->session()->pull('verify:user:id'));
        return redirect('/home');
    } catch (Nexmo\Client\Exception\Request $e) {
        return redirect()->back()->withErrors([
            'code' => $e->getMessage()
        ]);

    }
}At this point, our integration should be working end to end. If you save all of your changes and try logging in, you should be redirected to the verify page and receive a text message with your verification code. Enter the code and you'll be logged in as expected.
Congratulations! You just integrated two factor authentication with Nexmo Verify in to your Laravel application.
Whilst it works, there are still some rough edges to work out. For example, a user can log in a second time without confirming the first Verify request. They can also get to the /verify page without having an active Verify request. Finally, we don't verify their identity after registration - only after they log out and try to log in again.
We're not going to solve these issues in this post - I'll leave them as an exercise for you!
Share:
Michael is a polyglot software engineer, committed to reducing complexity in systems and making them more predictable. Working with a variety of languages and tools, he shares his technical expertise to audiences all around the world at user groups and conferences. Day to day, Michael is a former developer advocate at Vonage, where he spent his time learning, teaching and writing about all kinds of technology.