Swift
インターフェイスの構築
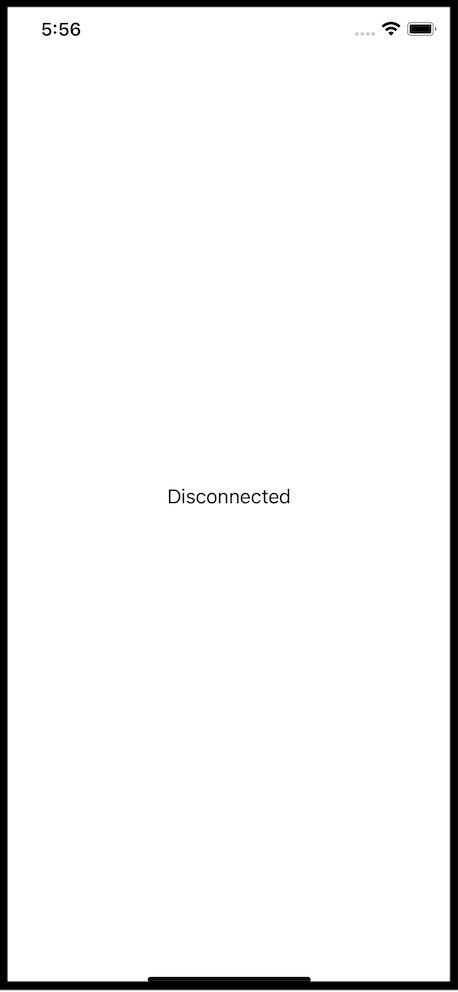
電話をかけられるようにするには、画面に2つの要素を追加する必要がある:
- A
UILabel接続状態を表示する - A
UIButton通話の開始と終了
オープン ViewController.swift この2つをプログラムで追加し、ファイルの内容全体を以下のように置き換える:
コピー
import UIKit
import VonageClientSDKVoice

class ViewController: UIViewController {

  var connectionStatusLabel = UILabel()
  var callButton = UIButton(type: .roundedRect)

  override func viewDidLoad() {
    super.viewDidLoad()
    // Do any additional setup after loading the view.

    connectionStatusLabel.text = "Disconnected"
    connectionStatusLabel.textAlignment = .center
    connectionStatusLabel.translatesAutoresizingMaskIntoConstraints = false
    view.addSubview(connectionStatusLabel)

    callButton.setTitle("Call", for: .normal)
    callButton.translatesAutoresizingMaskIntoConstraints = false
    callButton.alpha = 0
    callButton.addTarget(self, action: #selector(callButtonPressed(_:)), for: .touchUpInside)
    view.addSubview(callButton)

    NSLayoutConstraint.activate([
        connectionStatusLabel.centerXAnchor.constraint(equalTo: view.centerXAnchor),
        connectionStatusLabel.centerYAnchor.constraint(equalTo: view.centerYAnchor),

        callButton.centerXAnchor.constraint(equalTo: view.centerXAnchor),
        callButton.topAnchor.constraint(equalTo: connectionStatusLabel.bottomAnchor, constant: 24)
    ])
  }

  @IBAction func callButtonPressed(_ sender: Any) {

  }

}
について callButton が隠されている。 alpha は0に設定され、クライアントがセッションを作成するときに表示される。
また callButton がタップされ、通話の発信と終了に使用される。
ビルド&ラン
プロジェクトを再度実行する (Cmd + R)を使ってシミュレーターで起動します。
In-Appで音声通話をする
iOSクライアントSDKを使って、iOSアプリから電話に音声通話をかけます。
手順
1
このタスクの紹介2
Prerequisites3
ウェブフック・サーバーの作成4
Vonageアプリケーションの作成5
Vonage番号をリンクする6
ユーザーの作成7
JWTの生成8
Xcodeプロジェクトとワークスペース9
プロジェクトの許可10
インターフェイスの構築11
VGVoiceClient12
電話をかける13
次はどうする?