NXMClient
Before you can place a call, the Client SDK needs to authenticate to the Vonage servers. The following additions are required to ViewController.swift.
NOTE: Notice that, you have already imported NexmoClient at the top of the file.
Add a NXMClient instance, below the callButton.
Add the JWT
At the end of viewDidLoad, set the client delegate and log in - please make sure to replace ALICE_JWT for the JWT you created during a previous step. Please remember, the expiry time for the token was set to 6 hours so you will need to generate a new one if it is too old.
The Client Delegate
For the delegate part to work, you need to have ViewController conform to NXMClientDelegate. At the end of the file, add this extension.
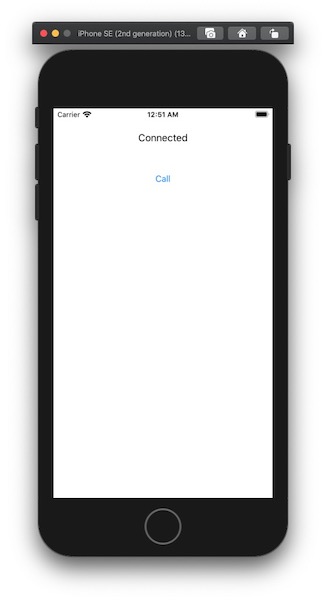
An error is shown if encountered and the connectionStatusLabel is updated with the relevant connection status. Also, callButton is shown when connected.
Build and Run
Cmd + R to build and run again:
Making an in-app voice call
You make a voice call from an iOS app to a phone.