Share:
Enrico is a former Vonage team member. He worked as a Solutions Engineer, helping the sales team with his technical expertise. He is passionate about the cloud, startups, and new technologies. He is the Co-Founder of a WebRTC Startup in Italy. Out of work, he likes to travel and taste as many weird foods as possible.
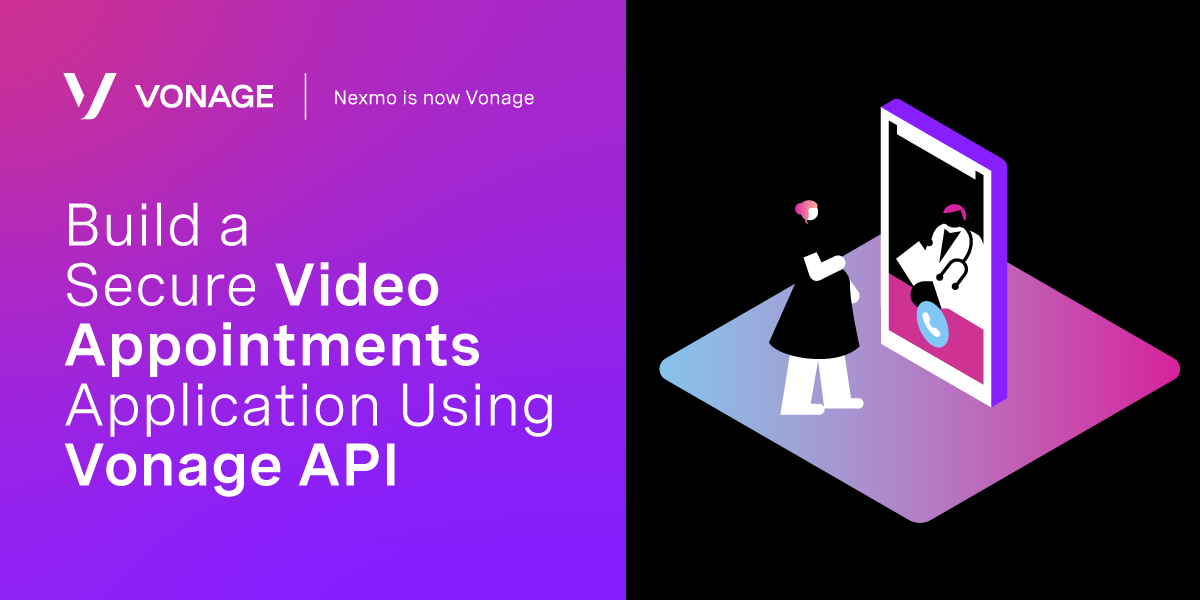
Build a Secure Video Appointments Application Using Vonage API
Time to read: 7 minutes
In today’s world, video is an essential and powerful tool for many use cases: whether you’re remotely joining a classroom, consulting with your doctor, or even sharing your whereabouts in an emergency. Those are just some examples of what developers have built with our platform, and they all have at least one thing in common: their solution provides a personalized experience using video.
In this blog post, we will walk you through a video appointments reference application. We built it to provide a foundation for different implementations. We will show how you can add features to it and how you can apply it to different use cases.
In a few simple steps, you will have achieved a solution that allows you to create video appointments, send a message with an appointment link to the participants, and of course, start a video conversation. You will also learn how to customize it from a look and feel perspective.
You can find the full code of the sample application on GitHub.
As solution engineers, we get to learn what developers build with our APIs—whether it's a unique use case, a cool integration, or even a workaround for a bug.
Part of our job is to identify patterns in what our customers build, and from those, we create reference applications. Our goal is to cut down on development time and provide a better starting point.
When we considered the video appointments application, we thought of three essential features:
Scheduling appointments in advance and enforcing their time and date.
Messaging the participants with links to join the call.
Basic video call UI with buttons allowing the participants to mute themselves and share their screen.
Our expectation from this project was to provide our customers a head start on their video project.
There are a variety of use cases that could be implemented on top of the application, and we'll explain how.
This post will help you customize two components: A Vue-Web application and an Express-NodeJS application server. After finishing this walkthrough you will have a basic and configurable video appointments application.
Note: We've added a 'deploy to Heroku' button on GitHub for your convenience.
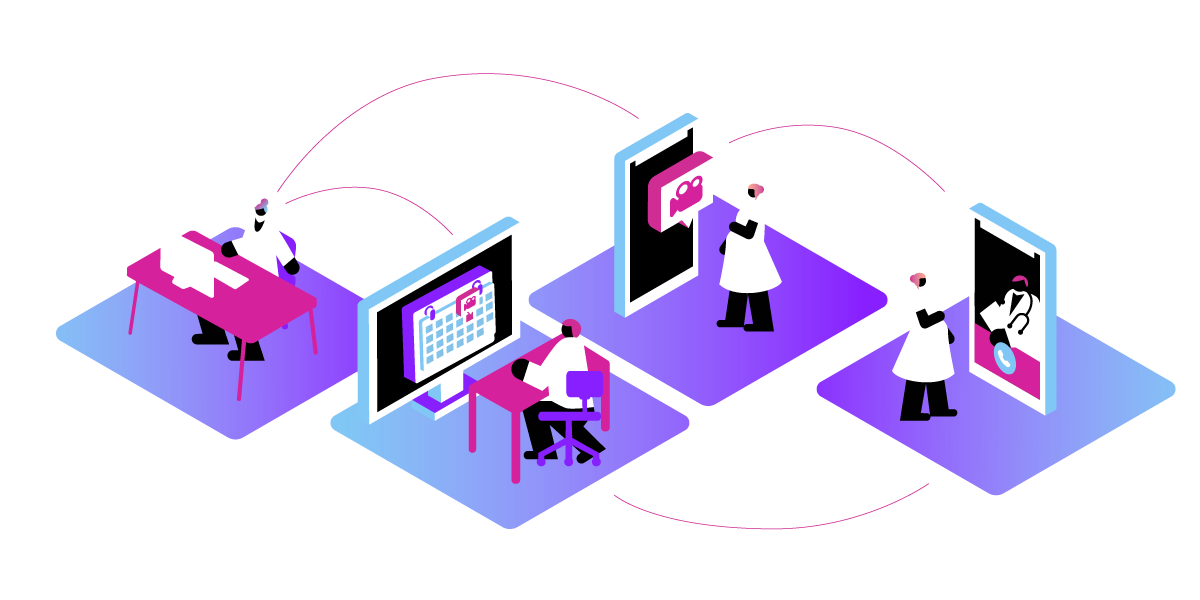
Let’s assume a simple healthcare use case for the application we’re about to build. Typically we would have the following roles: A clinician, a doctor, and a patient.
The clinician will set up an appointment between the patient and the doctor using the application, which will generate two links. One link will be sent to the patient, and the other link will be sent to the doctor, or perhaps put in their calendar.
The link to the patient could be sent over SMS or some other messaging channel, such as WhatsApp. When the time arrives, the patient will join the appointment and so will the doctor by using their links.
Those links will launch a video consultation in the application. Depending on how you implement your solution each role may have different privileges. For example, the doctor could join the appointment at any time whereas the patient could join only in the time scheduled for them.
Vonage Video API account
Beginner-level NodeJS experience
Beginner-level Vue experience
The Vonage Video API is a WebRTC based solution. It supports many platforms, including browsers, Android, iOS, Windows, and macOS. We will use the API to create live video sessions between our different roles. You can read more about the API on the Vonage Video Developer Center.
For this application, you will need an 'OpenTok API' project. If you don't have one already, you can create a new one in the video dashboard.
The Vonage Messages API is a gateway to multiple messaging channels, such as SMS, WhatsApp, and Viber. It allows you to send and receive messages over one or more channels. We will use it to send SMS messages with the appointment details to our users. You can read more about the API on the Developer Portal.
You will need a phone number to use with your application. Use the account dashboard to find a number to purchase and use for this project.
We recommend using ngrok to expose your server and Visual Studio Code to work on the project.
Clone the sample repo and navigate into the project folder:
git clone https://github.com/nexmo-se/opentok-secure-appointment.git
cd opentok-secure-appointmentThe example.env file contains all the required parameters to get the project running. After setting it up, you will need to copy it:
cp example.env .envLet’s take a look at the configurable:
You will need to provide credentials for the Messages API, which can be found on the Vonage Communications APIs dashboard. In addition to API_KEY and API_SECRET, you should include the phone number you linked to your account.
That will be the number your application will use to send SMS messages with the appointment details.
Similarly to the Messages API setup, you will need to include the API_KEY and API_SECRET from your video project. These can be found in the video dashboard.
There are two types of sessions you could choose from by setting SESSION_MEDIA_MODE: relayed or routed.
Relayed sessions are peer-to-peer and the media doesn't go through Vonage's media server. Routed, however, are not peer-to-peer and the media is streamed through Vonage's media server.
Relayed sessions have lower latency but we recommend no more than three participants in them. In addition, they don't support some features such as archiving. Routed sessions, on the other hand, act poorly in very low-bandwidth situations, but they support more features and can handle a large number of participants.
The client application needs to be configured with the server’s URL, which will be determined by you and by how you deploy your server. We recommend that you use ngrok for developing and testing your application.
Furthermore, the sample application has two configurable UI components—your company’s logo and your company’s name (LOGO_URL & COMPANY_NAME respectively).
Video sessions could be joined when the camera is off by default, with audio-only. Consider what’s most suitable for your application and set the AUDIO_ONLY flag accordingly.
Last but not least—you might want to create your own SMS template. You have three variables that come with the application by default: appointment date, appointment time, and appointment link. This is the SMS message that will be sent when a new appointment is scheduled if the clinician chooses that option.
It can be something like:
You have an appointment set for {date} at {time}, please click this link to join! {link}Or
An appointment to our clinic has been set for you for {date}, at {time}. To join the video call please use this link: {link}You can customize it to your own needs using the parameters we’ve given.
Bonus: Add more parameters to the code by editing the sendAppointmentMessage(appointment, number, shouldSendSMS) method in Booking.vue. You could add the doctor’s name to make it more personal.
After the setup, simply install the project by running npm install. Then you can run it using npm run start-dev.
Your server should now run locally, together with the client. Go to localhost:3000 (or whichever port you choose) and book your first appointment! You can choose the time and whether to send an SMS to the "patient". Once the appointment is created, you can copy either the Host or Guest URL and join the video consultation.
If you want to take a closer look at the client's routes, they can be found in ./src/client/App.vue. This is also where you could add more routes to your application.
For a technically detailed explanation please take a look at the client README and the server README.
Please notice that the default route leads to /booking.
As the clinician, your entry point should be https://SERVER_ADDRESS/booking (where SERVER_ADDRESS is where you deployed the application). This is the page that allows you to schedule appointments and view the list of previously scheduled appointments.
Upon scheduling an appointment, you could also send an SMS to the patient—with the link to a number, for example. You can also just click 'copy link' from the table of appointments. This is where you can think of improving the experience by integrating another channel, such as WhatsApp or even a text-to-speech bot that calls you to notify about the appointment.
Every appointment has two links: a host link and a guest link. In the healthcare use case, the host URL will be sent to the doctor and the guest URL will be sent to the patient.
After successfully scheduling an appointment, both sides of the call can use the link to join the appointment. You can mute, unpublish video, and share your screen.
We have learned in the previous sections how to build a simple video consultation application, and we also discussed how it can be applied to healthcare.
Although healthcare is a classic implementation, it most certainly isn't the only one. When we started working on this project we had many use cases in mind: e-learning, finance, job interviews, and more. Our goal was to find the greatest common divisor of those use cases, but we know there's more work to be done.
As communication becomes more and more multi-channelled, so does the complexity of our solutions. The video was the core of this article but it is even more powerful when combined with other channels like Social Messaging, SMS, CRMs and more.
If you want to learn more about what you can do with our APIs, please visit Vonage APIs.
Share:
Enrico is a former Vonage team member. He worked as a Solutions Engineer, helping the sales team with his technical expertise. He is passionate about the cloud, startups, and new technologies. He is the Co-Founder of a WebRTC Startup in Italy. Out of work, he likes to travel and taste as many weird foods as possible.