Share:
Benjamin Aronov is a developer advocate at Vonage. He is a proven community builder with a background in Ruby on Rails. Benjamin enjoys the beaches of Tel Aviv which he calls home. His Tel Aviv base allows him to meet and learn from some of the world's best startup founders. Outside of tech, Benjamin loves traveling the world in search of the perfect pain au chocolat.
Anything-to-SMS with IFTTT and Vonage
Time to read: 3 minutes
I live in Tel Aviv, a beach city with 300 sunny days a year. The weather is so stable that I never check the weather. But whenever it does rain, it pours! And I end up drenched and cold. If only I somehow had a reminder to tell me it’s going to rain.
Have you heard of IFTTT? IFTTT stands for "If This Then That." It's a web-based service that allows you to create simple conditional statements, called applets, to automate various tasks and actions across different web services and devices. And all with no code! The basic idea is to connect different apps and devices to create automated workflows based on triggers and actions.
No-code/low-code platforms are super-useful for a ton of different things. What's even better is when you combine them to solve problems!
So in this post, I’ll show you how I built an applet in IFTTT to help me know when it’s going to rain and take an umbrella with me. The applet will send me an SMS warning using Vonage’s no code/low code AI Studio platform.
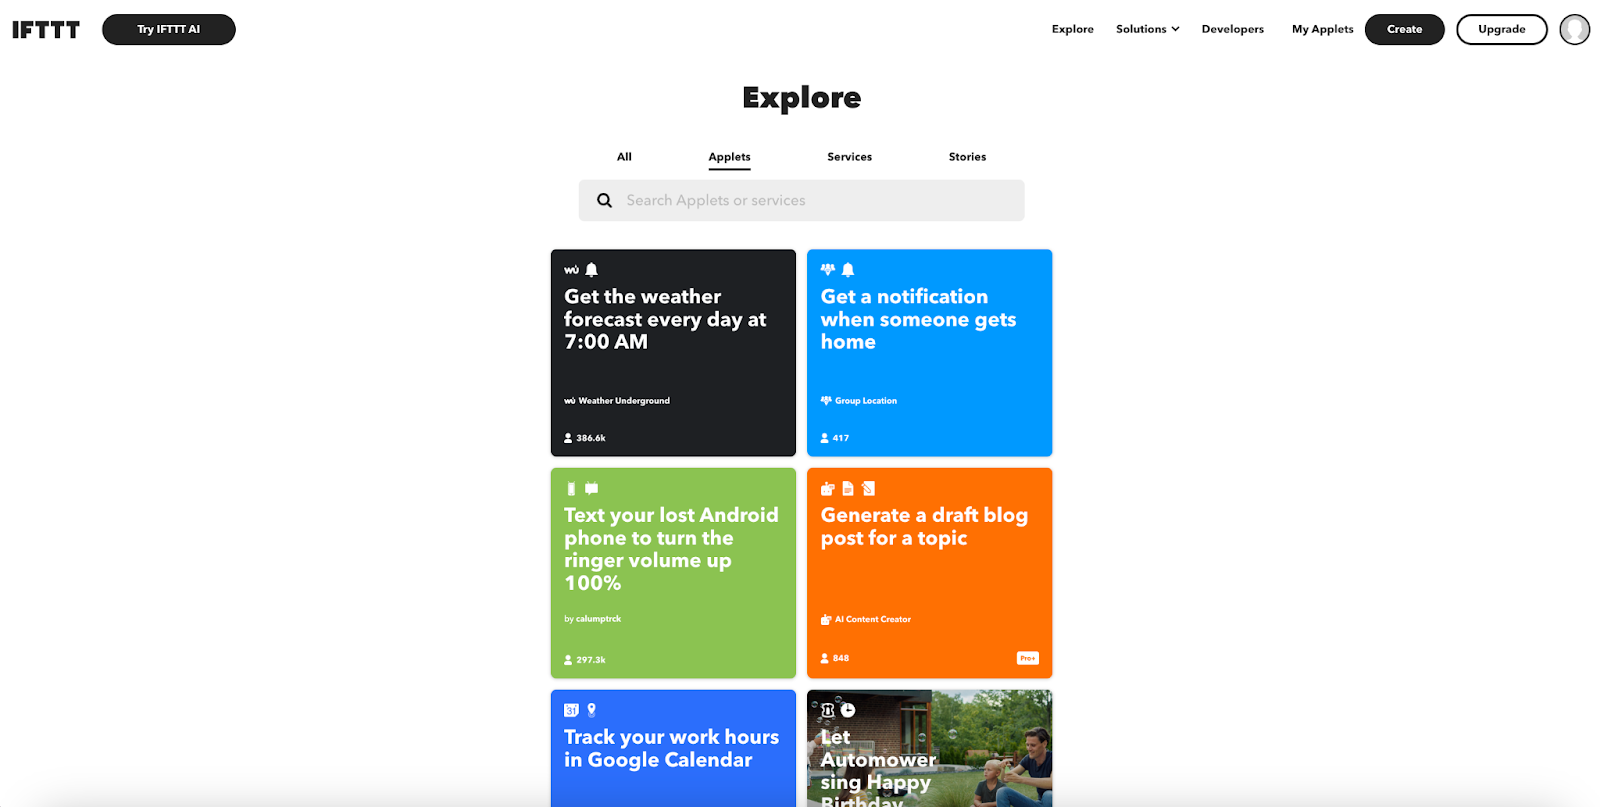 IFTTT Explore
Prerequisites:
Vonage Developer Account
IFTTT Account - Sign up for a IFTTT free account
Navigate to the Create Applet page. Search for and select Weather Underground. You’ll then see a list of all the available Weather Underground Triggers.
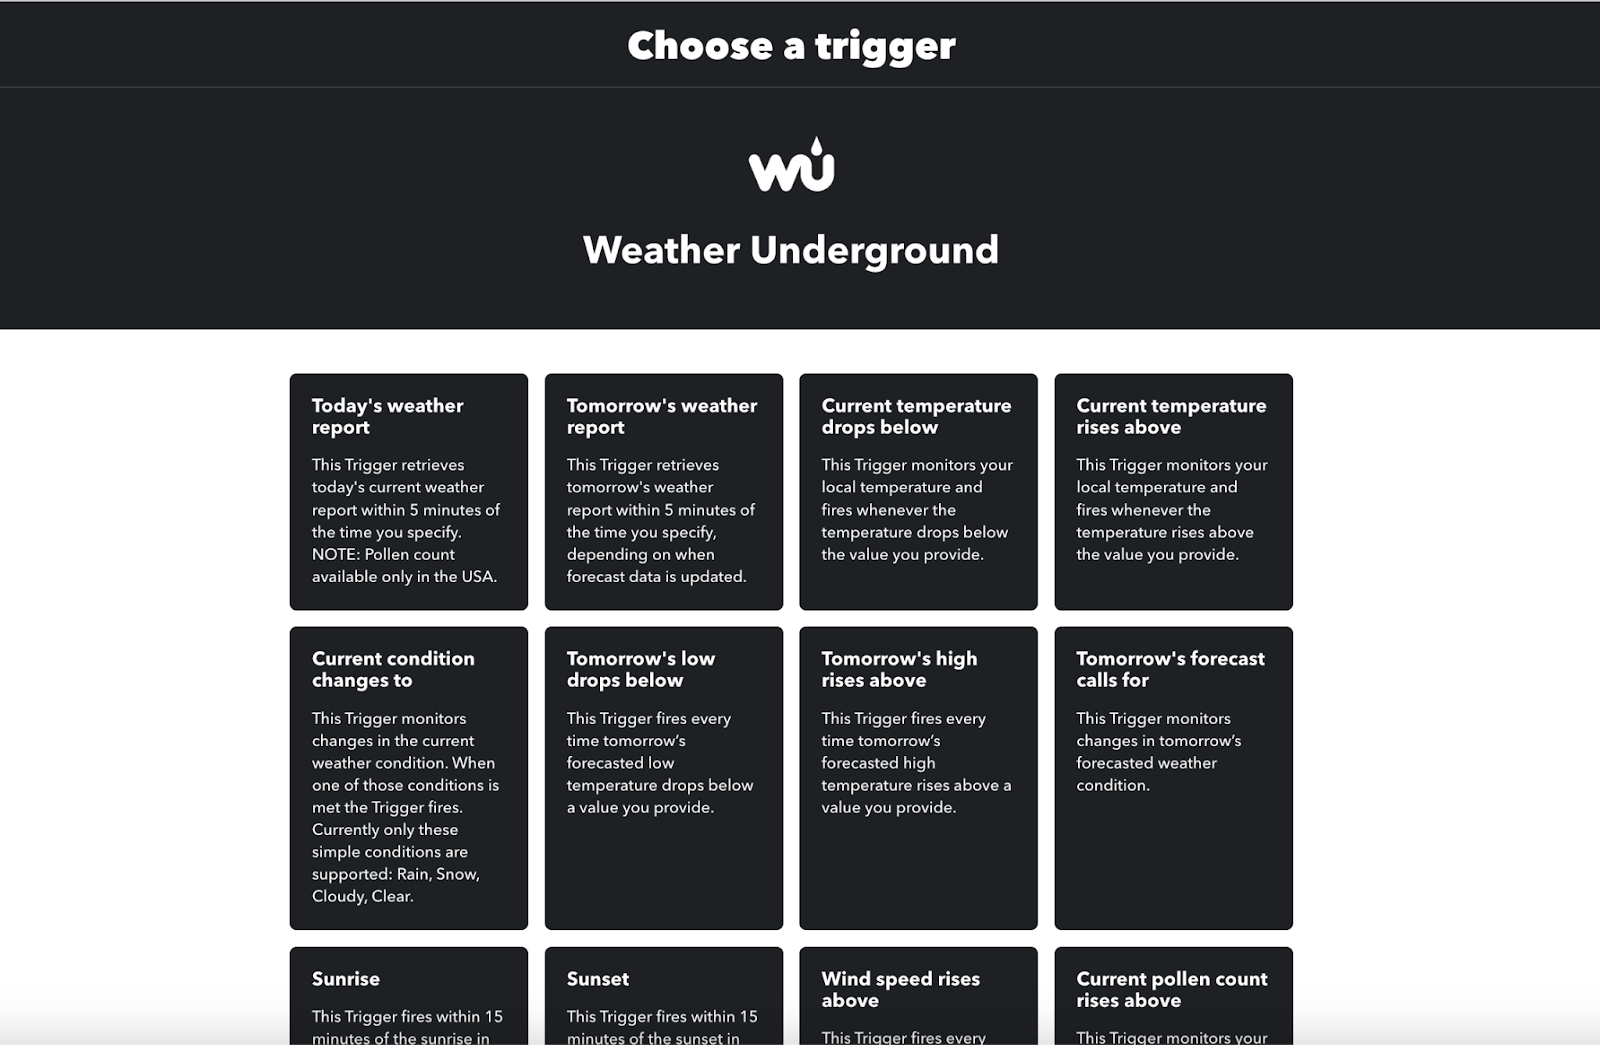 Choose a Weather Underground Trigger
You’ll want to select “Tomorrow’s forecast calls for”. The first half of our Applet is done! You should be redirected to a page that looks like this:
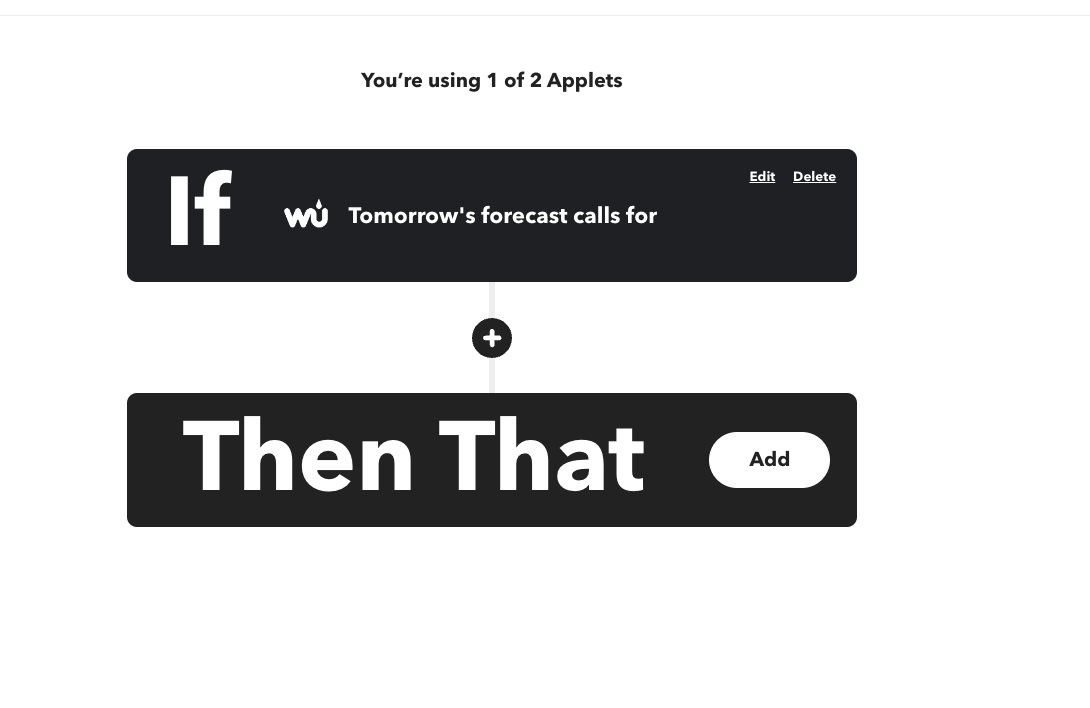 Applet If This Than That Page
Now we need to somehow tell IFTTT to trigger an SMS. We’re going to do this with Vonage’s AI Studio.
Let’s create our AI Studio Agent now. Navigate to the AI Studio Dashboard. Follow the instructions found in the AI Studio documentation here. There are three important options for our agent, select:
Type: SMS
Template: Start From Scratch
Event: Outbound
Our agent will be extremely basic, sending a single SMS telling us that tomorrow will be rain. It will also send a link to the full weather forecast and provide the expected high and low temperatures.
For this we need to create 3 parameters in AI Studio which will hold those values we get from IFTTT. The parameters will be of @sys.any Entity type and called, ForecastUrl, HighTempCelsius, and LowTempCelsius. See below:
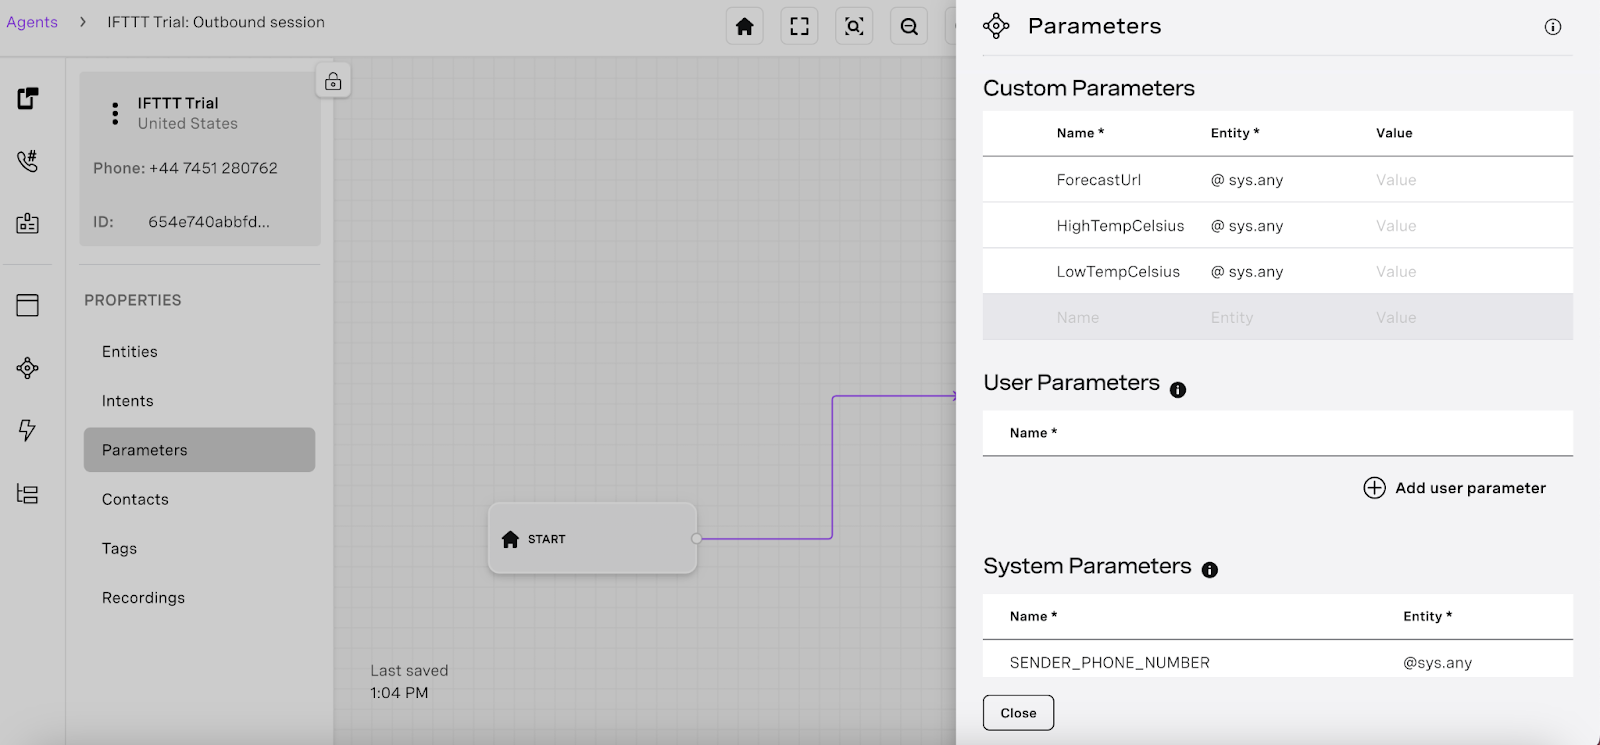 AI Studio Dashboard Parameter Creation
Now we can add our single Send Message node and our alert message which uses our 3 parameters.
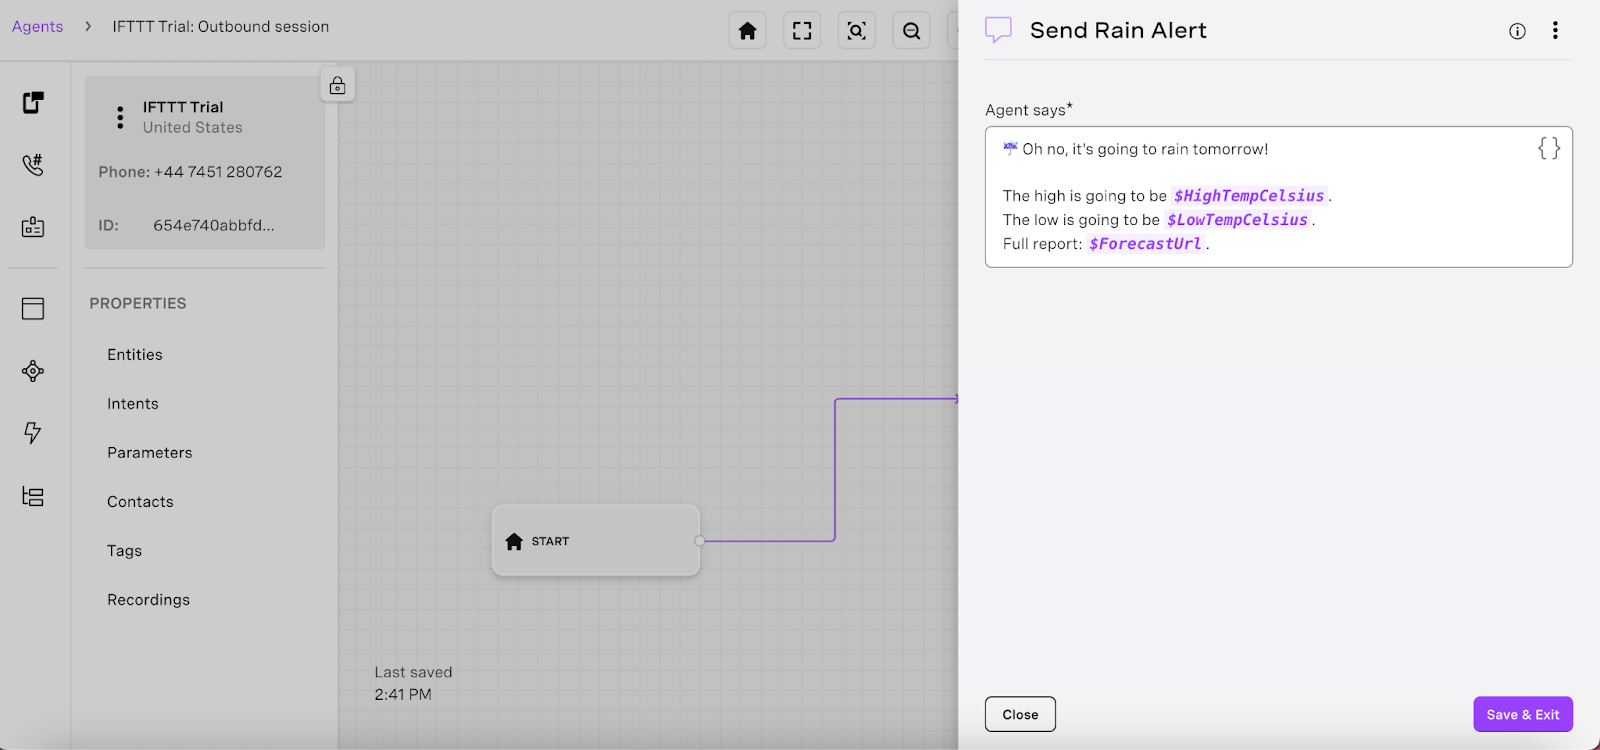 AI Studio Send Message
The last step is to publish our agent.
Now that our agent is setup all we need to do is finish our Applet in IFTTT and connect it to the agent. We will do this with the Webhook service. So in IFTTT continue and search for “Webhook”.
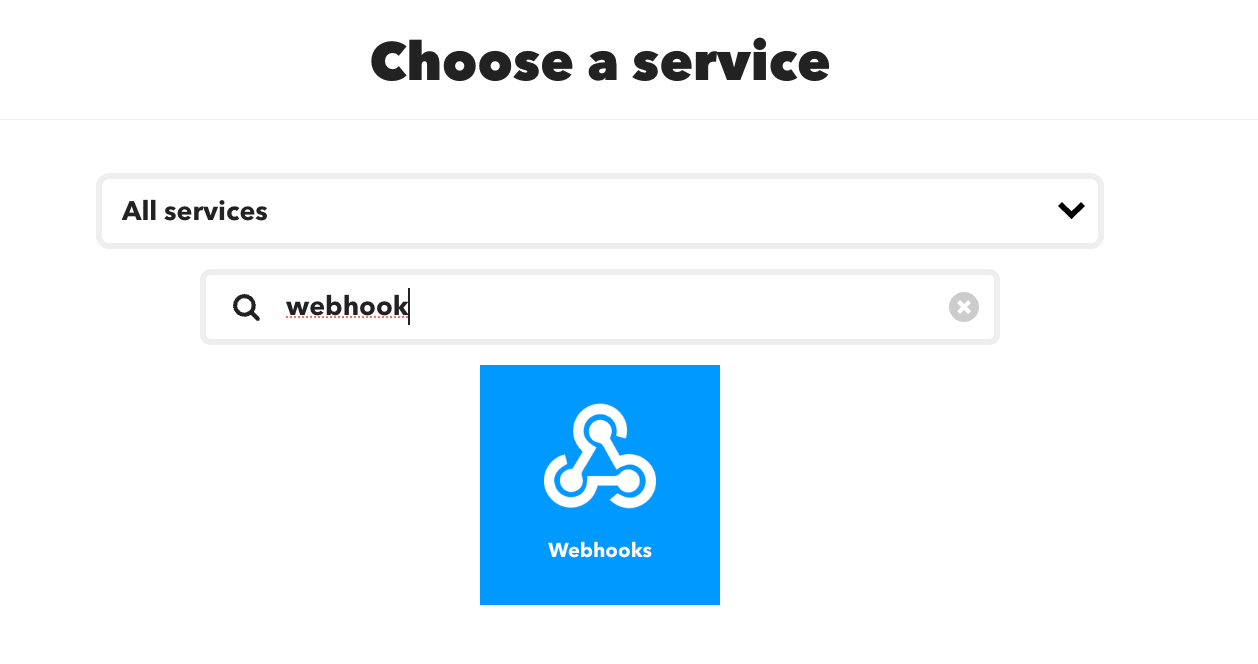 Choose IFTTT Webhook Service
Select “Make a web request” and continue until you see the following page:
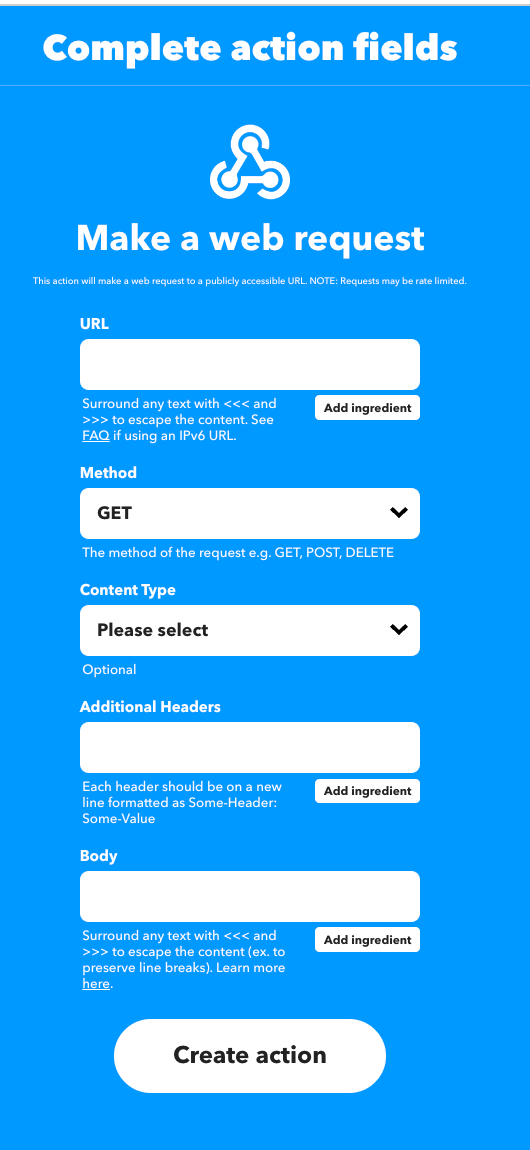 Make a web request
For URL, you will need to paste one of the following. The endpoint depends on the region you selected for your agent.
For EU agents --> https://studio-api-eu.ai.vonage.com/messaging/conversation For US agents --> https://studio-api-us.ai.vonage.com/messaging/conversation
Set Method to POST.
Set Content Type to application/json.
For Additional Headers you’ll need to add your X-Vgai-Key. You can find the X-Vgai-Key on the top right of your AI Studio dashboard. Click on the user icon, and then Generate API Key.
Example: X-Vgai-Key: YOUR_X_VGAI_KEY
For “Body” we will add the following code:
{
  "to": "YOUR_PHONE_NUMBER",
  "agent_id": "YOUR_VONAGE_AGENT_ID",
  "channel": "sms",
  "session_parameters": [

    {
      "name": ForecastUrl,
      "value": {{ForecastUrl}}
    },

    {
      "name": "HighTempCelsius",
      "value": {{HighTempCelsius}}
    },

    {
      "name": "LowTempCelsius",
      "value": {{LowTempCelsius}}
    }
  ]
}You’ll need to replace YOUR_PHONE_NUMBER with the phone to receive alerts. For example, “15551234567”. Similarly replace YOUR_VONAGE_AGENT_ID with your agent id, which can be found under Agent Details found in the side panel of your Agent in AI Studio.
Lastly, click “Create Action” and you’re done!
Did you know about IFTTT before this article? What are you using it for? What other nocode or lowcode tools are you using? I’m really interested to hear any feedback you have for this article.
Join me on Vonage Developer Community Slack or X, formerly known as Twitter and let me know what exciting things you are building!
Low-Code and No-Code: What Option Is Best for You?
If You Can Point and Click Then You Can Make a Conversational AI
Crash Course: Create Virtual Agents for WhatsApp with Vonage AI Studio
Share:
Benjamin Aronov is a developer advocate at Vonage. He is a proven community builder with a background in Ruby on Rails. Benjamin enjoys the beaches of Tel Aviv which he calls home. His Tel Aviv base allows him to meet and learn from some of the world's best startup founders. Outside of tech, Benjamin loves traveling the world in search of the perfect pain au chocolat.