シェア:
エンリコはVonageの元チームメンバーです。ソリューション・エンジニアとして、技術的な専門知識で営業チームをサポートした。 クラウド、スタートアップ、新技術に情熱を注ぐ。イタリアのWebRTCスタートアップの共同設立者。仕事以外では、旅行とできるだけ多くの奇妙な食べ物を味わうのが好き。
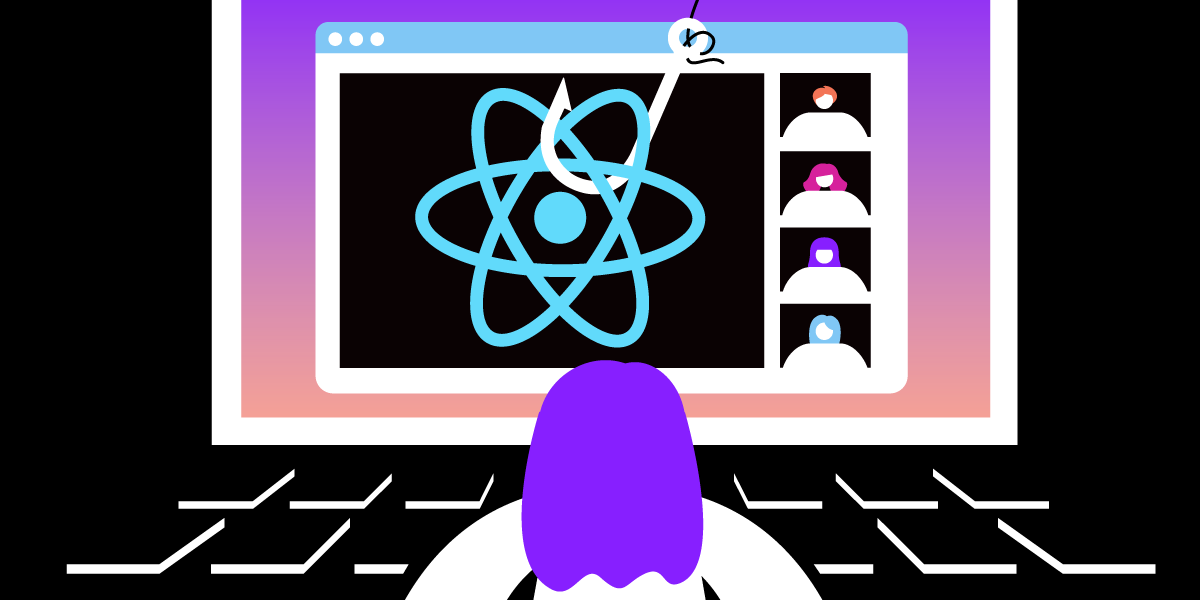
React Hooksを使用したVideo APIアプリケーションの実装
所要時間:1 分
ReactJS開発者になって2、3年経った人なら、おそらくReact Hooksを使うためにコードをリファクタリングする必要があっただろう。React Hooksは16.8バージョンから導入された(2019年2月、 ドキュメント)から導入され、クラスを書かずにステートやその他のReactの機能を使用できるようになりました。
このブログ記事では、Vonage Video API JS を Hooks を使用して React アプリケーションに統合する方法を説明します。
Video APIアカウント。まだアカウントをお持ちでない場合は ビデオダッシュボード
ReactJSのバージョン >= 16.8
プロジェクトのエントリー・ポイントは src/index.jsファイルです。インデックスファイルは、ルートとコンポーネントの定義を含むAppファイルをインポートします。
ルートはApp.jsファイルで定義されている。コードでは react-router-domモジュールを使います。主なルートは2つあります:
待合室このページでは、マイクとカメラの設定、プレコールの実行ができます。 Opentokネットワークテスト.その後、ビデオ通話に参加できます。
ビデオルームこのページで、ユーザーはセッションに接続し、自分のストリームを公開し、ルーム内の各ストリームを購読します。
ユーザーは 直接VideoRoom ページに移動できることに注意してください。サンプルコードには、認証機能は実装されていません。
待合室のページはパブリッシャーを作成します。 パブリッシャーフックを使って)パブリッシャーを作成します。AudioSettings と VideoSettings コンポーネントを使って、ユーザーはマイクとカメラのミュートとミュート解除ができます。
クエリーパラメーターを使用してユーザー名を設定することも可能です、 user-nameを使ってユーザー名を設定することも可能です。ユーザが waiting-room?user-name=JohnDoeに移動した場合、待合室のページはユーザー名を John Doe.
最後に、ページがロードされたときにネットワークテストを実行するReactエフェクトがある。ネットワークテストはカスタムHookによって処理されます、 useNetworkTest.ネットワークテストは、2つの異なるテストを実行します: testConnectivityと testQuality.テストが完了する前にユーザーが通話に参加すると useNetworkTestフックはテストを中止します。
詳細については ネットワークテストGitHubレポ
ビデオルームのコンポーネントには useSessionと usePublisherフックを使用して Video API のロジックを処理します。コンポーネントマウントの useEffectコンポーネント マウントのフックは、ルームに接続するための認証情報を取得します (getCredentials関数)。フックによって認証情報が設定されると、別のエフェクトが実行され、新しいセッションが作成されます。 OT.initSessionと session.connectを順次呼び出します。
セッションが作成された後、次のエフェクトは usePublisherフックです。
さらに、ビデオルームには、以下のコンポーネントが含まれている。 Chatコンポーネントが含まれています。 Video API シグナルを使用してメッセージを送受信するコンポーネントが含まれています。
最後に ControlToolBarコンポーネントには、ビデオ通話中に使用されるボタンが含まれます:マイクとカメラのミュート/アンミュート、画面共有、チャット。
このアプリで使われる唯一のコンテキストは UserContextで、ユーザー名、localAudio、localVideoのプリファレンスを保存します。
アプリが使用するフックはhooksディレクトリにある:
フックは src/hooks/useSession.jsフックは Video API ライブラリの Session オブジェクトを処理します。主な機能は以下の通り:
セッションの作成認証情報が与えられると、この関数は Vonage Video サーバに接続し、イベントリスナー (
onStreamCreatedとonStreamDestroyed).セッションの破棄現在のセッションを切断します。
購読: ストリームと購読者オプションが与えられると、そのストリームを購読します。
const createSession = useCallback(
    ({ apikey, sessionId, token }) => {
      if (!apikey) {
        throw new Error("Missing apiKey");
      }

      if (!sessionId) {
        throw new Error("Missing sessionId");
      }

      if (!token) {
        throw new Error("Missing token");
      }

      sessionRef.current = OT.initSession(apikey, sessionId);
      const eventHandlers = {
        streamCreated: onStreamCreated,
        streamDestroyed: onStreamDestroyed,
      };
      sessionRef.current.on(eventHandlers);
      return new Promise((resolve, reject) => {
        sessionRef.current.connect(token, (err) => {
          if (!sessionRef.current) {
            // Either this session has been disconnected or OTSession
            // has been unmounted so don't invoke any callbacks
            return;
          }
          if (err) {
            reject(err);
          } else if (!err) {
            console.log("Session Connected!");
            setConnected(true);
            resolve(sessionRef.current);
          }
        });
      });
    },
    [onStreamCreated, onStreamDestroyed]
  );
useSessionフックには onAudioLevel関数があります。 イベントをリッスンする関数があります。イベントをリッスンする関数があります。この関数は、与えられたしきい値(speakingThreshold)以上、0.2以上のオーディオレベルがあるかどうかをチェックします。
もしそうなら、サブスクライバーが話していると仮定し、要素にクラスを追加する。
指定されたしきい値(notSpeakingThreshold)に対して、0.2 より低いオーディオレベルがある場合、加入者が話していないことを意味する。
この src/hooks/usePublisher.jsファイルはPublisherオブジェクトを定義します。主な機能は以下のとおりです:
initPublisher: パブリッシャーオブジェクトの初期化に加え、マイクとカメラへのアクセスを要求します。この関数はページ内にローカルパブリッシャーを作成します。publishストリームをセッションにパブリッシュする。unpublishセッションからローカルストリームをアンパブリッシュし、mediaTracks(マイクとカメラ)を停止します。
const initPublisher = useCallback(
    (containerId, publisherOptions) => {
      console.log('UsePublisher - initPublisher');
      if (publisherRef.current) {
        console.log('UsePublisher - Already initiated');
        return;
      }
      if (!containerId) {
        console.log('UsePublisher - Container not available');
      }
      const finalPublisherOptions = Object.assign({}, publisherOptions, {
        insertMode: 'append',
        width: '100%',
        height: '100%',
        style: {
          buttonDisplayMode: 'off',
          nameDisplayMode: 'on'
        },
        showControls: false
      });
      publisherRef.current = OT.initPublisher(
        containerId,
        finalPublisherOptions,
        (err) => {
          if (err) {
            console.log('[usePublisher]', err);
            publisherRef.current = null;
          }
          console.log('Publisher Created');
        }
      );
      publisherRef.current.on('accessAllowed', accessAllowedListener);
      publisherRef.current.on('accessDenied', accessDeniedListener);
      publisherRef.current.on('streamCreated', streamCreatedListener);
      publisherRef.current.on('streamDestroyed', streamDestroyedListener);
      publisherRef.current.on(
        'videoElementCreated',
        videoElementCreatedListener
      );
    },
    [
      streamCreatedListener,
      streamDestroyedListener,
      accessAllowedListener,
      accessDeniedListener
    ]
  );
フック src/hooks/useNetworkTest.jsフックは opentok-network-jsモジュールを処理します。主な機能は以下の通り:
initNetworkTestを開始する。NetworkTestオブジェクトrunNetworkTestを実行します。testConnectivityとtestQuality関数を実行し、その結果に従ってステートの変数を設定する。stopNetworkTest現在のネットワーク・テストを停止します。
フックは src/hooks/useChat.jsHook は Video API シグナル機能を処理します。主な機能は以下の通り:
sendMessages型のシグナルを送る。type:messagemessageListenerイベントのリスナー。type:messageイベントのリスナーです。リスナーはメッセージをmessages配列に追加します。
このブログ記事では、React Hooks を Vonage Video API と統合する方法を説明した。リポジトリは Video API フック.React Hooks を使ってアプリケーションを統合したりリファクタリングしたりする際のリファレンスとして利用できます。
また、Vonageは最近、Vonage Video Expressという新製品をリリースし、多人数ビデオ会議のウェブアプリケーションを作成できるようになりました。私たちは ブログ記事を書きました。