Managing PSTN Branded Calling [Beta]
This How-to guide provides instructions for configuring and managing Vonage PSTN Branded Calling and integrating it with the First Orion partner supplier. The instructions include:
- Prerequisites
- Access PSTN Branded Calling
- Integrate PSTN Branded Calling Page with First Orion
- Configure and Manage PSTN Branded Calling
- Further reading
To learn about what a PSTN Branded Calling is and what benefits it has, refer to the PSTN Branded Calling Conceptual Guide.
Prerequisites
This guide assumes that you have:
- A Vonage account.
- A direct contract with the First Orion partner. Our solution provides the technical integration components; however, you must work directly with First Orion to complete all required onboarding steps, including any identity verification (KYC) requirements. Refer to First Orion’s official documentation for details.
- Additional setup is required on the First Orion partner side. You must complete all necessary configuration steps within your First Orion account. These steps are required to ensure successful integration and operation of the PSTN Branded Calling feature. To do this:
- Visit the First Orion website.
- Create and configure your First Orion account.
- Follow First Orion’s official documentation to complete all mandatory setup steps.
Access PSTN Branded Calling
To access the PSTN Branded Calling page:
- Go to the Developer Dashboard > Voice > Trusted Calling.
- On the page, go to the Branded Calling section and click the Manage button on the PSTN Branded Calling tile.
Integrate PSTN Branded Calling Page with First Orion
Note: This section applies only when you access the PSTN Branded Calling page for the first time.
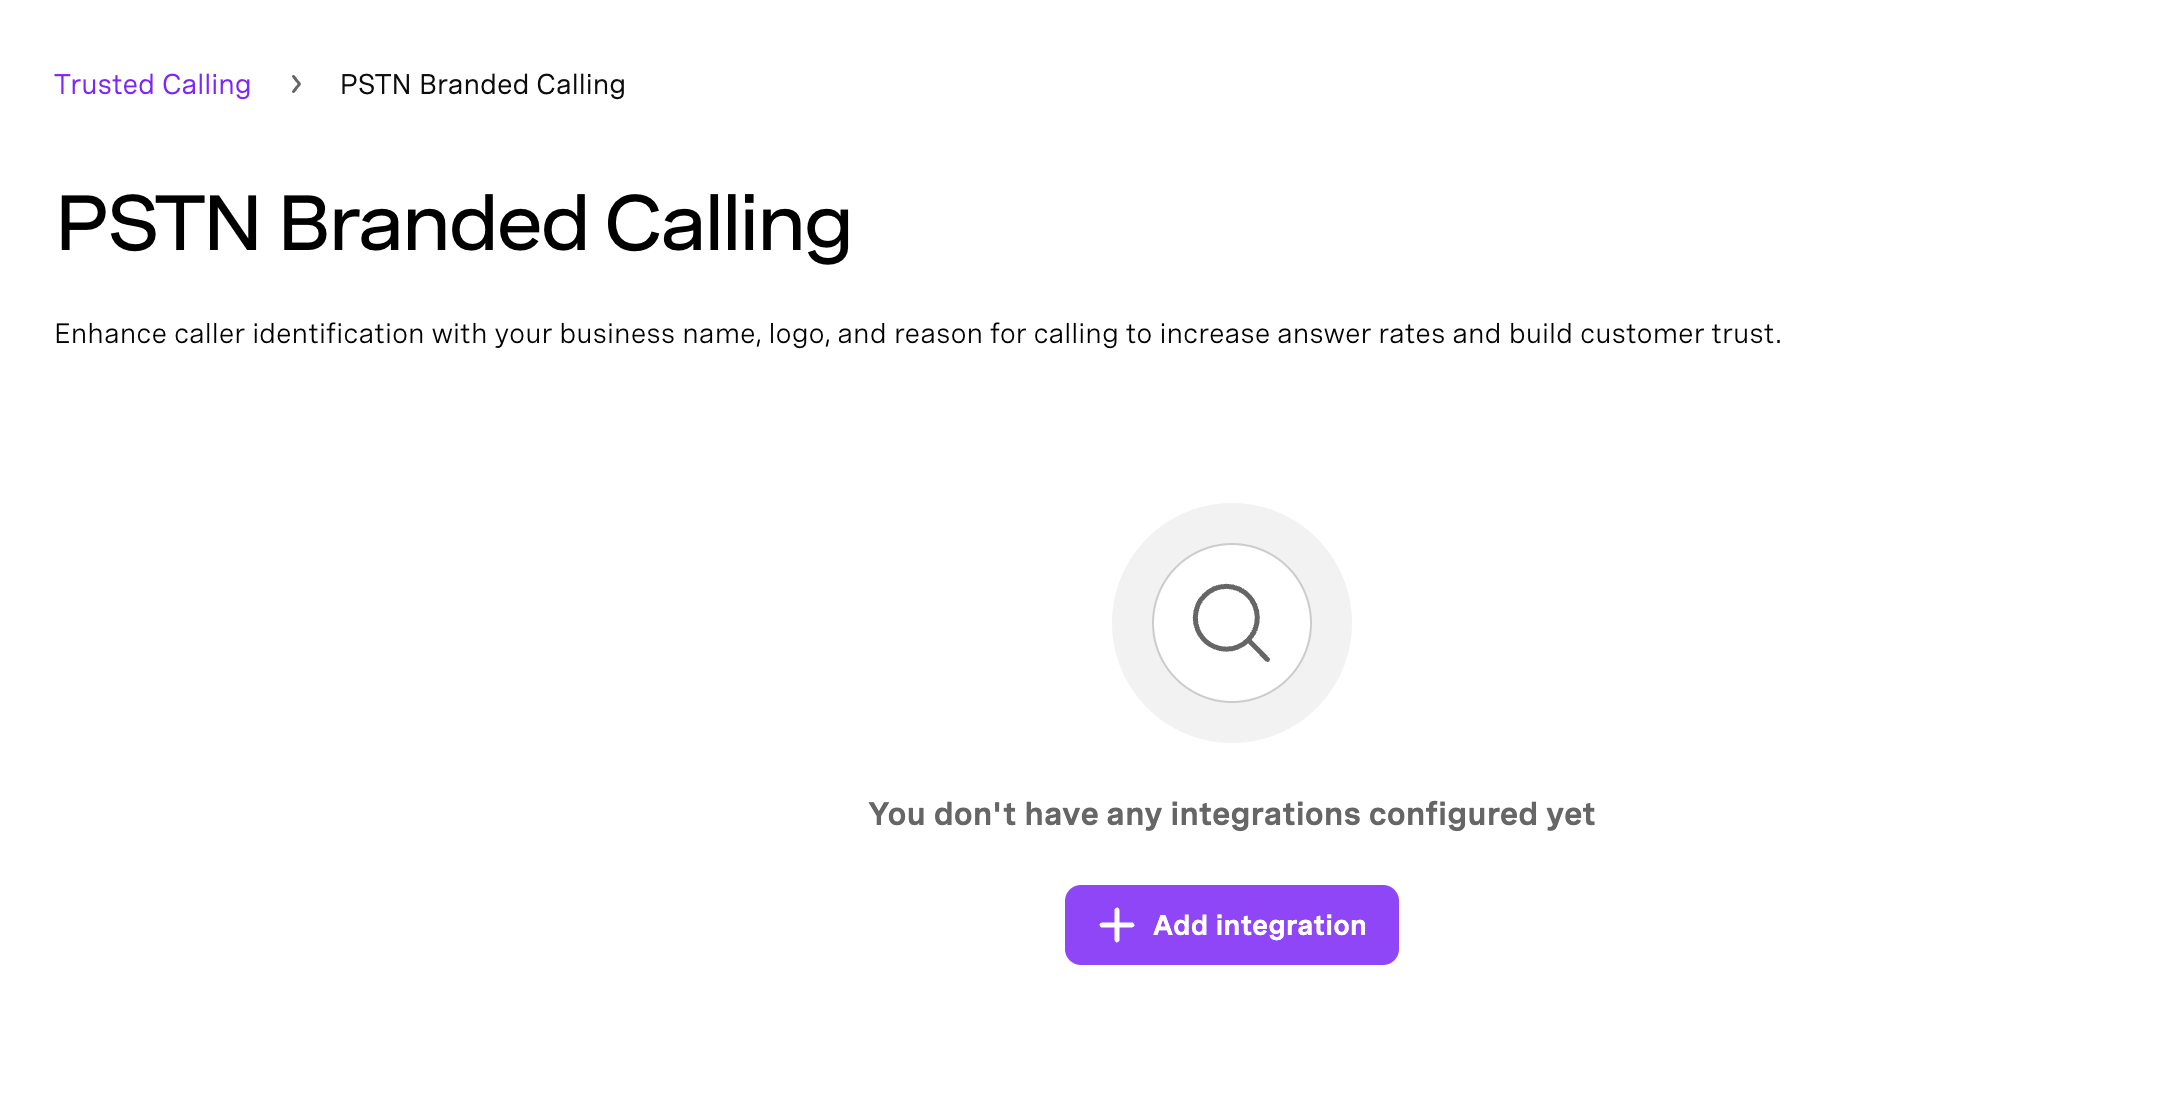
When you access the PSTN Branded Calling page for the first time, the only available option is the Add integration button. Before you can configure or manage PSTN Branded Calling, you need to integrate it with the First Orion service. This integration allows the system to capture and verify the required customer credentials from your First Orion account.
To integrate the First Orion service with the PSTN Branded Calling, follow these steps:
- Ensure that you have an active First Orion account and the required account credentials.
- On the PSTN Branded Calling page, click the Add integration button.
- You are redirected to the Your Integrations page.
- In the Setup an integration section, select the First Orion option.
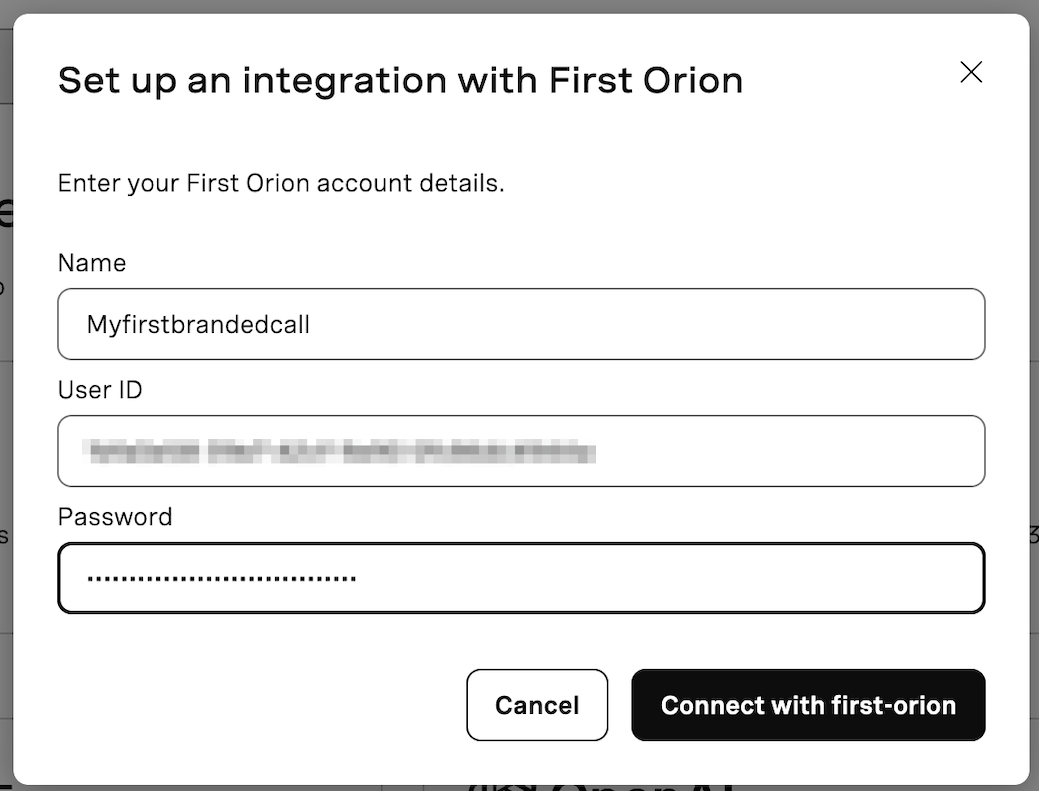
- The Set up an integration with the First Orion popup appears.
- Enter your First Orion account details and click the Connect with first-orion button.
- Once the integration is complete:
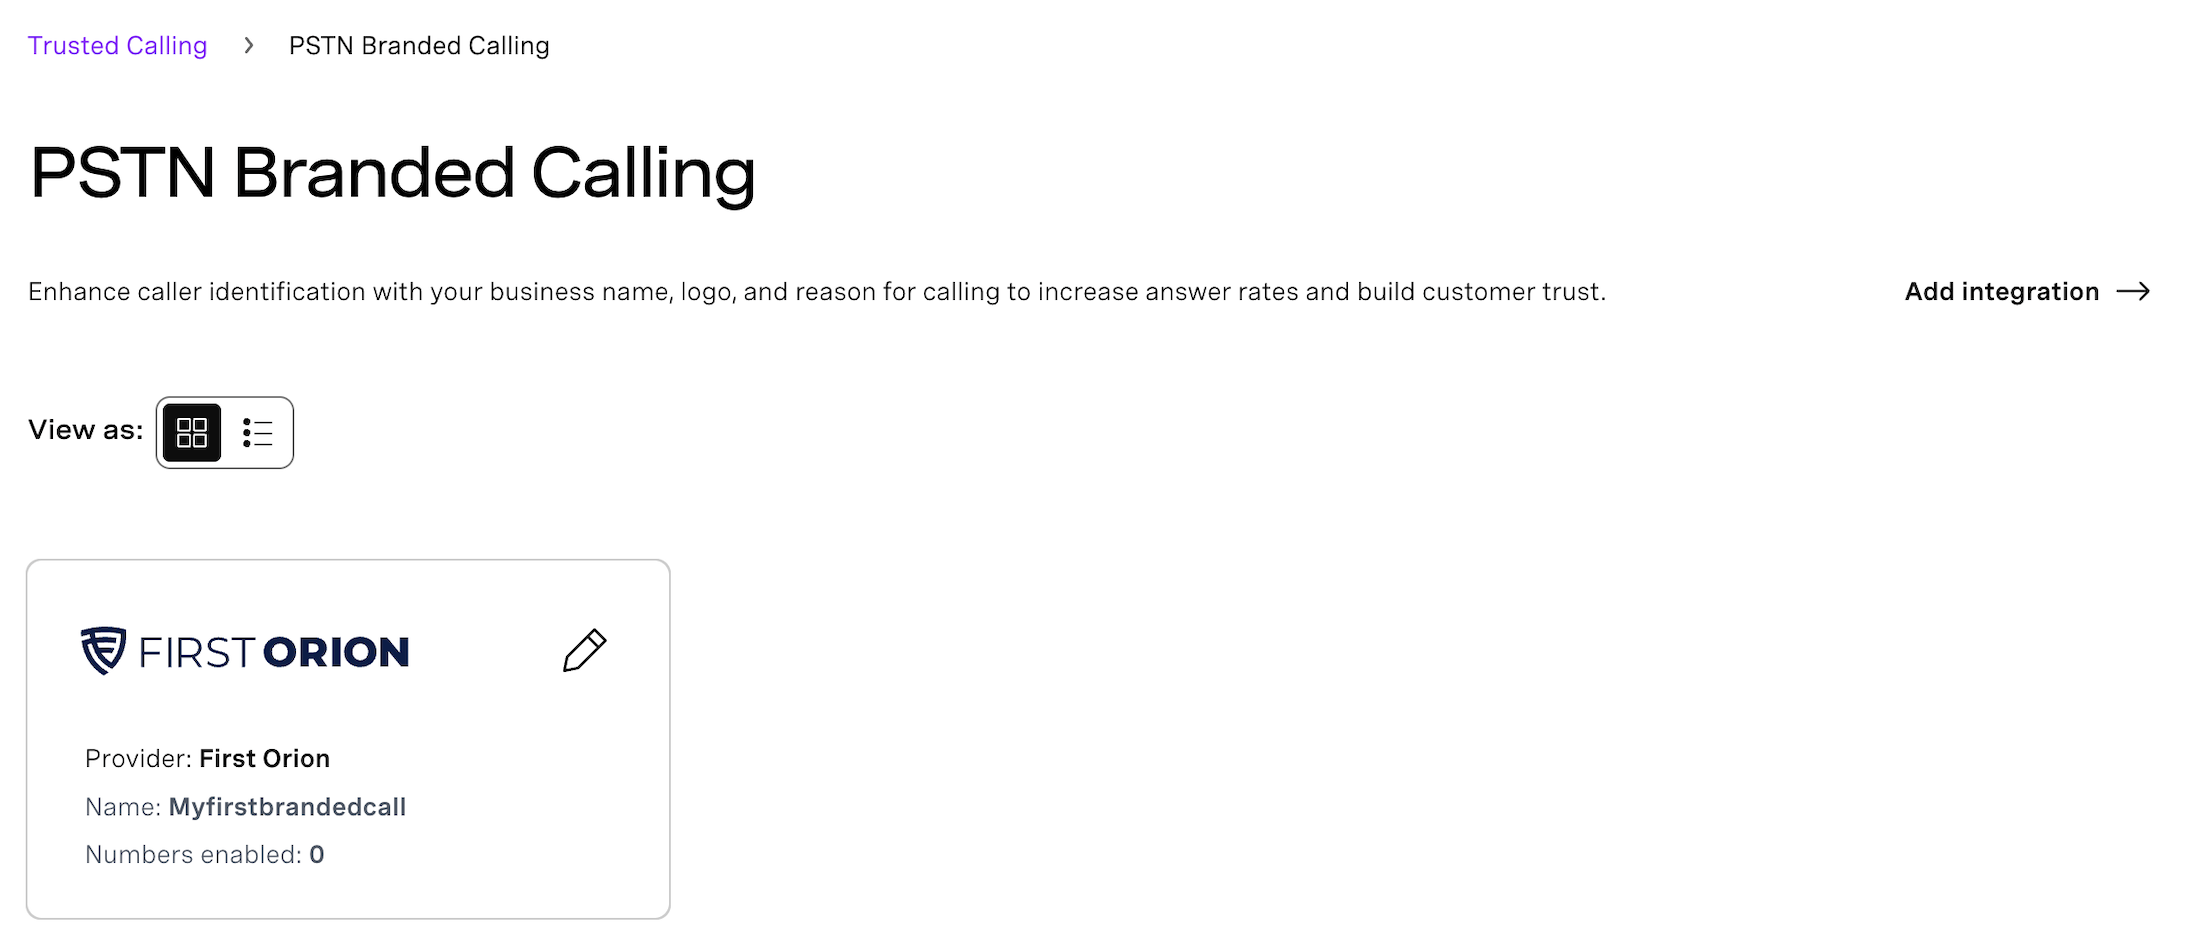
- The First Orion integration appears in the Existing integrations section of the Your Integrations page.
- The integration is also visible on the PSTN Branded Calling page.
Configure and Manage PSTN Branded Calling
The PSTN Branded Calling page is a dedicated page where you can configure the PSTN Branded Calling for your selected phone numbers. This feature enhances caller identification by displaying your business name, logo, and reason for calling recipients.
After accessing the page and integrating PSTN Branded Calling with the First Orion service, you can begin configuring the feature.
Access Configuration Settings
- Navigate to the PSTN Branded Calling page.
- Click Edit on the First Orion integration tile.
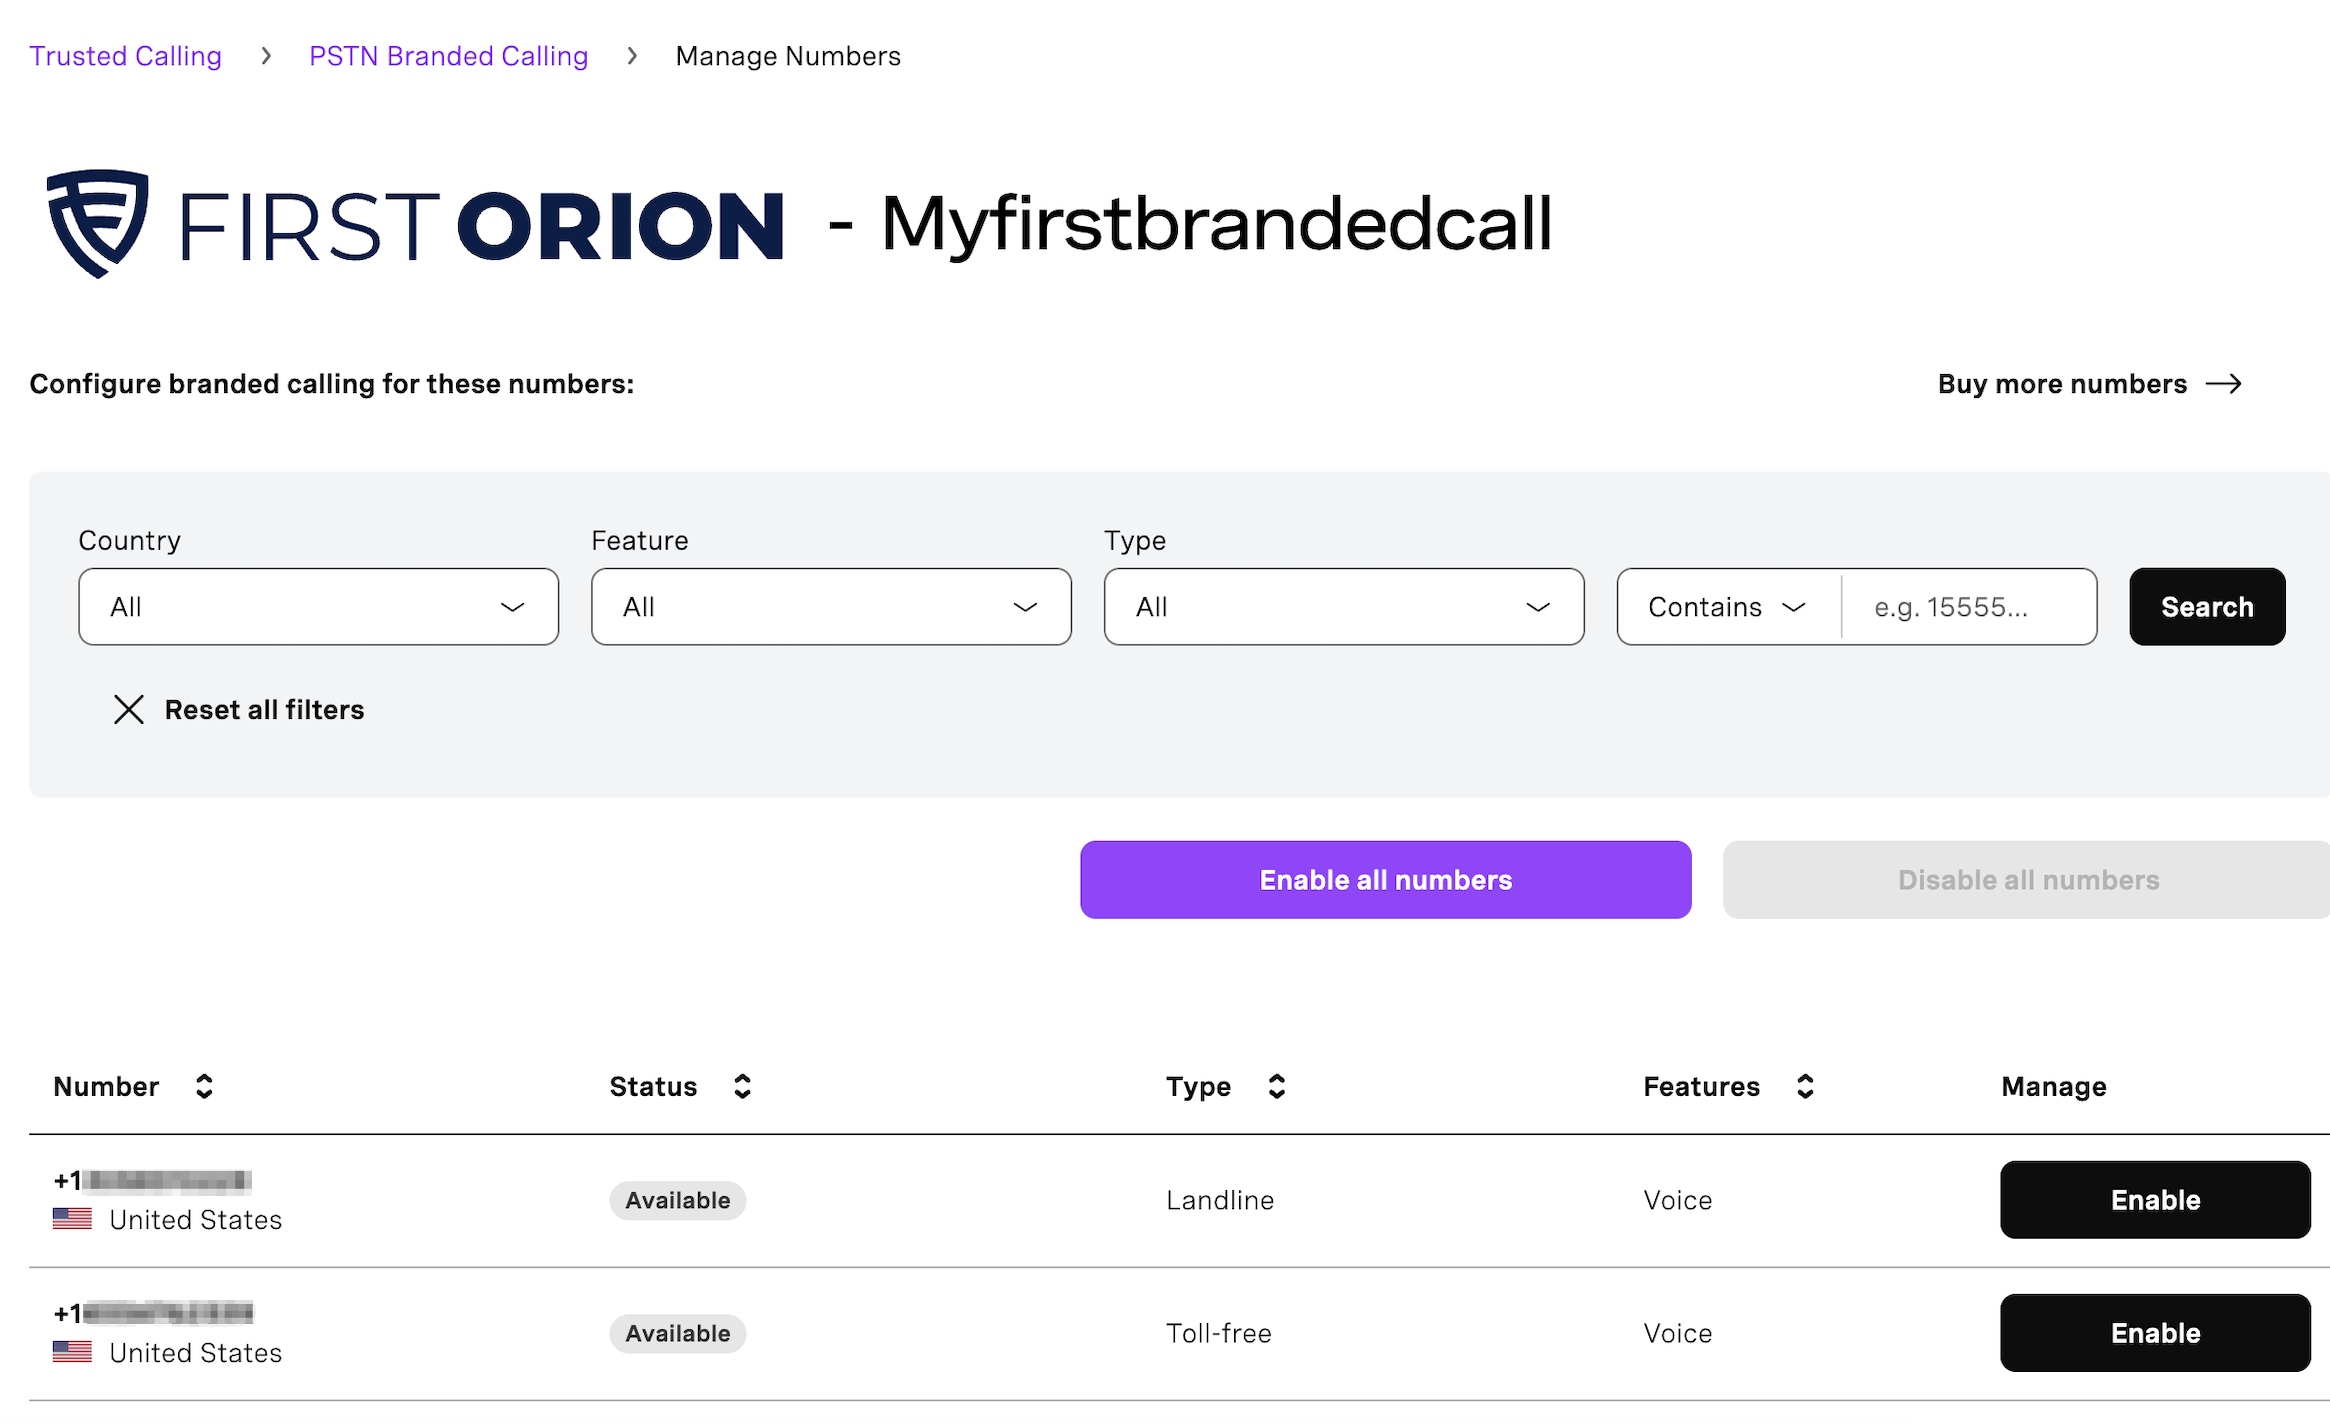
- You are redirected to the Manage Numbers First Orion configuration page, where you can manage the feature for your selected numbers.
Available Configuration Options
The Manage Numbers First Orion configuration page provides the options to:
- Buy more numbers - Click the Buy more numbers button to add numbers that can be configured for the PSTN Branded Calling feature. For more information, see the Number Management guide and the Vonage Numbers section of the Voice Numbers guide.
- Filter the list of numbers - Use filters to narrow down the list of added numbers by Country, Feature, Type or number content.
- Enable or Disable the integration for all numbers - Click Enable all numbers or Disable all numbers to apply the integration status across all listed numbers.
- Enable or Disable the integration for a specific number - Click Enable or Disable next to the desired phone number to control the integration individually.