Create a Session with Video API
The Vonage Video API lets you embed real-time, browser-based audio and video into your applications. This guide walks you through setting up the Video API in the Vonage API Dashboard and building a simple one-to-one video chat — no server required.
Prerequisites
Before you begin, make sure you have:
- A Vonage API account if you don't have one
- Chrome or Firefox — the Video API supports several browsers, but we recommend these for this guide
- A webcam and microphone — your browser will ask for access when you run the demo
Create a Video Application
A Video application in the Dashboard holds your credentials and configuration for the Video API.
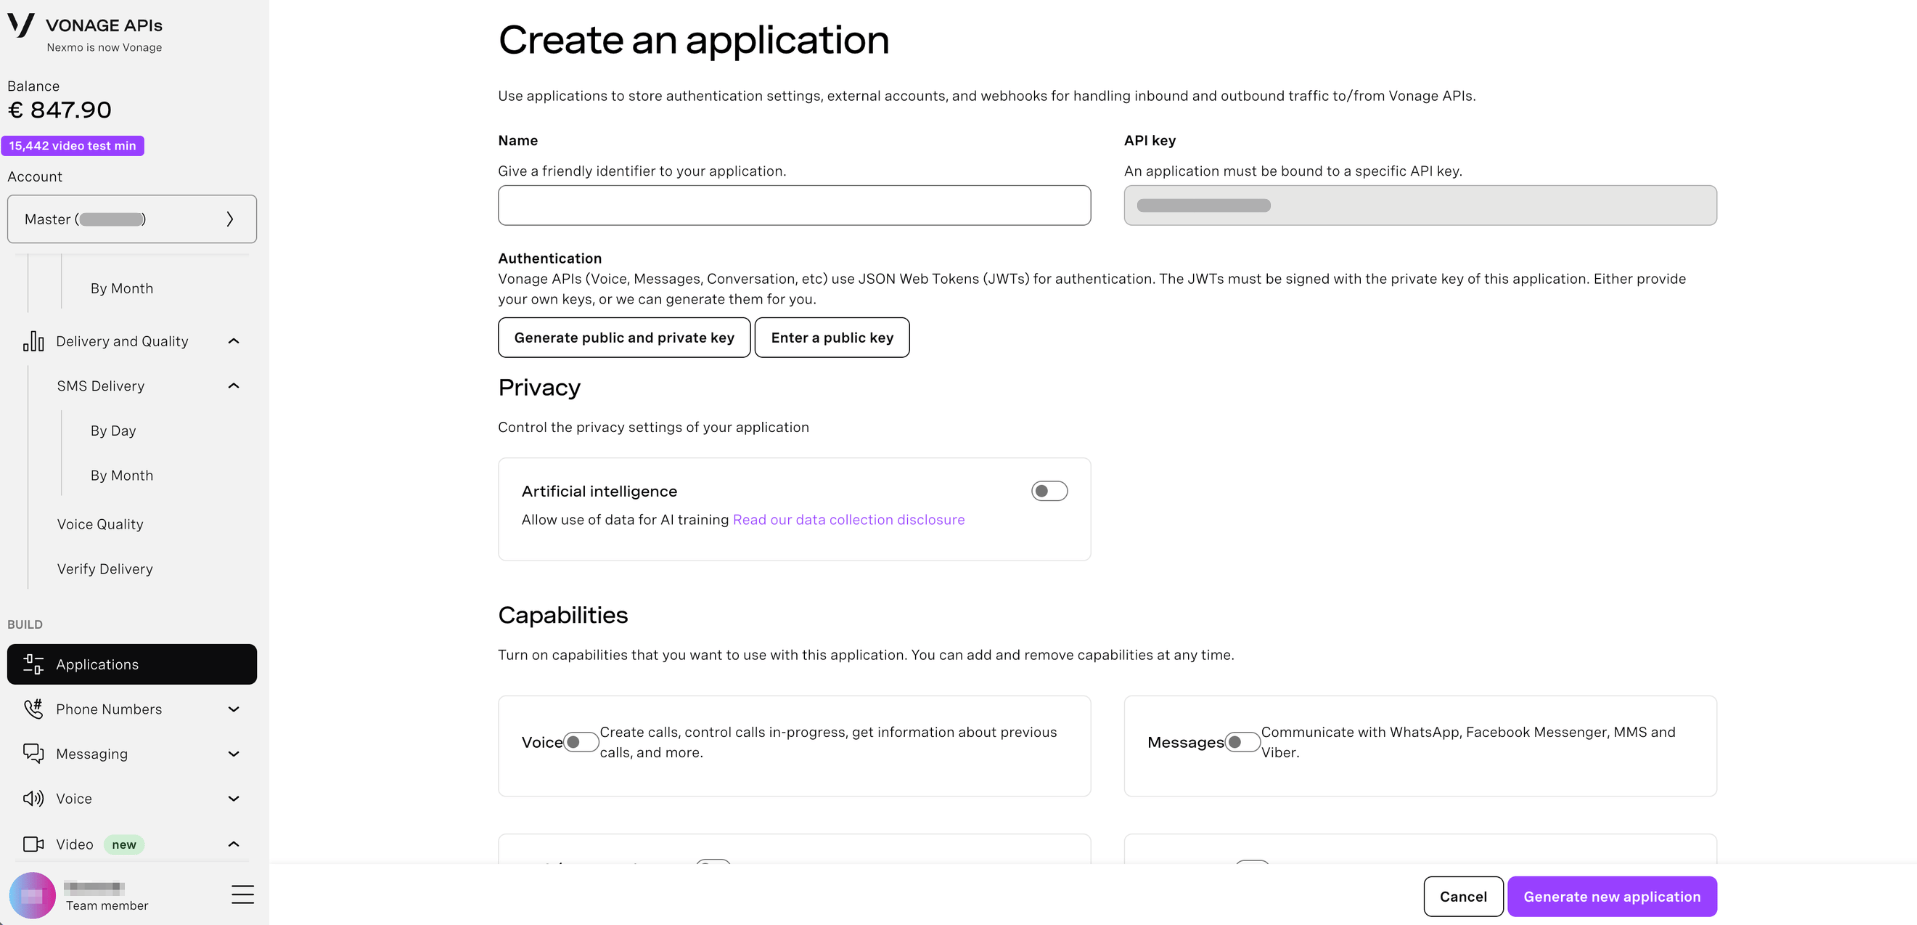
- Log in to the Vonage API Dashboard
- Navigate to Applications in the left sidebar
- Click Create a new application
- Enter a name for your application (e.g.
My Video App) - Under Capabilities, toggle on Video
- Click Generate new application
Your application is created with a unique Application ID. Keep this page open — you'll need it in the next step.
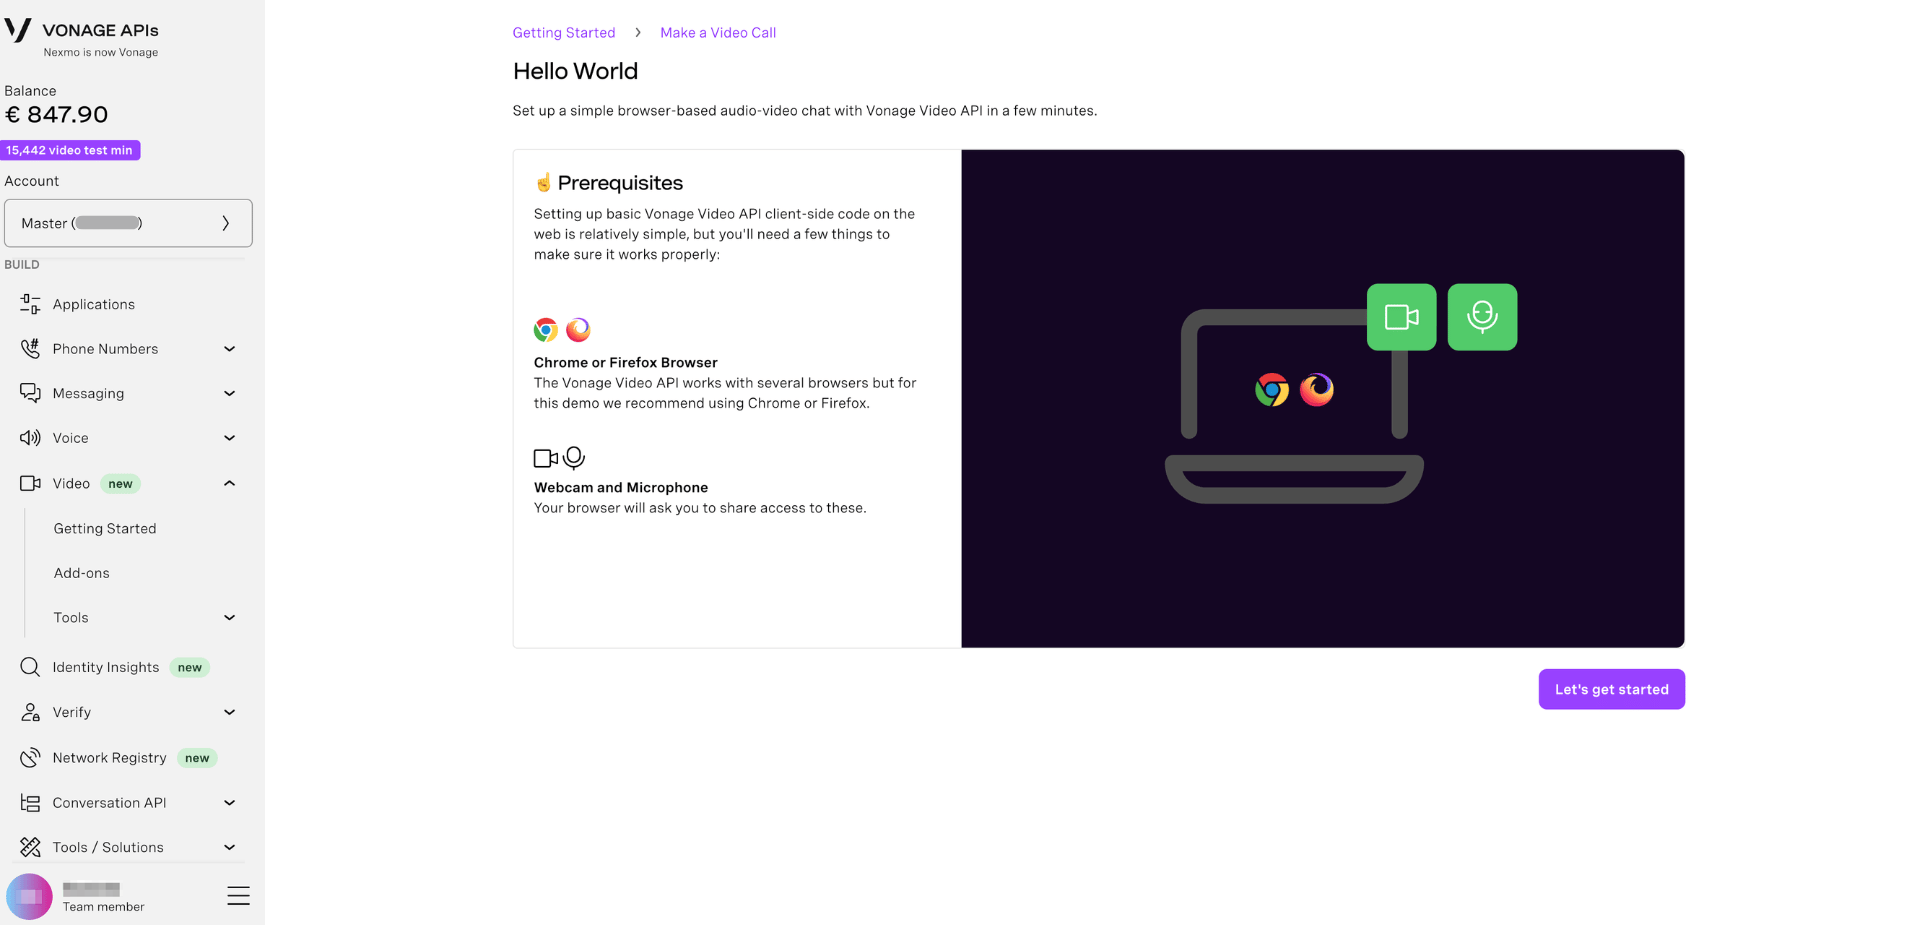
Build Your First Video Session
With your credentials ready, you can build a simple browser-based video chat. Complete all of the steps in the UI.
Prerequisites
For demo purposes use either Chrome or Firefox. Make sure you have access to microphone and a webcam.
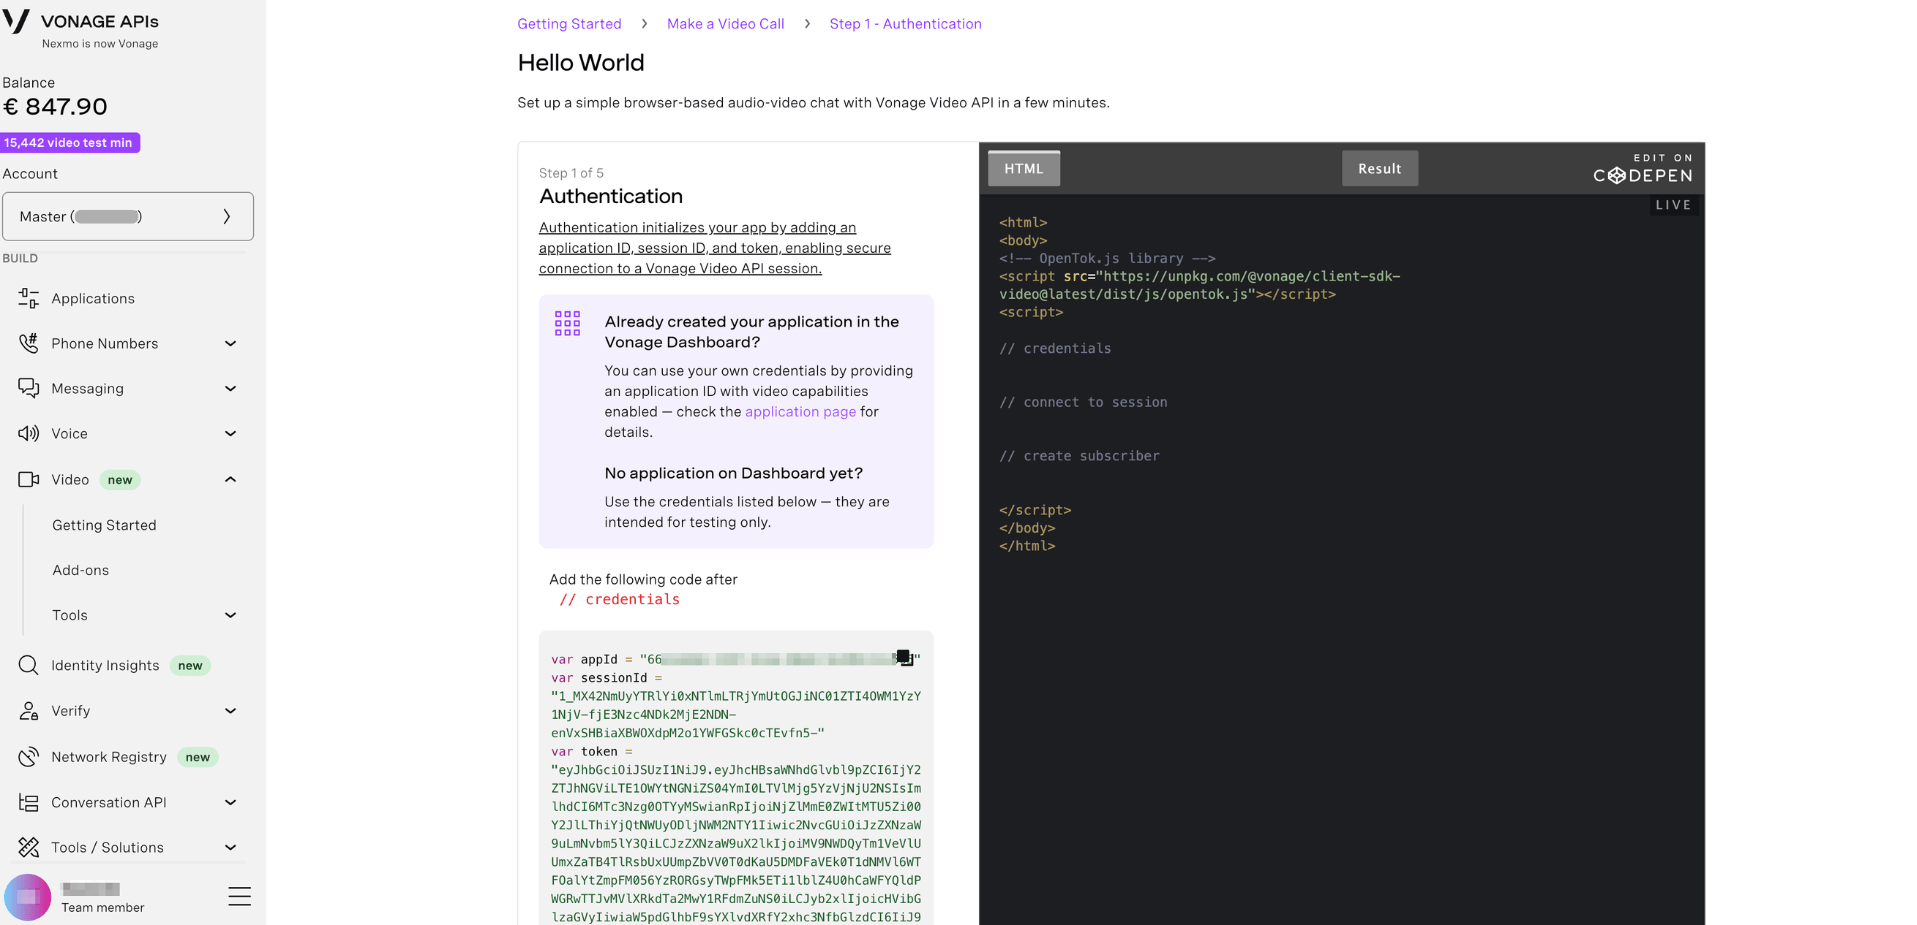
Authentication
Authentication initializes your app by adding an application ID, session ID, and token, enabling secure connection to a Vonage Video API session.
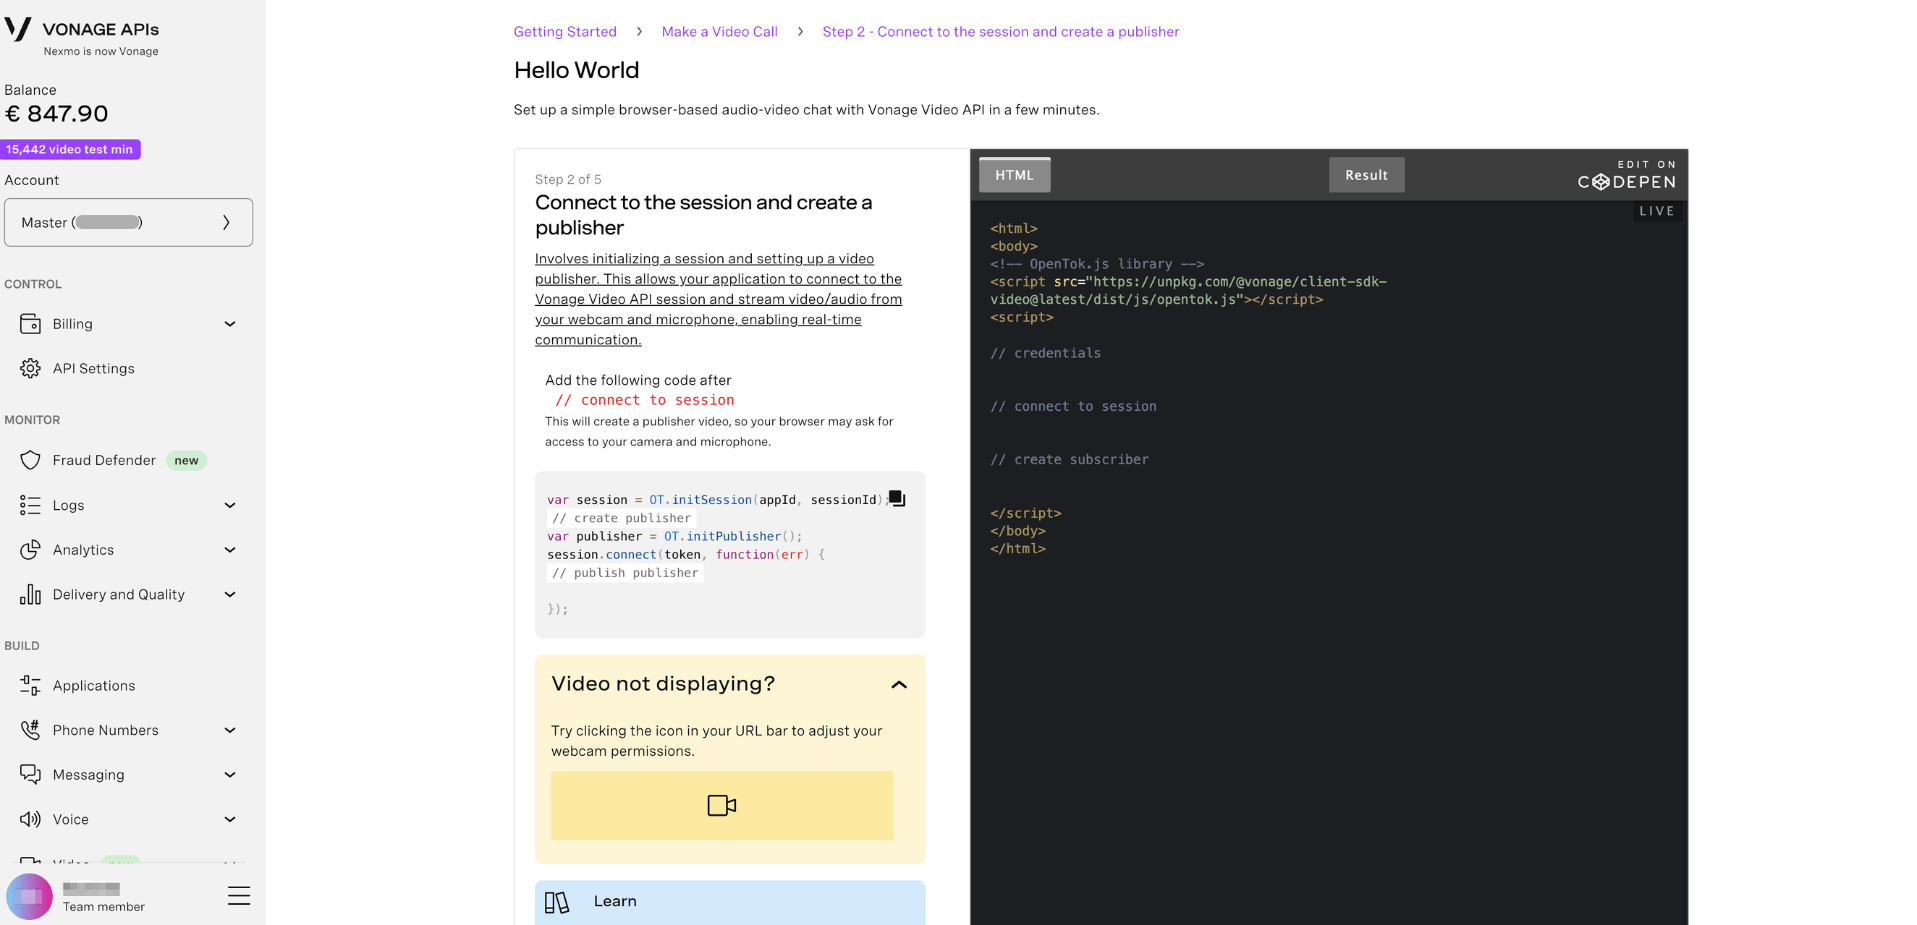
Connect to the Session and Create a Publisher
It involves initializing a session and setting up a video publisher. This allows your application to connect to the Vonage Video API session and stream video/audio from your webcam and microphone, enabling real-time communication.
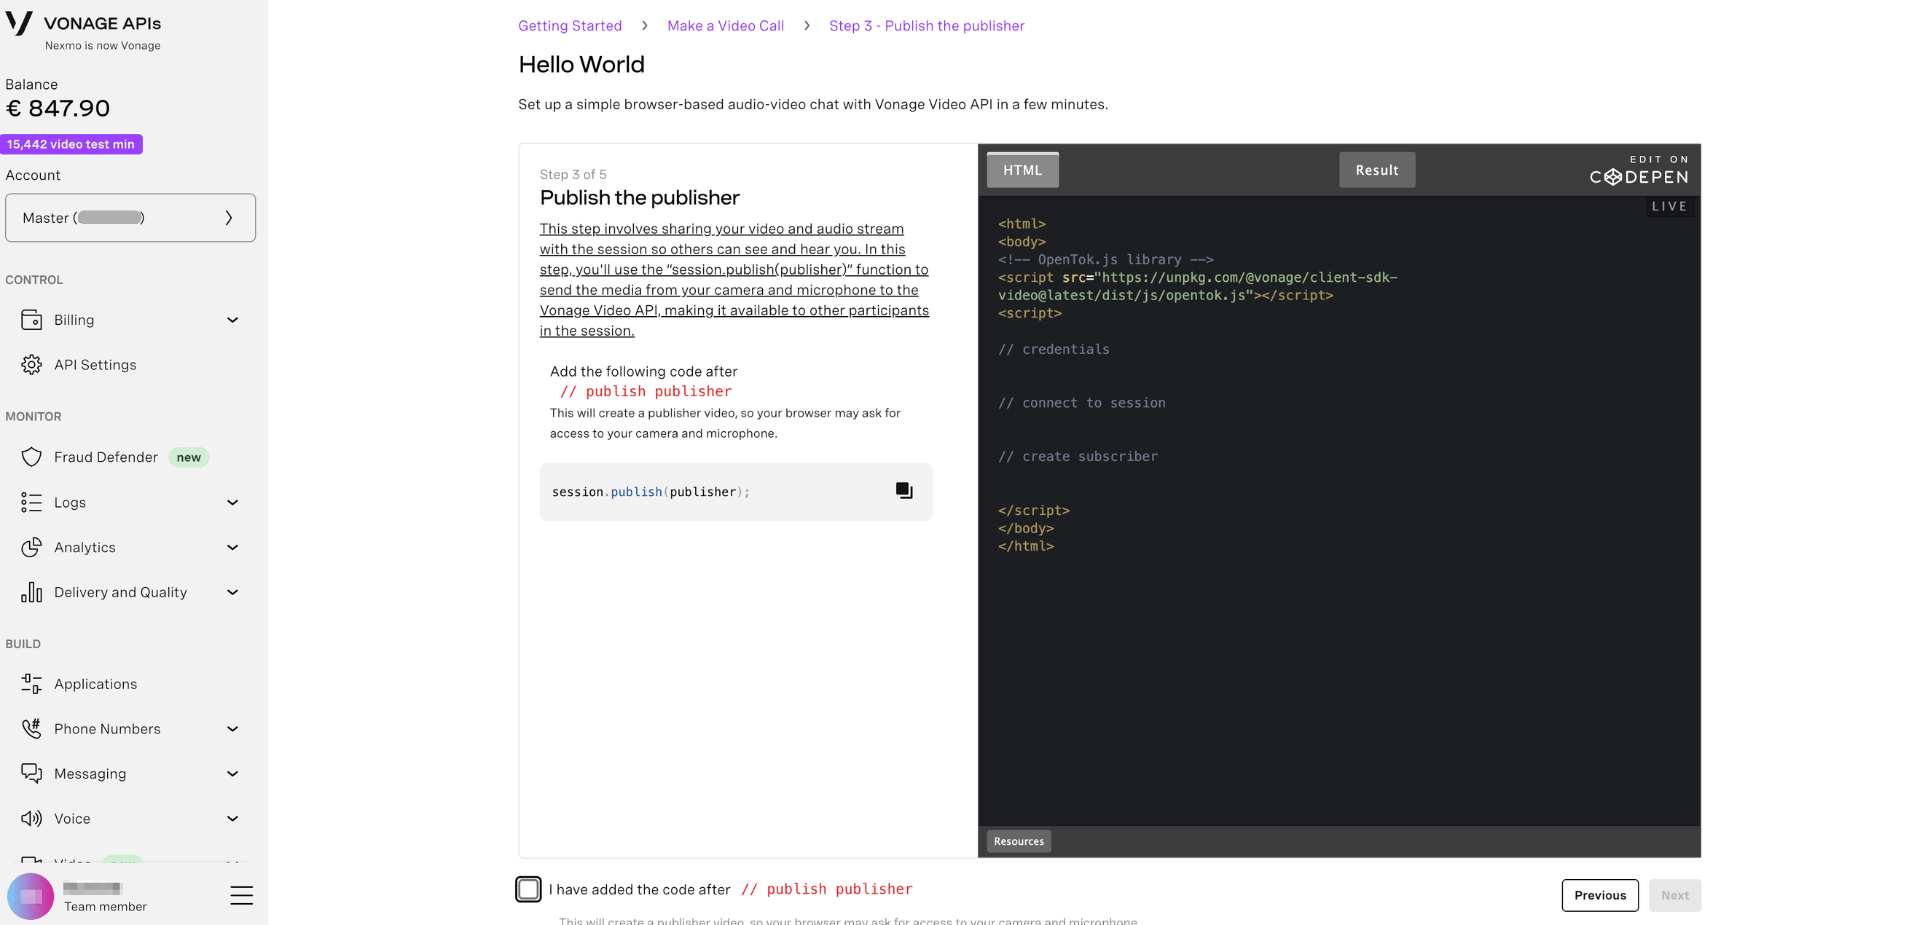
Publish the Publisher
This step involves sharing your video and audio stream with the session so others can see and hear you.
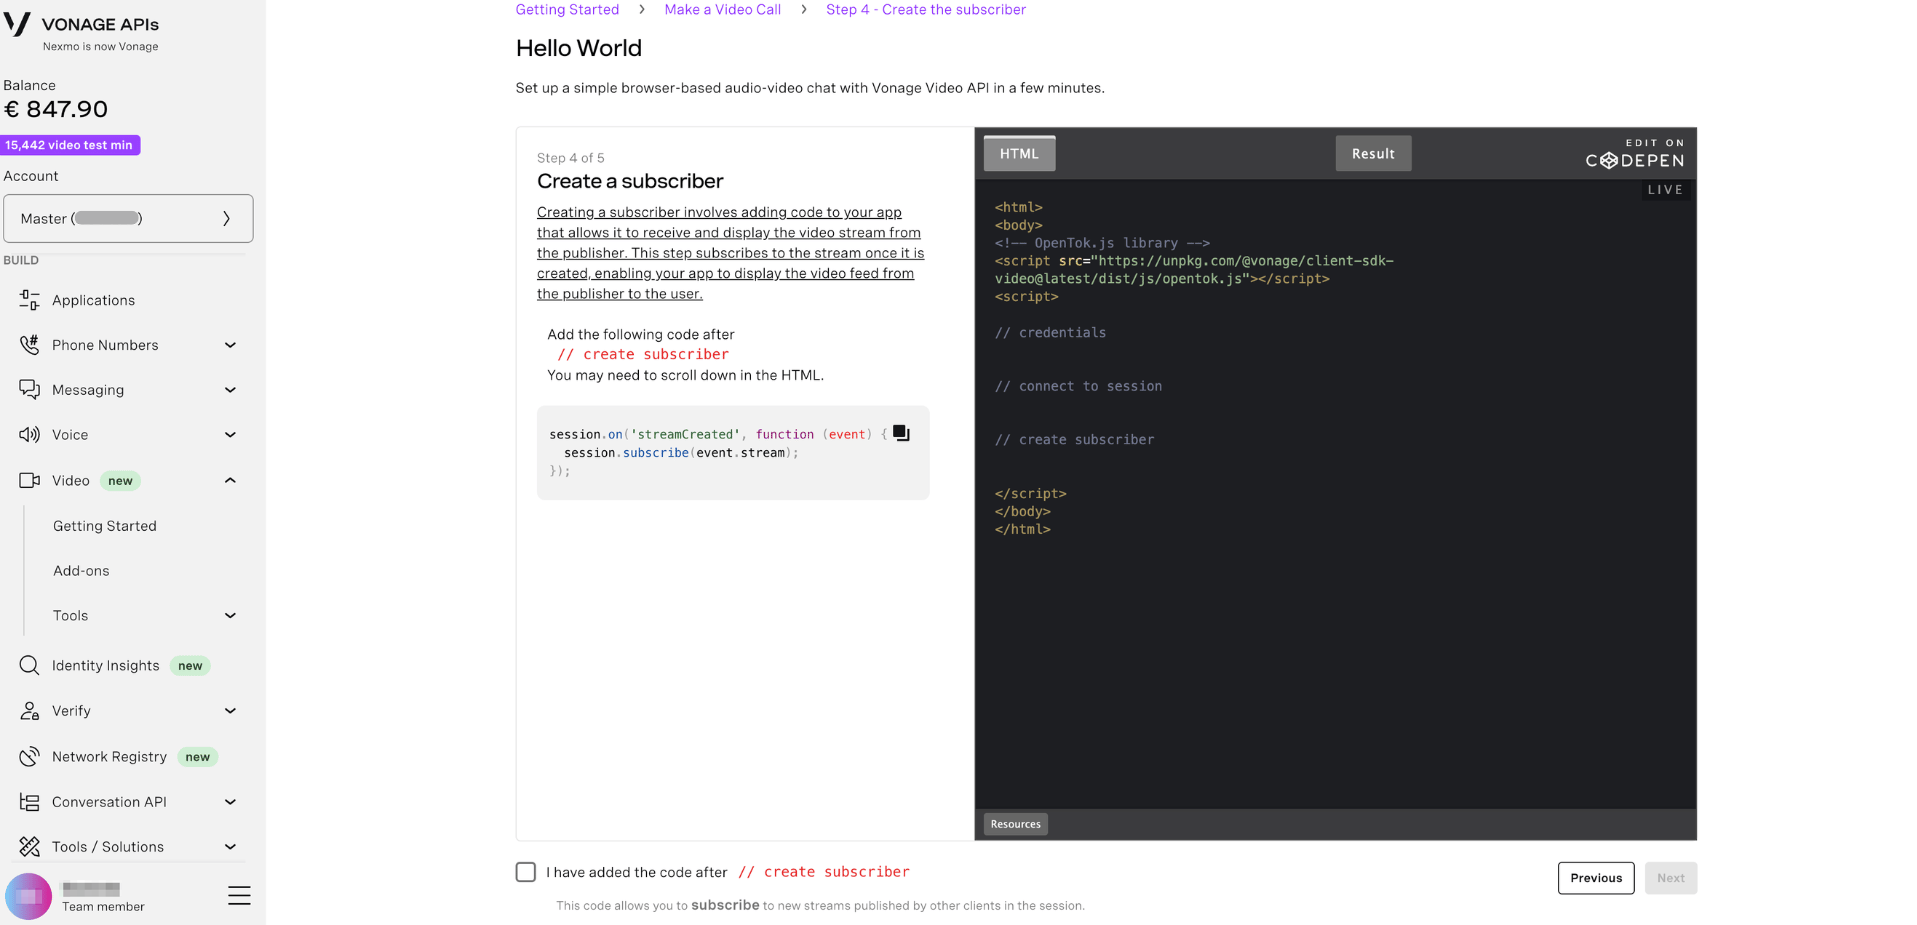
Create a Subscriber
Creating a subscriber involves adding code to your app that allows it to receive and display the video stream from the publisher.
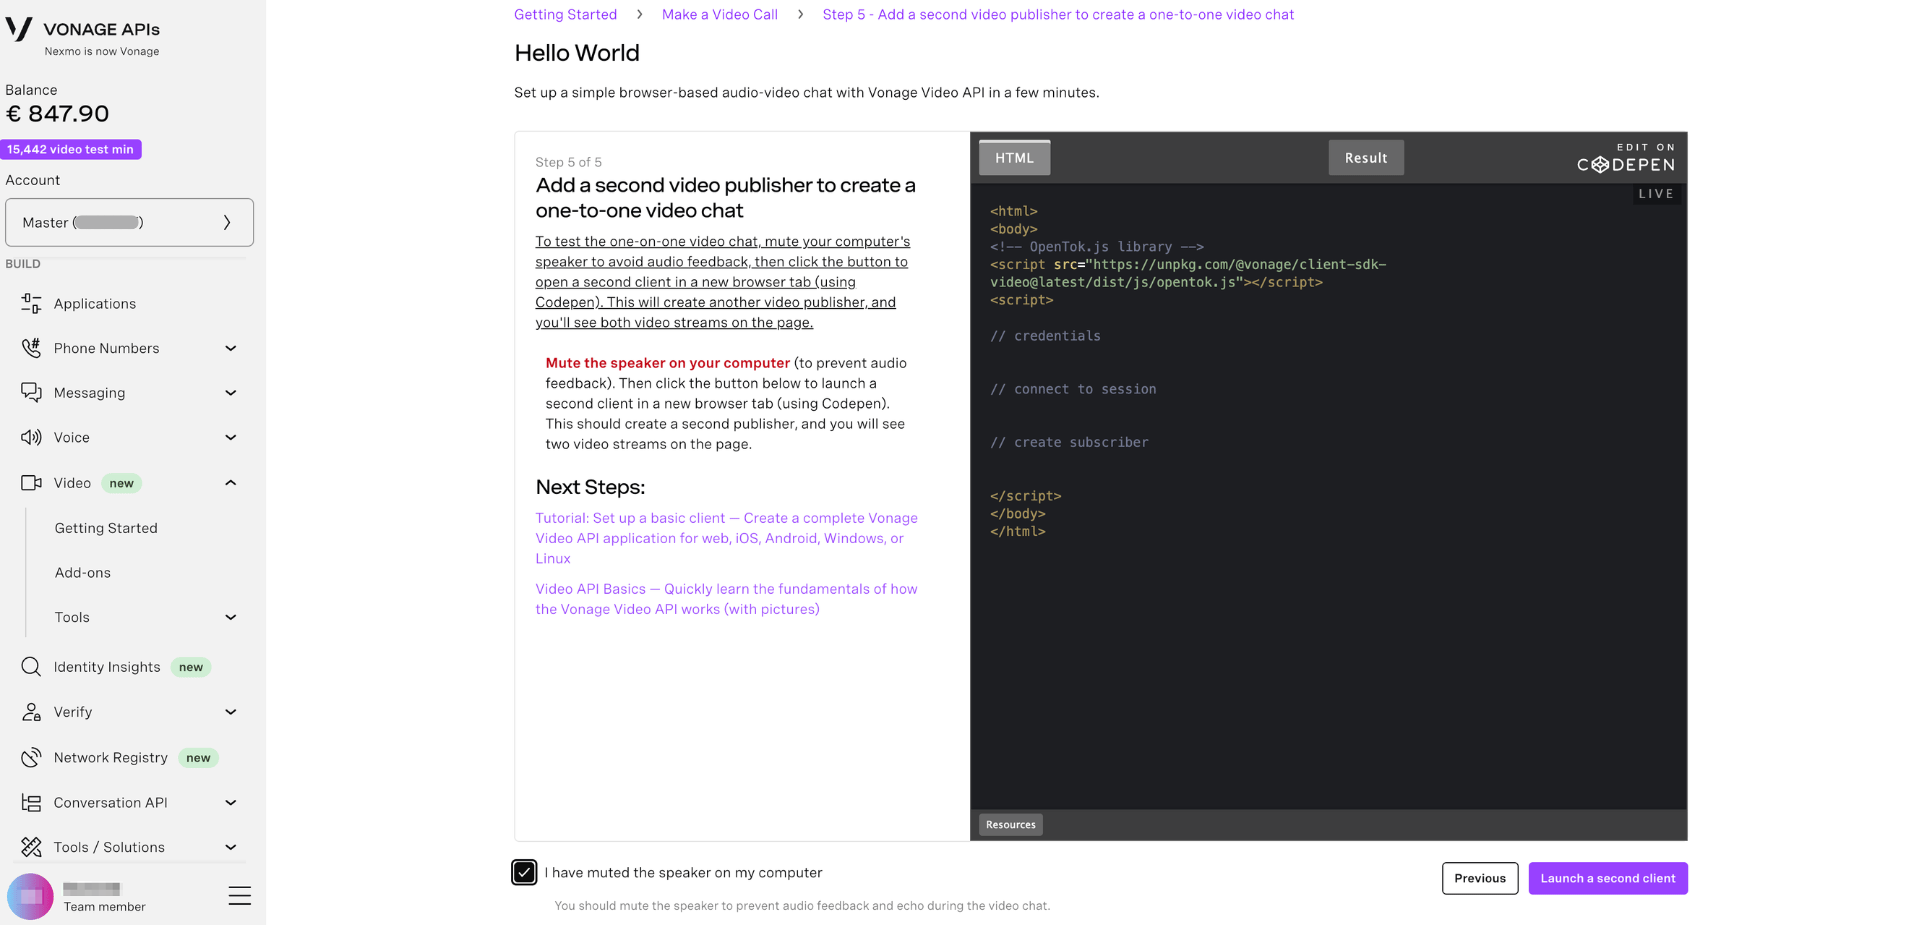
Add a Second Video Publisher to Create a One-to-One Video Chat
To test the one-on-one video chat, mute your computer's speaker to avoid audio feedback, then click the button to open a second client in a new browser tab (using Codepen). This will create another video publisher, and you'll see both video streams on the page.
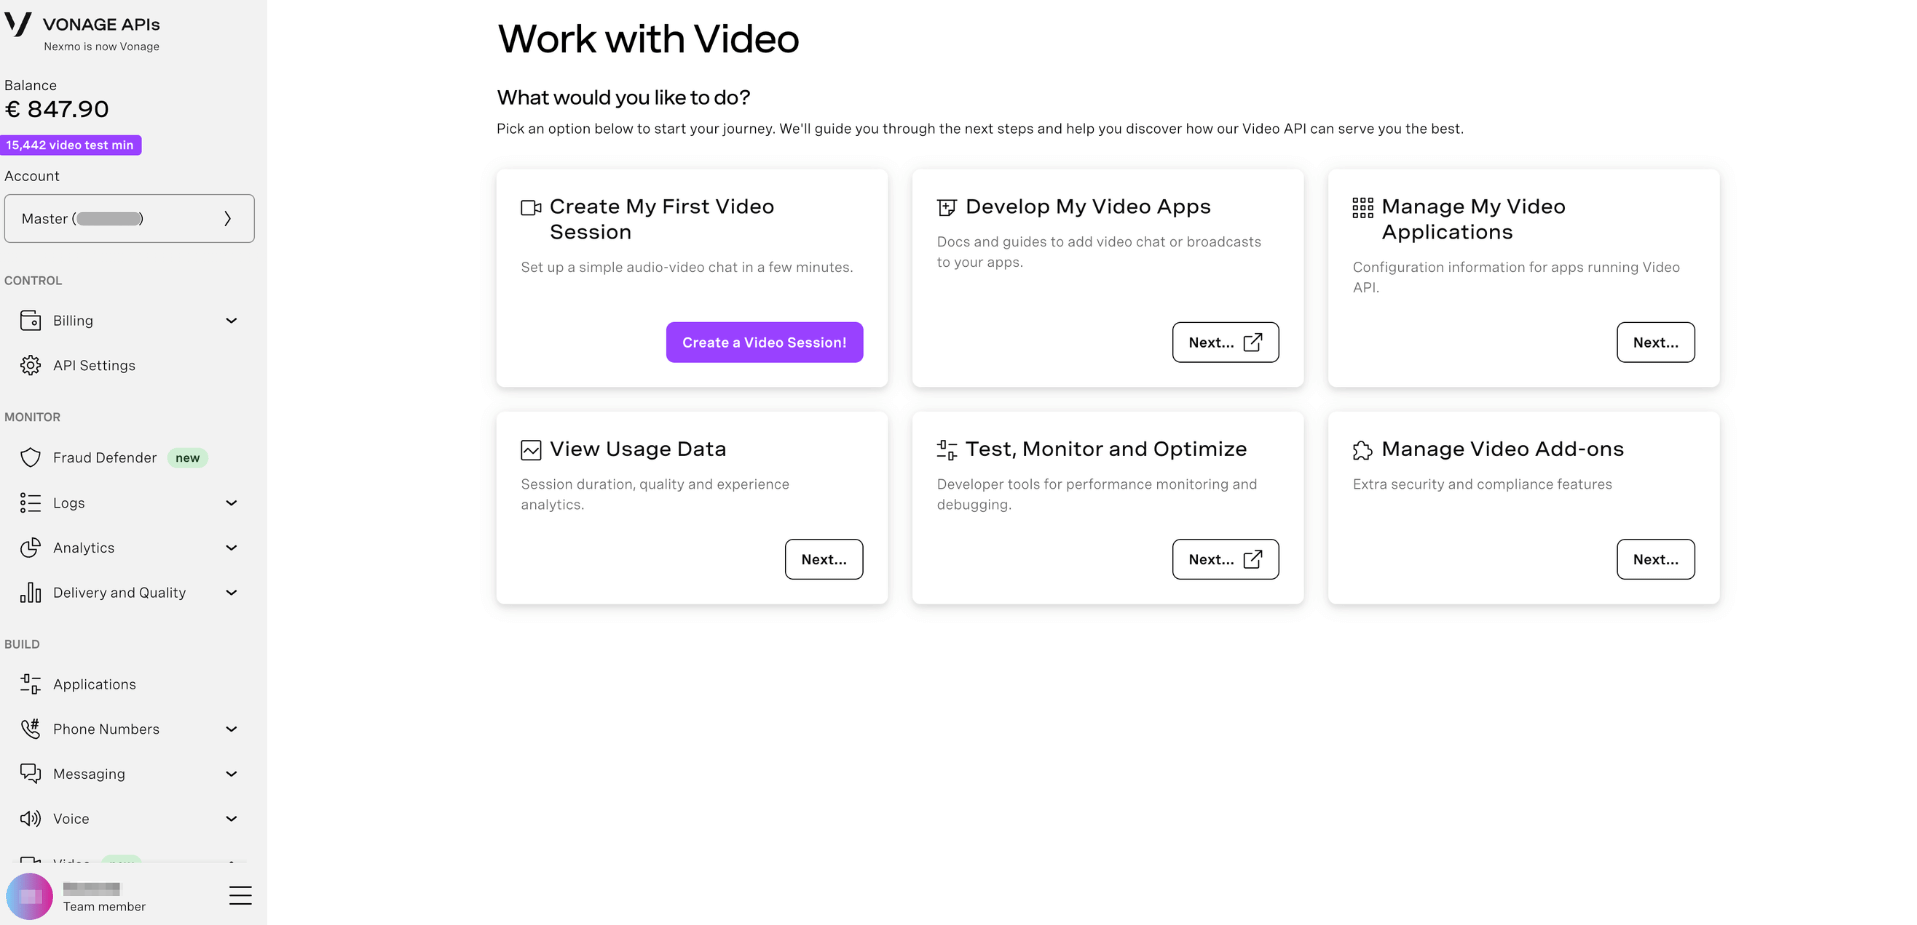
What's Next?
Now that you've built your first video session, explore more of what the Video API can do:
- Develop Video Apps - Guides for adding video chat and broadcasts to your web, iOS, Android, Windows, or Linux apps
- Video API Basics - Quickly learn the fundamentals of how the Vonage Video API works
- Manage Video Applications - Configuration information for apps running the Video API
- View Usage Data - Session duration, quality, and experience analytics
- Test, Monitor and Optimize - Developer tools for performance monitoring and debugging
- Manage Video Add-ons - Extra security and compliance features
- Video API Reference - Full API and SDK documentation.