Share:
Chris is a Developer Advocate at Nexmo where he helps developers use their global communications platform. When he’s not at conferences you can find him roaming the world.
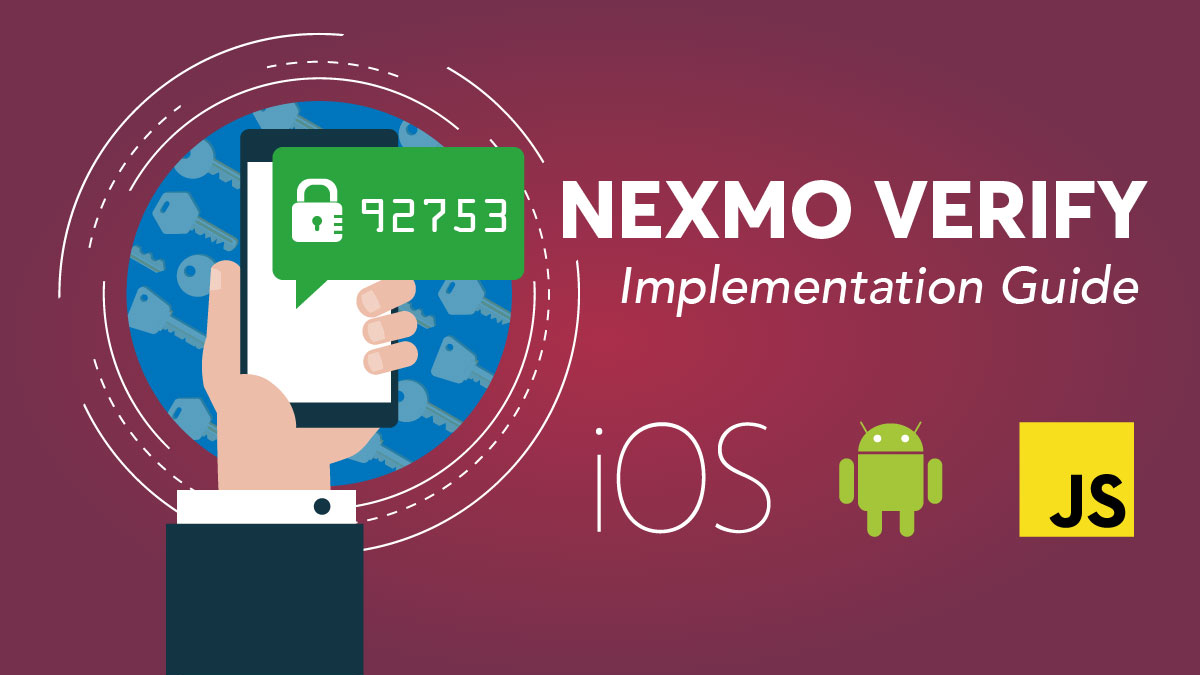
Nexmo Verify API Implementation Guide
Time to read: 4 minutes
This implementation guide will instruct you on how to set up a server to use the Verify API with your iOS or Android apps.
It's inadvisable for developers to store their API keys and secrets in any client-side devices, such as apps for Android or iOS devices. So instead of integrating directly with the Verify API itself in your mobile app, it's recommended to interact with the API on your own server, which you can control.
In this tutorial, you will learn how to set up a Node.js server that will act as a proxy to interact with the Nexmo Verify API. After you've set up this proxy API server, you can follow our iOS and Android guides to learn how to network with this server.
As a demonstration, we've set up an example of a server you might set up on glitch: https://glitch.com/~nexmo-verify. You can also view the source code on GitHub.
The source code for the app is documented with comments, but we'll go over the important parts in the following sections.
This Node.js app is a simple express app with body-parser to parse JSON responses. The app also uses nexmo-node, the Nexmo REST API client for Node.js.
After you have your API key and secret you can navigate to server.js to initiate the Nexmo client:
const Nexmo = require('nexmo');
const nexmo = new Nexmo({
  apiKey: API_KEY,
  apiSecret: API_SECRET
});The entirety of the logic for our proxy server lives in the server.js file. Let's go through it endpoint by endpoint.
To kick off the verify process, the mobile app will send a POST to the proxy server with a JSON body of {"number": 14155550100} Don't forget to include the country code! The proxy server will handle the request like so:
app.post('/request', (req, res) => {
  // A user registers with a mobile phone number
  let phoneNumber = req.body.number;

  console.log(phoneNumber);

  nexmo.verify.request({number: phoneNumber, brand: 'Awesome Company'}, (err, result) => {
    if(err) {
      console.log(err);

      //Oops! Something went wrong, respond with 500: Server Error
      res.status(500).send(err);
    } else {
      console.log(result);

      if(result && result.status == '0') {
        //A status of 0 means success! Respond with 200: OK
        res.status(200).send(result);
      } else {
        //A status other than 0 means that something is wrong with the request. Respond with 400: Bad Request
        //The rest of the status values can be found here: https://developer.nexmo.com/api/verify#status-values
        res.status(400).send(result);
      }
    }
  });
});
Starting the verification process with the nexmo-node library is simple. All you need to include is the phone number of the user the app is verifying and the brand the app is associated with. The brand will be used in the message sent to users verifying their phone number. For instance, using the brand "Awesome Company" will send users the following message when they verify their phone numbers: "Awesome Company code: 8571. Valid for 5 minutes."
We want to follow RESTful paradigms, so if there's an error making the request, we'll send back a 500 with the error in the body of the response. If the request is successful, then we'll respond with a 200 and a JSON body that includes the request ID and the status of the request.
Important Note: Record this
request_idsince you'll need to check the 2FA code or cancel the verification request.
The API will send back a 200 only if the status of the request is 0, meaning that the request was successful. The response to this request will look like this:
{
  "request_id":"requestId",
  "status":"status",
  "error_text":"error"
}If the status is anything other then 0, then something was wrong with our request. Thus, the API will respond with a 400 and a response that includes an error_text String.
After a user kicks off the verification request, they'll want to enter their code and check the status. The following endpoint will allow their client apps to do so.
app.post('/check', (req, res) => {
  //To verify the phone number the request ID and code are required.
  let code = req.body.code;
  let requestId = req.body.requestId;

  console.log("Code: " + code + " Request ID: " + requestId);

  nexmo.verify.check({request_id: requestId, code: code}, (err, result) => {
    if(err) {
      console.log(err);

      //Oops! Something went wrong, respond with 500: Server Error
      res.status(500).send(err);
    } else {
      console.log(result)

      if(result && result.status == '0') {
        //A status of 0 means success! Respond with 200: OK
        res.status(200).send(result);
        console.log('Account verified!')
      } else {
        //A status other than 0 means that something is wrong with the request. Respond with 400: Bad Request
        //The rest of the status values can be found here: https://developer.nexmo.com/api/verify#status-values
        res.status(400).send(result);
        console.log('Error verifying account')
      }
    }
  });
});
This endpoint is similar to the /request endpoint we made earlier. For this endpoint, a POST can be made to the /check endpoint with a JSON body containing the code and request_id parameters like so:
{"code": "5309",
"request_id": "aaaaaaaa-bbbb-cccc-dddd-0123456789ab"}If the client mobile app sends the correct code with the corresponding request ID, then the server will respond with a 200 OK and the JSON response from the Verify API. If anything was wrong with the request, then the server will respond with a 400 and an error_text String. The response to a successful verification request will look like this:
{
  "request_id": "aaaaaaaafffffffff0000000099999999",
  "status": "0",
  "event_id": "aaaaaaaafffffffff0000000099999999",
  "price": "0.10000000",
  "currency": "EUR"
}
The last endpoint to implement will allow us to cancel a verification request. This may be necessary if a user enters the wrong phone number or decides they no longer want to log in to the app.
app.post('/cancel', (req, res) => {
  //User sends the request id to cancel the verification request
  let requestId = req.body.request_id;

  console.log("Request ID: " + requestId);

  nexmo.verify.control({request_id: requestId, cmd:'cancel'}, (err, result) => {
    if(err) {
      console.log(err);

      //Oops! Something went wrong, respond with 500: Server Error
      res.status(500).send(err);
    } else {
      if(result && result.status == '0') {
        //A status of 0 means the verify request was succesfully cancelled! Respond with 200: OK
        res.status(200).send(result);
      } else {
        //A status other than 0 means that something is wrong with the request. Respond with 400: Bad Request
        //The rest of the status values can be found here: https://developer.nexmo.com/api/verify#status-values
        res.status(400).send(result);
      }
    }
  });
});
As before, the server will send a 200 if everything is OK. If there was an error with the request the client made, the server will respond with a 400 and an error_text String. If any other error occurs, the server will respond with a 500 and an error in the body of the response. As long as there is no error, the server will respond with this JSON in the body:
{
  "status":"0",
  "command":"cancel"
}
You can easily set up this Node.js as a proof of concept by remixing our project on glitch: https://glitch.com/edit/#!/remix/nexmo-verify. Just enter your own API keys and secrets in the .env file. Soon we'll add a Heroku button and instructions on how to set up this app as a serverless Firebase Function.
Now that you've set up your server, you can build an Android or iOS app to network with this server. Read the following tutorials to learn how:
Add Two-Factor Authentication to Android Apps with Nexmo's Verify API
Add Two-Factor Authentication to iOS Apps with Swift and Nexmo's Verify API
For further protection of your server rate limit requests to your server based on IP address. Express Rate Limit is a good resource.