Share:
Software Developer who loves building awesome tools and products. I currently work with Laravel, PHP and Vue.
Forward Nexmo SMS to Slack using Express and Node
Nexmo’s virtual numbers allow you to send or receive text messages and phone calls, which can serve as a means for effectively communicating with your users or customers.
In this tutorial using Node and Express, we’ll be looking at how we can automatically notify a Slack channel whenever a virtual number from Nexmo receives a text message. The notification will contain the content of the text message that was received. This can be very useful as it means we’ll always be notified when we receive a text message, and the Slack channel can function as a central place for tracking inbound text messages.
ngrok which allows you to expose your local webserver to the internet. To learn more about how to set up your local environment with ngrok, you can check out the docs here.
In the root of your project’s directory, run the following command to create a package.json file.
This will prompt you with a series of questions for you to answer; the default works fine for this tutorial. To install all our project’s dependencies, run the following command:
express is a Node web application framework.
body-parser is an express middleware for parsing incoming request bodies.
slack-notify is a Node wrapper around the Slack Webhook API which makes it easy to send notifications to Slack from your application.
Next, run the following command to create an index.js file at the root of your project’s directory:
Add the following code to the file we just created:
const express = require('express');
const app = express();
const bodyParser = require('body-parser')
const port = 3000;

app.use(bodyParser.json());

app.use(bodyParser.urlencoded({extended: true}));

app.listen(port, () => {
    console.log(`Listening on ${port}`);
})
This creates an express application with a web server that listens on port 3000. We’ve also instructed the application to make use of the JSON parser from the body-parser package we installed earlier and set the urlencoded option to true. Let’s add a command for running this server.
In the package.json file, add the following code to the scripts section:
"scripts": {
    "start": "node index.js"
},We can now run the app by using the following command
To be able to send messages to Slack, we need to create an incoming webhook URL. To get started, head over to Slack and create an app if you don’t already have one.
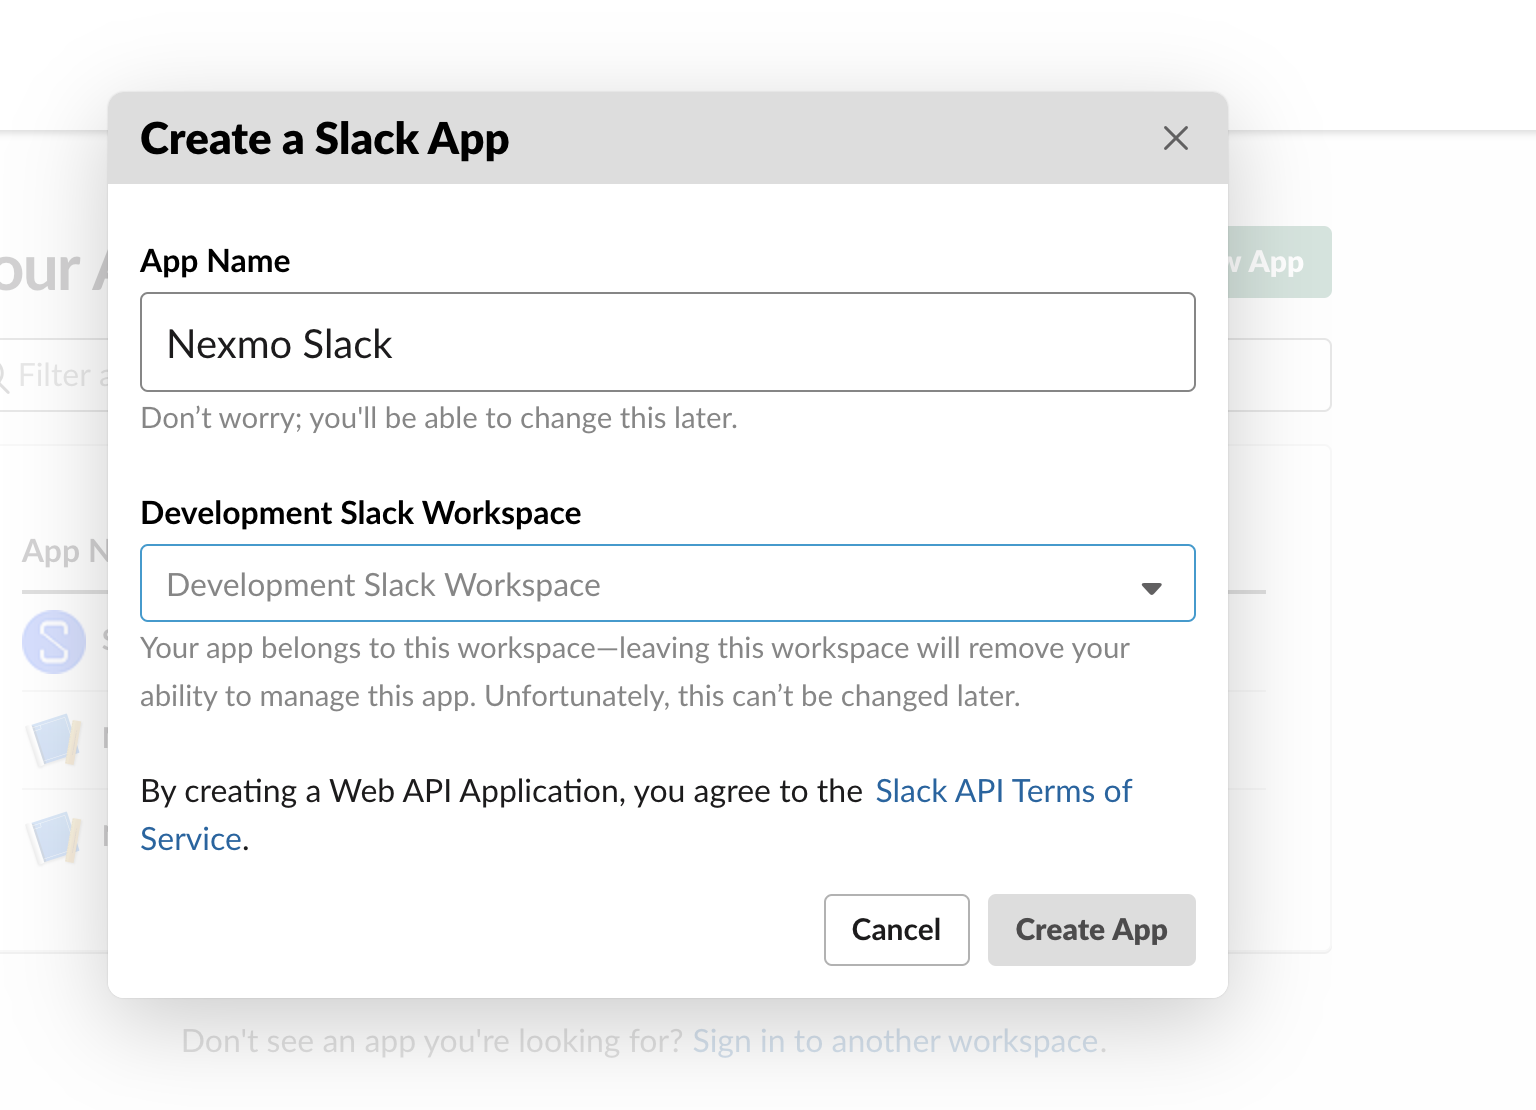
Select a name for your app and associate it with the workspace you’d like to send notifications to. Once you’ve created the app, you’ll be presented with a screen similar to the one below:
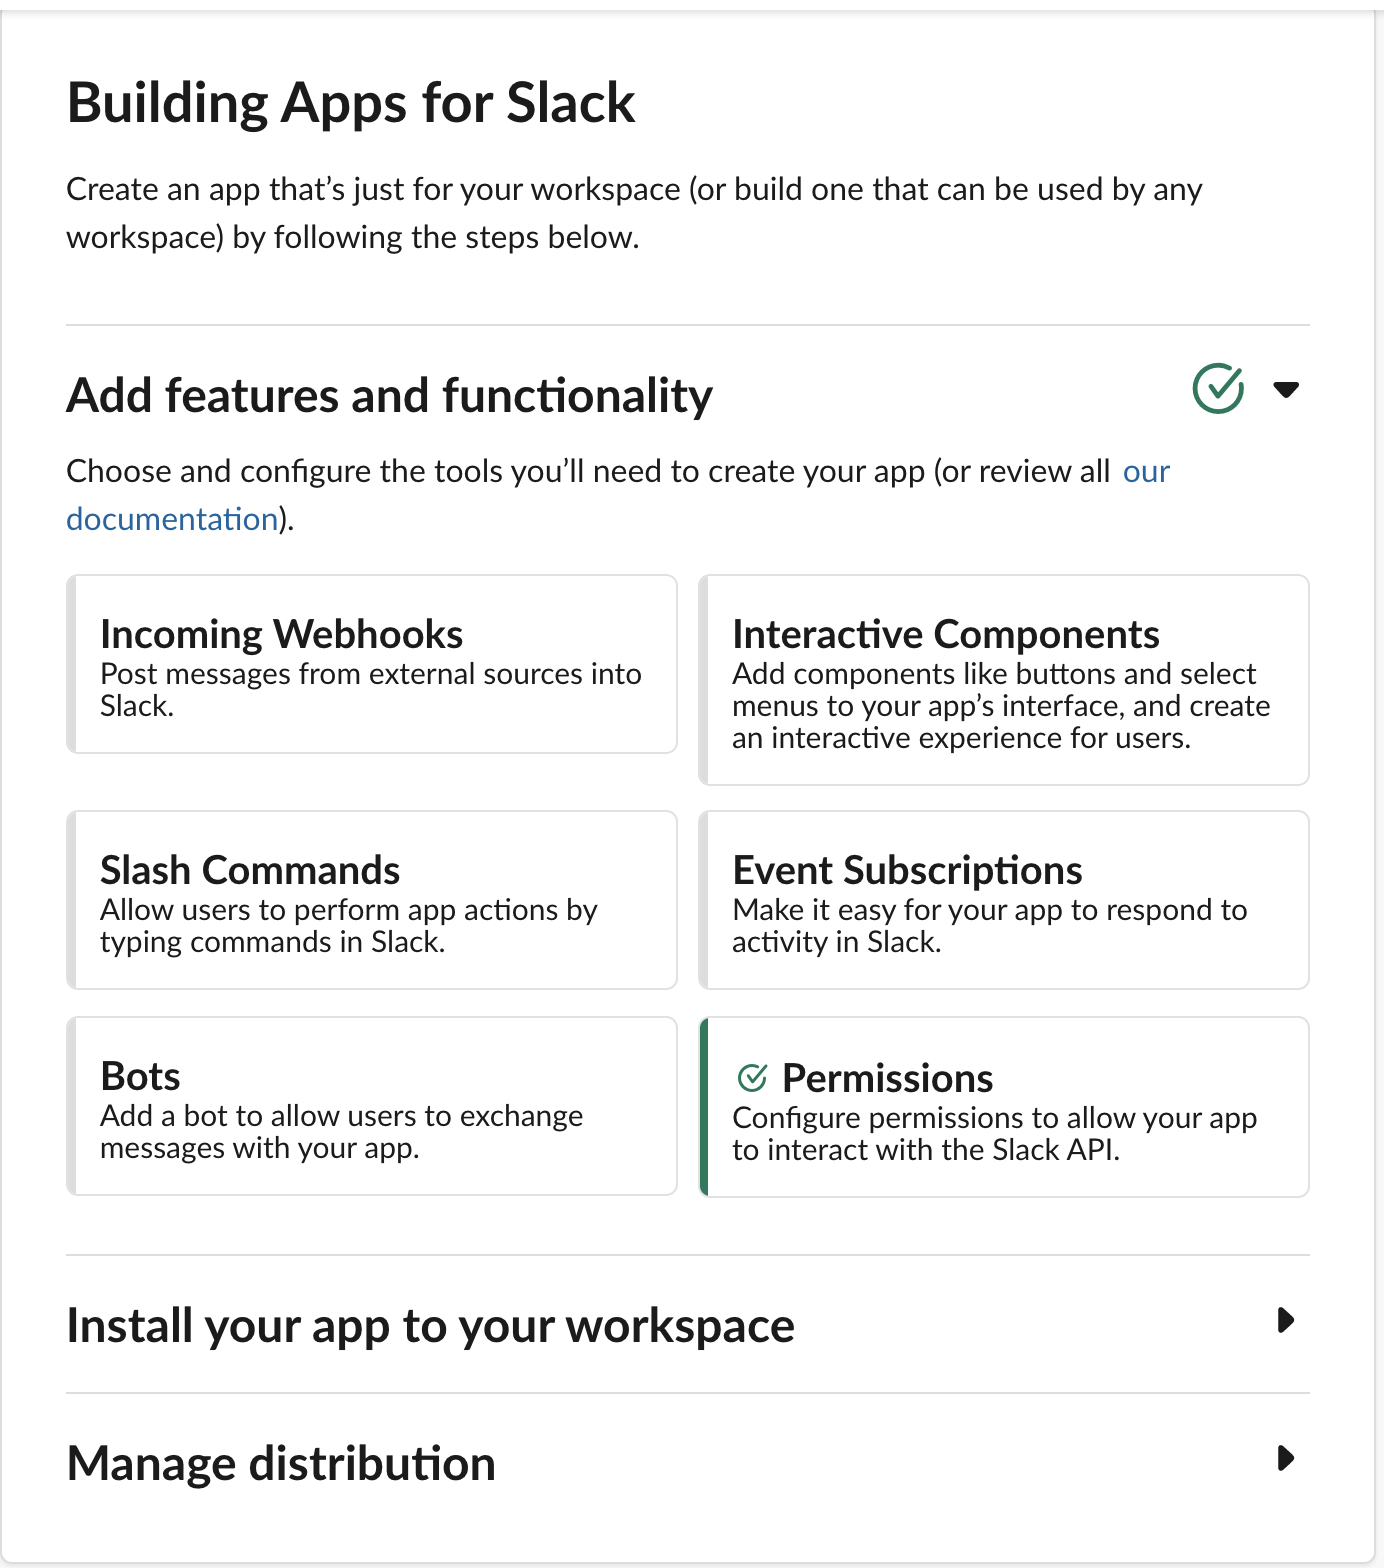
Select the incoming webhooks tab and click the Activate incoming webhooks toggle to switch it on. Next, click the Add New Webhook to Workspace button. Select the channel you’d like to post notifications to and then click allow to authorize the app. You’ll be redirected back to the settings page with a new Webhook URL created for you.
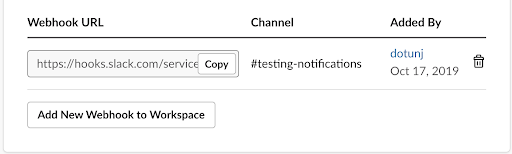
Take note of the Webhook URL as we’ll be needing it shortly.
We need to define a route in our application where Nexmo will make a POST request to whenever our virtual number receives a text message. This route will be responsible for triggering the slack notifications. Before we create the route, we need to require the slack-notify package we installed earlier.
Add the following code to the index.js file under the require section :
const webhookUrl = 'https://hooks.slack.com/services/xxxx/xxx';
const slack = require('slack-notify')(webhookUrl)Replace webhookUrl with the Webhook URL that Slack generated for you in the previous section.
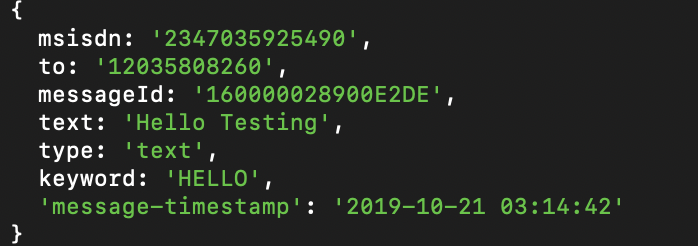
Whenever we receive an inbound message, Nexmo will send a payload that looks like the screenshot above. The text key contains the content of the message that was received.
Let’s add the route now. Edit the index.js file with the following code:
app.post("/webhooks/inbound-message", (req, res) => {
    const { text } = req.body
    slack.alert({
        text: 'New SMS message',
        fields: {
            'Message' : text
        }
    });
    res.status(200).end();
})
The text key from the request body will contain the content of the message that was received. Using destructuring, we assign the text key to a text const and in turn, trigger the notification to be sent to Slack using the alert() method. You can find the different methods slack-notify support here.
The final structure of the index.js file should look like this:
const express = require('express');
const app = express();
const bodyParser = require('body-parser')
const port = 3000;
const webhookUrl = 'https://hooks.slack.com/services/xxxx/xxx';
const slack = require('slack-notify')(webhookUrl)

app.use(bodyParser.json());

app.use(bodyParser.urlencoded({extended: true}));

app.post("/webhooks/inbound-message", (req, res) => {
    const { text } = req.body
    slack.alert({
        text: 'New SMS message',
        fields: {
            'Message' : text
        }
    });
    res.status(200).end();
})

app.listen(port, () => {
    console.log(`Listening on ${port}`);
})
To make our application publicly accessible over the web, we’ll need to set up ngrok. You can learn how to set up ngrok here. Since our application is currently running on port 3000, all we need to do is run the following command:
You should see a screen similar to the one below:

Copy the first Forwarding URL as we’ll be making use of it shortly in our Nexmo account.
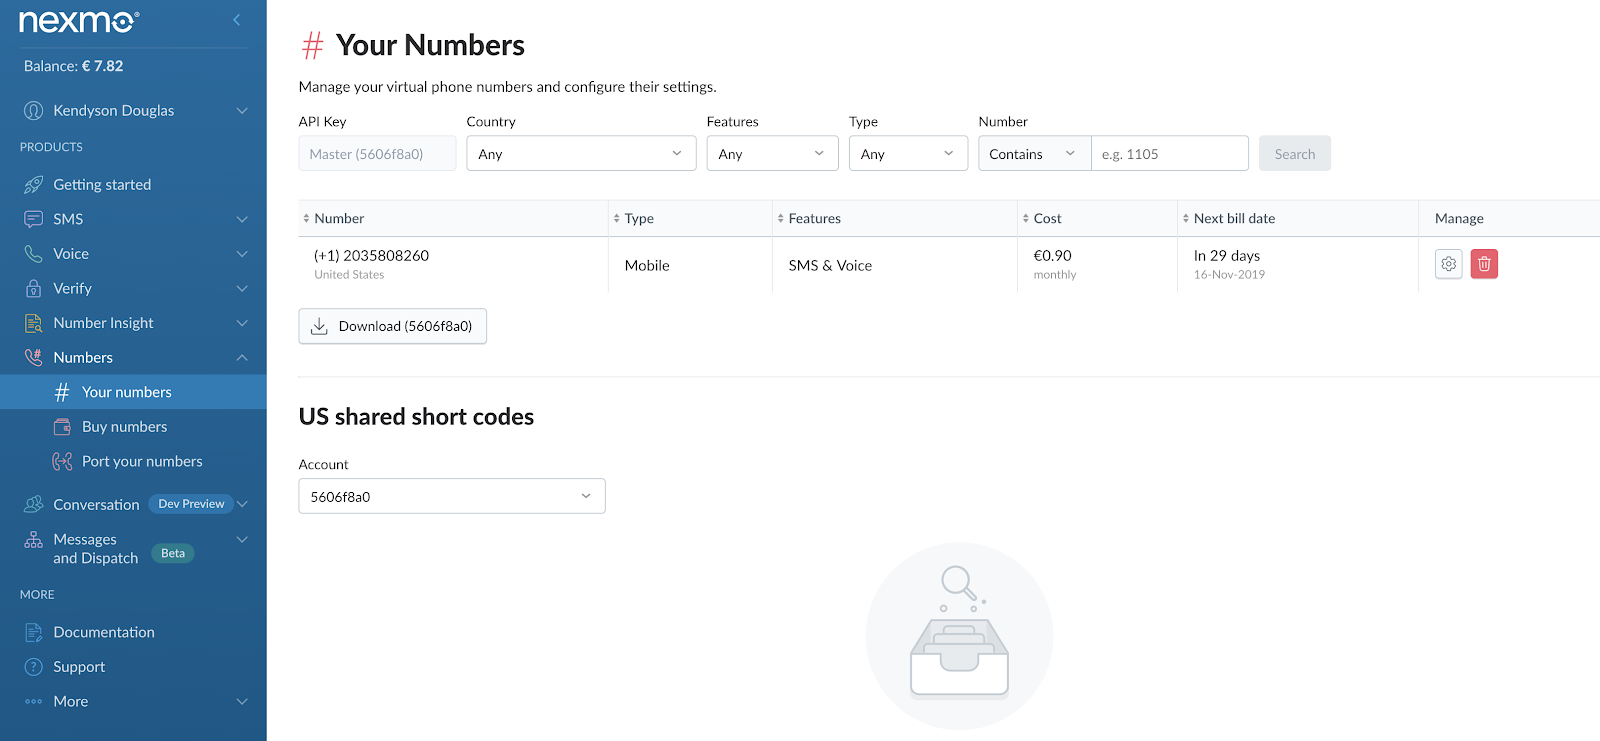
Under the Numbers section in your Nexmo Dashboard, click the gear icon for the number you’d like to receive Slack notifications. If you don’t have any virtual numbers, you will have to purchase one.
You’ll be prompted with a modal similar to the one below:
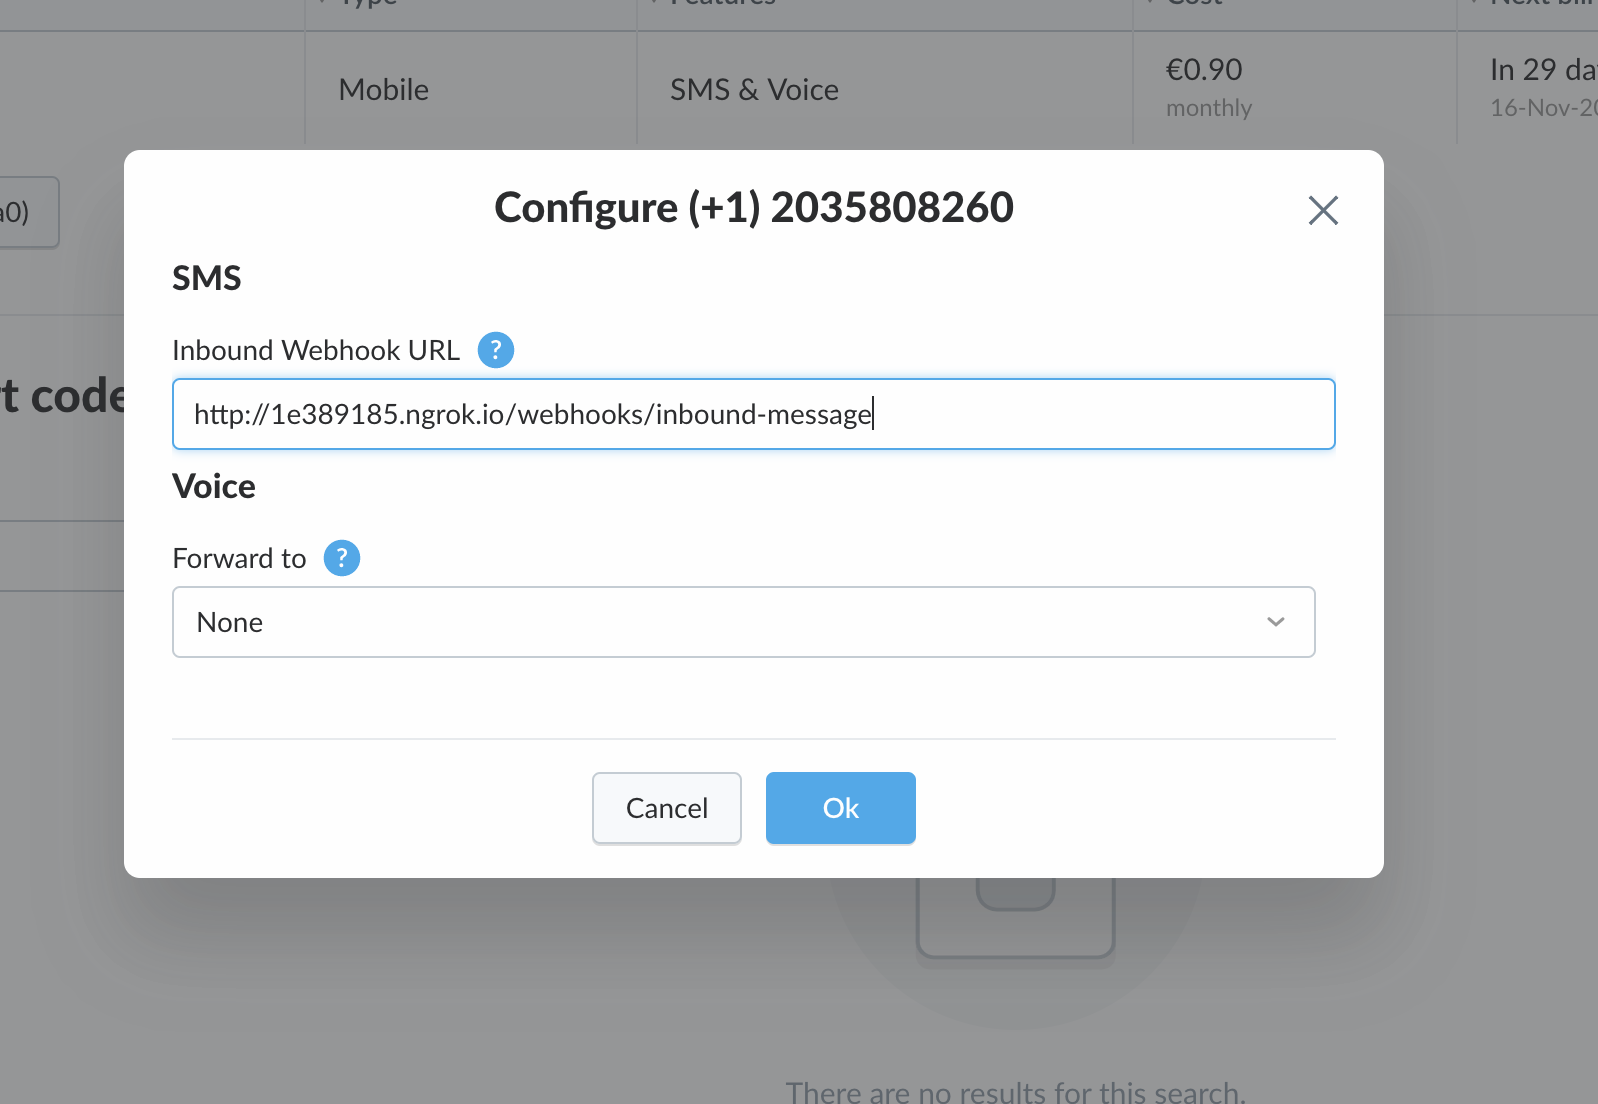
Configure the Inbound Webhook URL with the ngrok URL we noted earlier. (http://1e389185.ngrok.io/webhooks/inbound-message)
To test that our application works as expected, restart your node server and send a message from your phone to your Nexmo Number.

Check your Slack Channel, and you should see the notification.

In this tutorial, we’ve seen how we can receive Slack Notifications using Nexmo. This tutorial can serve as a great starting guide for building applications with Nexmo and Slack. You can find the repo to this tutorial here.