
Add 2FA to an Android App with Nexmo and Firebase Login
Time to read: 7 minutes
The Firebase Auth Quickstart provides a great tutorial on how to add authentication to your application, but without two-factor authentication (2FA), it's a bit insecure! Adding an extra layer of security to your application is simple using the Nexmo Verify SDK. Let's get started!
Start by cloning the GitHub repo in your Terminal. The original repo is constantly changing, so you can clone the starting branch for the tutorial from a forked repo from nexmo-community.
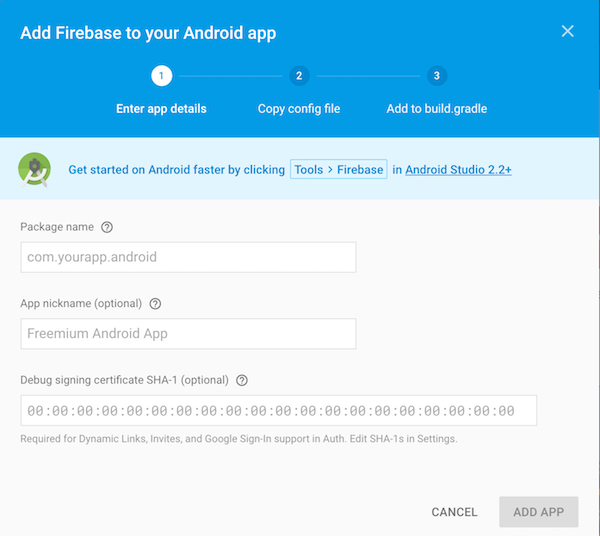
Login to Firebase with your Google account and go to the console. Create a new project by giving it a name and updating the country you reside in. Once created, click the option 'Add Firebase to your Android app". Enter your package name (default for demo app is: com.google.firebase.quickstart.auth) and the debug signing certificate SHA-1. Disregard the ‘google-services.json’ file that is download as you will need to download a new version once we add the OAuth login methods to the app. You don’t need to edit the build.gradle files, because this has already been done for you in the sample project.
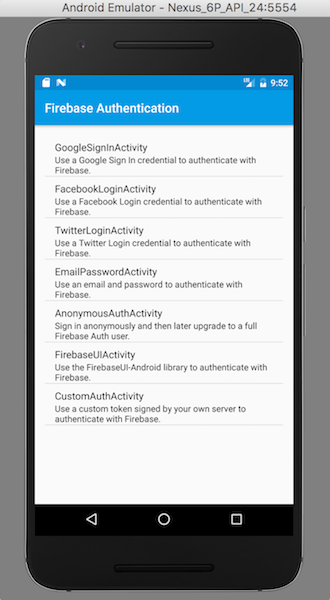
The sample app comes with the following login methods: Email/Password login, Anonymous login, and OAuth logins. Both OAuth providers (Google and Twitter) need to be set up and the Twitter Sign In API key/secret should be entered in 'ids.xml'. If you have trouble finding this, search for the file via the search tool on the top right corner of Android Studio. Once the authentication methods been set up, navigate to your project settings and download the ‘google-services.json’ file and add it to the app folder in the Project view.
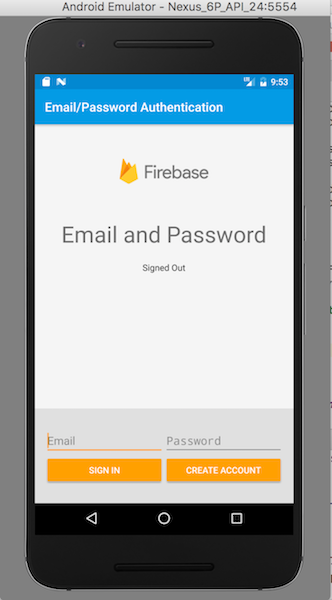
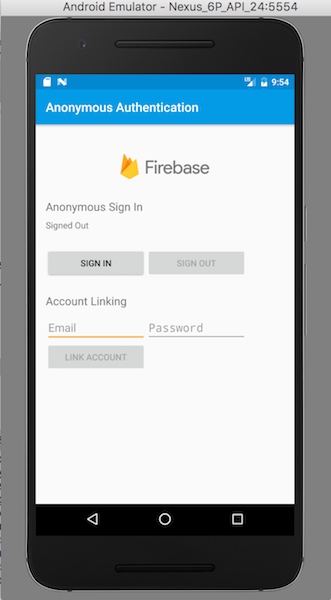
Email & Anonymous Login: Enable both methods in the Authentication section of the Firebase console.
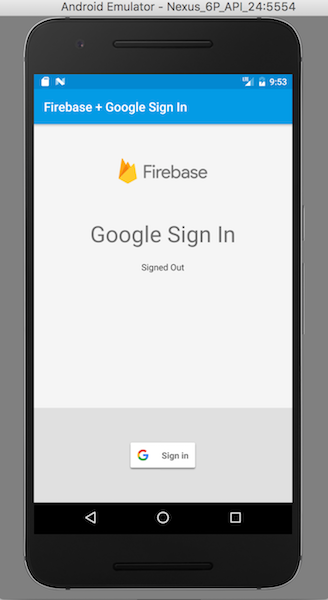
Google: Google Sign In should be set up for your Android app after you add the debug SHA-1 signing certificate in the Firebase console. Enable the Google OAuth method in the Authentication section of the console.
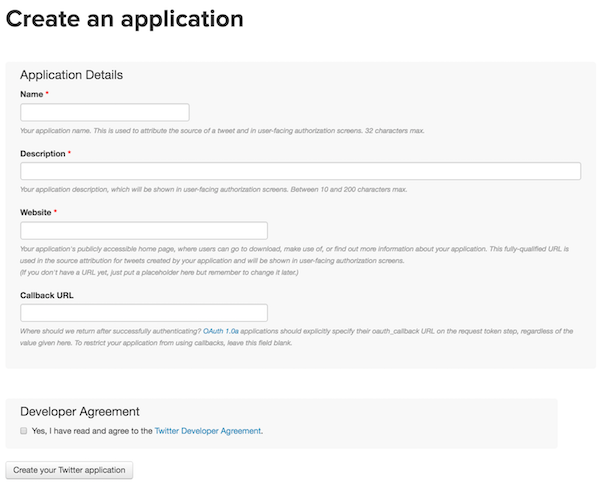
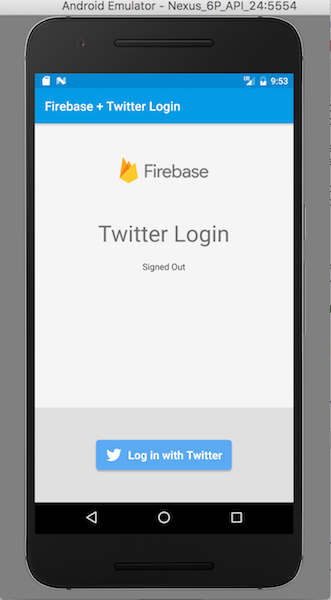
Twitter: In the Firebase console, enable Twitter for authentication. Next, create a new application in the Twitter Developer Portal. Copy the callback URL (available in the Twitter Authentication section of the Firebase console) and enter it in the corresponding field to finish creating the Twitter app. Lastly, go to the Twitter Application Settings and click on ‘Manage Keys and Access Tokens’. Copy the consumer key (API Key) and consumer secret (API Secret) into the Firebase console and 'ids.xml'.
In Android Studio, choose the option to open an existing project. Navigate to where the repo was cloned and select the 'auth' located inside the 'quickstart-android' folder. You will need to update the Android SDK to version 25, the build tools to version 25.0.0, and also update the JDK version to 1.8 as you will need these update in order to successfully compile the gradle files. Once the project is loaded in Android Studio, install any missing dependencies and sync the project to clear errors. Create an AVD that is using API 24 to properly run the app at the end of the tutorial. Lastly, update your project’s Google Play Services under Tools > Android > SDK Manager > SDK Tools to version 38.
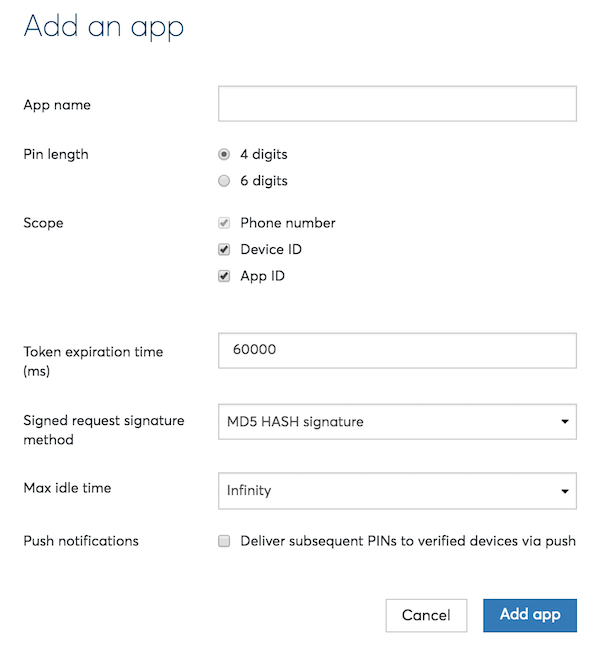
After creating a Nexmo account, you will be redirected to the Nexmo dashboard. Click the 'Verify' tab and under 'SDK', click the 'Your apps' link. Create a new application (with the max Idle time set to Instant) and note down the Application ID and Shared Secret. The max idle time is a setting that dictates how long the user will stay verified for.
Add the Nexmo credentials (as well as the OAuth if you didn't in the step above) to 'ids.xml'.
Add the following line of code to your app-level Build.gradle file to bring the Nexmo Verify SDK in your application as a dependency. Sync the gradle file to resolve any missing dependencies.
compile 'com.nexmo:verify:4.0.0'
Create a new class to your project called ‘TwoFactorApplication.java’ and enter the following code in the file. Here you create the Nexmo client and provide it with the values you stored in 'ids.xml' previously.
package com.google.firebase.quickstart.auth;

import android.app.Application;
import android.content.Context;
Import android.util.Log;
import com.nexmo.sdk.NexmoClient;
import com.nexmo.sdk.core.client.ClientBuilderException;
import com.nexmo.sdk.verify.client.VerifyClient;

public class TwoFactorApplication extends Application {
private VerifyClient verifyClient;
private NexmoClient nexmoClient;
private boolean verified;
private static final String TAG = “TWOFACTORAPPLICATION”;
public VerifyClient getVerifyClient(boolean verifiedValue) {
verified = verifiedValue;
return this.verifyClient;
}
@Override
public void onCreate() {
super.onCreate();
acquireVerifyClient();
}
public void acquireVerifyClient() {
Context context = getApplicationContext();
try {
this.nexmoClient = new NexmoClient.NexmoClientBuilder()
.context(context)
.applicationId(getResources().getString(R.string.nexmo_application_id))
.sharedSecretKey(getResources().getString(R.string.nexmo_shared_secret))
.build();
} catch (ClientBuilderException e) {
e.printStackTrace();
Log.d(TAG, e.toString());
return;
}
this.verifyClient = new VerifyClient(nexmoClient);
}
}In the ‘AndroidManifest.xml’ file, add the necessary permissions for the Verify SDK and the application name to the application tag:
<application
android:name="com.google.firebase.quickstart.auth.TwoFactorApplication"
Declare the following variables in the BaseActivity:
application (of type: TwoFactorApplication)
verified (of type: boolean)
In a ‘onCreate()’ method cast the application context returned by calling 'this.getApplication();'. This returns the application that owns the activity (TwoFactorApplication). Then we create a method called ‘addVerificationListener’ to act as listener in order to continue the app workflow on a successful 2FA verification. Inside this method we get the VerifyClient provided by the Nexmo library and append addVerifyListener() method.
//Import Statements
import java.io.IOException;
import com.nexmo.sdk.verify.client.VerifyClient;
import com.nexmo.sdk.verify.event.UserObject;
import com.nexmo.sdk.verify.event.VerifyClientListener;
import com.nexmo.sdk.verify.event.VerifyError;
Import android.os.Bundle;

//Declaration
public TwoFactorApplication twoFactorApp;
protected boolean verified;

@Override
protected void onCreate(Bundle savedInstanceState) {
super.onCreate(savedInstanceState);
twoFactorApp = (TwoFactorApplication) this.getApplication();
}

protected void addVerificationListener() {
twoFactorApp.getVerifyClient(verified).addVerifyListener(new VerifyClientListener() {
@Override
public void onVerifyInProgress(VerifyClient verifyClient, UserObject user) {
}
@Override
public void onUserVerified(VerifyClient verifyClient, UserObject user) {
verified = true;
}
@Override
public void onError(VerifyClient verifyClient, VerifyError errorCode, UserObject user) {
}
@Override
public void onException(IOException exception) {
}
});
}
Move the 'signIn()' method call from the onClick function to the ‘onStart()' method if the value of ‘verified’ is equal to true. Instead, when the user clicks the sign in button, launch the Verify SDK managed UI and call the 'addVerificationListener()' method. Lastly, change the value of ‘verified’ to false when the Activity is stopped to ensure the user has to log in each time.
@Override
public void onStart() {
super.onStart();
if (verified == true) {
signIn();
}
mAuth.addAuthStateListener(mAuthListener);
}

@Override
public void onStop() {
super.onStop();
verified = false;
mAuth.signOut();
if (mAuthListener != null) {
mAuth.removeAuthStateListener(mAuthListener);
}
}

@Override
public void onClick(View v) {
if (i == R.id.sign_in_button) {
twoFactorApp.getVerifyClient(verified).getVerifiedUserFromDefaultManagedUI();
addVerificationListener();
} else if (i == R.id.sign_out_button) {
signOut();
} else if (i == R.id.disconnect_button) {
revokeAccess();
}
}
Just like the last step, move the sign in method call from the onClick function to the ‘onStart()' method. Instead, Launch the Verify SDK managed UI and call the 'verificationCallback()' method on user clicking the login button. Once again, change ‘verified’ to false in the ‘onStop()’ method.
@Override
public void onStart() {
super.onStart();
if (verified == true) {
signIn(mEmailField.getText().toString(), mPasswordField.getText().toString());
}
mAuth.addAuthStateListener(mAuthListener);
}

@Override
public void onStop() {
super.onStop();
verified = false;
mAuth.signOut();
if (mAuthListener != null) {
mAuth.removeAuthStateListener(mAuthListener);
}
}

@Override
public void onClick(View v) {
if (i == R.id.sign_in_button) {
twoFactorApp.getVerifyClient(verified).getVerifiedUserFromDefaultManagedUI();
addVerificationListener();
} else if (i == R.id.sign_out_button) {
signOut();
} else if (i == R.id.disconnect_button) {
revokeAccess();
}
}

private void signOut() {
mAuth.signOut();
verified = false;
updateUI(null);
}
Again, we move the sign in method call from ‘onClick’ to the ‘onStart()' method to be called if the user has been verified. When the user presses the Sign In button, trigger the Verify managed UI and call the 'addVerificationListener()' method on user clicking the login button.
@Override
public void onStart() {
super.onStart();
mAuth.addAuthStateListener(mAuthListener);
if (verified) {
signInAnonymously();
}
}

@Override
public void onStop() {
super.onStop();
mAuth.signOut();
verified = false;
if (mAuthListener != null) {
mAuth.removeAuthStateListener(mAuthListener);
}
}

private void signOut() {
mAuth.signOut();
verified = false;
updateUI(null);
}

@Override
public void onClick(View v) {
int i = v.getId();
if (i == R.id.button_anonymous_sign_in) {
twoFactorApp.getVerifyClient(verified).getVerifiedUserFromDefaultManagedUI();
addVerificationListener();
} else if (i == R.id.button_anonymous_sign_out) {
signOut();
} else if (i == R.id.button_link_account) {
linkAccount();
}
}
The login flow for the TwitterLoginActivity gets a little tricker than the previous login activities. The Twitter login button initializes the Twitter OAuth login sequence. Here you allow a user to continue with the login flow after they have provided the correct PIN code (onUserVerified).
@Override
public void onStart() {
super.onStart();
mAuth.addAuthStateListener(mAuthListener);
if(!verified) {
twoFactorApp.getVerifyClient(verified).getVerifiedUserFromDefaultManagedUI();
addVerificationListener();
}
}

@Override
public void onStop() {
super.onStop();
verified = false;
mAuth.signOut();
if (mAuthListener != null) {
mAuth.removeAuthStateListener(mAuthListener);
}
}

private void signOut() {
mAuth.signOut();
verified = false;
Twitter.logOut();
updateUI(null);
}

mLoginButton.setCallback(new Callback() {
@Override
public void success(Result result) {
Log.d(TAG, "twitterLogin:success" + result);
verified = true;
handleTwitterSession(result.data);
}
@Override
public void failure(TwitterException exception) {
Log.w(TAG, "twitterLogin:failure", exception);
updateUI(null);
}
});Now all the OAuth providers along with the email/password and anonymous login methods have a flow that ensures the user completes the second factor of authentication to access the account. The 2FA enabled version of this tutorial is available in the 'final' branch of the repo.
The Verify SDK allows you to allocate more time to developing your app by providing a managed UI solution that enables you to make verification requests securely and with ease. I'd love to hear from you if there are questions or thoughts. Tweet me https://twitter.com/sidsharma_27 or email me directly.