Objective-C
Aufbau der Schnittstelle
Um den Anruf tätigen zu können, müssen Sie zwei Elemente auf dem Bildschirm hinzufügen:
- A
UILabelum den Verbindungsstatus anzuzeigen - A
UIButtonzum Starten und Beenden von Anrufen
Öffnen Sie ViewController.m und fügen Sie diese beiden programmatisch hinzu, indem Sie den gesamten Inhalt der Datei durch den folgenden Text ersetzen:
#import "ViewController.h"
#import <NexmoClient/NexmoClient.h>

@interface ViewController ()
@property UIButton *callButton;
@property UILabel *connectionStatusLabel;
@end

@implementation ViewController

- (void)viewDidLoad {
    [super viewDidLoad];

    self.connectionStatusLabel = [[UILabel alloc] init];
    self.connectionStatusLabel.text = @"Unknown";
    self.connectionStatusLabel.textAlignment = NSTextAlignmentCenter;
    self.connectionStatusLabel.translatesAutoresizingMaskIntoConstraints = NO;
    [self.view addSubview:self.connectionStatusLabel];

    self.callButton = [UIButton buttonWithType:UIButtonTypeSystem];
    self.callButton.translatesAutoresizingMaskIntoConstraints = NO;
    [self.callButton setAlpha:0];
    [self.callButton addTarget:self action:@selector(callButtonPressed) forControlEvents:UIControlEventTouchUpInside];
    [self.callButton setTitle:@"Call" forState:UIControlStateNormal];
    [self.view addSubview:self.callButton];

    [NSLayoutConstraint activateConstraints:@[
        [self.connectionStatusLabel.topAnchor constraintEqualToAnchor:self.view.safeAreaLayoutGuide.topAnchor constant:20],
        [self.connectionStatusLabel.leadingAnchor constraintEqualToAnchor:self.view.leadingAnchor constant:20],
        [self.connectionStatusLabel.trailingAnchor constraintEqualToAnchor:self.view.trailingAnchor constant:-20],

        [self.callButton.topAnchor constraintEqualToAnchor:self.connectionStatusLabel.bottomAnchor constant:40],
        [self.callButton.leadingAnchor constraintEqualToAnchor:self.view.leadingAnchor constant:20],
        [self.callButton.trailingAnchor constraintEqualToAnchor:self.view.trailingAnchor constant:-20]
    ]];
}

- (void)callButtonPressed {

}

@end
Die callButton ausgeblendet wurde, seine alpha ist auf 0 gesetzt und wird angezeigt, wenn eine Verbindung hergestellt ist.
Außerdem wurde ein Ziel hinzugefügt, wenn callButton wird abgehört und zum Tätigen und Beenden von Anrufen verwendet.
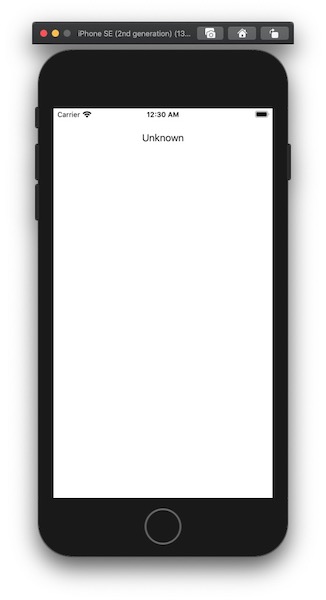
Bauen und Ausführen
Führen Sie das Projekt erneut aus (Cmd + R), um sie im Simulator zu starten.
In-App-Sprachanrufe tätigen
Sie tätigen einen Sprachanruf von einer iOS-App zu einem Telefon.
Schritte
1
Einleitung zu dieser Aufgabe2
Prerequisites3
Erstellen eines Webhook-Servers4
Erstellen einer Vonage-Applikation5
Verknüpfen einer Vonage-Nummer6
Einen Benutzer erstellen7
Erzeugen eines JWT8
Xcode-Projekt und Arbeitsbereich9
Genehmigungen für Projekte10
Aufbau der Schnittstelle11
NXMClient12
Einen Anruf tätigen13
Was kommt als Nächstes?