
Client SDK UI Webコンポーネントの紹介
所要時間:1 分
しばらくの間、多くの ウェブ・コンポーネント関連の投稿ウェブ・コンポーネントの構築から、同じコンポーネントをさまざまなフレームワークやライブラリで使用する方法まで。そのすべてが、今回の Vonage Client SDK UIウェブコンポーネント!
私たちは、Vonage Client SDK と統合された Web Components を構築してきました。 Vonage Client SDKと統合されたWebコンポーネントを構築してきました。JavaScriptフレームワークやライブラリの有無にかかわらず使用できるWebコンポーネントを構築してきました。コンポーネントのリストは GitHub リポジトリ.
Vonage Client SDK UI Web Componentsの目標は、開発者が私たちのClient SDKをアプリケーションに統合するために必要な作業を抽象化するか、少なくとも最小限に抑えることです。選択したレイアウトにUIコンポーネントを配置し、完全に機能するチャット・アプリケーションを作成することを想像してみてください。Conversationを渡すだけで、各Web Componentが責任をもって処理します。イメージできないかもしれませんが、大丈夫です:
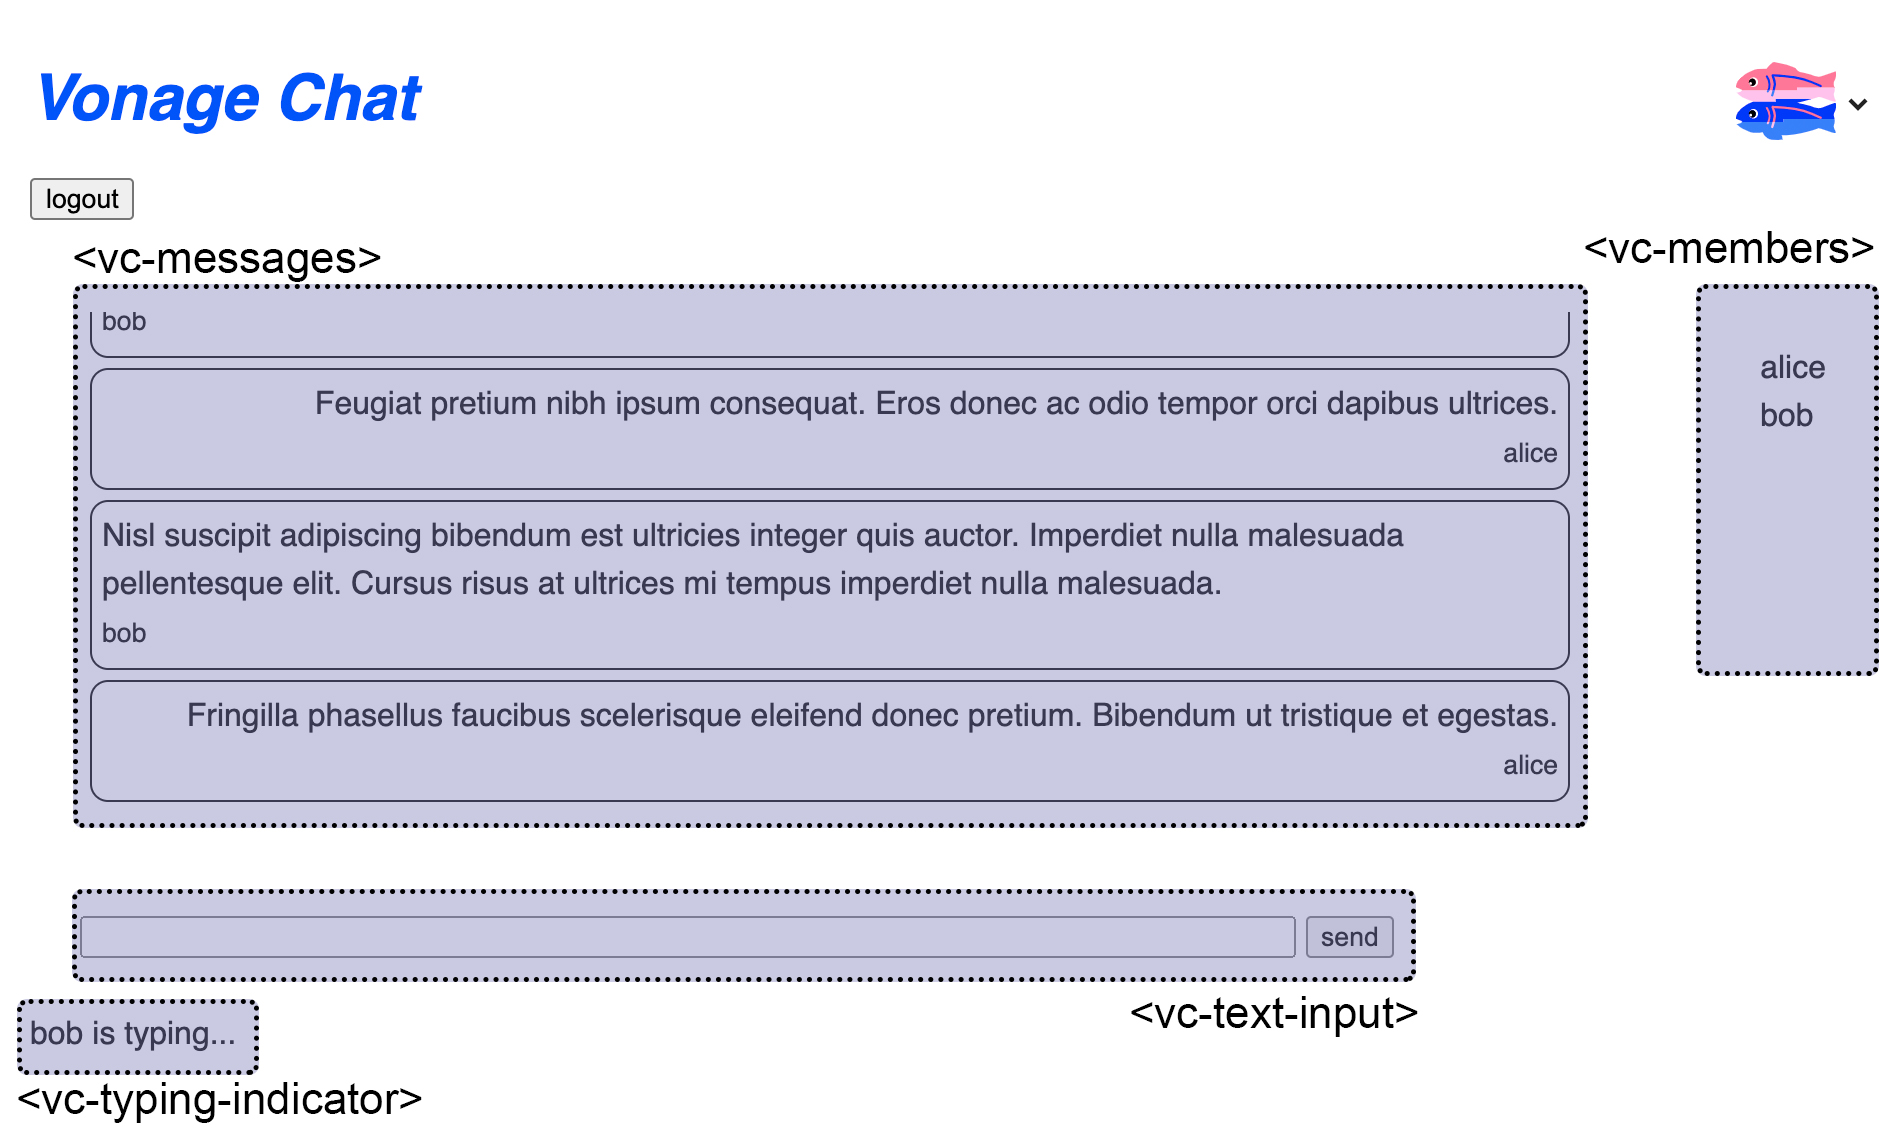 Sample Chat Application built with the Vonage Client SDK UI Web Components
例えば、チャットアプリのサンプルを作成するには、次のプロジェクトを使います。 Glitch プロジェクト.
からは Vonage Voice APIがGeneral Availabilityになったので、ここではKeypad Web Componentを既存の アプリ内音声通話のチュートリアル- 唯一の変更は クライアント側アプリケーションの作成ステップです。
現在の client_js.htmlファイルの現在のコードを次のように置き換える:
<!DOCTYPE html>
<html lang="en">
<head>
  <!-- import Web Components -->
  <script src="https://unpkg.com/@webcomponents/webcomponentsjs@latest/webcomponents-loader.js"></script>
  <script type="module" src="https://unpkg.com/@vonage/vc-keypad@latest/vc-keypad.js?module"></script>

  <script src="./node_modules/nexmo-client/dist/nexmoClient.js"></script>
  <style>
    input, button { font-size: 1rem; }
    #hangup { display:none; }
  </style>
</head>
<body>
  <h1>Call Phone from App</h1>
  <vc-keypad placeholder="i.e. 14155550100" actionText="Call" cancelText="Hang up"></vc-keypad>
  <div id="status"></div>
  <script>
    const USER_JWT = "PASTE YOUR JWT HERE";
    const keypadRef = document.querySelector("vc-keypad");
    const statusElement = document.getElementById("status");

    new NexmoClient({ debug: true })
      .createSession(USER_JWT)
      .then(app => {
        keypadRef.addEventListener("digits-sent", event => {
          console.log(event.detail.digits);
          if (event.detail.digits !== ''){
            app.callServer(event.detail.digits);
            keypadRef.createAction();
          } else {
            statusElement.innerText = 'Please enter your phone number.';
          }
        });

        app.on("member:call", (member, call) => {
          keypadRef.addEventListener("action-ended", event => {
            call.hangUp();
          });
        });

        app.on("call:status:changed",(call) => {
          statusElement.innerText = `Call status: ${call.status}`;
          if (call.status === call.CALL_STATUS.COMPLETED){
            keypadRef.cancelAction();
          }
        });
      })
      .catch(console.error);
    </script>
</body>
</html>
注:生成されたユーザーJWTを再度追加することを忘れないでください。
クライアントのウェブページは次のようになるはずだ:
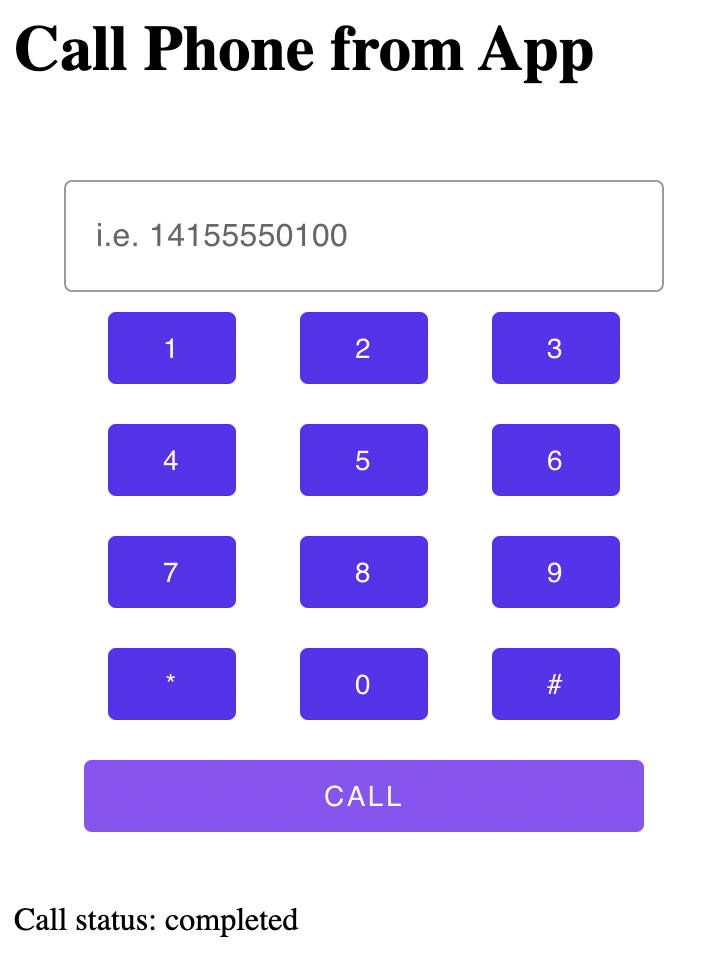 Using the Vonage keypad Web Component in the Making an in-app voice call tutorial
キーパッドWebコンポーネントのReact実装は、次のブログポストで紹介しています。 ブログ投稿.
初期の作業バージョンは Vonage コミュニティ GitHub リポジトリ.貢献、アイデア、フィードバックを歓迎しますので、ぜひご覧ください。